This chapter will help you install Composer, both locally and globally, and introduce you to Valet, Homestead, VirtualBox, Vagrant, and Forge. You will also learn how to create a new project in Laravel 5.8 using your Homestead development environment.
Composer
Composer is a dependency management tool in PHP. For any PHP project, you need to use a library of code. Composer easily manages this task on your behalf, helping you to declare those libraries and packages. You can also install or update any code in your library through Composer. Please visit https://getcomposer.org for more details.
Without the help of the Composer dependency manager, you cannot install Laravel. Moreover, as you dig deeper into Laravel, you will need even more packages and libraries to build your application.
You can install Composer in two ways.
Locally: You can download and install Composer each time for every project rather than running Composer globally on your system. Because you install Composer locally each time, you will have no trace of the Composer package manager on your host machine.
Globally: The global option is always preferable because once Composer is installed in your system’s bin folder, you can call it anytime for any project. Whether you use Windows, Debian-based Linux like Ubuntu, or macOS, the global option always rules over the local one.
I’ll show how to install Composer globally in the next section and then cover the local option.
Installing Composer Globally
For any Debian-based Linux distribution like Ubuntu or macOS, you can download Laravel using Composer in any folder anywhere and start working with it. If you use Windows, I suggest you download helper software like XAMPP that comes with the LAMP technology.
Installing Composer globally on your system requires a few steps, as shown here, in your terminal:
Composer successfully installed to: /usr/local/bin/composer
Use it: php /usr/local/bin/composer
Installing Laravel Globally
Next, you need to be using a LAMP server properly. This means you already have an operating system based on Linux, and you have the Apache web server, the MySQL database, and at least PHP 7.0. If this architecture is all set up, you can go ahead and download Laravel with a simple command like this:
You can even be choosy with a particular Laravel version such as this:
//code 2.2
composer create-project --prefer-dist laravel/laravel blog "5.7.*"
Once you have Composer installed on your Windows system, you can use the same command to install Laravel in the C:xampphtdocsDashboardYourPreferredFolder directory. You can use a terminal almost the same way as in Linux or macOS. There are small differences between operating systems; for example, on Linux or macOS, you use ls -la for a long listing, but in Windows, you use dir. These commands will tell you what is inside the Laravel folder.
On all operating systems, the next command to run Laravel is as follows:
//code 2.3
//running Laravel
$ php artisan serve
You can now go to http://localhost:8000 to see what’s there.
The artisan command is the most powerful tool Laravel comes with. With the help of the artisan command, you can create all the necessary components you need for your application.
The artisan command creates the following:
Controller
Models
Migrations
Seeds
Tests
And there are many other components the artisan command creates. artisan also helps you work with your database using tools like Tinker. I will cover those features in later chapters.
You already saw how artisan helps you start the web server.
//code 2.4
//starting local web server in laravel
$ php artisan serve
You can also take the application into maintenance mode.
//code 2.5
//Taking application to the maintenance mode
$ php artisan down
After your maintenance work has been finished, you can issue the up command in the same way and again start the web server.
Clearing the cache is also simple.
//code 2.6
//Clearing cache
$ php artisan cache:clear
These are a few examples of how Laravel makes a developer’s life easier. As you progress in the book, you will see artisan used frequently.
Installing Laravel Locally with Composer
In Ubuntu-like operating systems, for any local PHP project, you use the /var/www/html folder. In this section, you’ll learn how to install a Laravel project there using Composer locally.
Installing Laravel locally with the help of Composer means you have to use the following command for each installation. You won’t have Composer on your system globally like in the previous section. You can compare the following steps for installing locally with the global option I showed earlier; you’ll see that the global option is easier.
You need to create a folder and name it MyFirstLaravelProject. Open your Ubuntu terminal (Control+Alt+T) and type the following command:
//code 2.7
$ cd /var/www/html
You can make a directory here with a simple command.
//code 2.8
$ sudo mkdir MyFirstLaravelProject
It will ask for your root user’s password. Type the password, and a folder called MyFirstLaravelProject will be created.
Next, in this folder, you can download and install Composer locally. Then issue the following two commands one after another. First you type this:
This will organize your Composer setup file to go further. Actually, Composer is ready to download packages for your upcoming projects. You can test it by creating a composer.json file in your MyFirstLaravelProject folder. In that composer.json file, type this:
//code 2.11
{
"require": {
"monolog/monolog": "1.0.*"
}
}
Now you will learn how to install the monolog PHP package for your Laravel project. You’re actually testing your Composer installer to see how it works. Type this command on your terminal:
//code 2.12
$ php composer.phar install
It’ll take a moment to install the monolog package.
After the installation is complete, you’ll find a vendor folder and a few Composer files in your project. Feel free to take a look at what is inside the vendor folder. There you’ll find two folders: composer and monolog. Again, you can take a look at what they have inside them.
The time has come to install the latest version of Laravel through Composer. You can install Laravel just like the monolog package. This means you can write that instruction in your composer.json file and just update Composer. Open your terminal and write the following:
//code 2.13
$ sudo composer create-project --prefer-dist laravel/laravel blog
This will install the latest version of Laravel in the folder blog in your Laravel project, named MyFirstLaravelProject. The first step is completed: you’ve installed Laravel in the /var/www/html/MyFirstLaravelProject/blog folder. Now you can go in that folder and issue the Linux command ls -la to see what is inside. You can also type the php artisan serve command to run your first Laravel application so that you can go to http://localhost:8000 to see the welcome page. Remember, this installation has been done locally.
Introduction to Homestead, Valet, and Forge
In this section, the primary focus is on Homestead. I’ll also cover VirtualBox and Vagrant because they work together with Homestead. In normal circumstances, Homestead represents an environment, and VirtualBox runs that environment. Vagrant, as part of that, helps to run the terminal, where you can create your Laravel project.
Homestead offers an entire Ubuntu virtual machine with automated Nginx configuration. The following list shows what you get in Homestead:
- Ubuntu 18.04
- Git
- PHP 7.3
- PHP 7.2
- PHP 7.1
- PHP 7.0
- PHP 5.6
- Nginx
- Apache (optional)
- MySQL
- MariaDB (optional)
- Sqlite3
- PostgreSQL
- Composer
- Node (with Yarn, Bower, Grunt, and Gulp)
- Redis
- Memcached
- Beanstalkd
- Mailhog
- Neo4j (optional)
- MongoDB (optional)
- Elasticsearch (optional)
- ngrok
- wp-cli
- Zend Z-Ray
- Go
- Minio
If you want a fully virtualized Laravel development environment, then Homestead is the only answer. Moreover, Homestead is extremely flexible. You can use MySQL in the beginning, and later you can use MariaDB, MongoDB, PostgreSQL, or any database of your choice. If you feel comfortable with PHP, then you can use that too. In essence, Homestead is a far more superior Laravel development environment than any other option available.
Note that another option for Mac users is Valet. When doing local development, Homestead and Valet differ mostly in size and flexibility. Valet only supports the PHP and MySQL combination, although it is lightning fast. In the case of Valet, you need to install PHP and MySQL on your home Mac machine or you won’t get a fully virtualized environment for developing Laravel applications.
So, my suggestion is to go for Homestead to take advantage of the easy local development environment.
Finally, Forge is a commercial service through which you can provision and deploy various PHP applications including Laravel. By using Forge, you can deploy your Laravel application to cloud services such as DigitalOcean, Linode, AWS, and more.
Forge: Painless PHP Servers
You can imagine Forge as a service like Homestead; however, you need to buy it. Homestead is a local development environment, but Forge can manage cloud servers so that you can focus on building your application.
On the Forge server, you can install any application like WordPress, Symfony, and of course Laravel. You can choose any cloud server, and the Laravel Forge product make your life easier when deploying your application on the cloud.
As mentioned, Forge is a commercial product and comes with all the facilities that a commercial product usually offers, such as SSL certificates, subdomain management, queue worker management and cron jobs, load balancing, and so on.
Just like the Homestead local development environment, Forge gives you the same cutting-edge server configuration so that you can take advantage of Ubuntu 18.04 LTS and tailored server configurations, complete with Nginx, PHP 7, MySQL, Postgres, Redis, Memcached, and automated security updates.
Deploying code is also easy as you can just push your master to your GitHub, Bitbucket, or custom Git repository and Forge will take it from there.
Installing VirtualBox and Vagrant
The Homestead virtualized development environment requires two things. First, you need a virtual machine, which can be any of the following:
Second, after installing any one of these virtual machines, you need to install Vagrant.
https://www.vagrantup.com/downloads.html
Basically, Homestead will use any of these virtual machines as well as Vagrant to run the local server, creating a development environment for your Laravel application. The biggest advantage is you don’t require any LAMP technology directly on your host machine anymore. Homestead is the best option not only for the Laravel application but for any PHP application. You can test any type of PHP application or any other framework in your Homestead development environment. That is the biggest advantage of Homestead.
You can add as many projects as you want to your Homestead development environment and test them locally.
Let’s now go through the steps to install Homestead so you can see how to start your first Laravel application. The first step is to install a virtual machine. My choice is VirtualBox 5.2.
Note
VMware is not free, although it is faster than others. Parallels needs extra plugins. Hyper-V is fine, but VirtualBox is easier to install and maintain.
I don’t want you to waste time researching virtualized machines. You are here to learn Laravel, and therefore you need a free, easily installable virtual machine. Let’s get started.
Get:3 http://in.archive.ubuntu.com/ubuntu xenial/main amd64 rubygems-integration all 1.10 [4,966 B]
Get:4 http://in.archive.ubuntu.com/ubuntu xenial/main amd64 rake all 10.5.0-2 [48.2 kB]
....
The code and output are not shown in full here for brevity.
After installing Vagrant, you can issue a single command to find out Vagrant’s version.
//code 2.16
$ vagrant -v
//output
Vagrant 2.2.3
Be it VirtualBox or Vagrant, all of these software packages provide easy-to-use visual installers for Windows. For macOS and Linux, you can take advantage of the terminal.
To initialize Vagrant, you need to issue these commands one after another:
//code 2.17
$ vagrant box add ubuntu/trusty64
==> box: Loading metadata for box 'ubuntu/trusty64'
==> box: Successfully added box 'ubuntu/trusty64' (v20181218.1.0) for 'virtualbox'!
//code 2.18
ss@ss-H81M-S1:~$ vagrant init ubuntu/trusty64
A `Vagrantfile` has been placed in this directory. You are now
ready to `vagrant up` your first virtual environment! Please read
the comments in the Vagrantfile as well as documentation on
`vagrantup.com` for more information on using Vagrant.
ss@ss-H81M-S1:~$ vagrant up
Bringing machine 'default' up with 'virtualbox' provider...
==> default: Importing base box 'ubuntu/trusty64'...
==> default: Matching MAC address for NAT networking...
==> default: Checking if box 'ubuntu/trusty64' is up to date...
==> default: Setting the name of the VM: ss_default_1547081879727_59147
==> default: Clearing any previously set forwarded ports...
==> default: Clearing any previously set network interfaces...
==> default: Preparing network interfaces based on configuration...
default: Adapter 1: nat
==> default: Forwarding ports...
default: 22 (guest) => 2222 (host) (adapter 1)
==> default: Booting VM...
==> default: Waiting for machine to boot. This may take a few minutes...
default: SSH address: 127.0.0.1:2222
default: SSH username: vagrant
default: SSH auth method: private key
default:
default: Vagrant insecure key detected. Vagrant will automatically replace
default: this with a newly generated keypair for better security.
default:
default: Inserting generated public key within guest...
default: Removing insecure key from the guest if it's present...
default: Key inserted! Disconnecting and reconnecting using new SSH key...
==> default: Machine booted and ready!
==> default: Checking for guest additions in VM...
default: The guest additions on this VM do not match the installed version of
default: VirtualBox! In most cases this is fine, but in rare cases it can
default: prevent things such as shared folders from working properly. If you see
default: shared folder errors, please make sure the guest additions within the
default: virtual machine match the version of VirtualBox you have installed on
default: your host and reload your VM.
default:
default: Guest Additions Version: 4.3.36
default: VirtualBox Version: 5.1
==> default: Mounting shared folders...
default: /vagrant => /home/ss
...
The code isn’t shown in full for brevity in the book. These commands basically have initialized Vagrant, and now you can also add the Composer packages. Vagrant has mounted the shared folders where you will keep your projects from now on. It will be in code in your home directory, like this:
//home/user/code/YourProjectsHere
In my case, since my username is ss, it looks like this:
/home/ss/code/
I will keep Laravel and my PHP projects here in the future, in different subfolders. The next command will help you to add Homestead through Vagrant:
//code 2.19
$ sudo composer global require "laravel/homestead=~2.0"
[sudo] password for ss:
Changed current directory to /home/ss/.composer
Do not run Composer as root/super user! See https://getcomposer.org/root for details
./composer.json has been created
Loading composer repositories with package information
The next step is the painless installation of Homestead so that you can get these virtualization processes completed. Let’s install Homestead with the help of Vagrant, as shown here:
//code 2.20
// installing Homestead
$ vagrant box add laravel/homestead
==> box: Loading metadata for box 'laravel/homestead'
box: Download redirected to host: vagrantcloud-files-production.s3.amazonaws.com
==> box: Successfully added box 'laravel/homestead' (v6.4.0) for 'virtualbox'!
...
The code is incomplete, although you can see that I have chosen number 3, as I have already installed VirtualBox and I am going to use VirtualBox for my further virtualization processes. It will take a few minutes to download the box, depending on your Internet connection speed.
Next, clone the repositories into a Homestead folder within your home directory.
Once you have cloned the Homestead repository, you should run the bash init.sh command from the Homestead directory to create the Homestead.yaml configuration file. The Homestead.yaml file will be placed in the Homestead directory. You need this file to edit your further connections.
//code 2.22
//for Mac and Linux...
$ bash init.sh
//for Windows...
init.bat
Now you can check what your Homestead folder consists of, as shown here:
//code 2.23
$ cd ~/Homestead
$ ls -la
total 184
drwxrwxr-x 9 ss ss 4096 Jan 10 07:07 .
drwxr-xr-x 54 ss ss 4096 Jan 10 07:03 ..
-rw-rw-r-- 1 ss ss 332 Jan 10 07:07 after.sh
-rw-rw-r-- 1 ss ss 7669 Jan 10 07:07 aliases
drwxrwxr-x 2 ss ss 4096 Jan 10 07:03 bin
-rw-rw-r-- 1 ss ss 187 Jan 10 07:03 CHANGELOG.md
-rw-rw-r-- 1 ss ss 853 Jan 10 07:03 composer.json
-rw-rw-r-- 1 ss ss 82005 Jan 10 07:03 composer.lock
-rw-rw-r-- 1 ss ss 213 Jan 10 07:03 .editorconfig
drwxrwxr-x 8 ss ss 4096 Jan 10 07:03 .git
-rw-rw-r-- 1 ss ss 14 Jan 10 07:03 .gitattributes
drwxrwxr-x 2 ss ss 4096 Jan 10 07:03 .github
-rw-rw-r-- 1 ss ss 154 Jan 10 07:03 .gitignore
-rw-rw-r-- 1 ss ss 681 Jan 10 07:07 Homestead.yaml
-rw-rw-r-- 1 ss ss 265 Jan 10 07:03 init.bat
-rw-rw-r-- 1 ss ss 250 Jan 10 07:03 init.sh
-rw-rw-r-- 1 ss ss 1077 Jan 10 07:03 LICENSE.txt
-rw-rw-r-- 1 ss ss 383 Jan 10 07:03 phpunit.xml.dist
-rw-rw-r-- 1 ss ss 1404 Jan 10 07:03 readme.md
drwxrwxr-x 3 ss ss 4096 Jan 10 07:03 resources
drwxrwxr-x 2 ss ss 4096 Jan 10 07:03 scripts
drwxrwxr-x 4 ss ss 4096 Jan 10 07:03 src
drwxrwxr-x 4 ss ss 4096 Jan 10 07:03 tests
-rw-rw-r-- 1 ss ss 277 Jan 10 07:03 .travis.yml
-rw-rw-r-- 1 ss ss 1878 Jan 10 07:03 Vagrantfile
Configuring Homestead
Now you will configure Homestead using the Homestead.yaml file. If you are familiar with using terminal text editors such as Nano or Vim, you can go ahead and use your favorite tool. Or, you can use this command:
This will open the Homestead.yaml file. The provider key in your Homestead.yaml file indicates which Vagrant provider should be used; it will be virtualbox or any other. You can set this to the provider you prefer as shown here:
//code 2.25
---
ip: "192.168.10.10"
memory: 2048
cpus: 1
provider: virtualbox
authorize: ~/.ssh/id_rsa.pub
keys:
- ~/.ssh/id_rsa
folders:
- map: ~/code
to: /home/vagrant/code
sites:
- map: homestead.test
to: /home/vagrant/code/public
databases:
- homestead
# ports:
# - send: 50000
# to: 5000
# - send: 7777
# to: 777
# protocol: udp
# blackfire:
# - id: foo
# token: bar
# client-id: foo
# client-token: bar
# zray:
# If you've already freely registered Z-Ray, you can place the token here.
# Don't forget to ensure that you have 'zray: "true"' for your site.
Shared Folders and Homestead
In the previous section, I showed how to set virtualbox as the provider. I also set the shared folders that point to the Homestead environment. Take a look at these lines (from code 2.25):
folders:
- map: ~/code
to: /home/vagrant/code
sites:
- map: homestead.test
to: /home/vagrant/code/public
databases:
- homestead
The previous code says I should keep my code repositories in the /home/ss/code folder (~/code).
However, you can change this configuration, and the files in these folders will be kept in sync between your local machine and the Homestead environment. You may configure as many shared folders as necessary.
Finally, I have decided to start with two shared folders that will host two Laravel applications and assign two MySQL databases to them. So, these lines in my Homestead.yaml file look like this:
//code 2.26
// Homestead.yaml
---
ip: "192.168.10.10"
memory: 2048
cpus: 1
provider: virtualbox
authorize: ~/.ssh/id_rsa.pub
keys:
- ~/.ssh/id_rsa
folders:
- map: ~/code
to: /home/vagrant/code
- map: ~/code
to: /home/vagrant/code
sites:
- map: test.localhost
to: /home/vagrant/code/blog/public
- map: my.local
to: /home/vagrant/code/larastartofinish/public
databases:
- homestead
- myappo
In the previous code, you can see these repeated lines:
folders:
- map: ~/code
to: /home/vagrant/code
- map: ~/code
to: /home/vagrant/code
This is not just repetitive code; it means that for both projects I have chosen the /home/vagrant/code folder.
If you are following along, now you can run the Homestead environment and test your applications locally. You can type either test.localhost or my.local URL in your browser, and that will run your Laravel applications. However, before that, you need to accomplish one major task.
You must add these domains for your sites to the hosts file on your machine. The hosts file will redirect requests for your Homestead environment sites into your Homestead environment. On macOS/Linux, the hosts file is located in /etc/hosts.
So, type this command:
//code 2.27
//editing /etc/hosts file
$ sudo gedit /etc/hosts
This will give you the following output:
//output of code 2.27
127.0.0.1 localhost
::1 ip6-localhost ip6-loopback
127.0.1.1 ss-H81M-S1
127.0.0.1 sandbox.dev
# The following lines are desirable for IPv6 capable hosts
::1 ip6-localhost ip6-loopback
fe00::0 ip6-localnet
ff00::0 ip6-mcastprefix
ff02::1 ip6-allnodes
ff02::2 ip6-allrouters
On Windows, this is located in C:WindowsSystem32driversetchosts. The lines you add to this file will look like the following:
192.168.10.10 test.localhost
192.168.10.10 my.local
Please note that the IP addresses listed are the same as the ones in your Homestead.yaml file. Once you have added domains to your hosts file, you can launch the Vagrant box.
Launching the Vagrant Box
Launching the Vagrant box will enable you to access the site via your browser.
http://test.localhost
http://my.local
Launching the Vagrant box is easy. By staying in the Homestead folder, issue this command:
//code 2.28
$ vagrant up --provision
Why have I added --provision to the vagrant up command?
You need to understand one key concept regarding the sites property of Homestead. Originally, the Homestead.yaml file has these lines of code:
//code 2.2
- map: ~/code
to: /home/vagrant/code
sites:
- map: homestead.test
to: /home/vagrant/code/public
But you have changed these lines to this:
//code 2.30
- map: ~/code
to: /home/vagrant/code
- map: ~/code
to: /home/vagrant/code
sites:
- map: test.localhost
to: /home/vagrant/code/blog/public
- map: my.local
to: /home/vagrant/code/larastartofinish/public
If you change the original sites property of Homestead, you need to provision the change to ensure it is applied.
You could have issued a command like vagrant reload --provision to update the Nginx configuration on the virtual machine, and then you can issue the vagrant up command. If it does not work, each time you need to add the --provision flag with your vagrant up command.
//code 2.31
ss@ss-H81M-S1:~/Homestead$ vagrant up --provision
Bringing machine 'homestead-7' up with 'virtualbox' provider...
==> homestead-7: Checking if box 'laravel/homestead' version '6.4.0' is up to date...
==> homestead-7: Clearing any previously set forwarded ports...
==> homestead-7: Vagrant has detected a configuration issue which exposes a
==> homestead-7: vulnerability with the installed version of VirtualBox. The
==> homestead-7: current guest is configured to use an E1000 NIC type for a
==> homestead-7: network adapter which is vulnerable in this version of VirtualBox.
==> homestead-7: Ensure the guest is trusted to use this configuration or update
==> homestead-7: the NIC type using one of the methods below:
Last login: Sat Jan 12 05:18:55 2019 from 10.0.2.2
vagrant@homestead:~$ cd code/larastartofinish/
As shown in the previous code, you can now access your /home/ss/code/larastartofinish project through the sites property of Homestead. The /vagrant/code directory communicates with the /home/ss/code/larastartofinish project, where you have installed one Laravel application. I will discuss how to start the Laravel application in the next section. Before that, I would like to give you some tips about the database functionalities.
Homestead and MySQL
The Homestead development environment is actually a guest addition to your host machine. So, you should not try to communicate with your host MySQL database from the guest Homestead. Remember one key concept: Homestead has a lot of database support. MySQL is the default database. The username is homestead, and the password is secret. So, staying in the vagrant directory, vagrant@homestead:~$, you can just type this:
//code 2.33
vagrant@homestead:~$ mysql -u homestead -p
Enter password:
Welcome to the MySQL monitor. Commands end with ; or g.
Your MySQL connection id is 5
Server version: 5.7.24-0ubuntu0.18.04.1 (Ubuntu)
Copyright (c) 2000, 2018, Oracle and/or its affiliates. All rights reserved.
Oracle is a registered trademark of Oracle Corporation and/or its
affiliates. Other names may be trademarks of their respective
owners.
Type 'help;' or 'h' for help. Type 'c' to clear the current input statement.
mysql> show databases;
+--------------------+
| Database |
+--------------------+
| information_schema |
| homestead |
| larastartofinish |
| myappo |
| mysql |
| performance_schema |
| socket_wrench |
| sys |
+--------------------+
8 rows in set (0.08 sec)
mysql>
You can see, I have already created two databases in my Homestead MySQL database in a driver. If you want to exit this terminal and shut down your Homestead development environment, you can issue this command:
//code 2.34
mysql> exit
Bye
vagrant@homestead:~$ exit
logout
Connection to 127.0.0.1 closed.
ss@ss-H81M-S1:~/Homestead$ vagrant halt
==> homestead-7: Attempting graceful shutdown of VM...
ss@ss-H81M-S1:~/Homestead$
So, you have successfully installed and closed down your Homestead development environment. If you want to access your MySQL database through a GUI, then consider installing MySQL Workbench, as shown in Figure 2-1.
Figure 2-1
MySQL Workbench
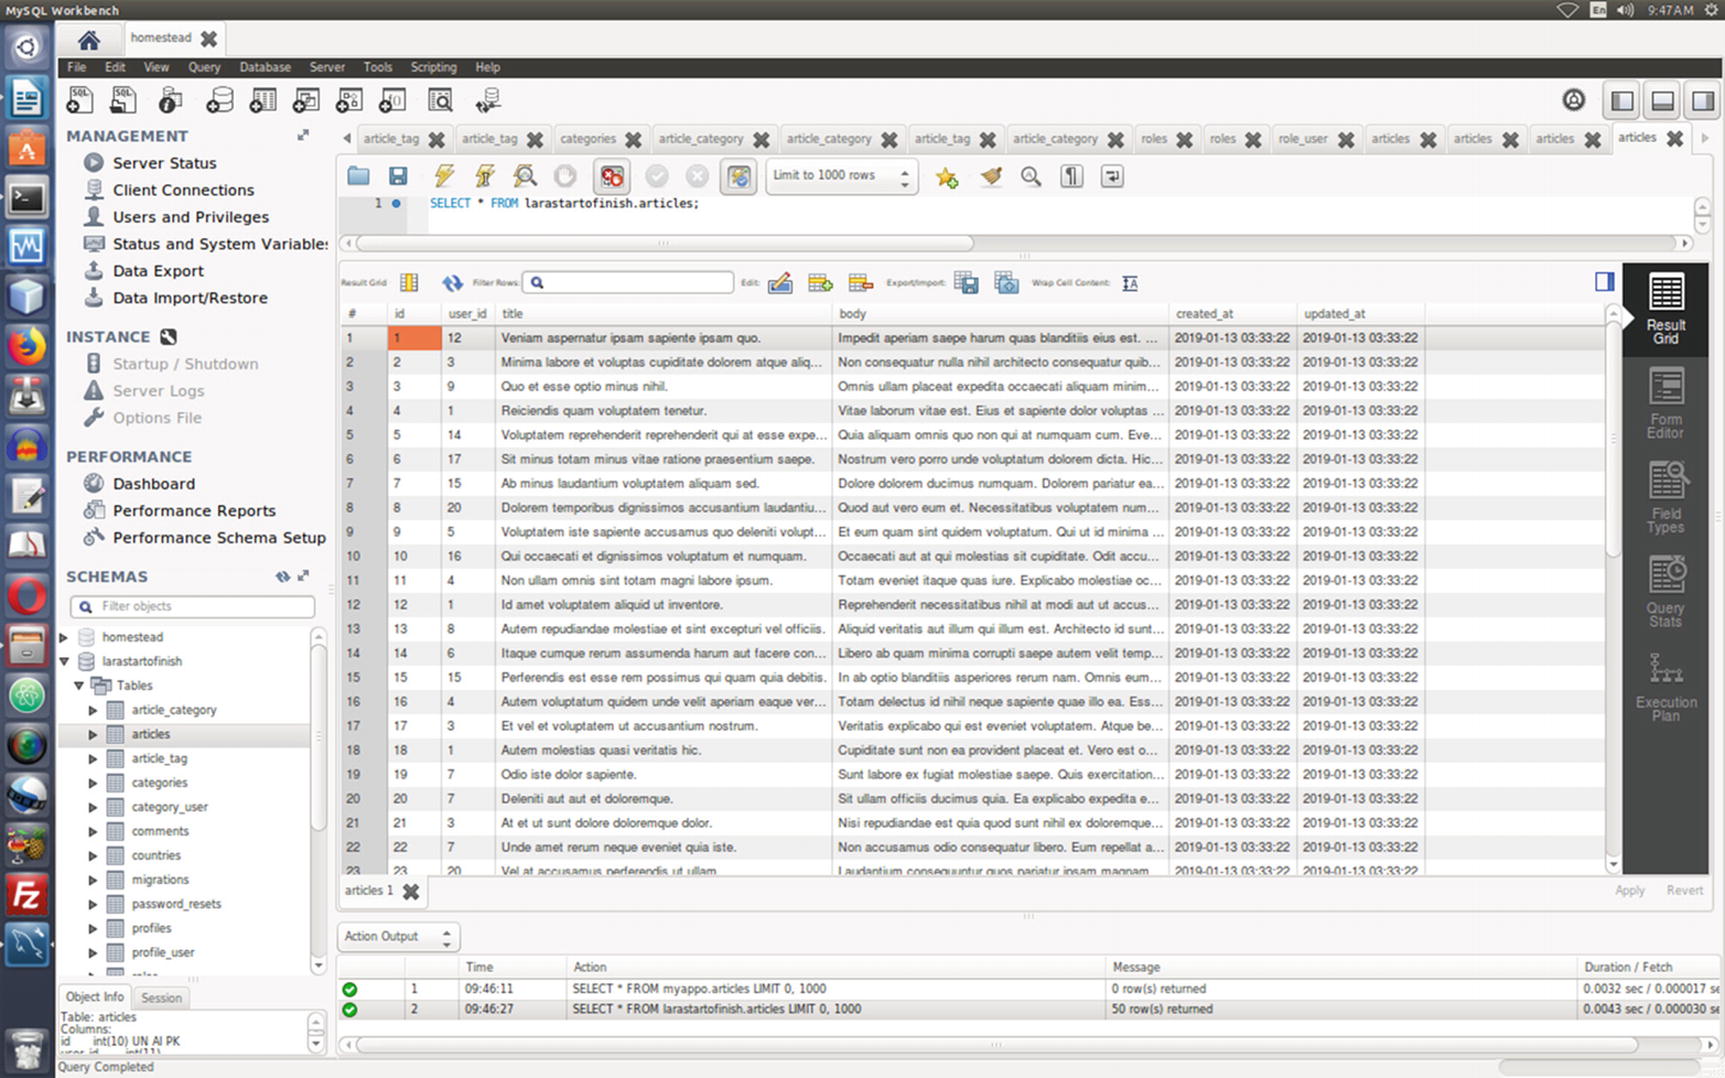
I have already installed a Laravel application in my Homestead development environment and populated the database with some fake data. You can see the same articles table in a browser at http://my.local/articles, as shown in Figure 2-2.
Figure 2-2
Your first Laravel project
In the next section, I will discuss how to create your first Laravel project in your Homestead development environment.
Presuming you are about to learn Laravel from scratch, I will keep the next section brief. I will discuss how you can start your project. Later, in the coming chapters, you will learn how to build a database-driven application that will handle complex relations between various tables, creating, updating, and deleting records. It will be a company/project/task management system where users can also write articles or blog posts, write reviews about the companies, and do much more. There will be many roles, such as administrator, moderator, editor, and simple members or users who can register and log into the application.
How to Create a New Laravel Project
You’ll name your application larastartofinish. This is an abbreviation of the full project name “Laravel Start to Finish.” The code directory will be mapped to the Homestead development environment. So, from now on, you will install your Laravel applications there.
Staying in the /home/ss/code directory, you can install your Laravel application by issuing this command:
This will install a fresh Laravel application in your /home/ss/code directory. Next, issue the following command for macOS/Linux in a terminal:
//code 2.36
$ sudo rm -rf vendor/ composer.lock
Basically, you have removed the Laravel dependencies that ship with Laravel, because you need to freshly install the new dependencies for your new larastartofinish application. So, issue this command:
//code 2.37
$ composer install
This will again install the necessary vendor folder and composer.lock file. You have successfully installed a new Laravel application in the /home/ss/code directory. Now you can start your Homestead development environment and start working on this application.
Staying in the Homestead folder, issue the following command:
vagrant up --provision
Next, issue the following command to start your Homestead development environment:
vagrant ssh
Then, change your directory like this so that it points to the /home/ss/code/larastartofinish directory:
//code 2.38
vagrant@homestead:~$ cd code/larastartofinish/
Next, you do not need to start your local server here. The advantage of Homestead is that now you can type http://my.local in your browser and view your new Laravel application. Next, you can create your first controller here by issuing this command: