ArduPilot can be easily connected to a computer via a USB or a MicroUSB cable. In Windows systems, ArduPilot is usually connected to COM3 but this actually depends on the devices that are also connected, so it might be a different COM. As you can see in the following screenshot, since I have more devices connected, ArduPilot is connected to COM5.
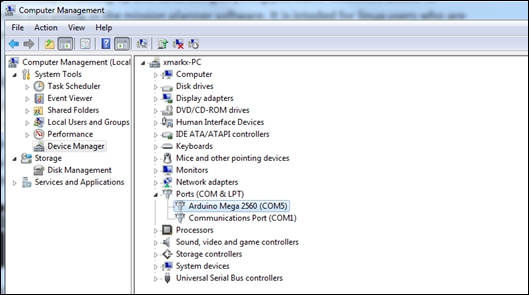
For the purpose of troubleshooting, please have a look at the Device Manager section that you can find in the Computer Management program:
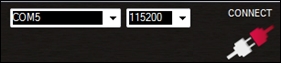
On Mission Planner, you can now see that the selected port is COM5 and the bound rate is 115200 (default):
As soon as you click on CONNECT, there are several things that will happen. First, the software will load all the current parameters that your ArduPilot already has (it might take some time). After that, information in the bottom-left section will appear, as seen in the following screenshot. Also, you can now see the horizon of your quadcopter and maybe some error messages:

Note that when the figure was captured, my GPS was not installed and an error message appeared over the horizon section. As you can see, there is another message about my compass. I am using ArduPilot v2.8, in which they have removed the inner compass and I have not connected an external one, so to make my quad work, I had to disable the compass checklist. This is something that we will check later.