
In this chapter, you will get started with GameMaker Studio 2 (GMS2). The first thing we will be doing is to find out how we can download and install the latest version of GameMaker Studio 2. Once we have downloaded and installed the software, we will get started with an overview of GameMaker Studio 2’s interface and then move on to create our first project.
Through this chapter, you will get a basic understanding of how a GameMaker Studio 2 project is laid out and navigate the integrated development environment (IDE). This will give you a foundation for all future projects to come.
Installing GameMaker Studio 2
Welcome to the exciting world of GameMaker Studio 2; I know that you are raring to go, but before we can do anything, we need to get ourselves a copy of GameMaker Studio 2. The easiest way of doing this is to go to the YoYo Games website and click on the button titled “Get GameMaker” ( https://www.yoyogames.com/get ).
This page displays various options for you to choose from, the first of them being the trial for GameMaker Studio 2. If you choose to go for the trial, you will be navigated to another page that prompts you to login or register a new account with YoYo games. Once you register, you will receive an e-mail prompting you to reset your password, and once you are logged in, you are redirected to your My Accounts page, which gives you the option to download the Limited Trial version of GameMaker Studio 2 for both Windows and Mac. Click the Download GameMaker Studio 2 button to start your download.
If you scroll down, you will see options to purchase the full Desktop version and other modules that you will use to export your games to other platforms. Scroll down further and you will notice a table that lists the licenses available to you. By default, you have the GameMaker Studio 2 Trial license associated with your account.
Once the download completes, run the installer to install GameMaker Studio 2.
Once installed, click on the new GMS2 icon on your desktop to run it. You will be required to key in your e-mail and password for your YoYo Games account that you have previously created while GMS2 starts up for the first time. After you are successfully logged in and the application starts, you will be greeted by the Start Page and the Welcome page—both of which are accessible via the Help menu. The Welcome page gives you access to videos that can get you started with the key concepts behind GMS2 as well as what is new in GMS2 compared to its predecessor.
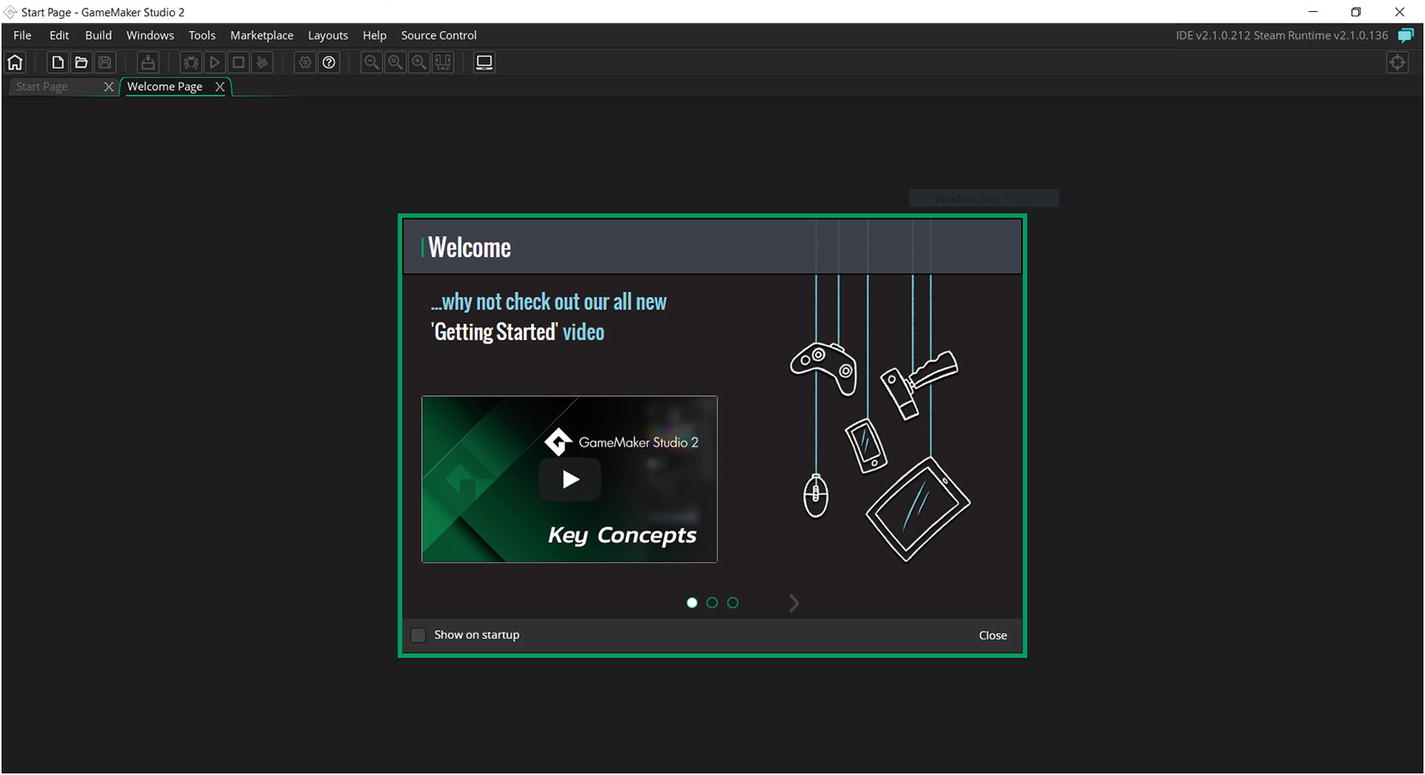
TheWelcome page and the Start page(first tab, hidden here)
Tip
Detailed help is available to you at the click of a button, and that magic button is F1.
GameMaker Studio 2: An Overview
GameMaker Studio is a very structured piece of software. The tool tries to be a one-stop shop for all your 2D game development needs, and it does a pretty good job at it. Before getting started, it would be good to have a better understanding of the bigger picture.
The Resources Panel
Most of GameMaker Studio’s workflow is centered around the resources you add into the program. The resource panel is a central part of almost everything you do in any GameMaker Project. It allows you to create, organize, and edit all the resources that your project will have. The most common resources you will be using are Rooms, Sprites, Objects, Sounds, Scripts, and Fonts. There are more resources that you will work with, but you can make a functional game even with just these resources.
Rooms
Background Layer: This background layer essentially lets you pick a background color or a sprite; it also automatically tiles images and scrolls them to a set speed.
Instance Layer: This is where all instances of the objects you created will go. This is one of the most commonly used layers. Almost all items we add to the game will go here.
Tile Layer: This layer lets you create tile maps easily from a tile set. A tile set is a set of images, and a tile map is a large map created by placing these smaller tiles from the tile set.
Path Layer: This is special layer that can hold Paths that has been created in the Resource panel. A path, which can be straight or curved, is formed of a list of connected points and is essentially used as a way for objects to move along it.
Asset Layer: The asset layer lets you directly place or paint sprites into it.
Objects and Instances
Objects are our bread and butter. Objects are the building blocks of your game. They add the interactivity and logic that is at the core of every game. Objects have many properties—they can be visually represented through sprites, or they can exist without any other supporting resource, but they can receive and respond to events if they are placed inside a room. Objects need to be placed into rooms via the Room editor. When your game is executed, GameMaker creates the room and then goes on to create each layer and item on it. Each object in that room is an instance of that object.
Listening to Events
At its core, GameMaker Studio is event-driven; everything that happens in a game is a response to some sort of an event happening. They can be as generic as a Step event (an event that happens every frame of the game) or specific like a Mouse event on an instance of an object. GameMaker Studio expects you to build working systems and rules on top of these events and the information that GMS itself provides.
Starting Our First Project
When you click the Create New Project option on the Start Page or via the File menu, you are given an option to switch between Drag and Drop and GameMaker Language. The Drag and Drop option is a friendlier visual interface for coding in the GameMaker Language, or GML for short.
The GML is the scripting language for GameMaker Studio. It shares similarities with many languages like Lua, JavaScript, and C. Although the language offers different styles of writing code, we will try to stick to one style consistently across this book.
Starting off your adventures in GameMaker Studio using the Drag and Drop will help you to get acquainted with GameMaker and programming in GML. The GameMaker Language option lets you type in code directly without the Drag and Drop interface. You can, however, alternate between the two to an extent, as you will see in the future chapters. Let’s focus on how to get acquainted with coding from the get go. This chapter will ease you into the programming interface that we will be using extensively in the chapters to come. Click on GameMaker Language to continue.
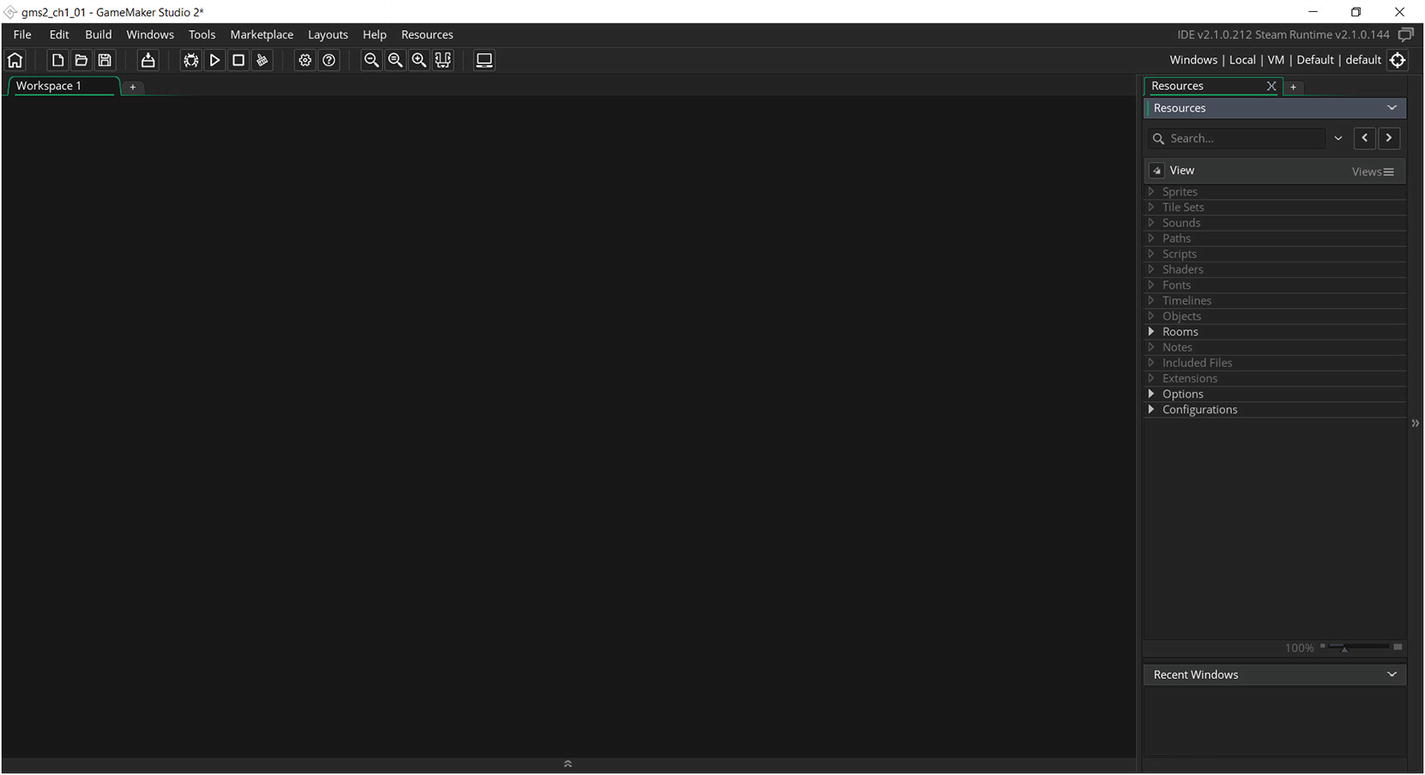
A new project with an empty workspace

The menu and toolbar-the Run button is the seventh from the left and looks like a Play button

Running your project for the first time
Editing Our Rooms
On the left side you have your empty workspace, and on the right side you have your Resources panel, and docked within it your Recent windows panel as well. The Resource window contains all the elements pertaining to your project.

The room editor
If you look at your resources panel on the right, you will see that there is a section called Rooms within it. Click this to see a list of rooms available to you. The list contains one room called room0 . Let us try to edit this room; we can do this by double-clicking the room in the resources list. The room editor opens with a new panel to your left and the room now in the center. The left panel contains three sections that we will be using a lot: the first section is dedicated to layers in the room; the second portion is a context-sensitive panel dedicated to the properties of each of the selected layer; and the third section is dedicated to the properties (metadata/features) of the room.
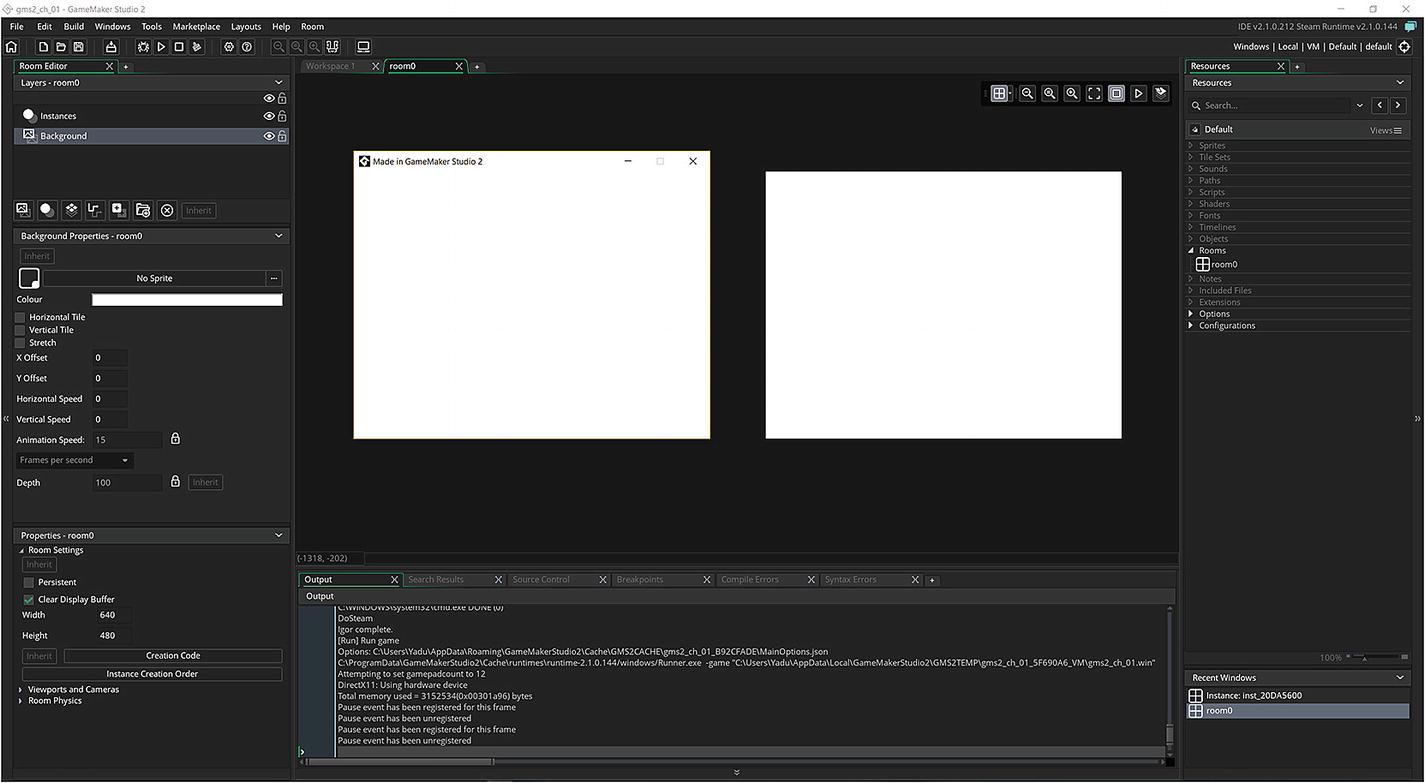
The room with a new background color and new size. To view up to this point in the project, please open the file (gms2_ch_01_01.yyz).
Now that we learned to edit the room and have a basic understanding of how the GMS2 interface works, lets jump in and explore the rest of GMS2 and how you can make your game come to life through the GML. To view our progress up to this point in the project, please open the file gms2_ch_01_01.yyz.