Women—Profile
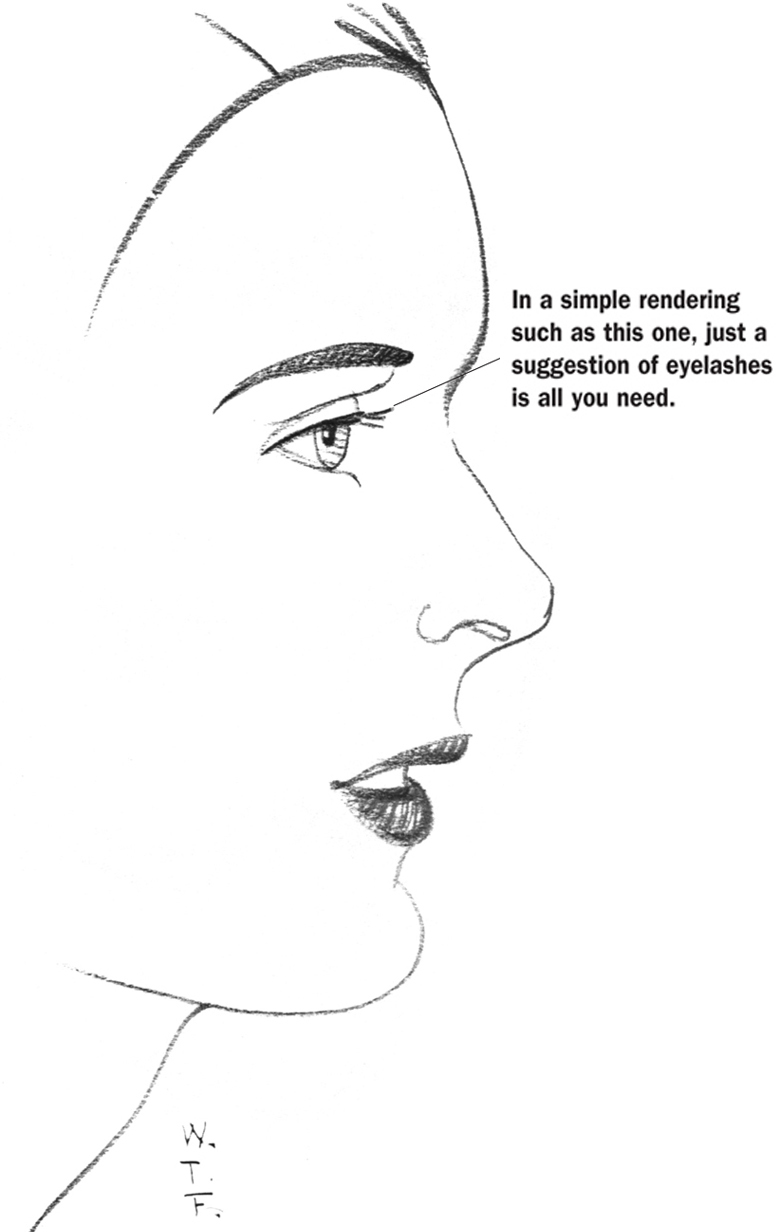
Once you have practiced drawing the facial features separately and have memorized the proportions, you can combine your skills to draw the entire head. Start with a simple rendering that has minimal shading, such as the profile shown here.
Don’t worry if you have to use your eraser often. Everyone, even professional artists, makes mistakes. Just remember to practice, practice, practice, and soon your skills will be quite good.
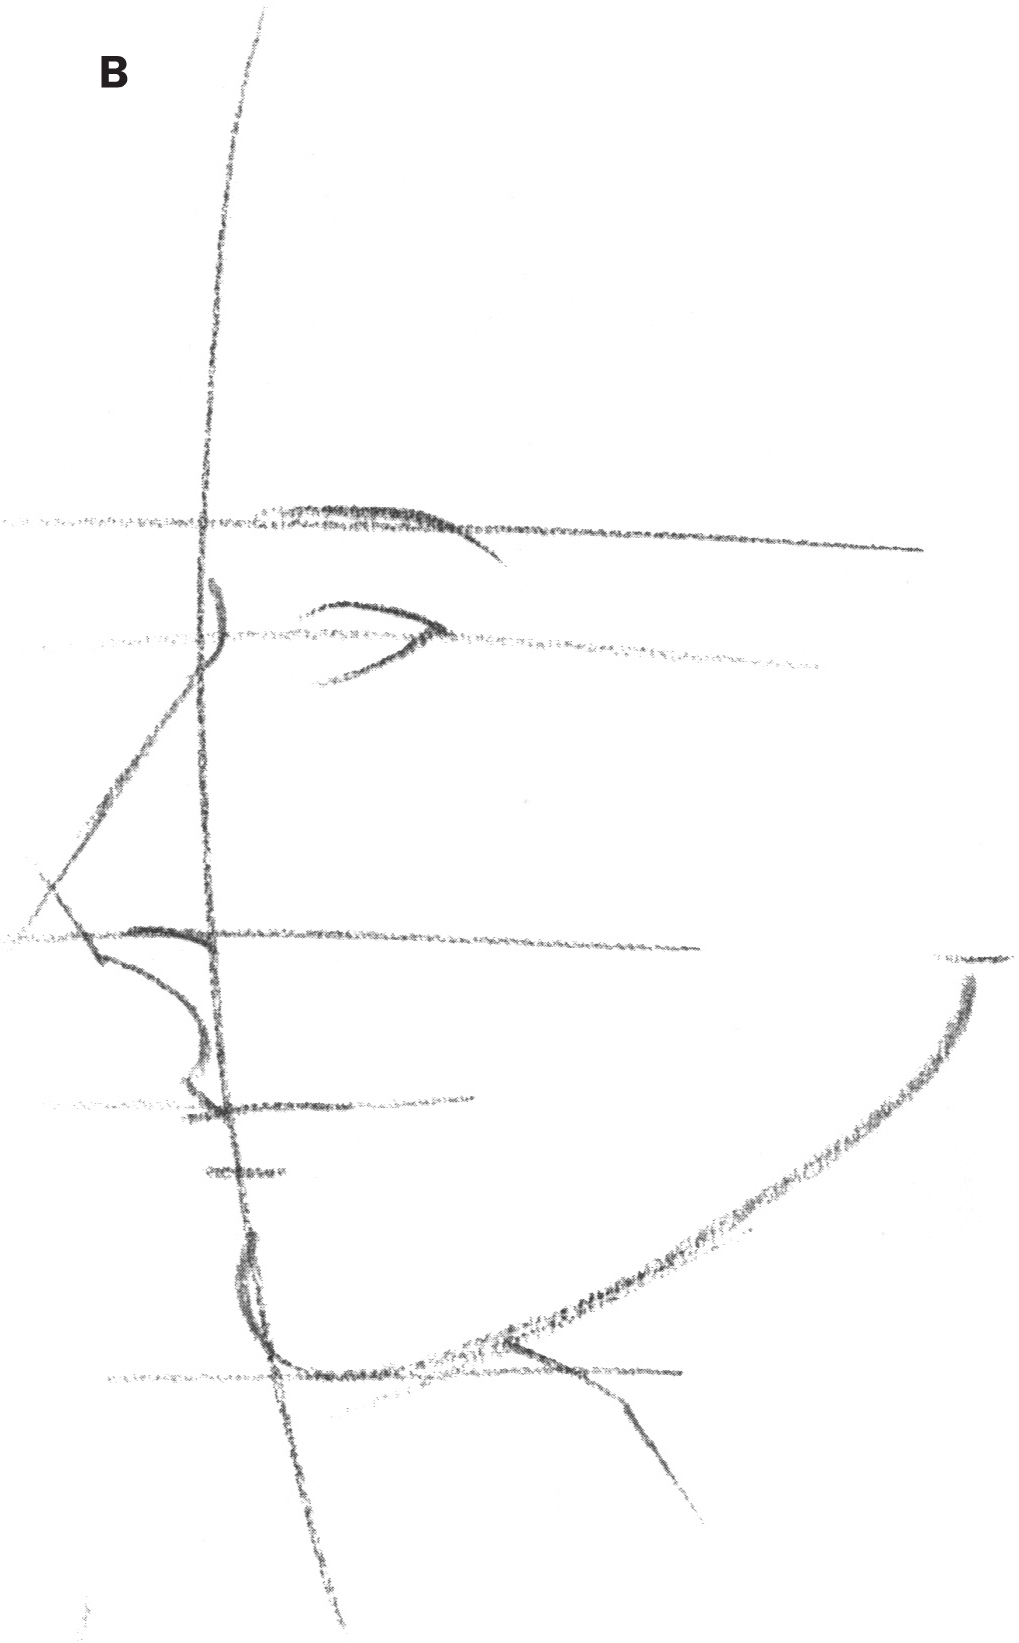
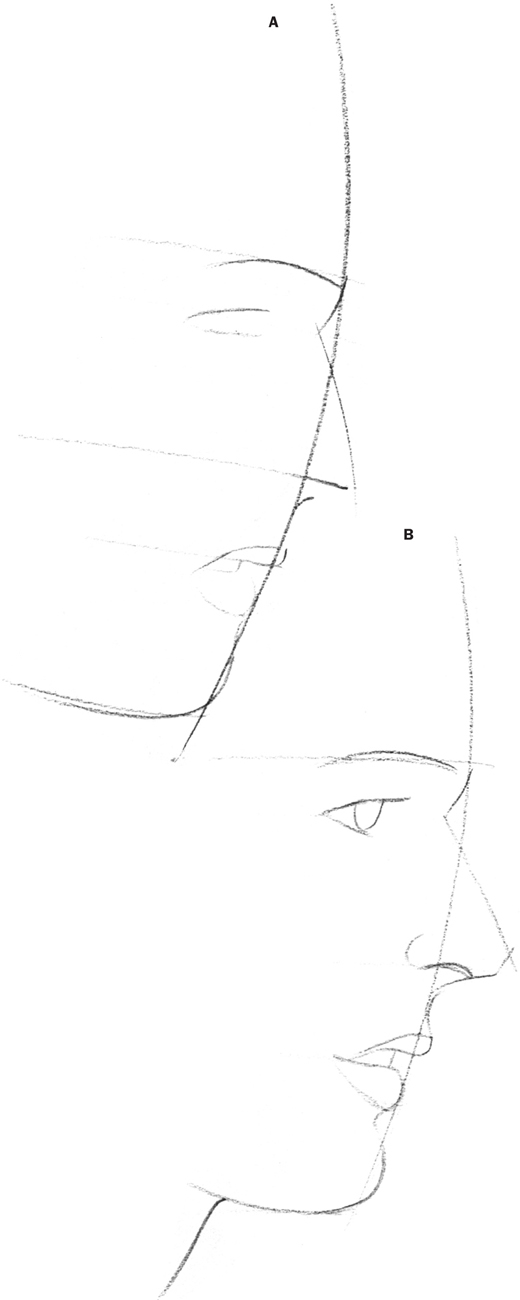
Once you’re familiar with the proportions, you can quickly lay down the basic shapes with just a few lines. First sketch a curved line, and add guidelines for the features, as shown in step A.
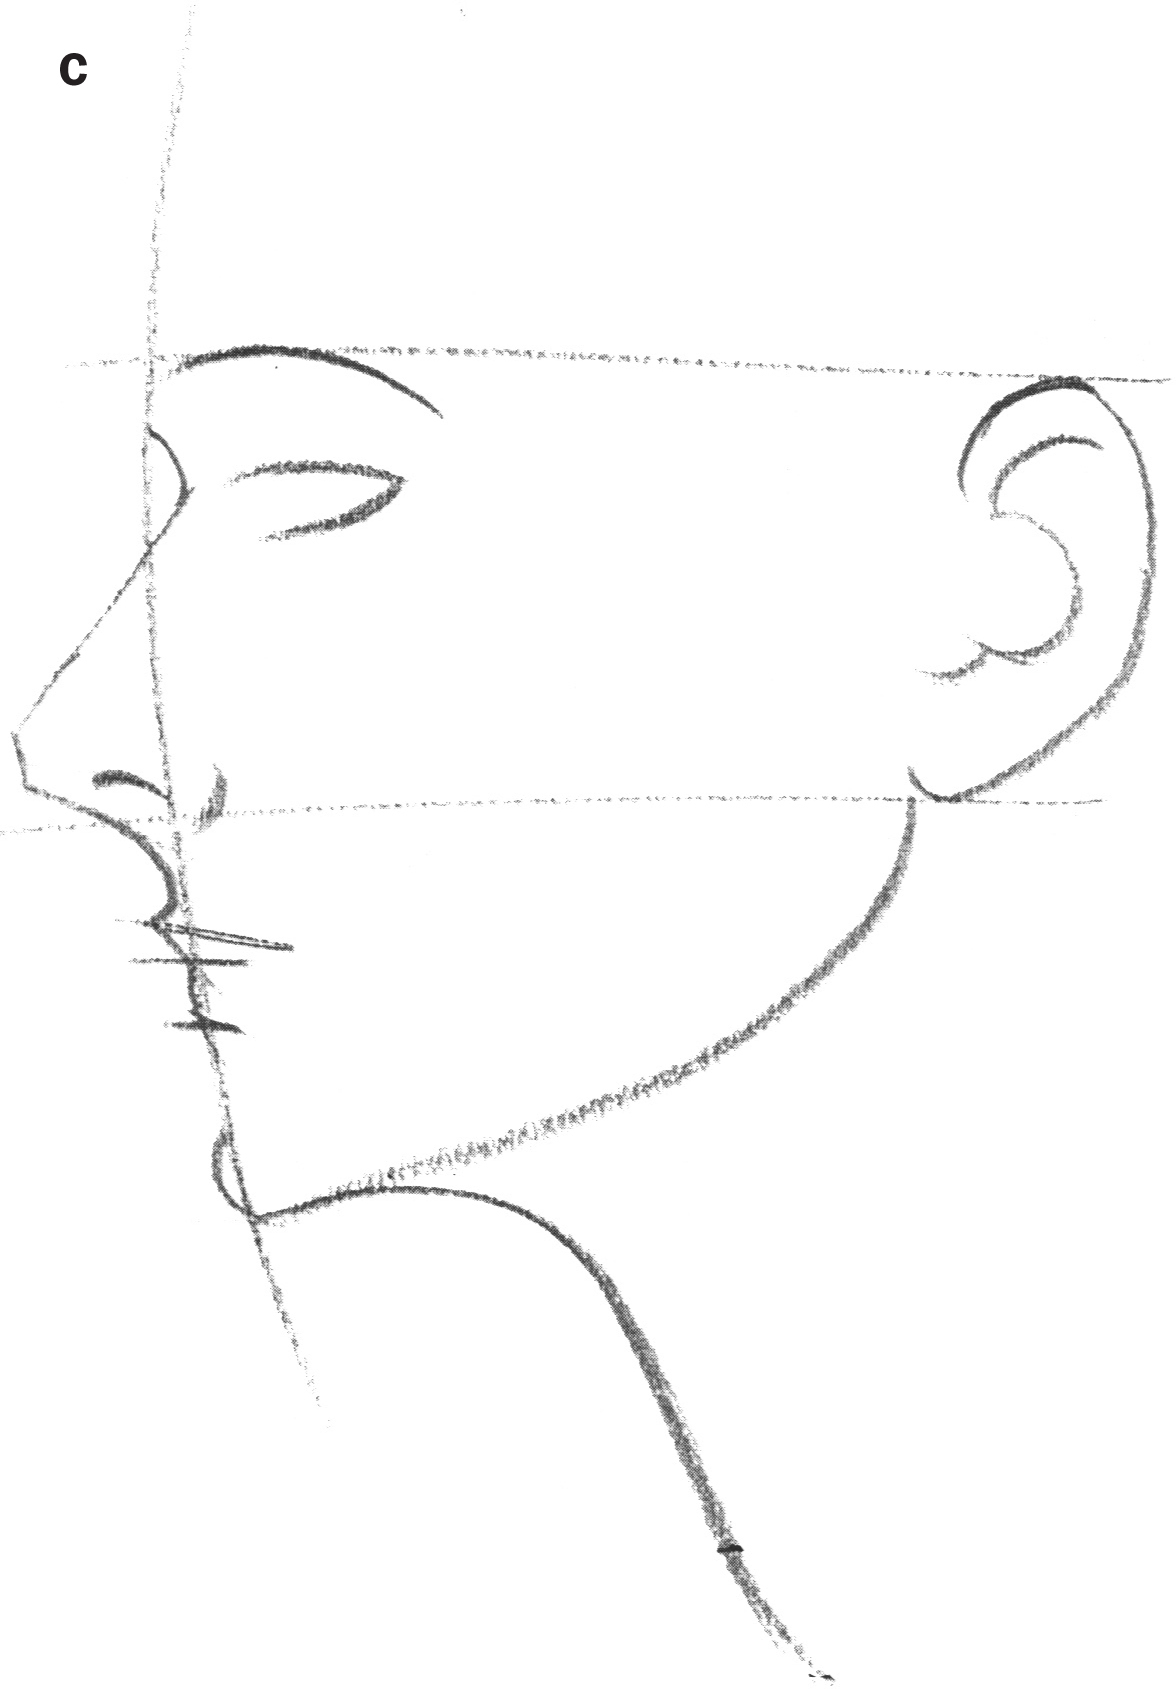
Sketch the features on the guidelines, and then refine them into recognizable features, as demonstrated in steps B and C. Always take the time to ensure that the features are drawn correctly. Even a drawing with minimal details requires attention and care.
For step D, use a blunt-pointed pencil to suggest the hair, adding just a few lines to create the general shape. Although the facial features aren’t very detailed, a loose rendering like this can still provide a good resemblance to your subject.
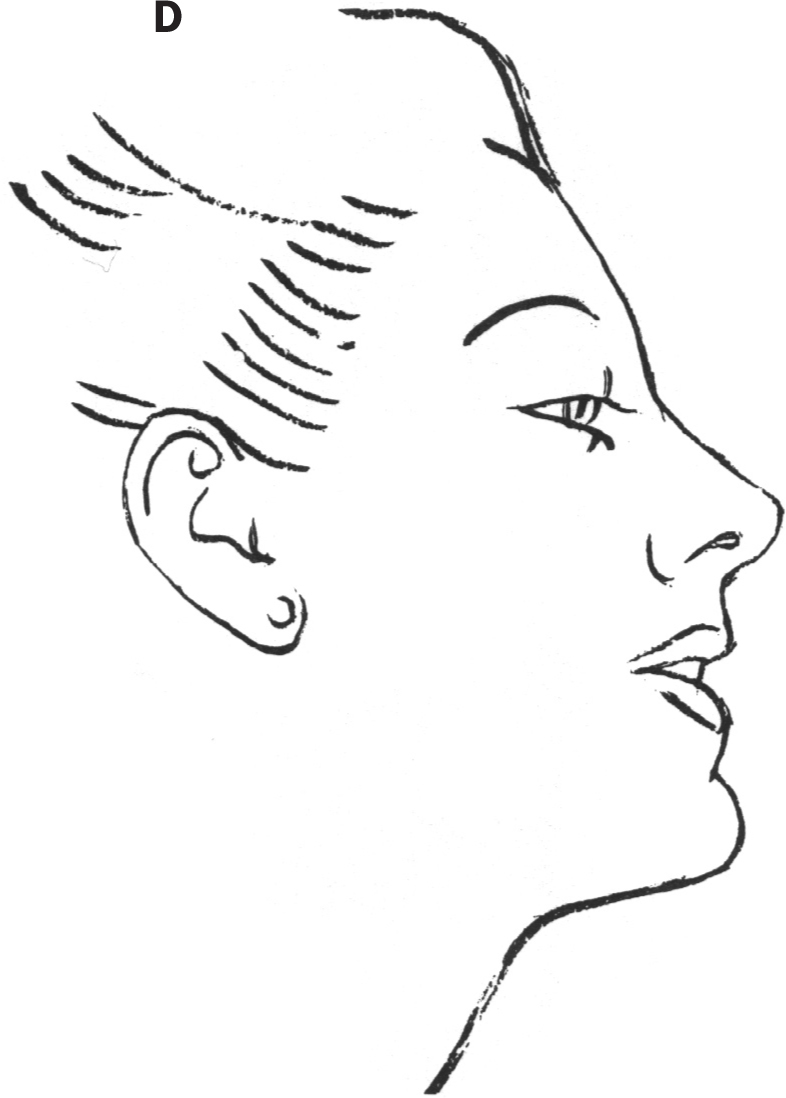
A dry brush and black India ink are used to create the dark, bold lines of the finished drawing.
This drawing is slightly more developed than the previous exercise. To make your lines smooth and fresh, keep your hand loose, and try to draw with your whole arm rather than just your wrist.
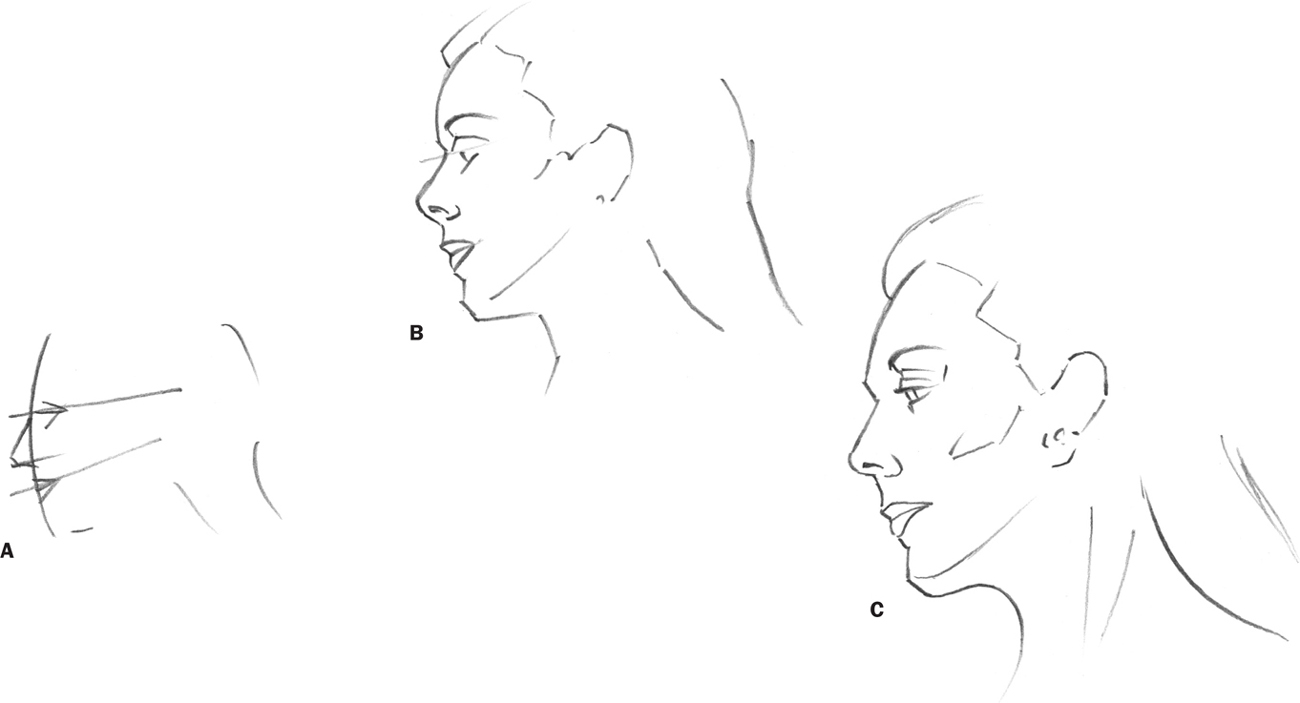
As shown in step A, use an HB pencil to block in the proportion guidelines.

Then carefully sketch the basic shapes of the features, as shown in steps B and C. Check your proportions before continuing.
Use an HB pencil for your block-in sketches and a 2B or 4B for shading and details.
Practice with simple renderings until you are able to capture a likeness of your subject. Later you can progress to more detailed drawings.
Finish the drawing by refining the shapes, suggesting the hair, and adding minimal shading to the lips and nose.
A pencil sharpened to a chisel point is used to create the broad strokes for the hair.
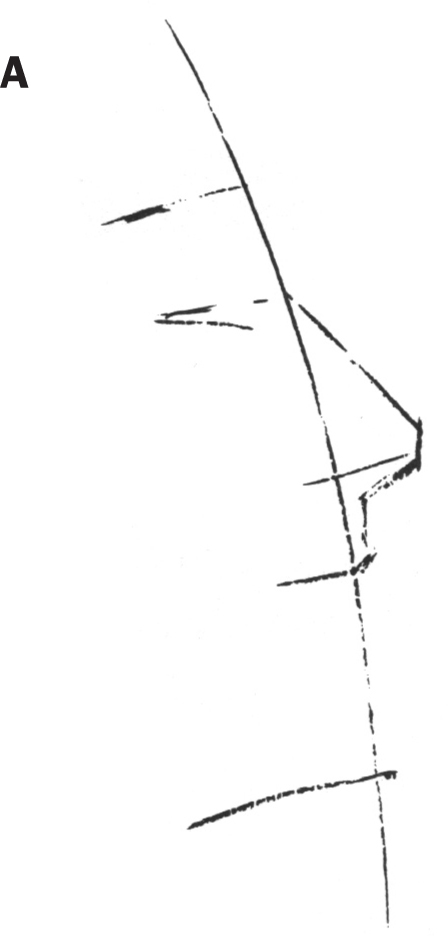
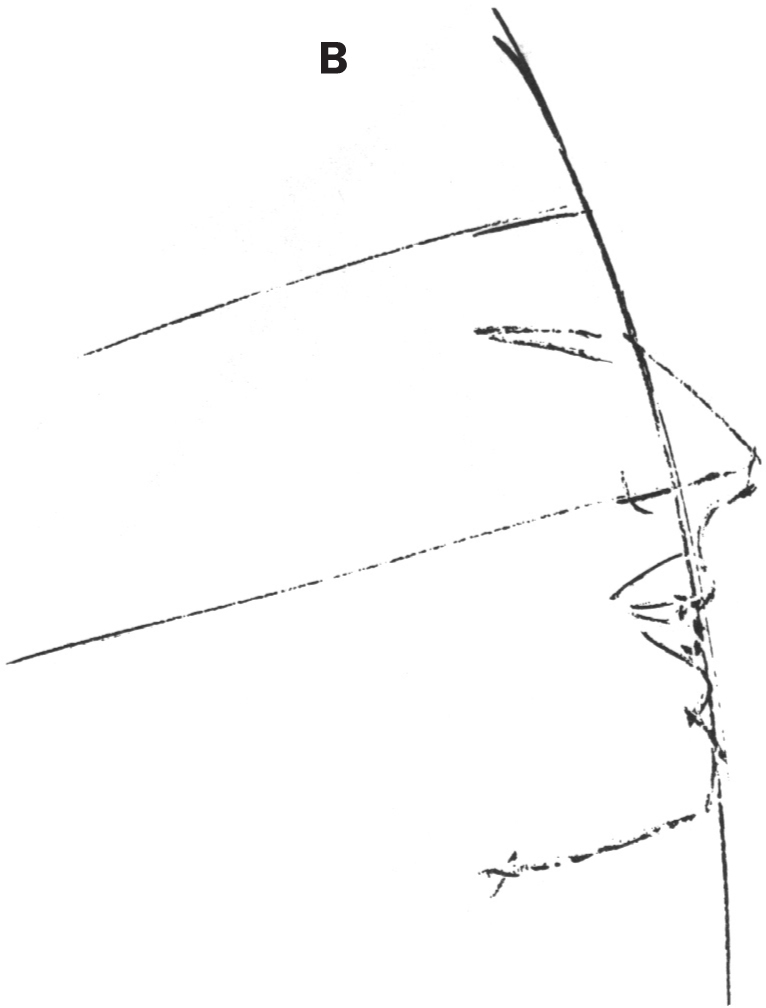
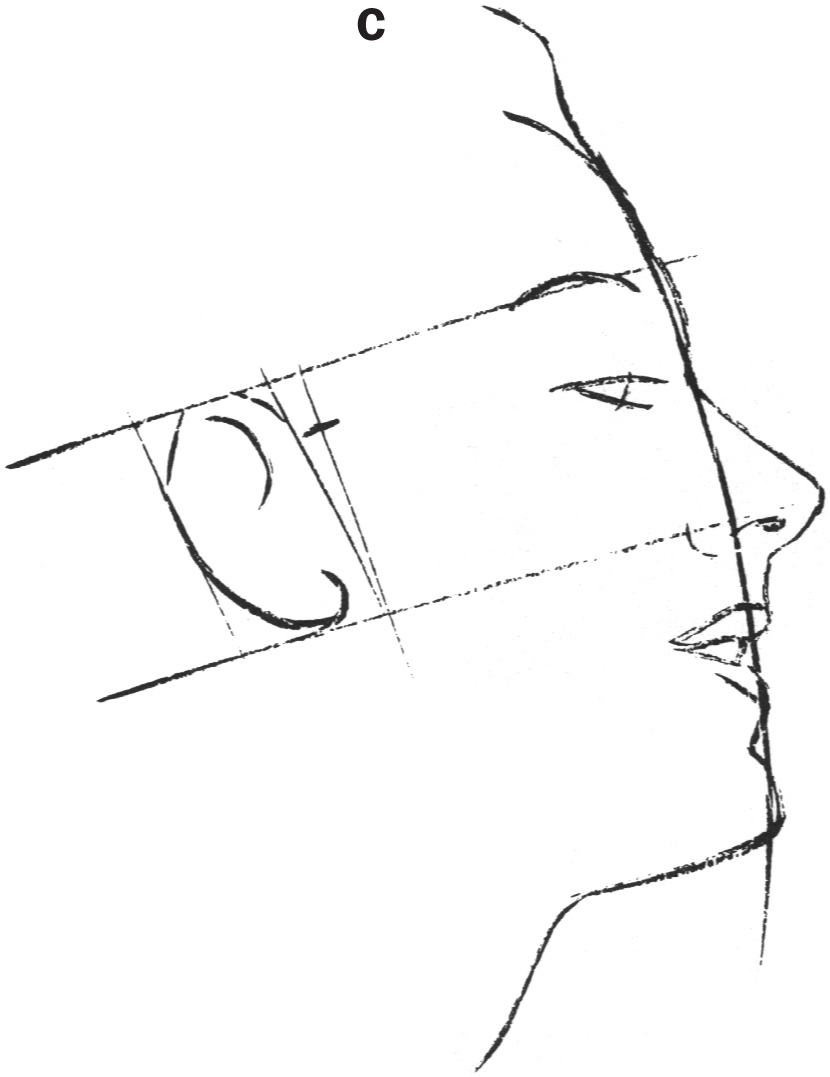
Like the previous drawings, this profile is a good exercise for becoming accustomed to placing the features correctly—as well as practicing how to draw the individual features. Pay close attention to the shapes of the nose and chin; these features will greatly affect the overall appearance.
In step A, begin with a slightly curved vertical line, and add guidelines according to the proportions you’ve learned. Then lightly block in the features. In step B, begin to refine the shapes. Ask yourself what your subject’s nose looks like. Is it long or short? Broad or narrow? Does the tip turn up or sag down? Is the bridge sloped, or does it have a bump? These are the types of factors that will determine whether you achieve a likeness or not.
Draw with bold, confident lines rather than thin, scratchy lines.
Practice developing form by shading.
Don’t draw a small head in the corner of your paper. Use the whole space!
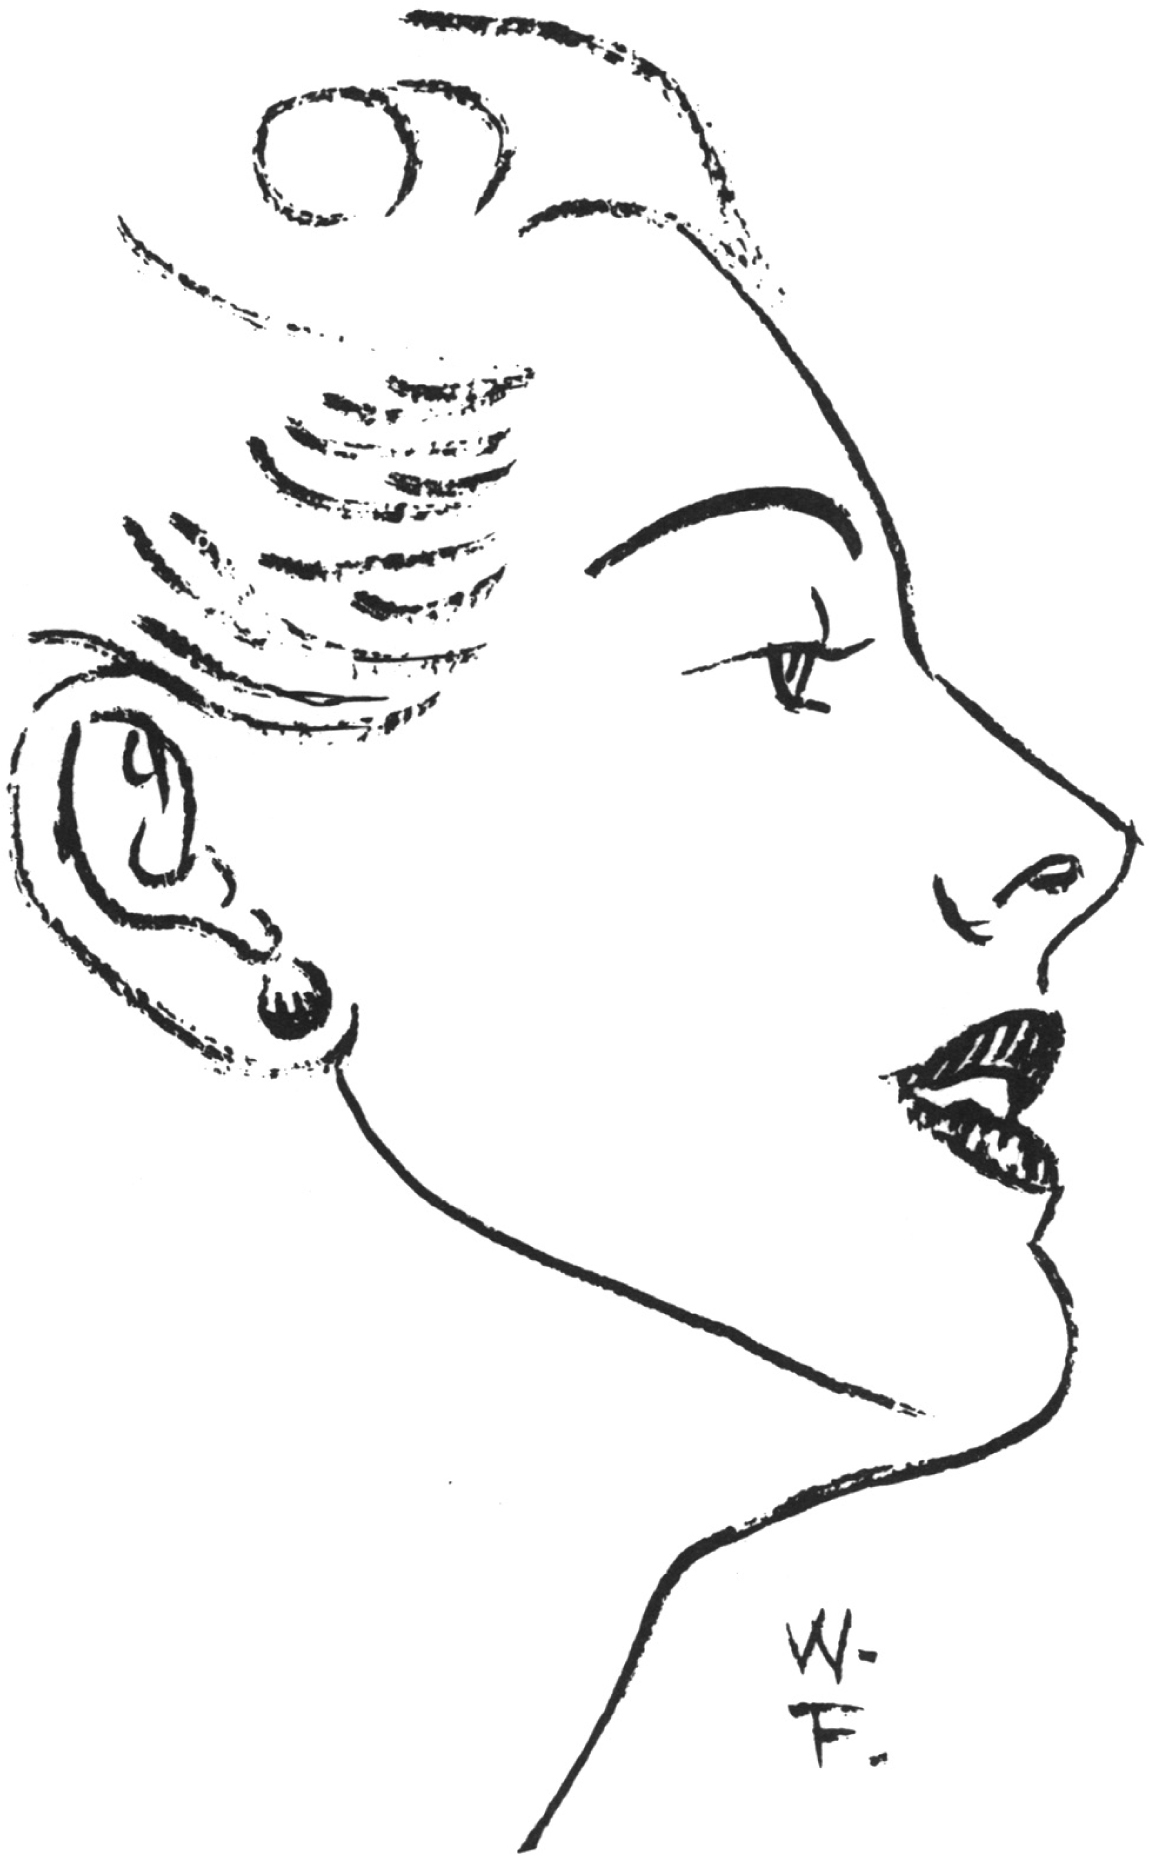
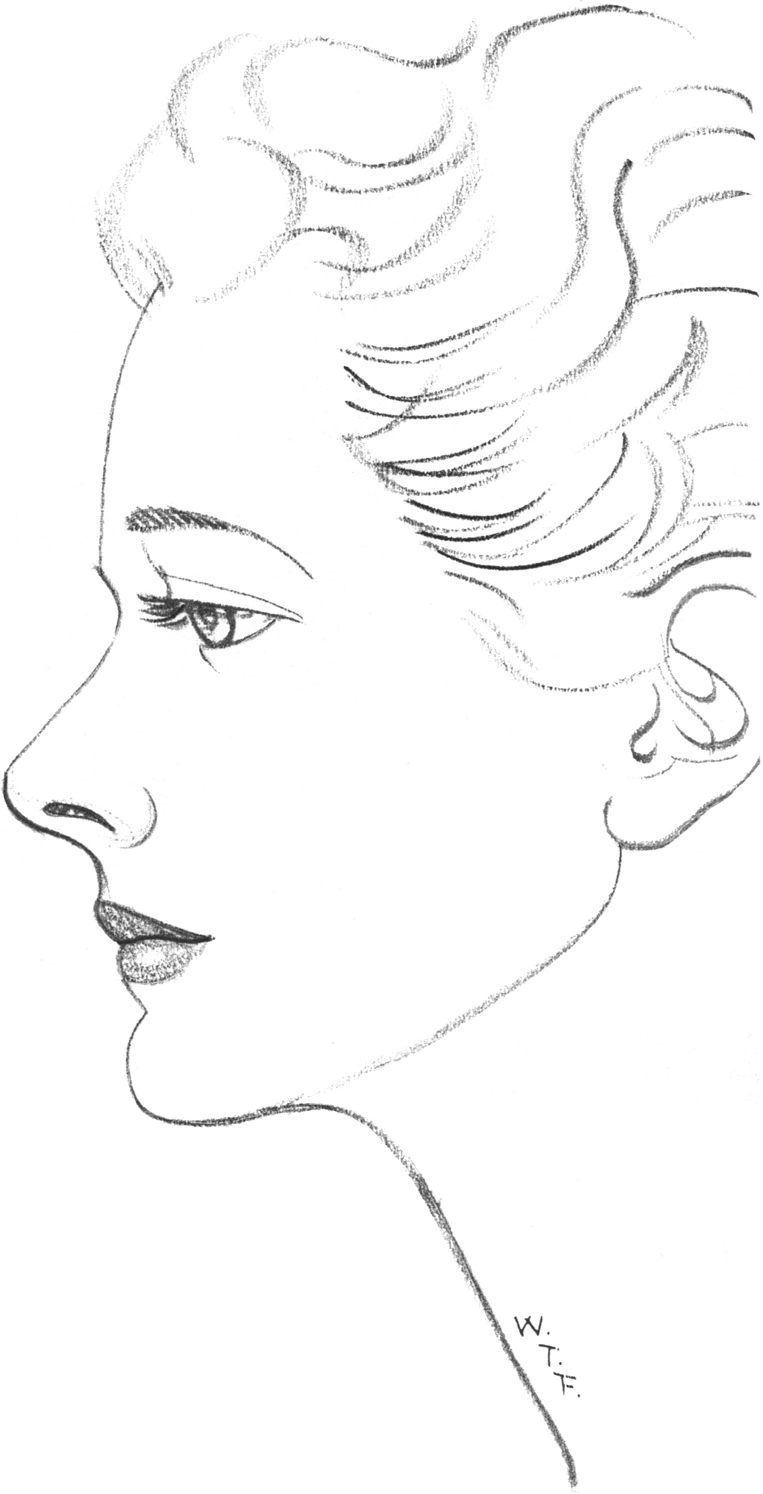
By now you should be able to create a strong rendering using simple lines and techniques. In this drawing, contour shading makes the subject appear much more realistic.
In step A, use an HB pencil to lightly sketch a profile with guidelines for placement of the features. In steps B and C, refine the block-in lines, bringing out the eye, nose, mouth, chin, ear, and hairline. Then add a suggestion of hair, and smooth out the lines, creating a soft, feminine appearance. Minimal shading gives this portrait depth.
If you don’t have a model to work from, get a mirror and try a self portrait. Many of the old masters practiced this way.
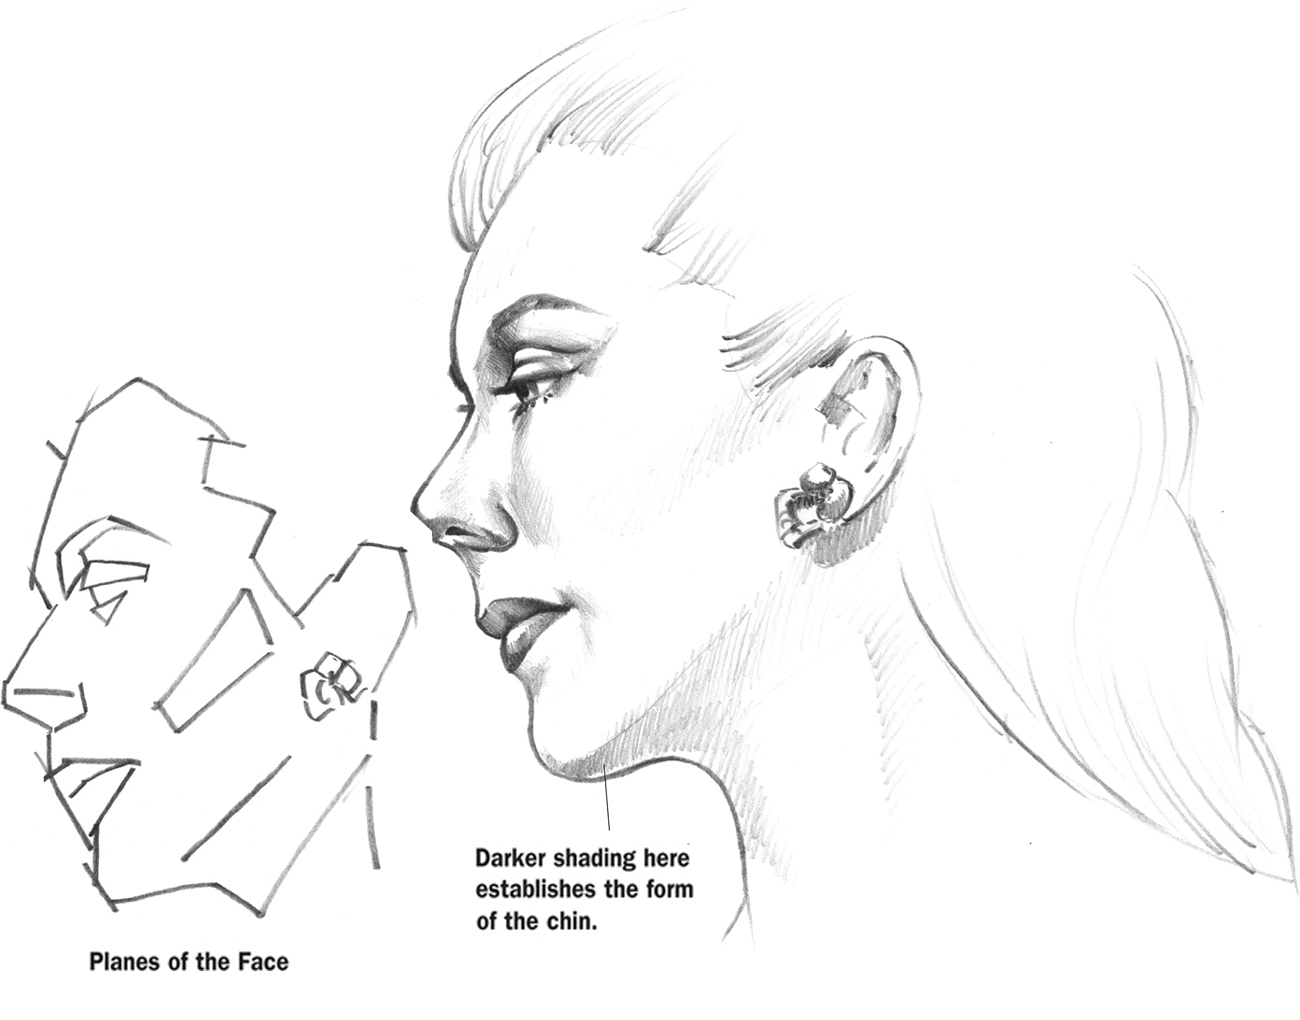
The illustration below shows the various planes of the face. Being aware of these planes will help you to shade the face more accurately.