
Men—Profile
These profiles include a new element: clothing. When drawing clothing, the goal is to make it appear natural. It should not look as if it has been pasted onto the subject as an afterthought. Therefore, you should always include the clothing in the block-in stage.
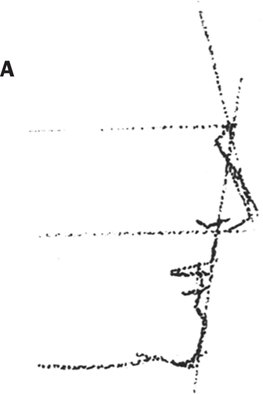
In step A, sketch the basic proportions for the features, adding the hat in step B. Remember that the hat fits around the head; it doesn’t sit on top of it. Additionally, the top of the hat will be slightly higher than the top of the head, and the top of the ear will be covered by the rim of the hat.
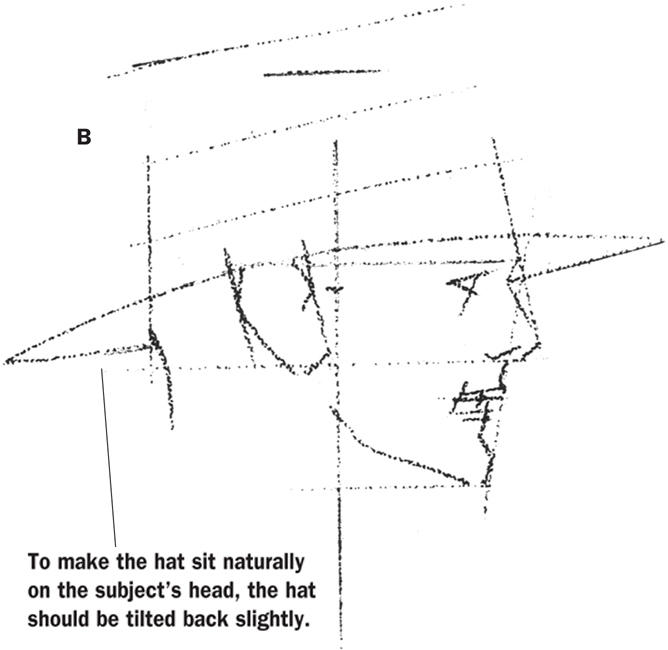
Sketch your guidelines right through the hat; they can be erased later.
Although the man’s head is at profile, note that his body is turned slightly forward. This is apparent because the tie and collar are fully visible. It’s also important to know that you can use just a few simple lines to suggest the clothing.
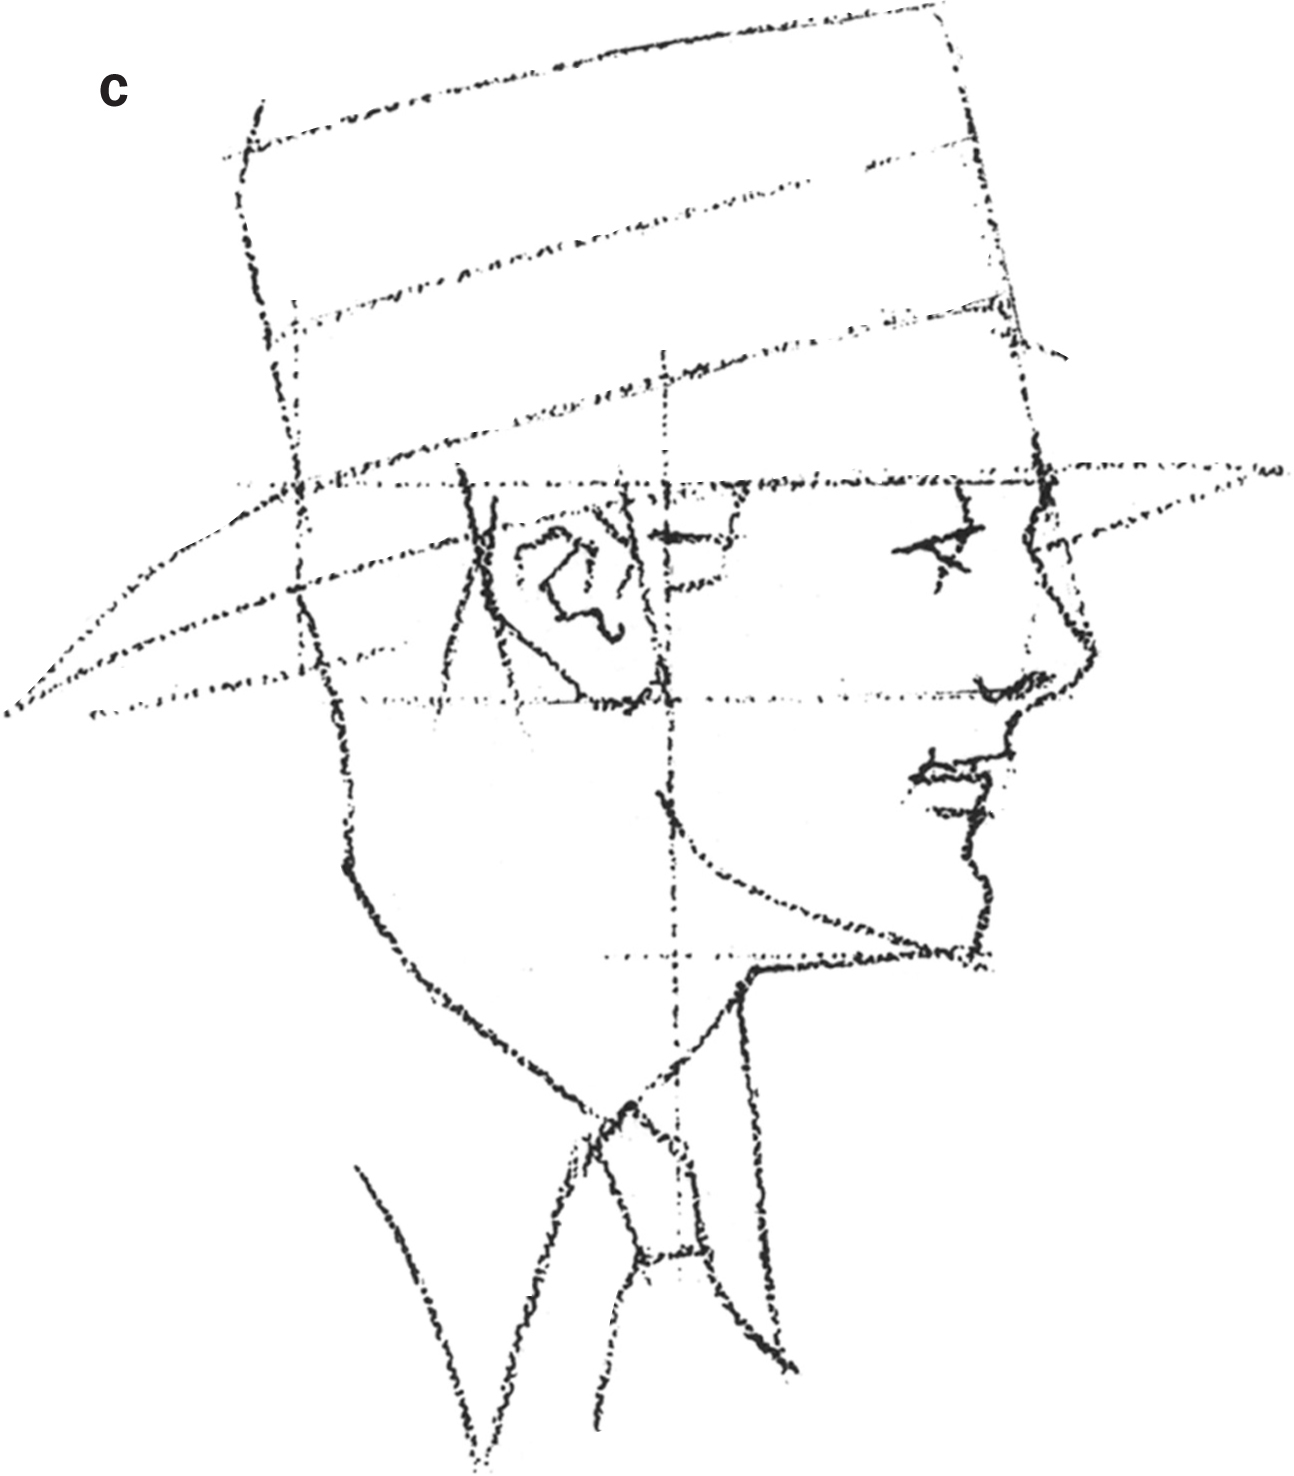
Compare this subject’s masculine features with the women subjects’ feminine features on the previous pages. Notice that this subject has a stronger jaw, sharper nose and forehead, and thinner lips.
Clothing should enhance your subject, not draw attention away from it.
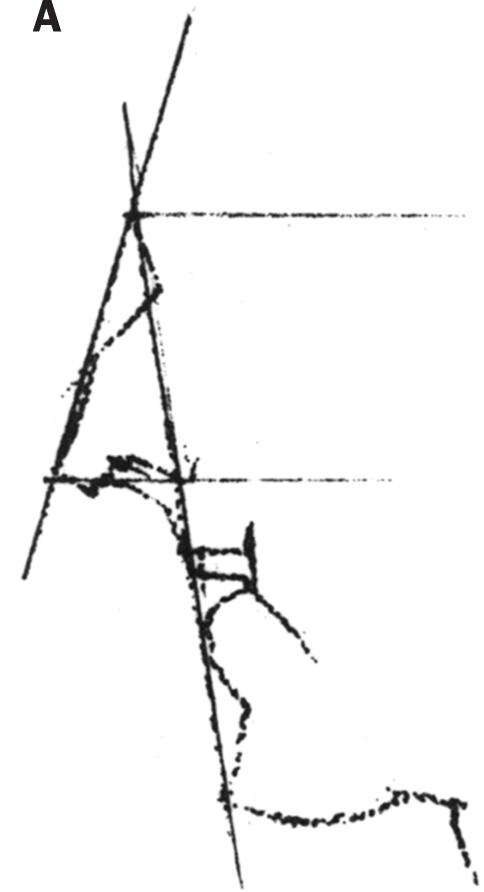
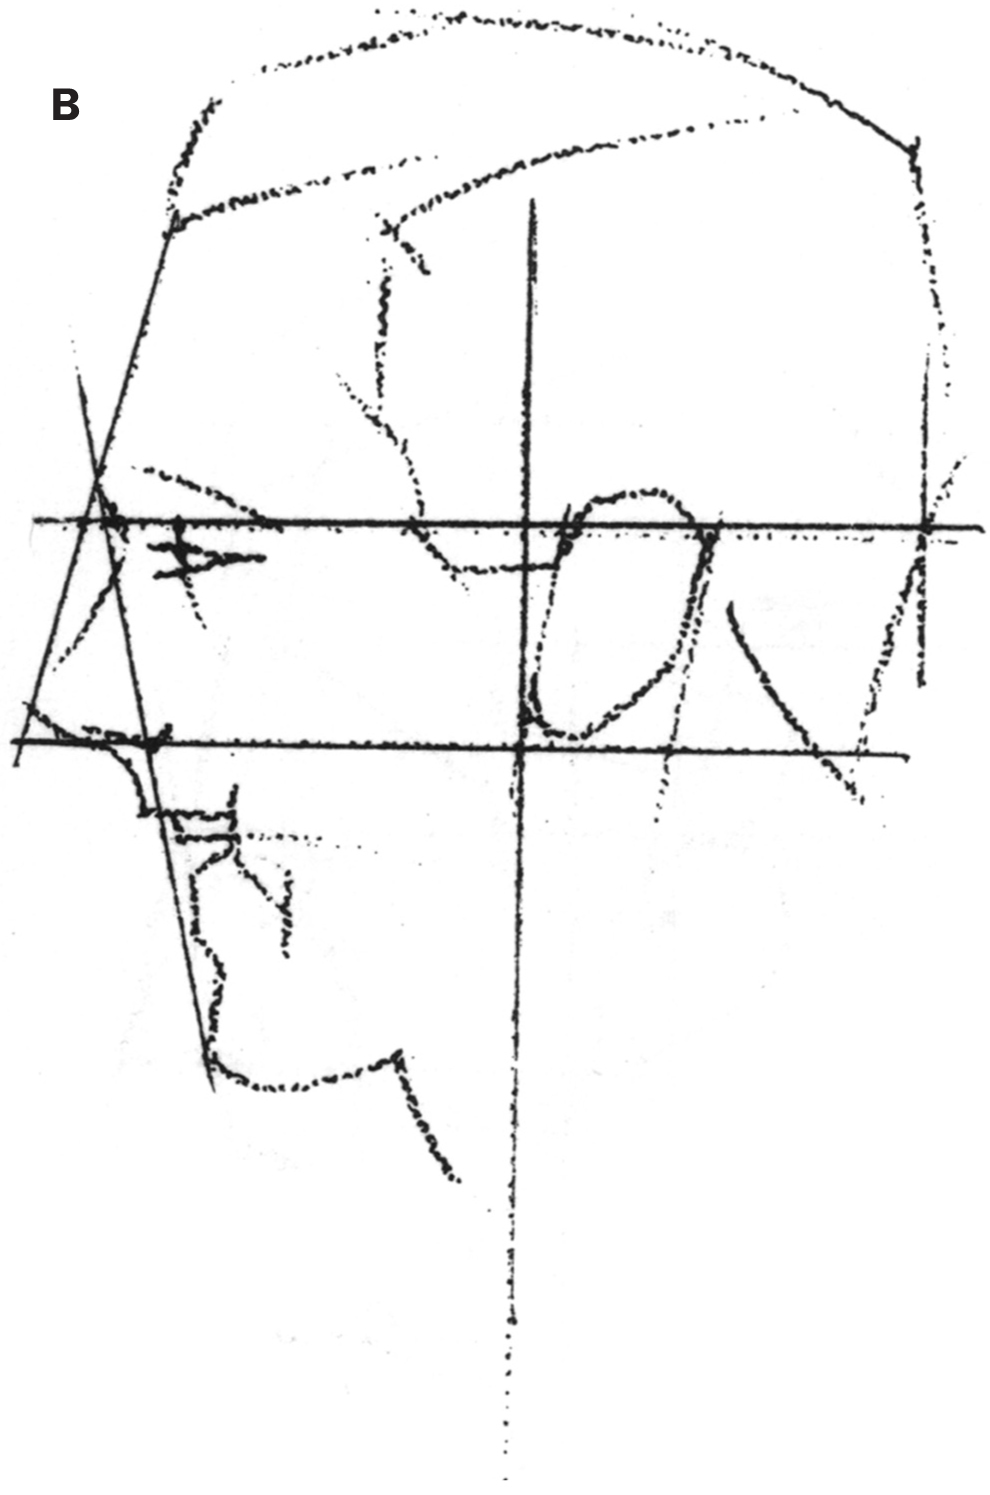
This man is slightly older than the subject on the previous page; the wrinkles along his face are an obvious indication. Also notice that he is turned completely at profile, so the view of the tie, shirt, and jacket are different.
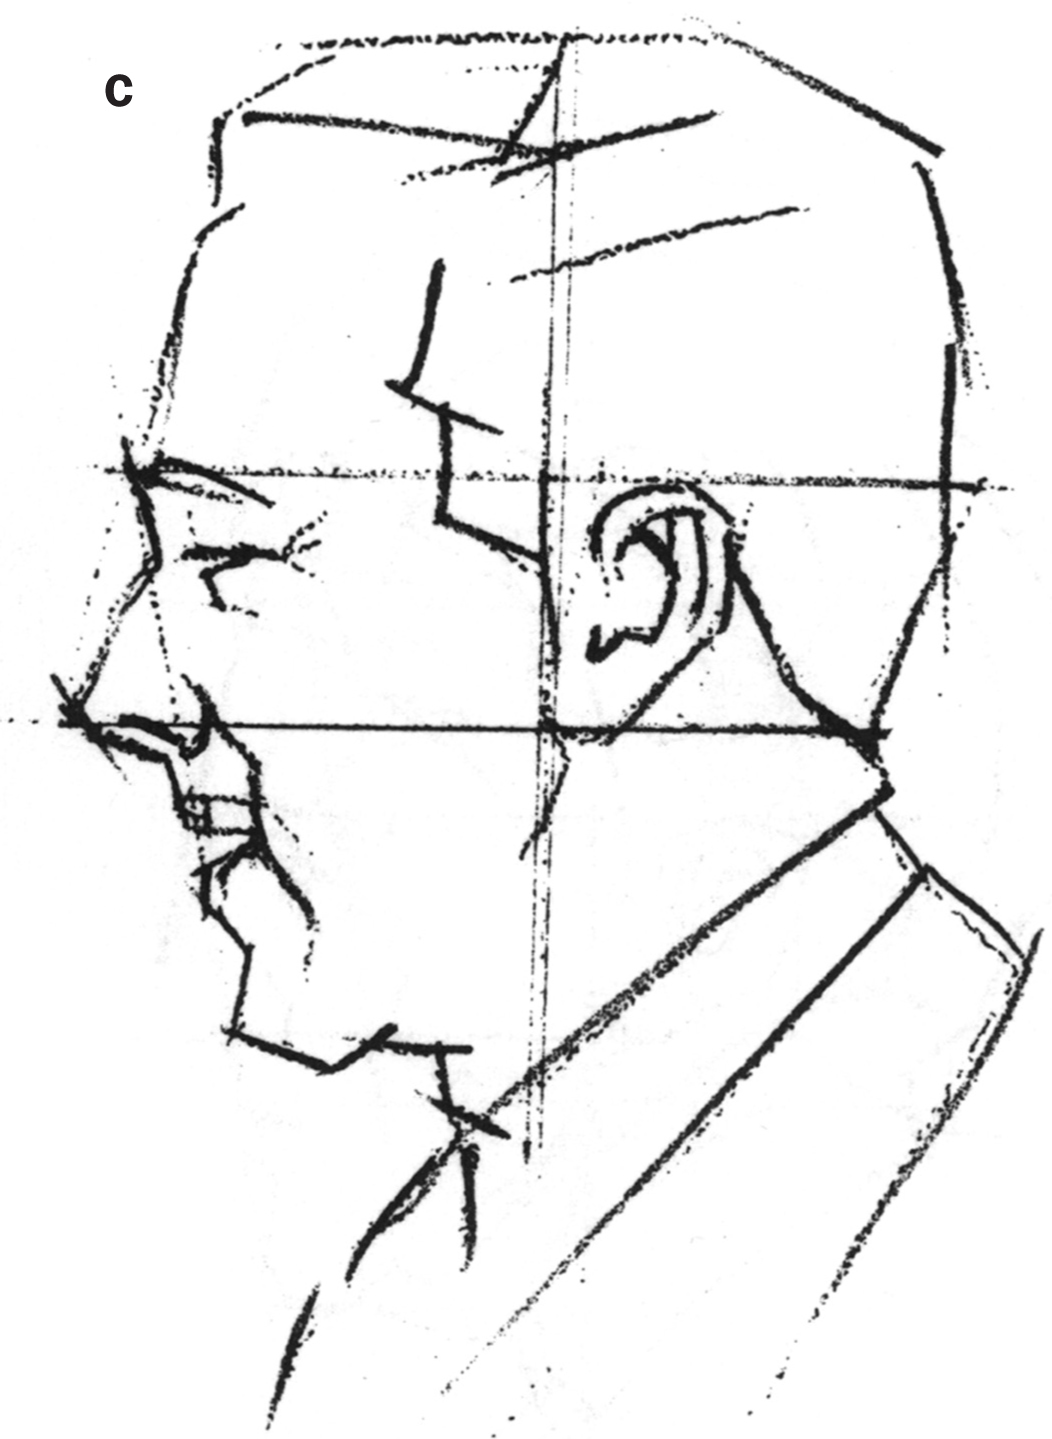
As usual, draw the block-in lines in step A. Build the features on these lines. In step B, draw the rest of the head and begin to refine the features. Keep checking your proportions before continuing. In step C, add the outline of the collar, tie, and jacket.
Expression is an important part of drawing the human head. For practice, make faces in a mirror, and try drawing what you see.
A smile usually creates lines around the mouth and rounds out the cheeks. Notice how the eye is affected also.
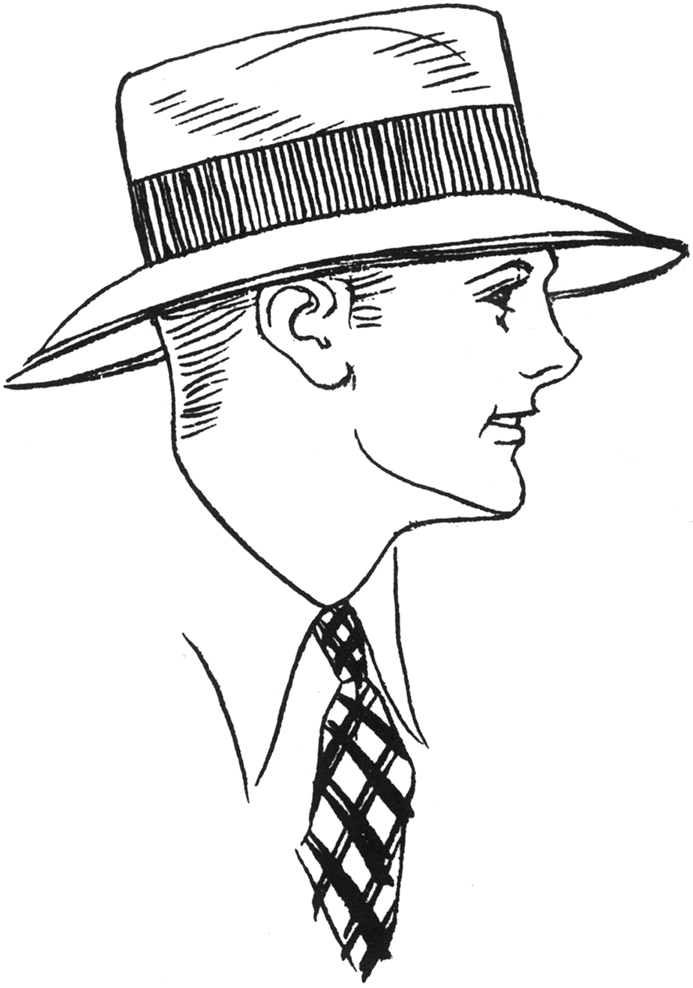
For the final details, such as the hair and shading on the tie, you can use a charcoal or a brush and black India ink. (Before using brush and ink on your drawing, you might want to practice making different types of strokes on a piece of scrap paper.) Finally, add a few “smile lines” around the mouth.
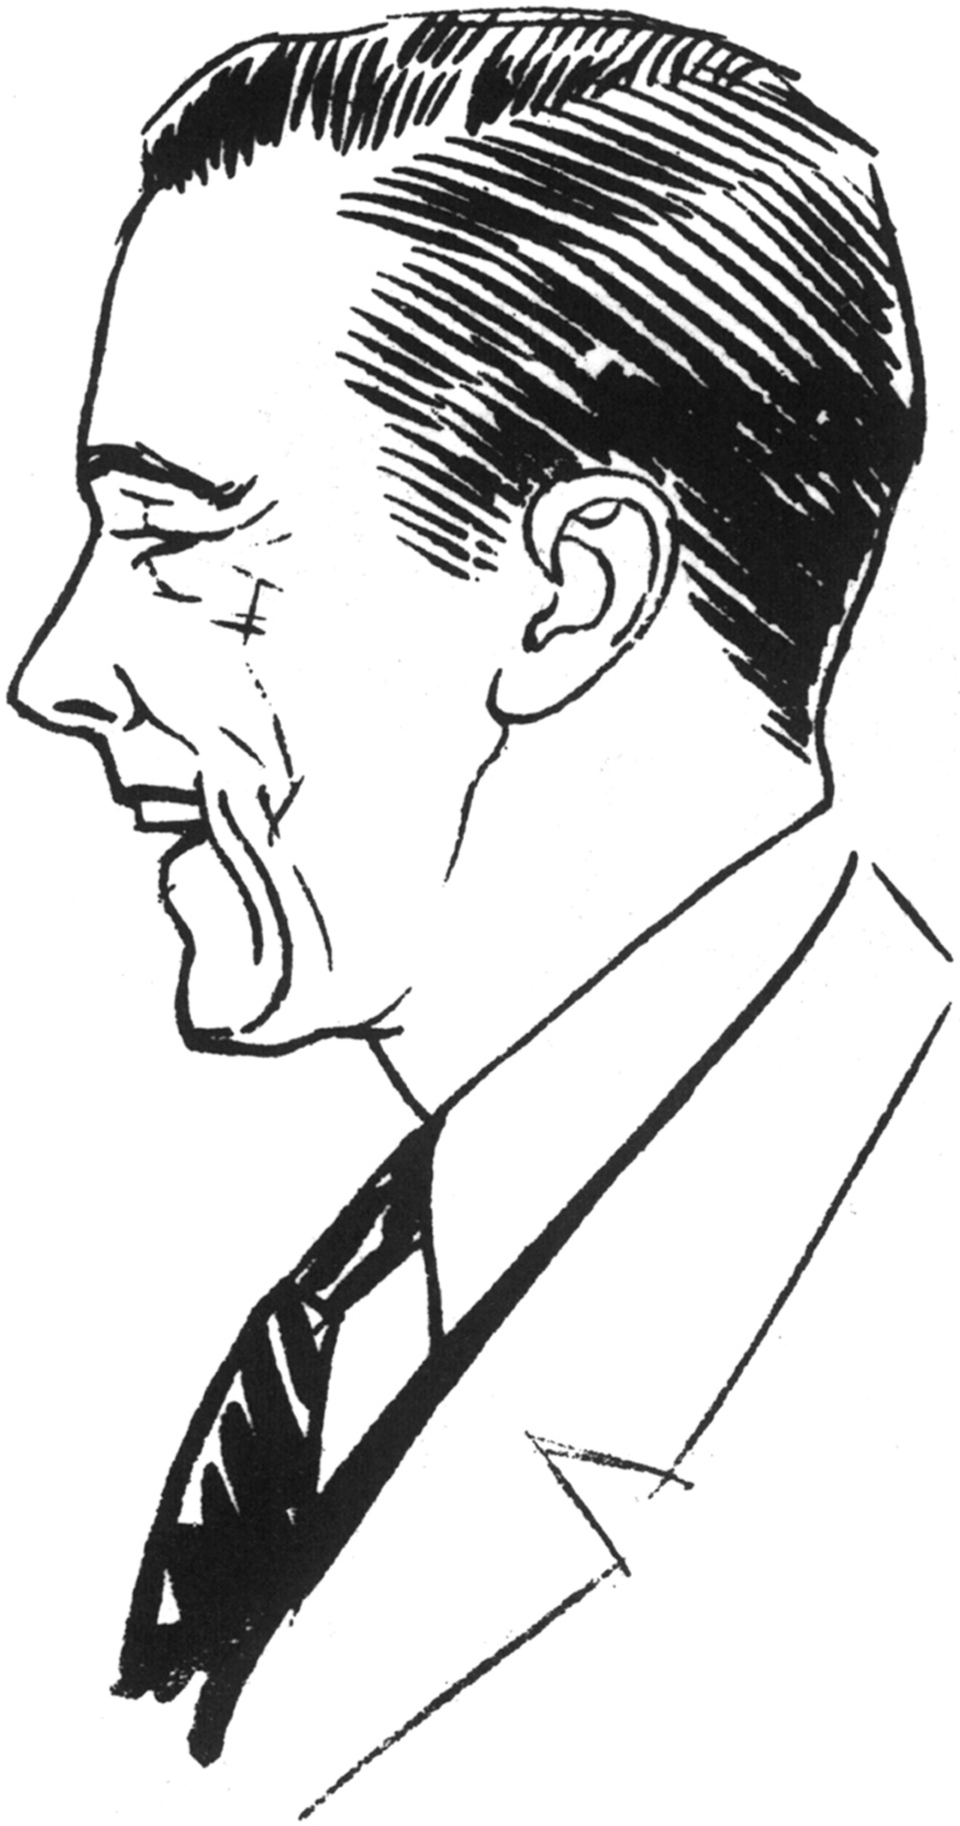
To create the slicked-back effect of the hair, make all the strokes in the same direction, as shown.