
Social networks such as Facebook, Twitter, and Pinterest provide another medium for content to be shared with family, friends, and coworkers. Most websites provide a mechanism for sharing content, and our Blog detail page is no different.
Based on our mockup, we allow users to share a post as well as see the number of likes, tweets, or pins. In fact, there are a number of different third-party libraries or APIs that make this functionality easy to implement. Services such as Share This, http://www.sharethis.com/, or even Add This , https://www.addthis.com/, provide either a library or contributed modules to implement this functionality within Drupal.
For our particular page, we will be using the Add This service. There are various button options and configurations that can be created, so to avoid any confusion with adding this service to our template, we will be using the standard buttons. The implementation of the Add This button requires each of us to have created a free account. However, for demonstration purposes, we will be using my account. Please remember to replace the pubid with yours once an account has been created.
The process of adding the Add This library to our Twig template requires us to configure the type of social sharing buttons we want to use, copy the JavaScript to our page, and then add specific markup that will enable the display of the buttons:
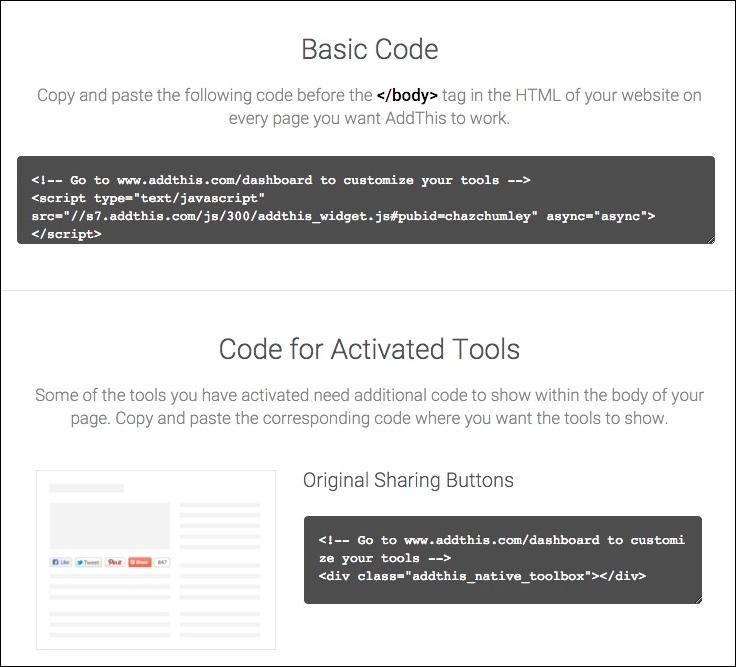
The basic code displayed above is a simple JavaScript block that needs to be placed within our webpage. We will be using our themes octo.libraries.yml file to configure this block and then using the {{ attach_library }} function to add it to our Blog detail page.
Begin by opening octo.libraries.yml located in our themes/octo folder. We will then add the following metadata to the bottom of our file:
add-this:
  version: VERSION
  js:
    //s7.addthis.com/js/300/addthis_widget.js#pubid=chazchumley: { type: external, asynch: asynch }
Note that the JavaScript path is all on a single line. In the above metadata, we are pointing to an external script and are also adding a new parameter for calling the script asynchronously. Also, please remember to replace the pubid value with your Add This username.
Once we have added the metadata to our file, we can save octo.libraries.yml and then clear Drupal's cache.
Now that Drupal has knowledge of our new library, we can attach it to our Blog detail page by following these steps:
- Open
node--post--full.html.twig. - Add the following Twig function directly below where we are referencing the owl-carousel:
{{ attach_library('octo/add-this') }} - Save
node--post--full.html.twig.
Make sure to clear Drupal's cache and then refresh the Blog detail page. We now need to add the markup required to display the sharing buttons on our page.
We will be adding some additional markup around the required div so that our "Share this post" section matches our mockup. With node--post--full.html.twig still open, we will add the following markup directly after the {{ content.field_full_content }} variable:
<div class="post-share">
  <h3><i class="fa fa-share"></i> Share this post</h3>
  <div class="addthis_native_toolbox"></div>
</div>
Make sure to clear Drupal's cache and then refresh the Blog detail page. If all the steps were completed successfully, we should see our new Share this post section displayed:
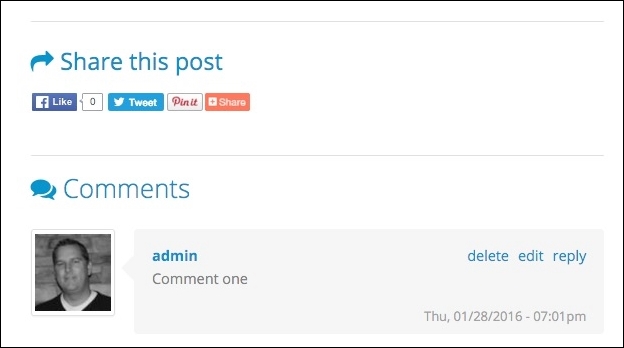
Congratulations, we have now completed the theming of our Blog detail page. Everything has been configured, styled, and modified to match our mockup.