Appendix B. Using the Databases for Exercises
The instructions for installing MySQL, Microsoft SQL Server, and Oracle have been included in this appendix for your convenience for the Windows operating system. MySQL and Oracle are available on other operating systems as well, such as MacOS and Linux. These instructions are accurate as of the date this book was written. Neither the authors nor Sams Publishing place any warranties on the software or the software support. For any installation problems or to inquire about software support, refer to the particular implementation’s documentation or contact customer support for the implementation.
By the Way: MySQL Install Instructions
You might want to review the current documentation for MySQL. To get to the online documentation, go to www.mysql.com and look under the Products category link on the MySQL.com tab for the link to the documentation.
Windows Installation Instructions for MySQL
Use the following instructions if you are installing MySQL on a computer with Microsoft Windows:
- Go to www.mysql.com to download MySQL. WinZip, or an equivalent program, is required to unzip the download.
- Select the Downloads (GA) tab on the website.
- Select the latest stable version, currently MySQL Community Server 5.5.8. Find the appropriate msi download for your machine, and download it.
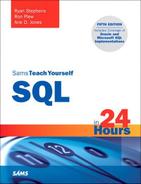
- Double-click the msi to start the installation process. Click Next on the welcome screen shown in Figure B.1.
Figure B.1. MySQL Installation welcome screen.
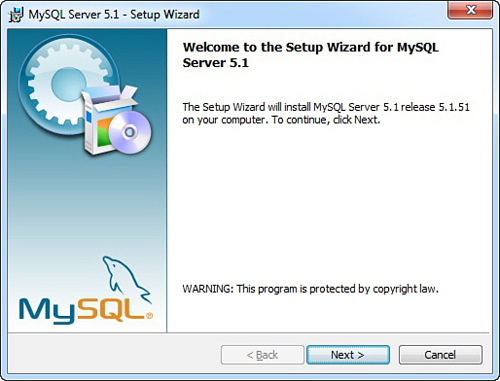
- Select the Typical installation option shown in Figure B.2, and click Next.
Figure B.2. MySQL installation selection.
- Select Install on the next screen to start the installation of the application.
- After installation has completed successfully, click Next to complete the Setup Wizard.
- On the Wizard Completed screen shown in Figure B.3, select the check box to configure your installed instance. Then click Finish. It is much simpler to use the Configuration Wizard than try to manually configure yourself.
Figure B.3. MySQL installation completion screen.

- Select Next on the MySQL Server Instance Configuration Wizard screen.
- Select the option to Reconfigure Instance, and click Next. The Reconfigure Instance option sets up a new instance.
- Choose Standard Configuration, and click Next.
- Check the box to include a path in your Windows installation to the MySQL application, and click Next. This enables you to run MySQL from the command line without having to know its exact installation path.
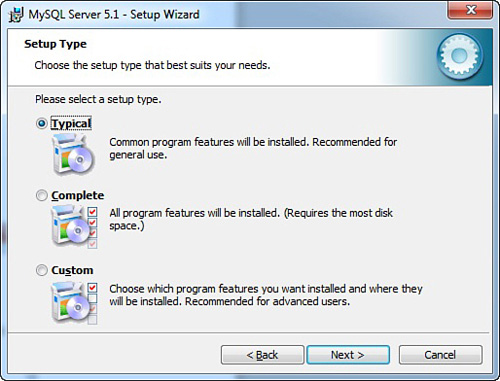
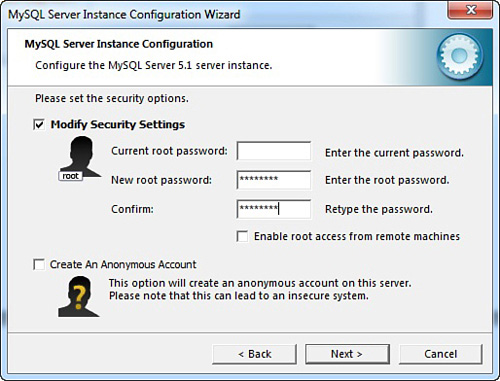
- Check Modify Security Settings. Enter and confirm a root (administrator) password, and click Next as shown in Figure B.4.
Figure B.4. MySQL security configuration.
- Click Execute, and the configuration update begins.
If all the preceding steps were successful, you are ready to use MySQL for exercises in this book.
If you experience problems during the installation, uninstall MySQL and repeat steps 1–14. If you are still unable to obtain or install MySQL, contact MySQL for support and check the support forums at http://forums.mysql.com.
Windows Installation Instructions for Oracle
Use the following instructions if you are installing Oracle on a computer with Microsoft Windows:
By the Way: Oracle Install Instructions
You might want to review the current documentation for Oracle. To access the online documentation, go to www.oracle.com and look under Products and Services for the link to the documentation.
- Go to www.oracle.com and download the appropriate installation package for your machine from the Downloads tab. You will be using the Oracle 10g Express Edition for the examples in this book because this is the free version of the application.
- Double-click the installation file to start the installation, and on the first screen click Next.
- Click to agree to the license agreement, and click Next.
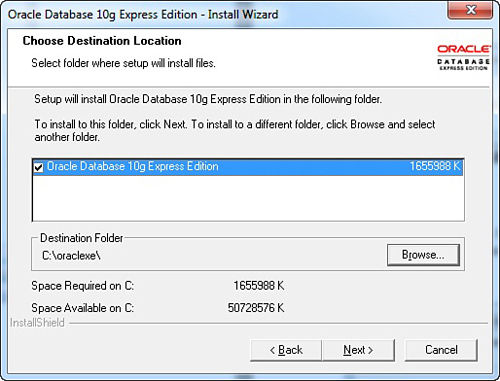
- Select the default installation and install location on the screen shown in Figure B.5, and click Next.
Figure B.5. Oracle installation location.
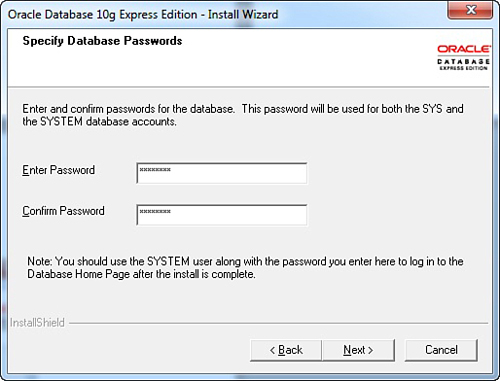
- Enter and confirm a password for the
SYSTEM(administrator) account, as shown in Figure B.6, and select Next.Figure B.6. Setting the system password.
- Click Install on the next screen. The installation process begins.
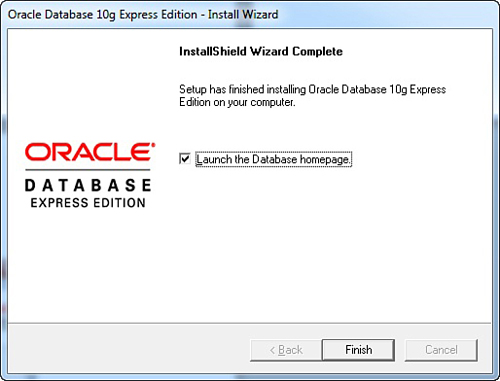
If your installation is successful, you should see the completion screen shown in Figure B.7.
Figure B.7. Oracle installation completion screen.
If all the preceding steps were successful, you are ready to use Oracle for exercises in this book.
If you experience problems during the installation, uninstall Oracle and repeat steps 1–6. If you are still unable to obtain or install Oracle, contact Oracle for support, and check the community support forums located on www.oracle.com.
Windows Installation Instructions for Microsoft SQL Server
Use the following instructions if you are installing Microsoft SQL Server on a computer with Microsoft Windows:
- Go to www.microsoft.com/sqlserver/2008/en/us/express.aspx, click the Download button, and choose the appropriate installation package to download for your machine.
- Double-click the installation file. You should see the initial screen shown in Figure B.8.
Figure B.8. SQL Server initial installation screen.
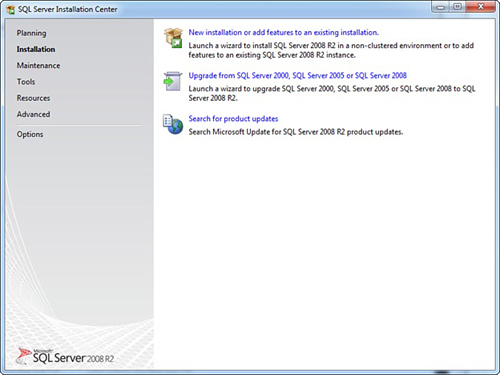
- Select the new installation option from the choices in the right pane, as shown in Figure B.9. This begins installing some setup and support files that are used during the main installation.
Figure B.9. SQL Server installation selection screen.

By the Way: Microsoft SQL Server Install Instructions
You might want to review the current documentation for Microsoft SQL Server. To get to the online documentation, go to www.microsoft.com/sqlserver/2008/en/us/default.aspx and look under the Product Information tab for the link to the documentation.
- Leave the radio button selected for a new installation, and click Next.
- Accept the license terms, and click Next.
- Select all of the features, and click Next.
- Select Default instance, and click Next.
- Click Next on the disk space requirements screen.
- On the Database Engine Configuration screen, click the Add Current User button to add yourself as an administrator of the instance, and then click Next.
- Click Next on the Error Reporting screen.
- Click Next on the Installation Configuration Rules page to begin the installation.
If all the preceding steps were successful, you should see a completion screen. You will be ready to use Microsoft SQL Server for exercises in this book.
If you experience problems during the installation, uninstall SQL Server and repeat steps 1–11. If you are still unable to obtain or install Microsoft SQL Server, refer to the Microsoft website at www.microsoft.com.