
Chapter 2. Jump
Jumping from Lightroom to Photoshop (and Back)

As soon I thought of jumping back and forth between Lightroom and Photoshop, I knew this chapter’s title had to be “Jump” by Van Halen. And, by Van Halen, of course, I mean the “real” Van Halen with lead singer David Lee Roth, which to many of us is the only incarnation of Van Halen that will ever be “real,” because when they replaced David Lee Roth with Sammy Hagar, they became something else—a great band with a really good guitar player...and Sammy Hagar singing. But, that my friends is not Van Halen. Honestly, at that point, I think they should have changed the band’s name to Van Heusen. That way, fans would instantly know that: (a) this is not really Van Halen, and (b) this would make a great name for the world’s best-selling dress shirt brand. By the way, since I mentioned Van Heusen, did you know that “Van Heusen has been associated with stylish, affordable, and high-quality shirts since introducing the patented soft-folding collar in 1921?” Well, it’s true because I read it on the Internet, and as you know, the International Council That Ensures Everything You Read on the Internet Must Be True (or the ICTEEYROTIMBT, for short) stands 100% behind this assertion. Now, if you’re thinking that mentioning Van Heusen is a sneaky way for me to somehow introduce paid product placements into my chapter openers, well that is just absurd (by the way, did you know that “Today, Van Heusen has grown into a 24/7 lifestyle brand known not only for dress shirts but for both men’s and women’s dresswear, sportswear and accessories”). This is clearly just another baseless charge probably concocted by marketing folks at Calvin Klein or Kenneth Cole or One Direction, who feel threatened by Van Heusen’s “fit, fabric, finish and innovative fashion—at a fraction of the cost of luxury brands.” Just preposterous! I would never stoop to such levels (www.vanheusen.com), and frankly I’m a bit taken aback by such baseless allegations. So much so, in fact, that I’ve done a bit of research, and I’ve uncovered an astonishing conflict of interest, which I believe is the real reason Sammy Hagar was kicked out of Van Halen and replaced by the original, and only true, lead singer of Van Halen, David Lee Roth. It seems that Mr. Hagar just happens to own a rather large company that makes men’s slacks (www.haggar.com). Shocking! Well, at least finally, now, the truth is out!
Choosing How Your Files Are Sent to Photoshop
When you move an image from Lightroom to any other program, it’s called “external editing” since you’re now editing the image outside of Lightroom. There’s a set of External Editing preferences, so you can choose which programs to use for your external editing and exactly how (and in what format) those images are going to go over to that other program. Here’s how to set things up your way from the start:
STEP ONE:
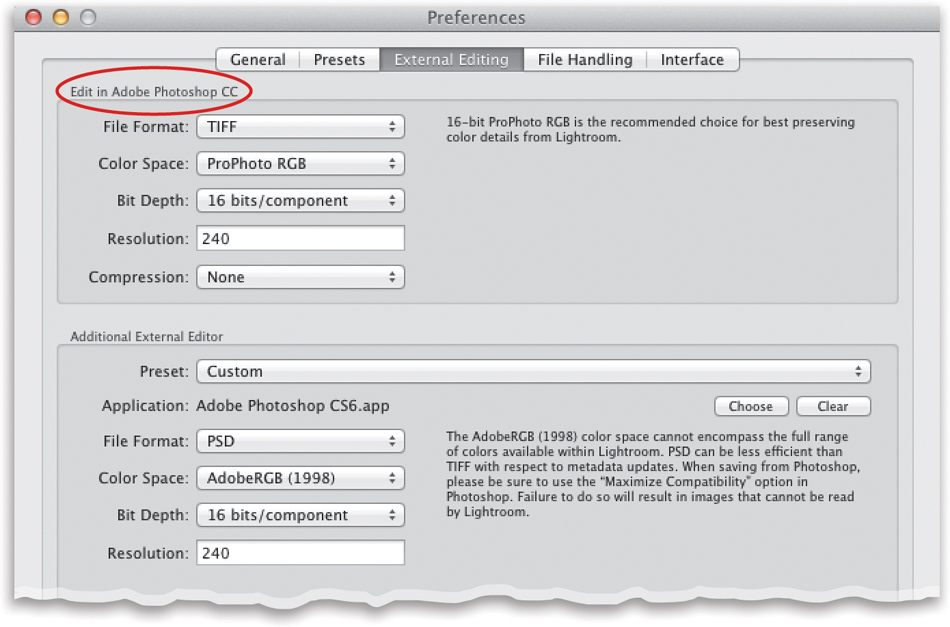
Press Command-, (comma; PC: Ctrl-,) to bring up Lightroom’s preferences, and then click on the External Editing tab up top (seen here). If you have Photoshop installed on your computer (and I’m assuming if you bought this book you do), it automatically becomes the default choice as your External Editor, so you don’t have to do anything to make that happen—it’s good to go (if you have more than one version, it uses the latest version as the default, which in my case would be Photoshop CC; it’s circled here in red). If, instead, you have Photoshop Elements installed, then that becomes the default External Editor.
STEP TWO:
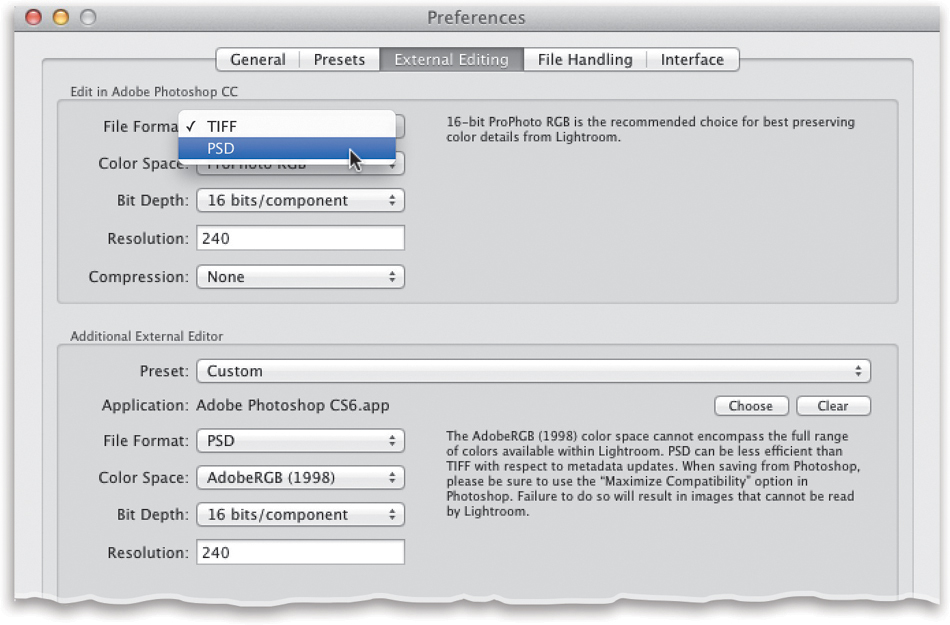
Right below that, it shows you the default settings for what kind of file it’s going to send over to Photoshop. By default, it sends a copy of the file over to Photoshop in TIFF format, embeds that file with the ProPhoto RGB color profile, sets the bit depth to 16 bits, and sets the resolution to 240 ppi. Let’s start with the File Format choice: I change mine to go over to Photoshop as a PSD (Photoshop’s native file format) rather than a TIFF, simply because its file size is often much smaller but without any loss of quality.
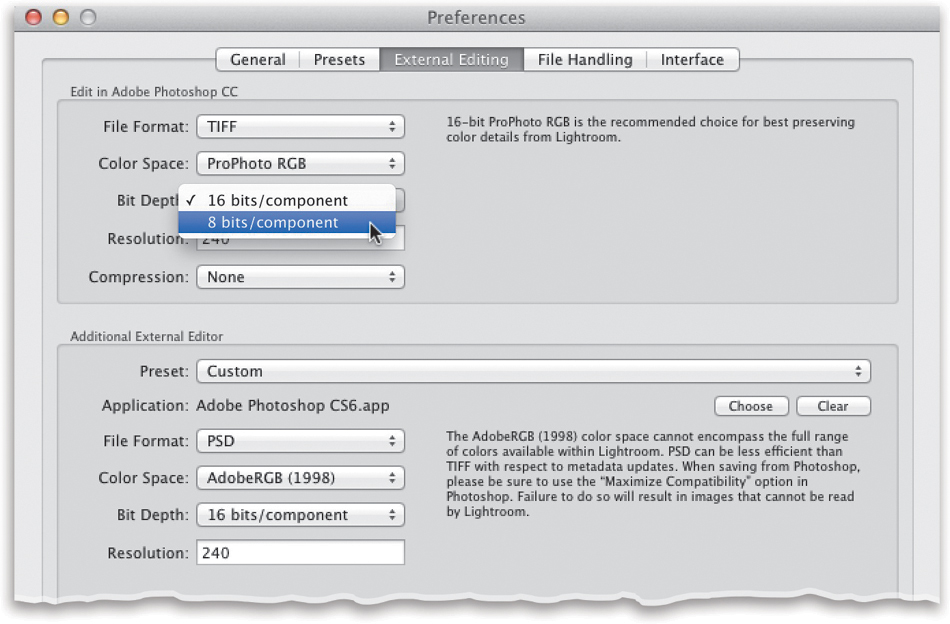
Next, you can choose the Bit Depth of the file going over to Photoshop. If your goal is to maintain the maximum quality, leave it set at 16 Bits/Component. The downside of 16-bit editing are: (1) some of Photoshop’s filters and features will be disabled (stuff like all the filters in the Distort menu, and the Filter Gallery, and the Pixelate menu, but that’s not too bad), and (2) the file size will be approximately double (so a 36-MB TIFF becomes a 72-MB TIFF). Neither may be an issue for you, but I thought you should know. By the way, I usually work in 8-bit mode myself.
STEP FOUR:
From the Color Space pop-up menu, you get to choose your file’s color space. Adobe recommends ProPhoto RGB for the best color fidelity, and if you keep it at that, I’d go to Photoshop and change your Photoshop color space to ProPhoto RGB, as well—that way, both programs are using the same color space, so your color will be consistent as you move files back and forth. To change your Color Space to ProPhoto RGB in Photoshop, go under Photoshop’s Edit menu, and choose Color Settings. In the dialog that appears, in the Working Spaces section, from the RGB pop-up menu, choose ProPhoto RGB (as shown here). Click OK, and Photoshop and Lightroom are now both using the same color space. (By the way, while you can change Photoshop’s color space, Lightroom’s working color space is set to ProPhoto RGB and you can’t change it. So, although you can’t change Light-room’s color space, you can change it for files leaving Lightroom.)

Adobe Photoshop’s Color Settings dialog
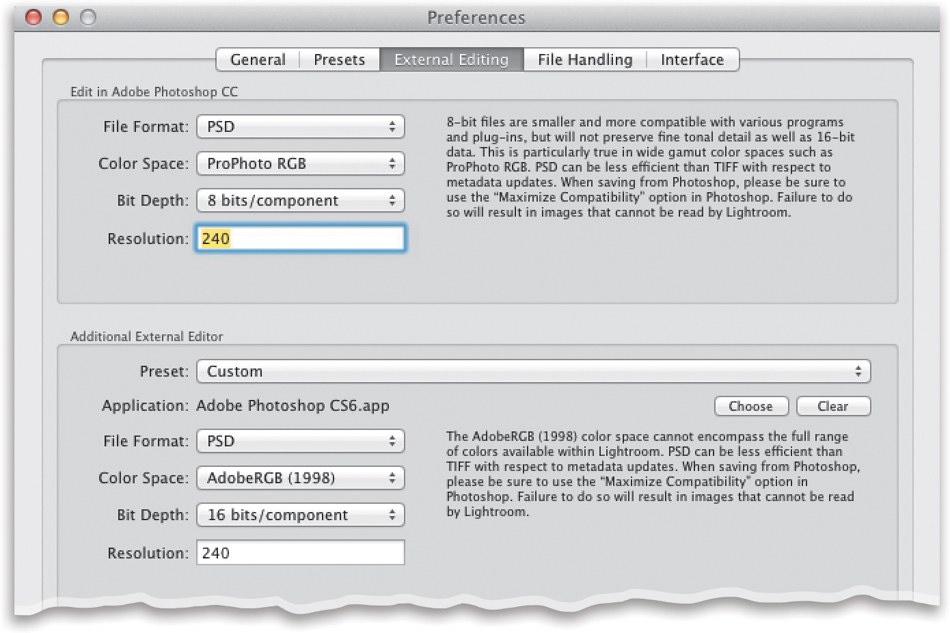
You also get to choose the resolution of the file you’re sending over, but I leave mine set at the default of 240 ppi (so it’s going over at the native resolution of the file). I’ve never found an occasion where I needed to change this resolution setting, so I just leave it alone.
STEP SIX:
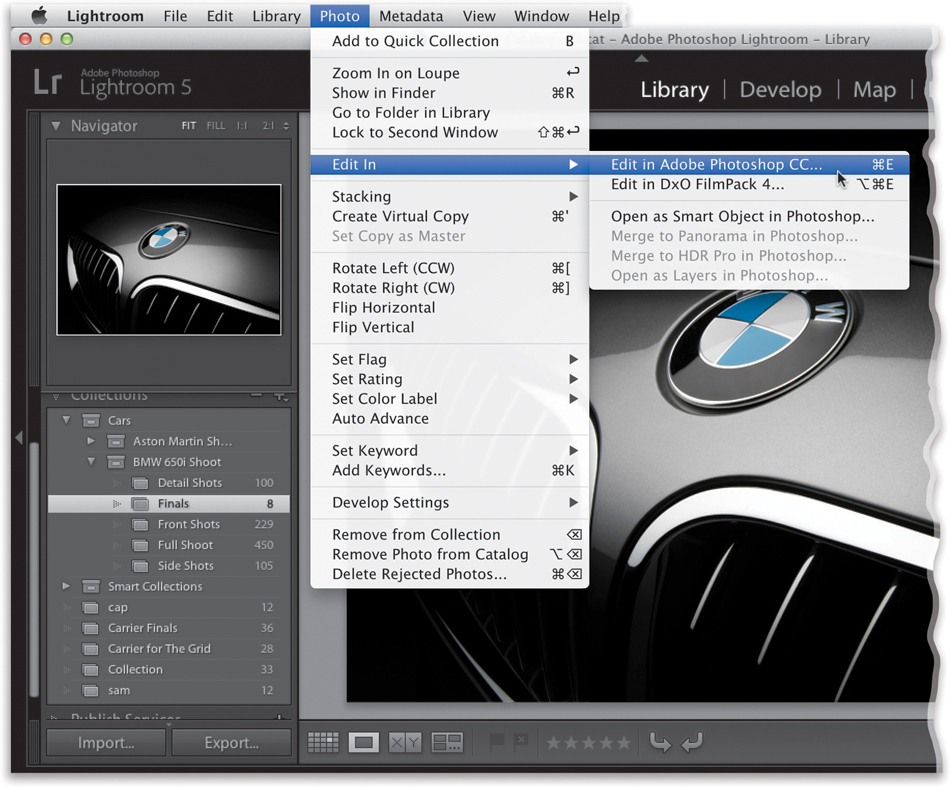
If you want to use a second program to edit your photos, you can choose that in the Additional External Editor section. So, for example, if you wanted to send your image over to a separate plug-in or another image editing application (gasp!), this is where you’d choose it. Just click on the Choose button over there on the right, navigate your way to the program or plug-in you want to use, and then click the Choose (PC: Open) button, and that application or plug-in will now be displayed under Additional External Editor (shown circled here in red). To use this second editor (instead of Photoshop), go under Lightroom’s Photo menu, under Edit In, and choose the other application (in this case, it would be DxO FilmPack 4), or press Command-Option-E (PC: Ctrl-Alt-E). Next, there’s a Stack With Original checkbox. I recommend leaving this on, because it puts the edited copy of your image (the one you sent over to Photoshop) right beside your original file back in Lightroom. That way, when you’re working in Lightroom, it’s easy to find the edited copy—it’s right beside the original (as seen in the grid here).
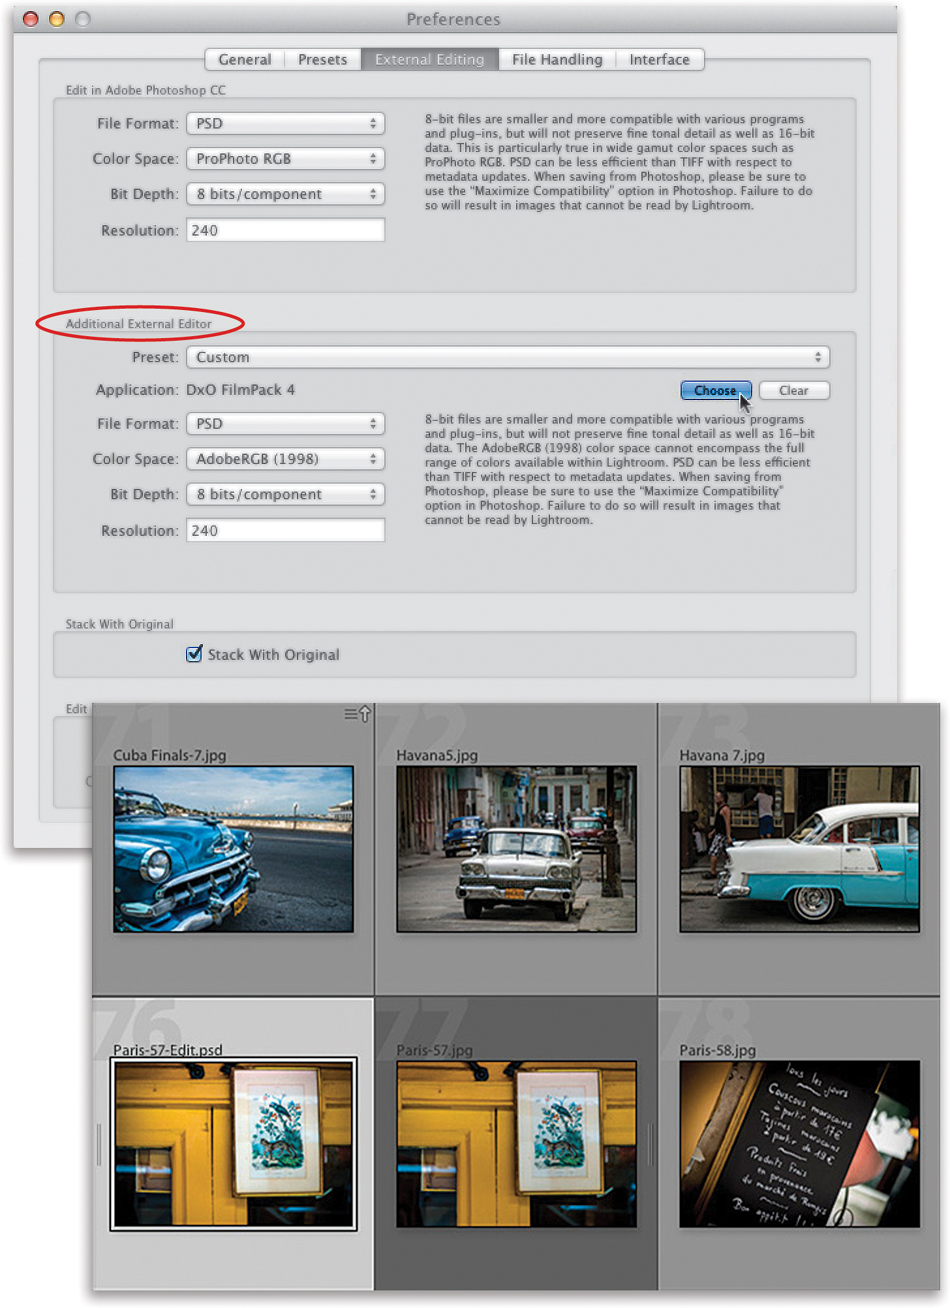
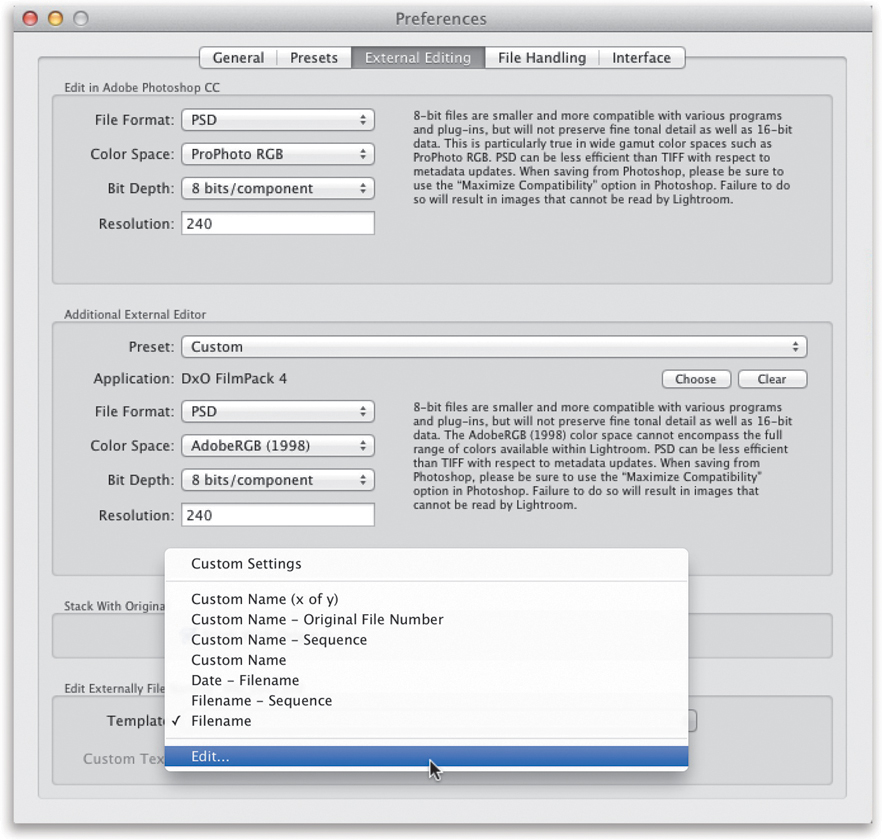
At the bottom of the dialog, you can choose the name applied to photos you send over to Photoshop for editing. You have pretty much the same naming choices as you do in Lightroom’s regular Import window, where hopefully you chose some sort of custom name because the default name of “IMG_0002” is pretty much meaningless. Here’s what I recommend for your External Editing preferences: from the Template pop-up menu, choose Filename first, then go under that same menu again and choose Edit (as shown here).
STEP EIGHT:
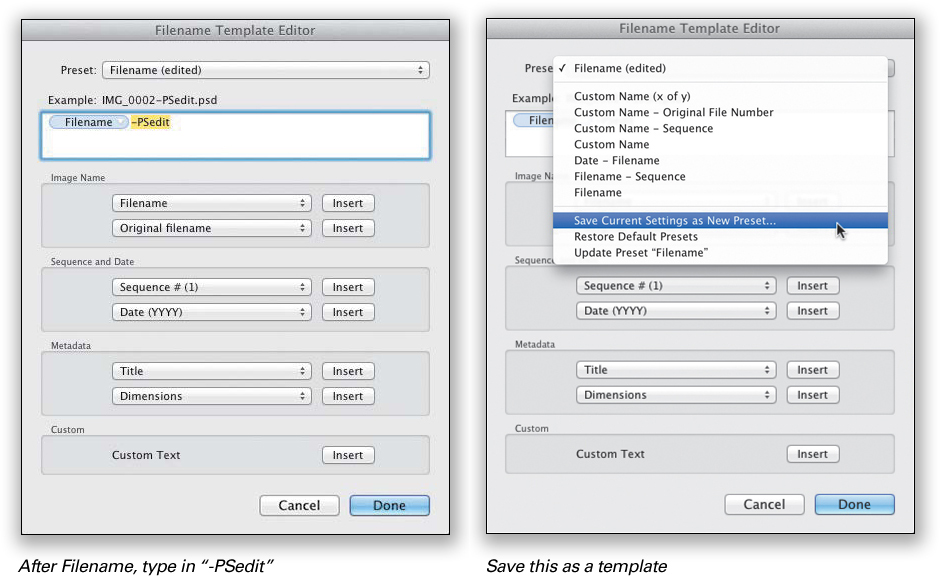
This brings up the Filename Template Editor (shown here). You’ll see that Filename is already chosen in the field up top. Click your cursor right after it and type in “-PSedit,” but don’t click Done yet. From the Preset pop-up menu up top, choose Save Current Settings as New Preset (as shown here at right) and save this setup, so you don’t have to build it again—you can choose this naming preset anytime you want. Now, click Done, and your images edited in Photoshop will be named with their original filename + -PSedit (so a file named Paris-57.jpg in Lightroom and edited over in Photoshop will come back to Lightroom named “Paris-57-PSedit.psd,” making it easy to identify at a glance). Okay, you’re preferences are set; let’s put them to work.
Going from Lightroom to Photoshop (and Back)
Once you get to a point where there’s something you need to jump over to Photoshop for, the process is really simple, and having that “edited in Photoshop” file come right back to Lightroom is just as easy. Here’s how to make the round trip:
RAW PHOTOS:
To take a RAW image over to Photoshop, press Command-E (PC: Ctrl-E). There’s no dialog, no questions to answer—it just opens immediately in Photoshop. (Note: If Photoshop’s not already open, it will launch it for you automatically.) By the way, you can also send your image over to Photoshop the slow way by going under Lightroom’s Photo menu, under Edit In, and choosing Edit in Adobe Photoshop (as shown here), but I’d only do it that way if you’re charging by the hour.
JPEG, TIFF, OR PSD PHOTOS:
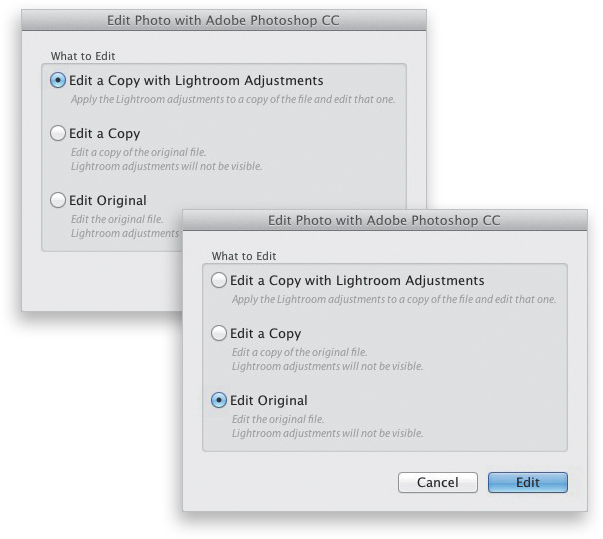
If your images are JPEGs, TIFFs, or PSDs, then it’s slightly different. It’s the same keyboard shortcut (Command-E [PC: Ctrl-E]), but a dialog will appear asking you to choose how this image is going over. The three choices are: (1) Edit a Copy with Lightroom Adjustments (this is what I would normally choose, as I want anything I’ve done to the photo in Lightroom to still be there when it heads over to Photoshop). (2) Edit a Copy (I’m not sure I’ve ever chosen this one, because none of my changes would be included in the copy). Or, (3) Edit Original. I only choose this one in one very specific scenario: when I’ve taken an image over to Photoshop, then saved the file with all its layers still intact and let it go back to Lightroom. In Lightroom, if you want to reopen that same layered file in Photoshop again and have all those layers still intact, choose Edit Original, and when it opens back up in Photoshop, those layers will all still be there. Outside of that, I wouldn’t risk messing up my original file, so I wouldn’t advise Edit Original outside of that very specific scenario.
HOW TO GET IT BACK INTO LIGHTROOM:
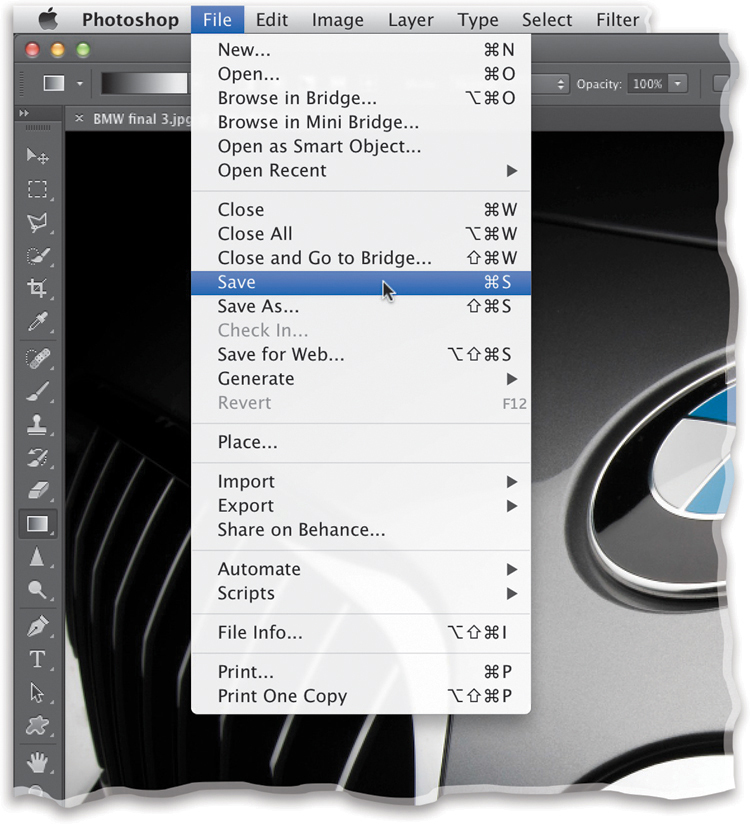
Once your image is in Photoshop, you can do anything you’d like to it, just as if you didn’t own Lightroom. When you’re done editing in Photoshop, getting your image back to Lightroom is simple. Just do two things: (1) save the file (press Command-S [PC: Ctrl-S]), and then (2) simply close the file. The image automatically returns to Lightroom, and as long as you turned on that Stack with Original checkbox in the External Editing preferences (like we talked about two pages ago), the edited copy will appear right next to the original. That’s it. Don’t overthink it. Also, if you’re working with a JPEG, TIFF, or PSD, and you choose Save As, rather than Save, rename the file, and save it somewhere else on your computer or hard drive, as long as you keep the format the same, it still sends the copy back to Lightroom.
NOT SENDING IT BACK TO LIGHTROOM:
If, after you send an image over to Photoshop, you decide you don’t want to edit it after all, just click on the window’s Close button (or press Command-W [PC: Ctrl-W]), and then when it asks if you want to save the document, choose Don’t Save. Easy peasy.
