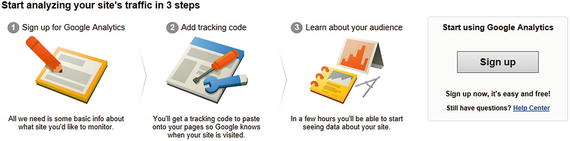
This chapter is a basic recipe to get started in analytics, to take the first step in being able to track web traffic and see what’s happening. You’ll create a simple blog, start a Google Analytics account, connect the two, and discuss things along the way. The goal is to make a simple, relevant way to start exploring analytics.
Create a Google Account/Gmail Address
Google has a lot of free tools that make it easier to work with content, and when you have a Google account , it just makes it easier to sign in to all the tools.
As a first step, I recommend creating a free Google account by going to http://mail.google.com and clicking Create Account .
Start a Blog
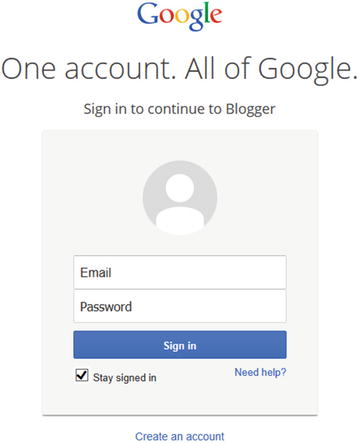
To get started , visit http://www.blogger.com and either sign in with your Google account or click the Create an Account link at the bottom of the page.
Then on the blogger site, click the New Blog button.
For practice, I wouldn’t be too concerned with the title. You can change it later easily, and you can also create/delete blogs easily. Feel free to try “Social Media Perspective” as a title .
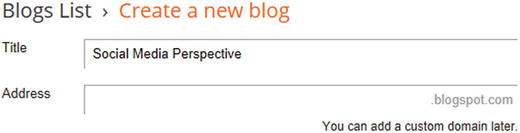
The title is simply what appears visually at the top of the blog. The Address is the opportunity Google gives you to have a custom address. Because it’s a free tool, you might have to experiment a bit until you find one that’s available. Type in ideas in the Address field and see what happens:

What you’re doing is coming up with the custom portion of the blog address.
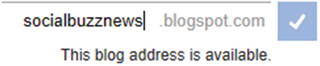
It turns out for our example, the address socialbuzznews.blogspot.com is available. The link for this blog would be http://socialbuzznews.blogspot.com .
Tip
You’ll want to make a note of this link to your blog, so you can use it when you start a Google Analytics account later in this chapter.
After you choose a title and address, you can choose a template for the look and feel of the blog. You can also change the template later:
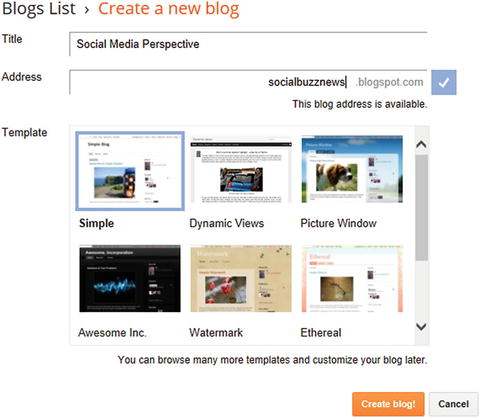
After you select one (I recommend starting with Simple), click the Create Blog! button.
With these simple steps, you’ve created a blog and can start blogging!
Your mission if you should choose to accept it is to make a sample post, and then share the link on Facebook or via e-mail with someone.

Note
One way to “cheat” if you forget the link for your blog is to click on the View blog button (see the screenshot above), which will open the blog in your browser. Then you can copy the link from the Address field and paste it into Facebook or into an e-mail, etc.
To learn more about Blogger, access the settings menu (the little gear icon) when you’re signed int o Blogger and select Blogger Help :

There are a variety of helpful articles:
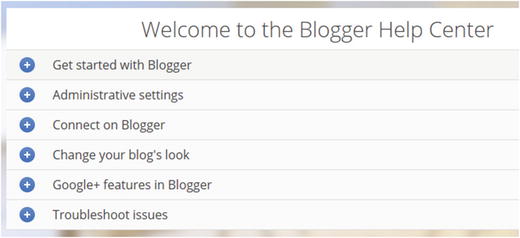
You can always go directly to help with this link : https://support.google.com/blogger .
Start a Google Analytics Account
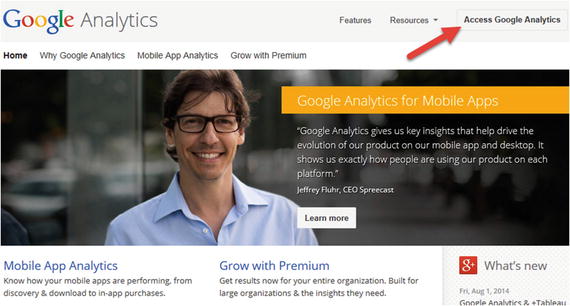
The next step is to create a Google Analytics account , which you do by going to http://www.google.com/analytics/ .
If you’re already signed into Gmail/Google, you’ll see an Access Google Analytics button:
Otherwise, you can click Sign In and sign in with your Gmail/Google account, or click Create an Account:
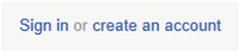
That’s the sign-in process. Once you’re signed in as a Google user, you should get a page like this one, where you can click the Sign Up button to create your Google Analytics account :
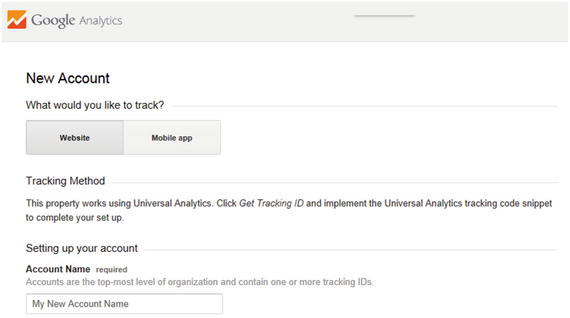
Google Analytics defaults to creating an account around web sites, but if you’re interested in mobile marketing, at some point you might like to explore the idea of developing an app and integrating Google Analytics directly in the app.
To begin, type an account name—it could be your name, the name of your organization, or something like Learning Analytics. It really doesn’t matter at this point :
Next, you set up a property. Whenever you add a new site or blog for Google Analytics to track, it’s considered a property. This is where you paste in your blog’s address, if you’re following along:
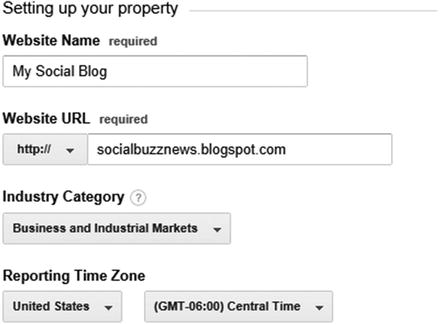
Then click Get Tracking ID:
Tracking IDs are basically codes that Google gives you to place on your site or blog, so that the site can “talk” to Google. The ID is unique for every site/blog you set up. It’s a one-time, thing, and you end up taking it back to your site, in order to set up the connection.
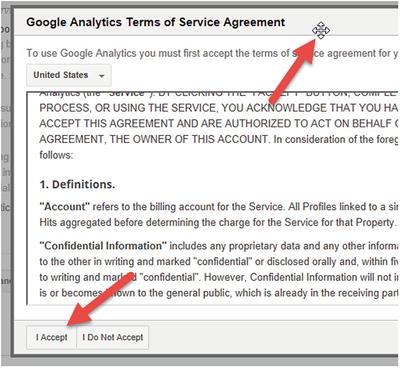
Next, click the I Accept button at the bottom of the agreement. You might need to roll your mouse over the top of this window until it becomes four arrows, and then click and drag it up, in order to see the I Accept button.
Then, Google Analytics should open with a page, based on the name you gave to your site or blog:
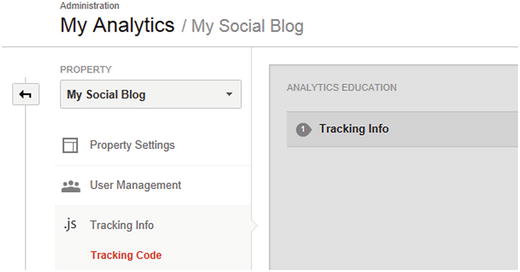
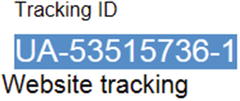
You can scroll down until you see the Tracking ID (it’s UA-53515736-1 shown here):

Then just select it, right-click (Windows) or Ctrl+click (Mac), and choose copy :
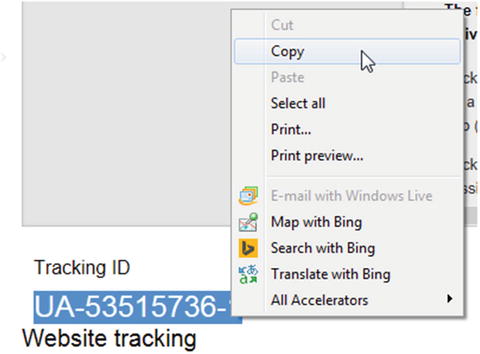
Even if you copy this code into memory (for pasting into Blogger), I recommend making a note of it somewhere.
Connect Google Analytics to Blogger
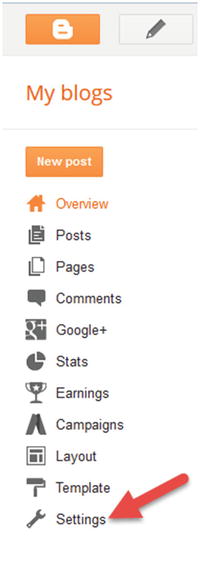
Now that you’ve created a Google Analytics account and generated a tracking code, you can go back to your blog and click Settings:
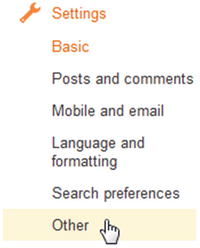
Under Settings, click Other:
Find the section that says Google Analytics :
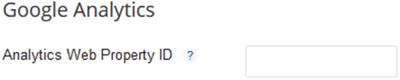
Paste that marvelous tracking code you copied before (from your site or blog):
Into the Analytics Web Property ID field:
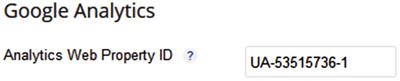
Then click Save Settings:
Looking at Google Analytics
In theory, Google Analytics should now be connected. It can take 24 hours for anything to happen, but in the meantime, I suggest making a post on your blog and sharing it with friends on Facebook as a test.
All you really need at this point is a few clicks on your blog, just to test things out a bit.
In order to see how things are going, go to http://www.google.com/analytics , sign in, and click on Home:
You should see a section on your Google Analytics page. It’s based on how you named your Google Analytics account, including the name of your site, and finally a little globe icon with your site:

To see how things are going, click on your “property”:

In theory, you should see something like this image, which is the kind of thing you’ll be learning about. This is web analytics :
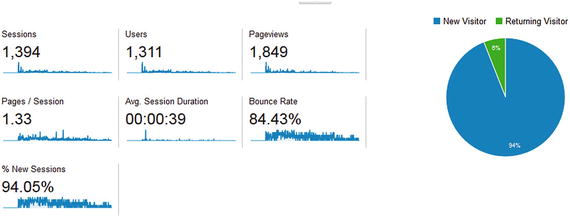
At a very basic level, what programs like Google Analytics seek to give you is a sense of your web site’s performance—that is, how many people visit, and their behavior on the site.
Using a simple example like this is a good place to start, and ultimately what most web analytics tools help you do is track revenue or goals, such as people visiting and then purchasing or signing up for something.
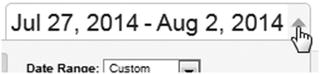
To scratch the surface, after you generate data over time, one feature to keep in mind about analytics programs is the way you set a date range.
In Google Analytics, you can click on the arrow to the right of the “default” date:
Then you can choose from several options:
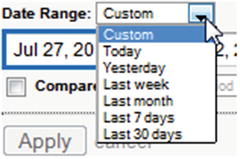
You can regularly look at Google Analytics and review how things are going on a consistent basis. With analytics, you are often looking back and looking for trends. Are visits increasing? Did a particular campaign increase traffic? Things like this.
When you set a new date range, you need to click Apply:
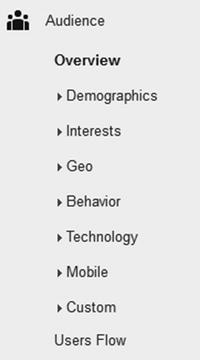
Don’t be afraid to review other sections in Google Analytics on the left side. In some cases, you need to be gathering data for a while for these sections to generate meaningful information. It’s interesting at this point to note the kinds of things you can track:
Learning More
If you’re eager to learn more about Google Analytics, the Help Center has some good introductory material at https://support.google.com/analytics/?hl=en#topic=3544906 .
These resources may also be of interest:
How to Install Google Analytics on Blogger: http://www.lacquerheadsofoz.com/2013/04/how-to-install-google-analytics-on.html
How to Add Google Analytics to Blogger 2014: https://www.youtube.com/watch?v=D0F7jCovhpQ
Conclusion
Congratulations on setting things up!
I think the reason analytics can be fun is that you can see “under the hood” of a web site and look at how many people are visiting. If you’ve used Facebook, it’s similar to seeing how many people like your post or page. But analytics takes it from a single item to a fuller picture of what’s going on.
In order to have fun, the next step is to get some traffic to your blog or site. One thing you can do is write a blog post and share it wherever you can think of to get some clicks, including Facebook.
Consider regularly blogging on your exploration of online marketing and analytics, such as making a blog post once a week, to see what it’s like to get traffic over time. Feel free to read Introduction to Social Media Marketing (Apress, 2017) to learn more.
In the next chapter, you’ll try two related techniques to “jump start” things and get some traffic to analyze in Google Analytics.