
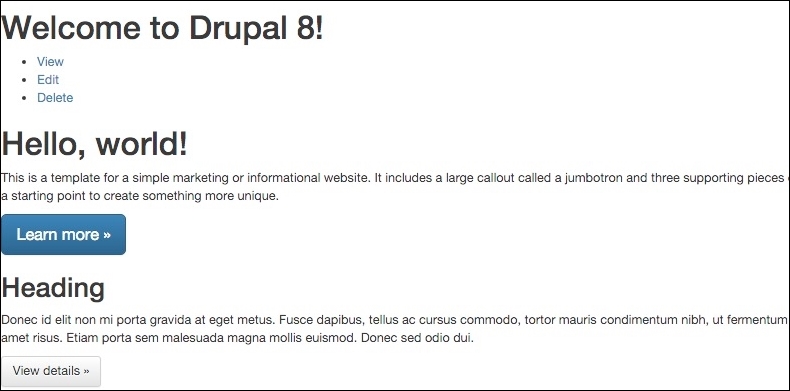
Having an example or mockup that we can refer to when creating a starter theme is always helpful. So, to get the most out of our Twitter Bootstrap starter, let's browse http://getbootstrap.com/examples/jumbotron/ where we will see an example of a homepage layout:
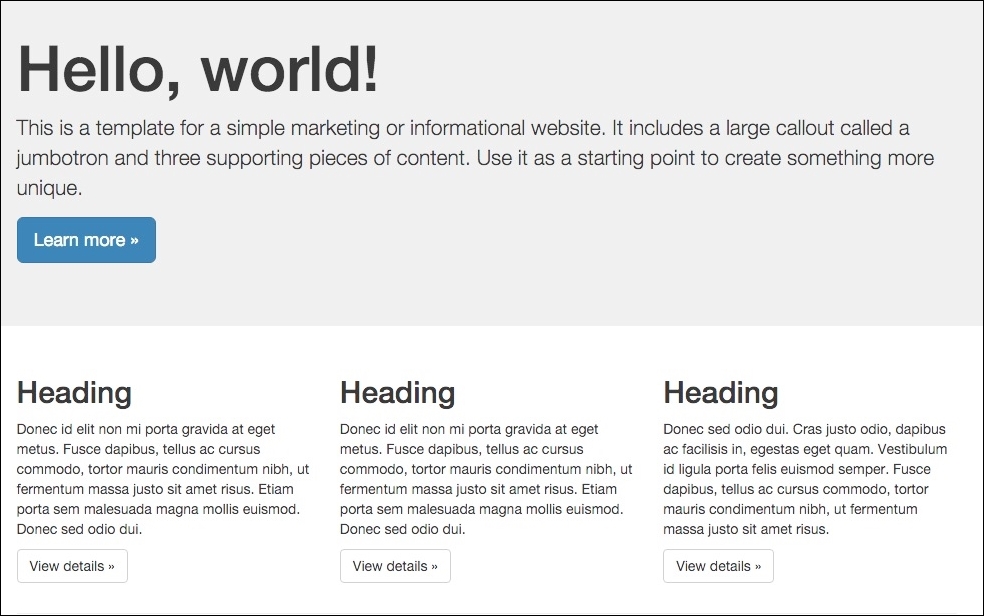
As we take a look at the mockup, we can see that the layout consists of two rows of content with the first row containing a large callout known as a Jumbotron. The second row contains three featured blocks of content. The remaining typography and components are taking advantage of the Twitter Bootstrap CSS framework to display the content.
One advantage of integrating the Twitter Bootstrap framework into our starter theme is that our markup will be responsive in nature. It means that as the browser window is resized, the content will scale down accordingly. At smaller resolutions, the three columns will stack on top of one another enabling the user to view the content easier on smaller devices.
We will be recreating this homepage for our starter theme, so let's take a moment and familiarize ourselves with some basic Bootstrap layout terminology before creating our theme.
Bootstrap uses a 12-column grid system to structure content using rows and columns. Page layout begins with a parent container that wraps all children elements and allows us to maintain a specific page width. Each row and column then have CSS classes identifying how the content should appear. So, for example, if we wanted to have a row with two equal width columns, we would build our page using the following markup:
<div class="container">
    <div class="row">
        <div class="col-md-6"></div>
        <div class="col-md-6"></div>
    </div>
</div>
The two columns within a row must combine to a value of 12 because Bootstrap uses a 12-column grid system. Using this simple math, we can have various size columns and multiple columns as long as their total is 12. We should also make a note of the column classes, as we have great flexibility in targeting different breakpoints:
- Extra small (col-xs-x)
- Small (col-sm-x)
- Medium (col-md-x)
- Large (col-lg-x)
Each breakpoint references the various devices from smartphones all the way up to television-sized monitors. We can use multiple classes class="col-sm-6 col-md-4" to manipulate our layout, which gives us a 2-column row on small devices and a 3-column row on medium devices when certain breakpoints are reached.
To get a more detailed comprehension of the remaining Twitter Bootstrap documentation, we can browse http://getbootstrap.com/getting-started/ any time. For now, it's time we begin creating our starter theme.
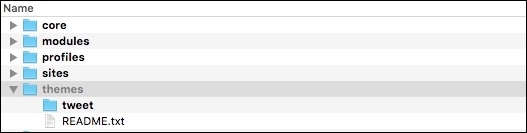
The initial step in our process of creating a starter theme is simple. We need to open up MAC finder or Windows Explorer and navigate to the themes folder and create a folder for our theme. We will name our theme tweet, as shown in the following image:
Every theme deserves a screenshot, and in Drupal 8, all we need to do is simply have a file named screenshot.png, and the Appearance screen will use it to display an image above our theme.
Go ahead, copy screenshot.png from the Chapter04/start/themes/tweet folder, and place it within the themes/tweet folder.
Next, we will need to create our themes configuration file, which will allow our theme to be discoverable. We will only worry about general configuration information to start and then add library and region information in the next couple of steps.
Begin by creating a new file in our themes/tweet folder named tweet.info.yml and add the following metadata to our file:
name: Tweet
type: theme
description: 'A Twitter Bootstrap starter theme'
core: 8.x
base theme: false
Note that we are setting the base theme configuration to false. Setting this value to false lets Drupal know that our theme will not rely on any other theme files. This allows us to have full control over our theme's assets and Twig templates.
We will save our changes here and clear the Drupal cache. Now we can take a look to check whether our theme is available to be installed.
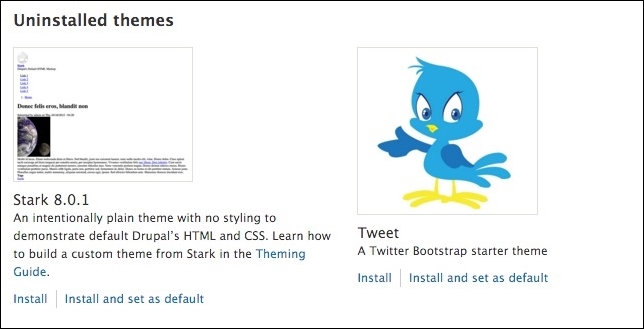
Navigate to /admin/appearance within our browser, and we should see our new theme located in the Uninstalled themes section. Go ahead and install the theme by clicking on the Install and set as default link.
If we navigate to the homepage, we should see an unstyled homepage:
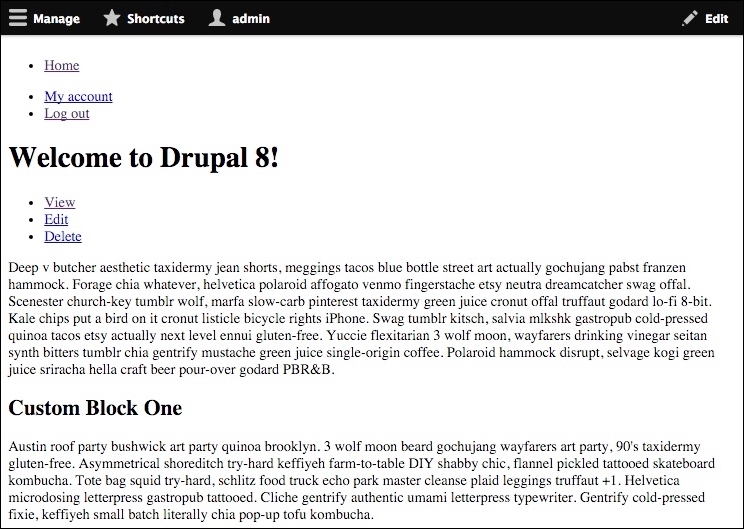
This clean palette is perfect when we are creating a starter theme as it allows us to begin theming without worrying about overriding any existing markup that a base theme may include.
While Drupal 8 ships with some improvements to its default CSS and JavaScript libraries, we will generally find ourselves wishing to add additional third-party libraries that can enhance the function and feel of our website. In our case, we have decided to add Twitter Bootstrap (http://getbootstrap.com), which provides us with a responsive CSS framework and JavaScript library that utilizes a component-based approach to theming.
The process really involves three steps. First is downloading or installing the assets that make up the framework or library. Second is creating a *.libraries.yml file and adding library entries that point to our assets. Finally, we will need to add a library reference to our *.info.yml file.
We can easily add the Twitter Bootstrap framework assets by following these steps:
- Navigate to http://getbootstrap.com/getting-started/#download.
- Click on the Download Bootstrap button.
- Extract the
zipfile. - Copy the contents of the bootstrap folder to our
themes/tweetfolder. - Once we are done, our
themes/tweetfolder content should look like the following image:
Now that we have the Twitter Bootstrap assets added to our theme, we need to create a *.libraries.yml file that we can use to reference our assets.
Anytime we want to add CSS or JS files to our theme, we will need to either create or modify an existing *.libraries.yml file that allows us to organize our assets. Each library entry can include one to multiple pointers to the file and location within our theme structure. Remember that the filename of our *.libraries.yml file should follow the same naming convention as our theme.
We can begin by following these steps:
- Create a new file named
tweet.libraries.yml. - Add a library entry named
bootstrap. - Add a version that reflects the current version of Bootstrap that we are using.
- Add the CSS entry for
bootstrap.min.cssandbootstrap-theme.min.css. - Add the JS entry for
bootstrap.min.js. - Add a dependency to jQuery located in Drupal's core:
bootstrap: version: 3.3.6 css: theme: css/bootstrap.min.css: {} css/bootstrap-theme.min.css: {} js: js/bootstrap.min.js dependencies: - core/jquery - Save
tweet.libraries.yml.
We have added a more complex library entry than we did in Chapter 3, Dissecting a Theme. However, in the previous library entry, we have added both CSS and JS files as well as introduced dependencies.
Dependencies allow any JS file that relies on a specific JS library to make sure that the file can include the library as a dependency, which makes sure that the library is loaded before our JS file. In the case of Twitter Bootstrap, it relies on jQuery and since Drupal 8 has it as part of its core.libraries.yml file, we can reference it by pointing to that library and its entry.
Just because we have added a library to our theme, it does not mean that it will automatically be added to our website. In order for us to add Bootstrap to our theme, we need to include it in our tweet.info.yml configuration file.
We can add Bootstrap by following these steps:
- Open
tweet.info.yml. - Add a
librariesreference tobootstrapto the bottom of our configuration as follows:libraries: - tweet/bootstrap
- Save
tweet.info.yml.
Make sure to clear Drupal's cache to allow our changes to be added to the Theme registry. Finally, navigate to our home page and refresh the browser so that we can preview our changes.
If we inspect HTML using Chrome's developer tools, we should see that the Twitter Bootstrap library is being included along with the rest of our files. Both the CSS and JS files are loaded into the proper flow of our document.
