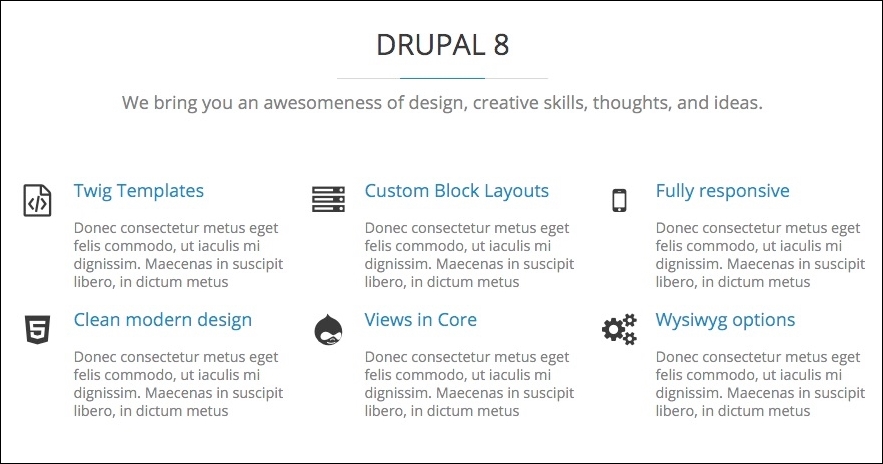
The fourth item we will need to address is replacing the static content in our Before Content region. Referring back to the mockup, we have two blocks of content that will require us to follow these steps to implement.
- First, we will create the Our Services block and Our Features block and assign it to the Before Content region.
- Finally, we will refactor the markup and print the Before Content region using Twig variables.
Creating blocks of content is fairly simple and we should already be comfortable with the process.
We will start by navigating to the Block layout page at /admin/structure/block and following these steps:
- Click on the Place block button in the Before Content region.
- Click on the Add custom block button.
- Enter a Block description of our services.
- Select HTML No Editor from the Text format dropdown.
- Add the markup located in the
Chatper06/start/content/OurServices.txtfile to the Body field. - Click on the Save button to proceed to the Configure block screen.
- Uncheck the Display title checkbox.
- Select the Pages vertical tab within the Visibility section.
- Enter a value of
<front>in the Pages text area. - Choose Show for the listed pages under Negate the condition.
- Choose Before Content from the Region field.
- Click on the Save block button.
We have one block completed, now let's add the second block.
Creating blocks of content is fairly simple, and we should already be comfortable with the process.
We will start by navigating to the Block layout page at /admin/structure/block and following these steps:
- Click on the Place block button in the Before Content region.
- Click on the Add custom block button.
- Enter a Block description of our features.
- Select HTML No Editor from the Text format dropdown.
- Add the markup located in the
Chatper06/start/content/OurFeatures.txtfile to the Body field. - Click on the Save button to proceed to the Configure block screen.
- Uncheck the Display title checkbox.
- Select the Pages vertical tab within the Visibility section.
- Enter a value of
<front>in the Pages text area. - Choose Show for the listed pages under Negate the condition.
- Choose Before Content from the Region field.
- Click on the Save block button.
With our two blocks completed and assigned to the Before Content region, we need to make sure that they are ordered correctly. From the Block layout page, make sure that Our Services is followed by Our Features within the Before Content region. Now it's time to refactor our static markup and print the region to our page--front.html.twig template.
Currently, our page--front.html.twig template is not outputting our Before Content region. We will need to refactor our markup to add a new Twig variable that contains our two blocks {{ page.before_content }}.
Begin by opening page--front.html.twig and locating the section wrapper, and replace all the content between with our new Twig variable.
Current markup
<section id="section2" class="section">
  <div class="container">
    ... content ...
  </div>
</section>
New markup
<section id="section2" class="section">
  <div class="container">
    {{ page.before_content }}
  </div>
</section>
Make sure to save our changes, clear Drupal's cache and then refresh the browser. If all was successful, our Before Content region should now be identical to the Mockup.

Finally, we are at the end of our homepage, with the only piece left to refactor being our Footer region, which consists of several custom blocks.
