
So now that we have a new listing display for our post content type, you may be asking how do we actually use it? Just like any content that we want to aggregate, we will start with creating a Drupal view. But unlike previous views that we created, which used fields, we will be creating a view that uses the Content Types display mode.
To get started, we will need to navigate to /admin/structure/views and click on the Add new view button. From the Views admin screen, we will add the following information:
- VIEW BASIC INFORMATION:
- View name:
Post Listing. - Check the Description box.
- Description:
A listing of all Posts.
- View name:
- VIEW SETTINGS: Show: Content of type: Post sorted by: Newest first
- BLOCK SETTINGS:
- Check the Create a block.
- Block title:
Post Listing.
- BLOCK DISPLAY SETTINGS:
- Display format: Unformatted list of: teasers.
- Items per block:
3. - Click on the Save and edit button.
All of these steps are similar to the Team Member view we created in Chapter 7, Theming Our Interior Page. Instead of displaying fields though, we are displaying the Teaser view mode to begin with and will modify our format to use the Listing display mode next.
Our Post Listing view is currently using the Teaser view mode of our Post content type. This varies from the typical fields display that we have created so far. Using a view mode from a content type is more flexible because it allows us to manage the display of our fields from the content type itself, without the need to modify our view in the future.
If we preview our view, we will get a glimpse of what fields our post's teaser display has enabled:
In order for us to utilize the Listing view mode for our Post content type, we will need to modify the format currently being used. We can change this by following these steps:
- Select the Teaser link under the FORMAT section.
- Choose Listing from the View mode dropdown.
- Click on the Apply button.
- Click on the Save button to save the changes.
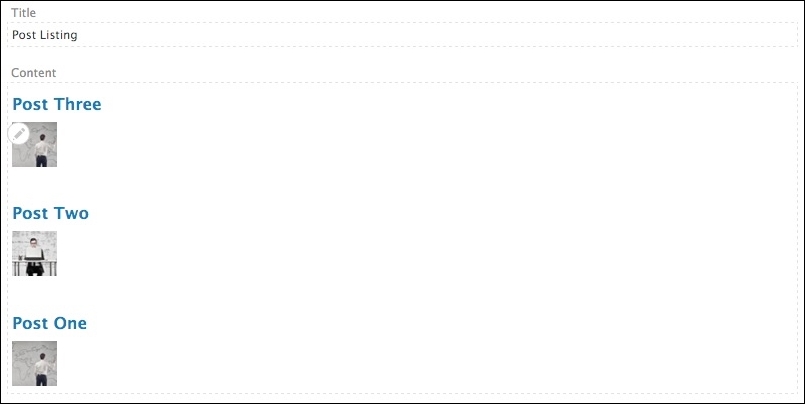
If we preview the results, we will see our display has changed and we are now showing only the fields we enabled previously on the Listing view mode.
Now that we have our Post Listing view created, we can manage the block display and place it on our Blog listing page.