
In this section, we will learn how to build a simple image converter that converts an image from one format to another. Qt supports reading and writing different types of image formats, and this support comes in the form of external DLL files due to licensing issues. However, you don't have to worry about that because as long as you include those DLL files in your project, it will work seamlessly across different formats. There are certain formats that only support reading and not writing, and some that support both. You can check out the full details at http://doc.qt.io/qt-5/qtimageformats-index.html.
Qt's built-in image libraries make image conversion really simple:
- First of all, open up Qt Creator and create a new Qt Widgets Application project.
- Open up
mainwindow.uiand add a line edit and push button to the canvas for selecting image files, a combo box for selecting the desired file format, and another push button for starting the conversion process:
- Next, double-click the combo box and a window will appear for editing the combo box. We will add three items to the combo box list by clicking the + button three times and renaming the items
PNG,JPEG, andBMP: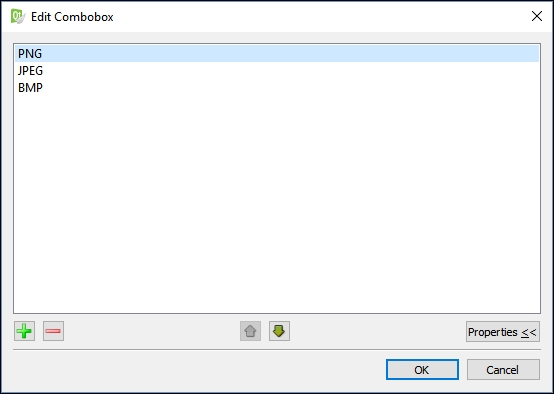
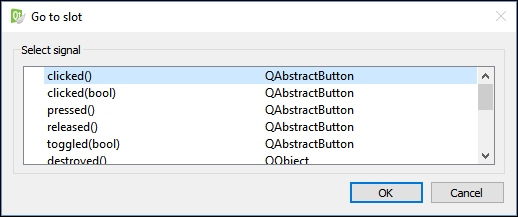
- After that, right-click on one of the push buttons and select Go to slot…, then click the OK button. A slot function will then be automatically added to your source files. Then, repeat this step for the other push button as well:
- Once you are done with the UI, let's move over to the source code. Open up
mainwindow.hand add in the following header:#include <QMainWindow> #include <QFileDialog> #include <QMessageBox> #include <QDebug>
- Then, open up
mainwindow.cppand define what will happen when the Browse button is clicked, which in this case is opening the file dialog to select an image file:void MainWindow::on_browseButton_clicked() { QString fileName = QFileDialog::getOpenFileName(this, "Open Image", "", "Image Files (*.png *.jpg *.bmp)"); ui->filePath->setText(fileName); } - Finally, we also define what will happen when the Convert button is clicked:

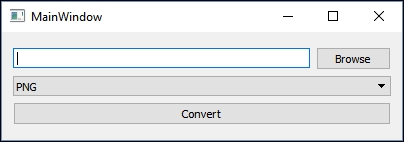
- Build and run the program now and we should get a pretty simple image converter that looks like this:
The previous example uses the native QImage class from Qt, which contains functions that can access pixel data and manipulate it. It is also used to load an image file and extract its data through different decompression methods, depending on the format of the image. Once the data is extracted, you can then do anything you want with it, such as displaying the image on screen, manipulating its color information, resizing the image, or compressing it with another format and saving it as a file.
We used QFileInfo to separate the filename from the extension so that we can amend the extension name with the new format selected by the user from the combo box. This way we can save the newly converted image in the same folder as the original image and automatically give it the same file name as well, except in a different format.
As long as you're trying to convert the image to a format supported by Qt, all you need to do is to call QImage::save(). Internally, Qt will figure out the rest for you and output the image to the chosen format. In the QImage::save() function, there is a parameter that sets the image quality and another for setting the format. In this example, we just set both as the default values, which saves the image at the highest quality and lets Qt figure out the format by checking the extension stated in the output file name.
Here are some tips. You can also convert an image to PDF by using the QPdfWriter class provided by Qt. Essentially, what you do is paint the selected image to the layout of a newly created PDF document and set its resolution accordingly. For more information about the QPdfWriter class, visit http://doc.qt.io/qt-5/qpdfwriter.html.