
Let's configure a Jenkins job to build a sample microservice application, which was introduced in the previous recipe (my-calc). Perform the following steps to configure and build a Docker image:
- On the left navigation, click New Item:
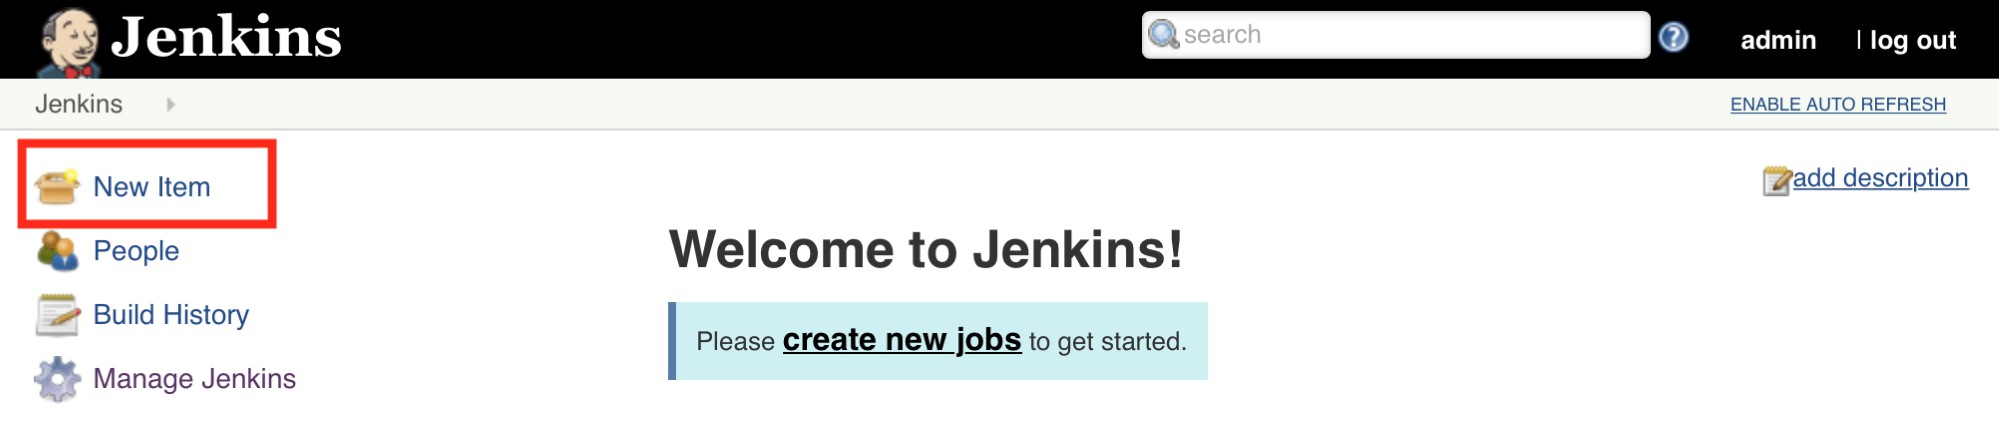
Navigating to create a new item
- Put your in desired item name (example: my-calc), select Freestyle project, then click OK:

Creating a new Jenkins Job
- In the Source Code Management tab, select Git and set the Repository URL as https://github.com/kubernetes-cookbook/my-calc.git, or you may use your own repository which has a Dockerfile:

Source Code Management settings
- On the Build Environment tab, click Add build step to add Build / Publish Docker Image:

Build Environment settings
- In the Build / Publish Docker Image panel:
- Directory for Dockerfile as current (.)
- Choose my-docker in the Cloud that we've set up
- Put image as your Docker repository, but append :${BUILD_NUMBER} (example: hidetosaito/my-calc:${BUILD_NUMBER})
- Enable Push image
- Click Add to add your Docker hub ID credential
- Then, click Save:

Docker build/publish settings
- Finally, you can click Build Now to trigger a build; for testing purposes you can click five times to see how it works:

Trigger a build
- Note that you can see a Console that knows it performs a Docker build and push:
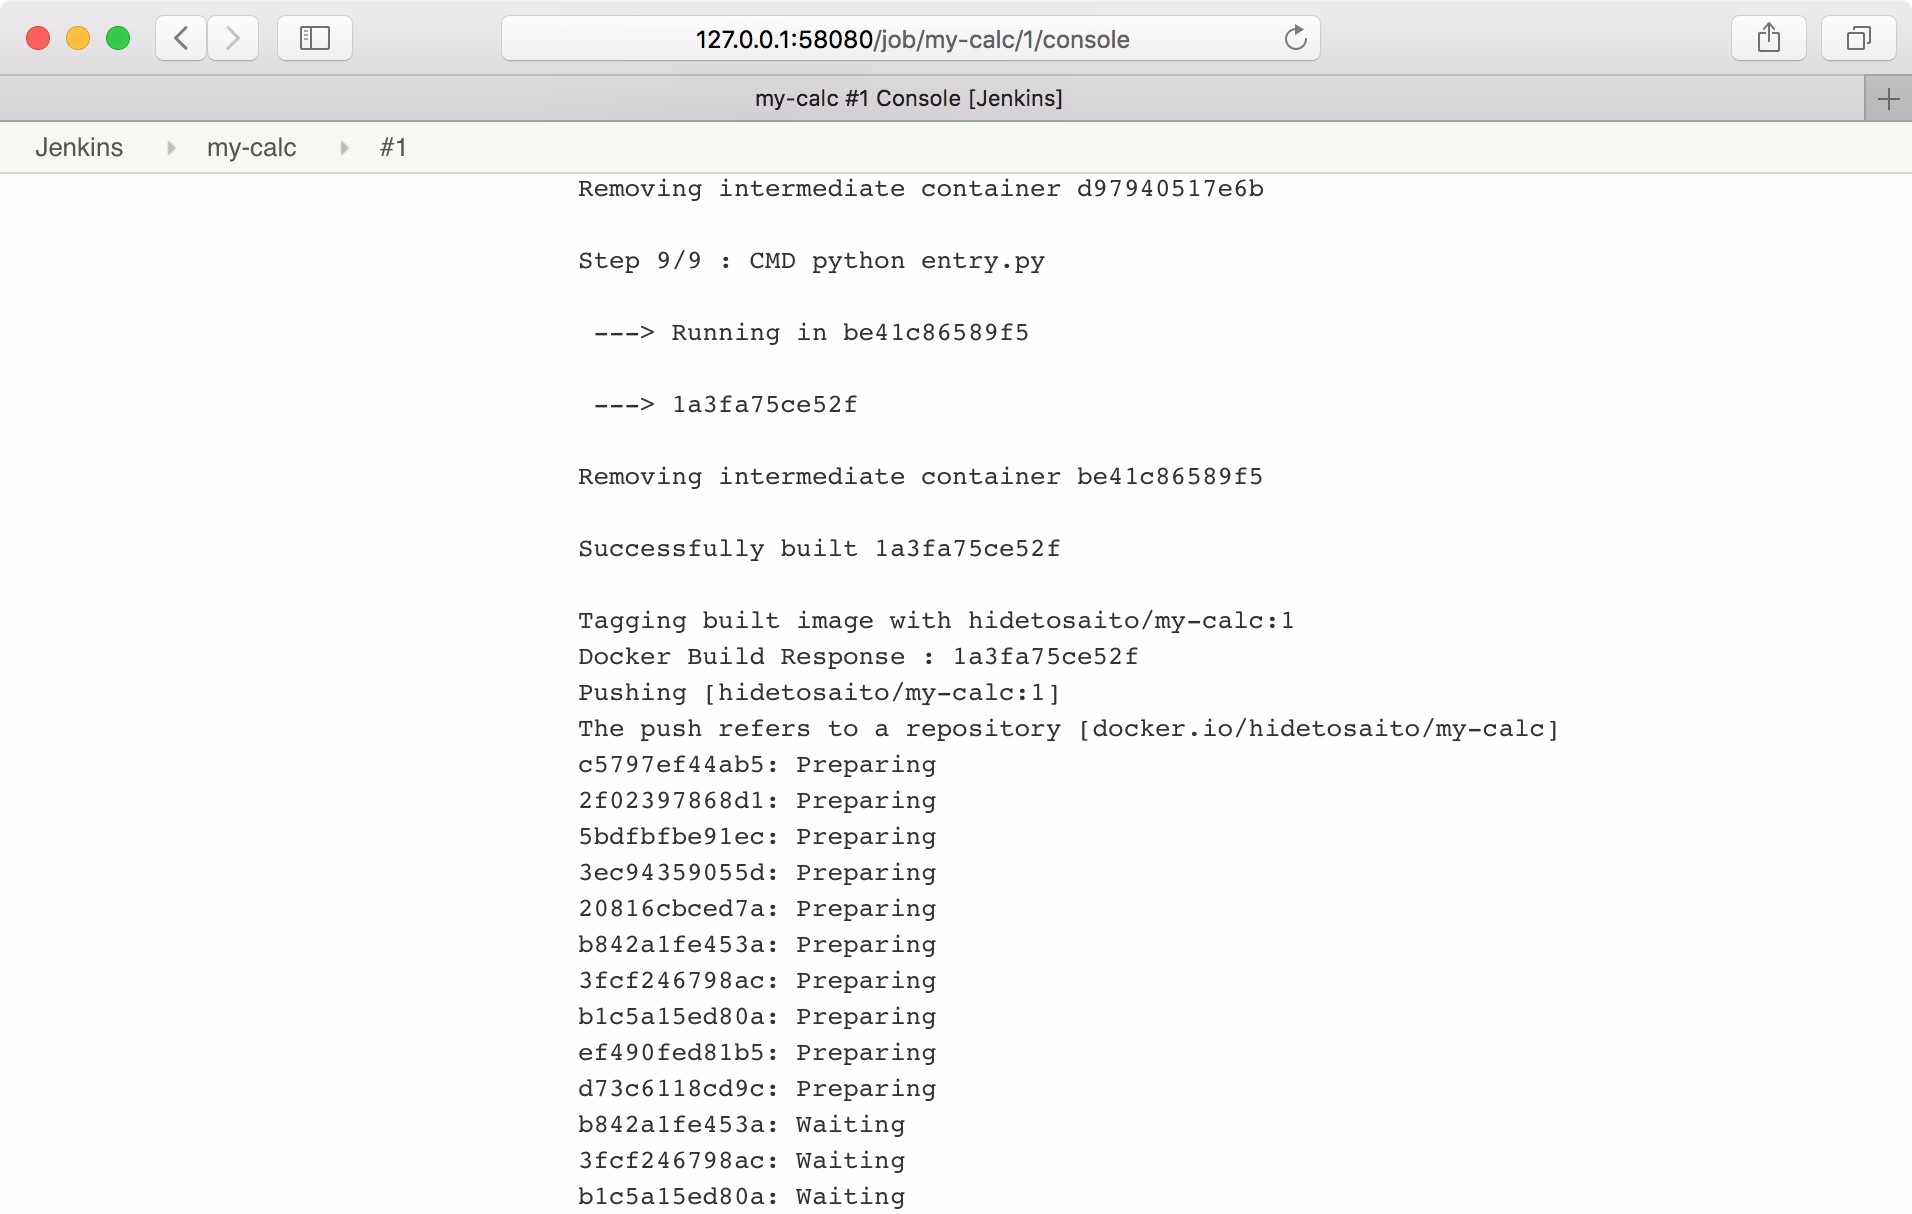
Showing a build log
- Access your Docker hub repository; it has been pushed five times (because of clicking on build five times):
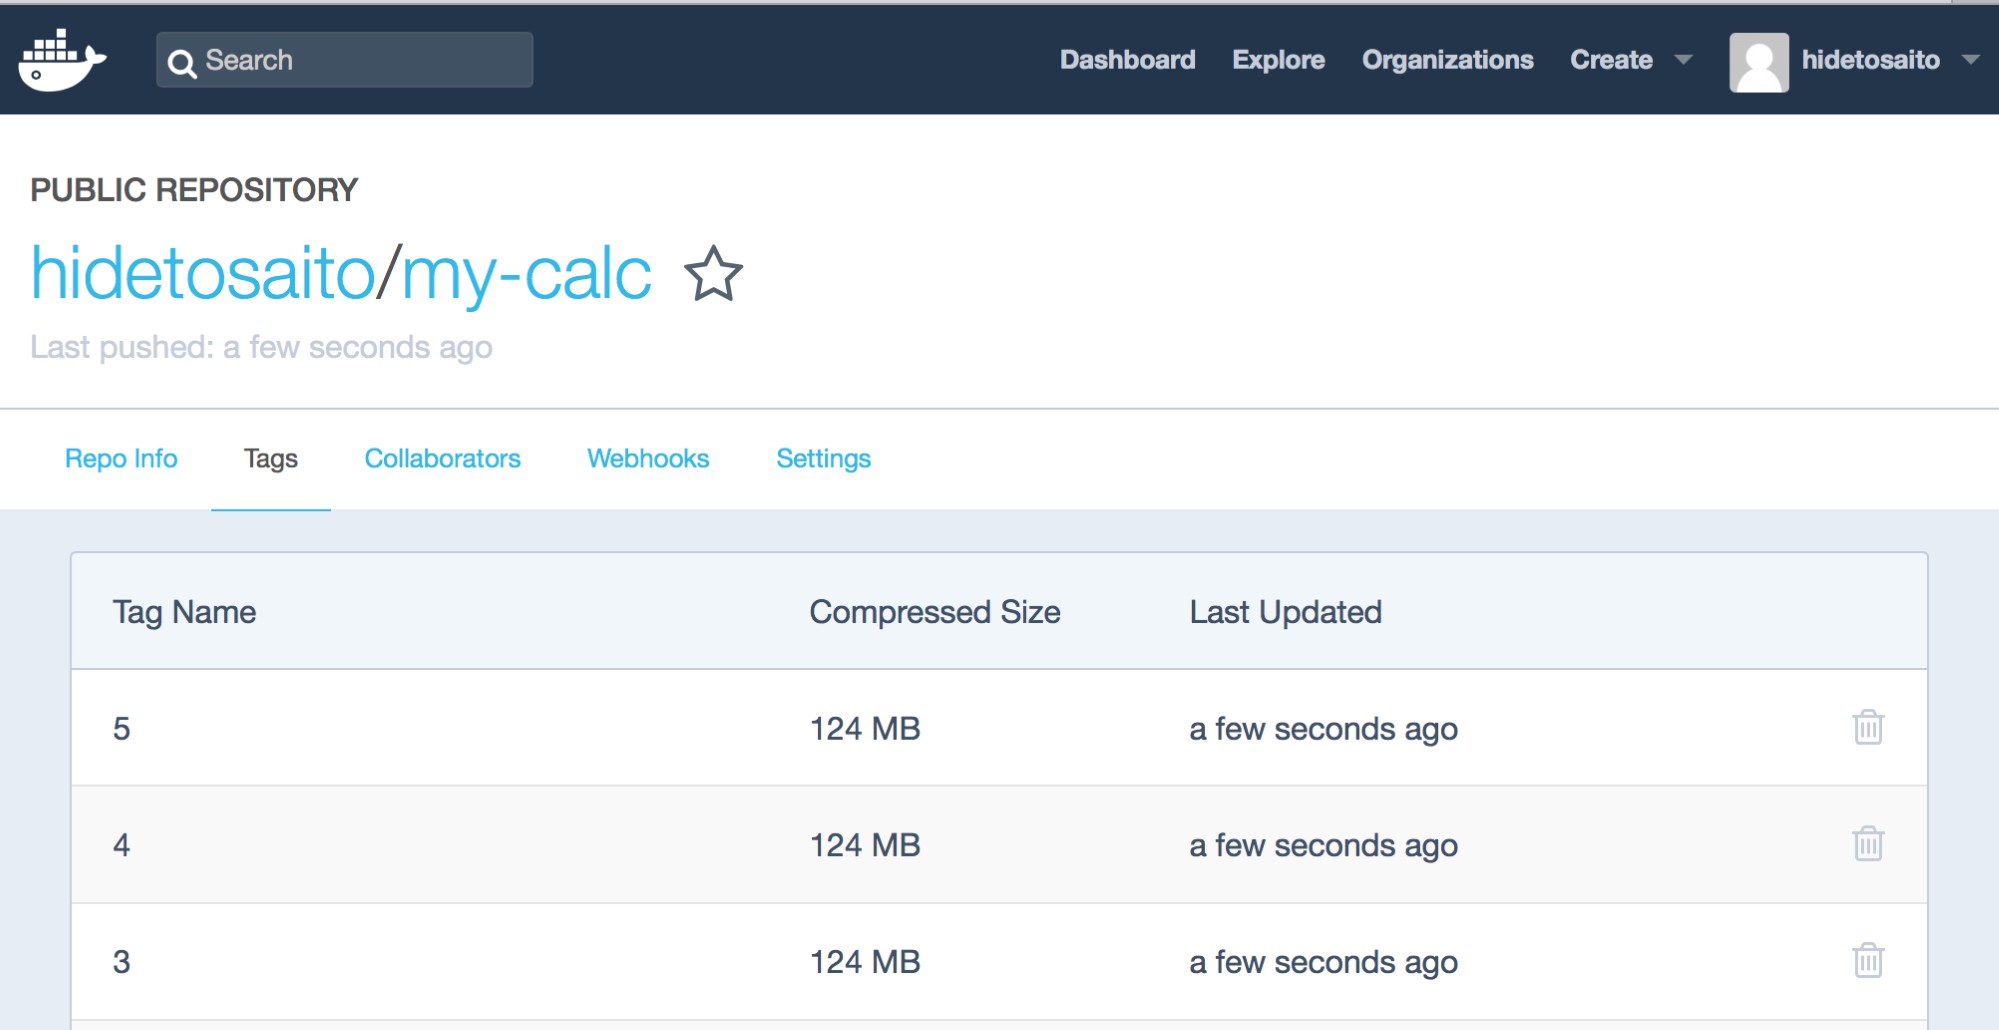
Docker hub repository
That's it! You can achieve continuous integration to build a Docker image so that when you update a source in GitHub, you can continuously build and push the latest image to your Docker hub repository by Jenkins.