
In order to make our itineraries available on the ESB to be used (and more importantly resolved by the components mentioned before), they need to be published into the ESB.
They need to be published into the ESBItinerary database that is created during the installation of the ESB toolkit. That database has a single table that contains all the details of the itineraries, like their name, their version, and the XML representation of their model.
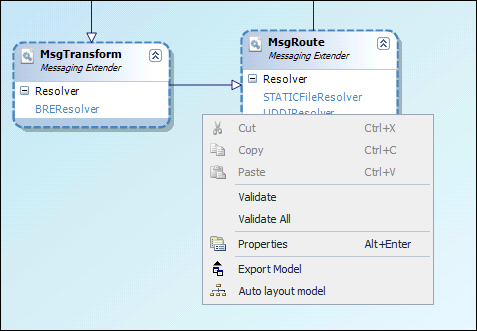
We can deploy them directly from Visual Studio, by using the Database Exporter mentioned in the itinerary properties section. We just need to right-click on the design surface, and then click on Export Model.
In case we export our models into XML files, we can import them later into the itineraries database by using a small tool provided with the ESB Toolkit. You can find the ESBImportUtil.exe tool in the following folder:
C:Program Files (x86)Microsoft BizTalk ESB Toolkit 2.1Bin
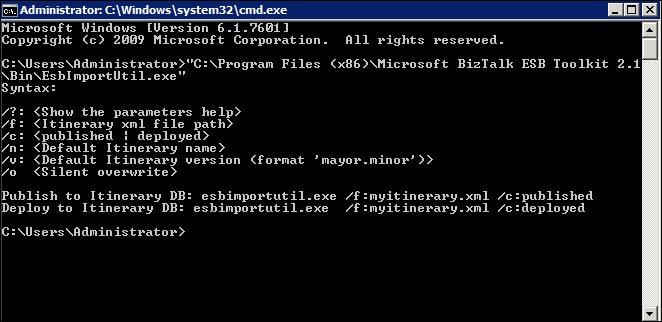
The arguments for the tool are quite self-explanatory, but there´s one that is worth mentioning. It´s the itinerary status (/c: argument in the previous screenshot). It has two possible values:
Published: The itinerary is just imported with the published status but not deployed, so it won't be available to be used right away. This will allow you to enable or disable the itinerary later on the management portal without removing the itinerary record from the database.Deployed: The itinerary is imported directly in the deployed status, so it can start being used right away.
You can also set the value of this argument in Visual Studio when you use the Database Exporter.