
We already discussed some of the features provided by the ESB Management Portal in Chapter 3, ESB Exception Handling, where we explored the exception handling features of the ESB Toolkit. Apart from those, the ESB portal provides some other main capabilities around publishing our services endpoints into UDDI, as well as configuring different parameters that drive the behavior of the portal.
Note
For those not familiar with UDDI, it is an abbreviation for Universal Description Discovery and Integration . More information can be found on Wikipedia at http://en.wikipedia.org/wiki/Universal_Description_Discovery_and_Integration.
In this chapter we will:
- Learn how to publish endpoints into UDDI from the ESB Management Portal
- Learn the ESB Portal Audit Log
- Explore the different parameterizations that we can do on the portal
Thanks to the ESB Toolkit, we can easily populate our organization's services registry in UDDI with the services that interact with the ESB, either because the ESB exposes them or because they can be consumed through it.
Before we can register service in UDDI we must first configure the registry settings.
The registry settings change how the UDDI registration functionality mentioned in preceding section behaves.
- UDDI Server: This sets URL of the UDDI server.
- Auto Publish: When enabled, any registry request will be automatically published. If it's disabled, the requests will require administrative approval.
- Anonymous: This setting indicates whether to use anonymous access to connect to the UDDI server or to use the UDDI Publisher Service account.
- Notification Enabled: This enables or disables the delivery of notifications when any registry activity occurs on the portal.
- SMTP Server: This is the address of the SMTP server that will send notification e-mail messages.
- Notification E-Mail: This is the e-mail address to which to send endpoint update notification e-mail messages.
- E-Mail From Address: This is the address that will show up as sender in notification messages sent.
- E-Mail Subject: This is the text to display in the subject line of notification e-mail messages.
- E-Mail Body: This is the text for the body of notification e-mail messages.
- Contact Name: This setting is name of the UDDI administrator to notify of endpoint update requests.
- Contact E-Mail: This setting is used for the e-mail address of the UDDI administrator for notifications of endpoint update requests.
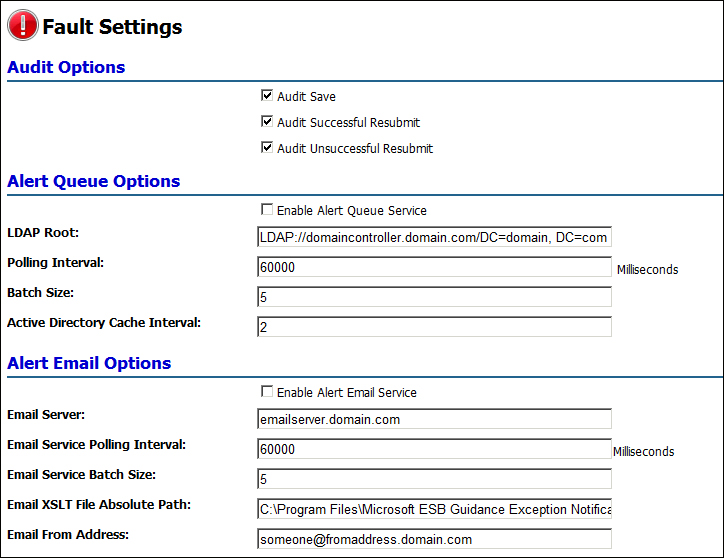
The following screenshot shows all of the settings mentioned in preceding list:
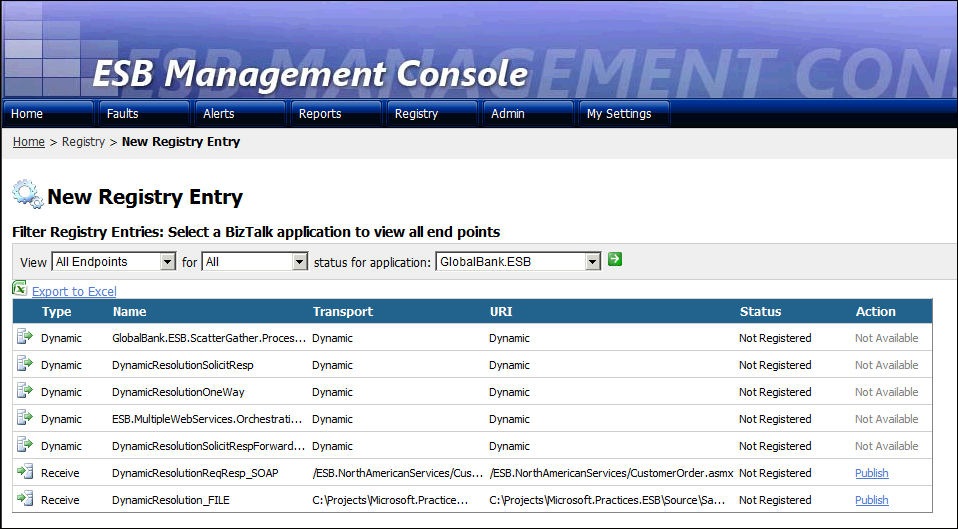
In the ESB Management Portal, we can see in the top menu an entry that takes us to the Registry functionality, shown in the following screenshot:

On this view, we can directly register a service into UDDI. To do this, first we have to search the endpoint that we want to publish. These can be endpoints of services that the ESB consumes through Send ports, or endpoints of services that the ESB exposes through receive locations.
As an example, we will publish one of the services exposed by the ESB through the GlobalBank.ESB sample application that comes with the ESB Toolkit.
First, we will search on the New Registry Entry page for the endpoints in the GlobalBank.ESB application, as shown in the following screenshot:
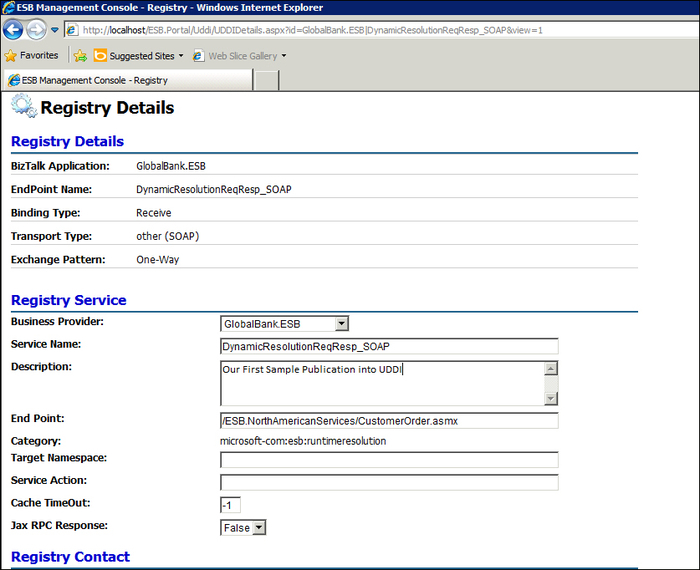
Once we get the results, we will click on the Publish link of the DynamicResolutionReqResp_SOAP endpoint that actually exposes the /ESB.NorthAmericanServices/CustomerOrder.asmx service. We will be presented with a screen where we can fill in further details about the service registry entry, such as the service provider under which we want to publish the service (or we can even create a new service provider that will get registered in UDDI as well).
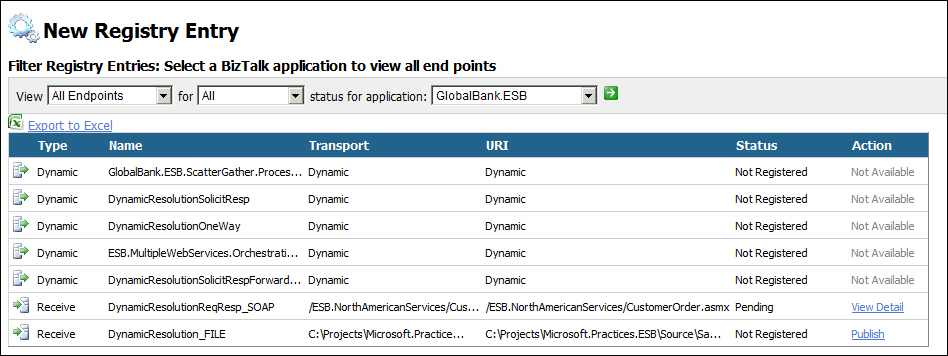
After clicking on the Publish button at the bottom of the page, we will be directed back to the New Registry Entry screen, where we can filter again and see how our new registry entry is in Pending status, as it needs to be approved by an administrator.
We can access the Manage Pending Requests module through the corresponding submenu under the top-level Registry menu. There we can see if there are any new registry entries that might be pending for approval.
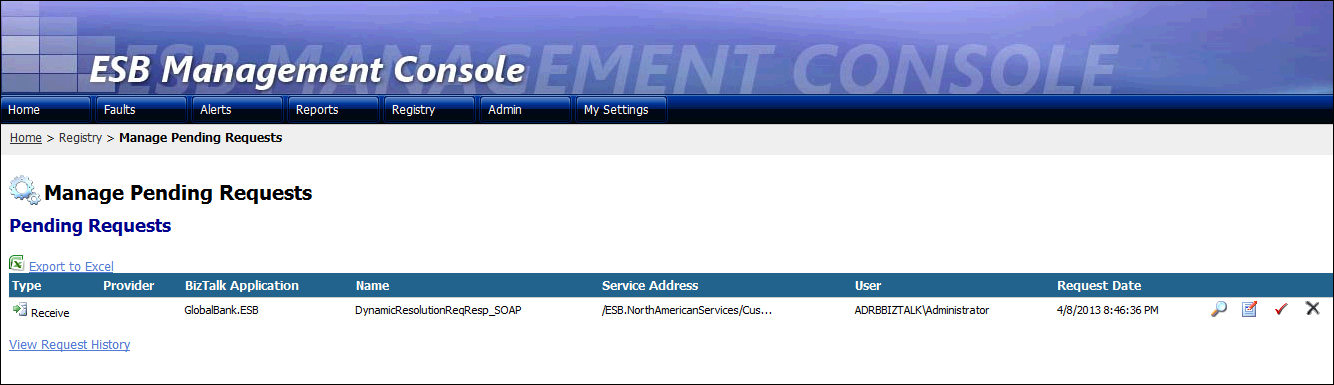
By using the buttons to the left of each item, we can view the details of the request, edit them, and approve or delete the request.
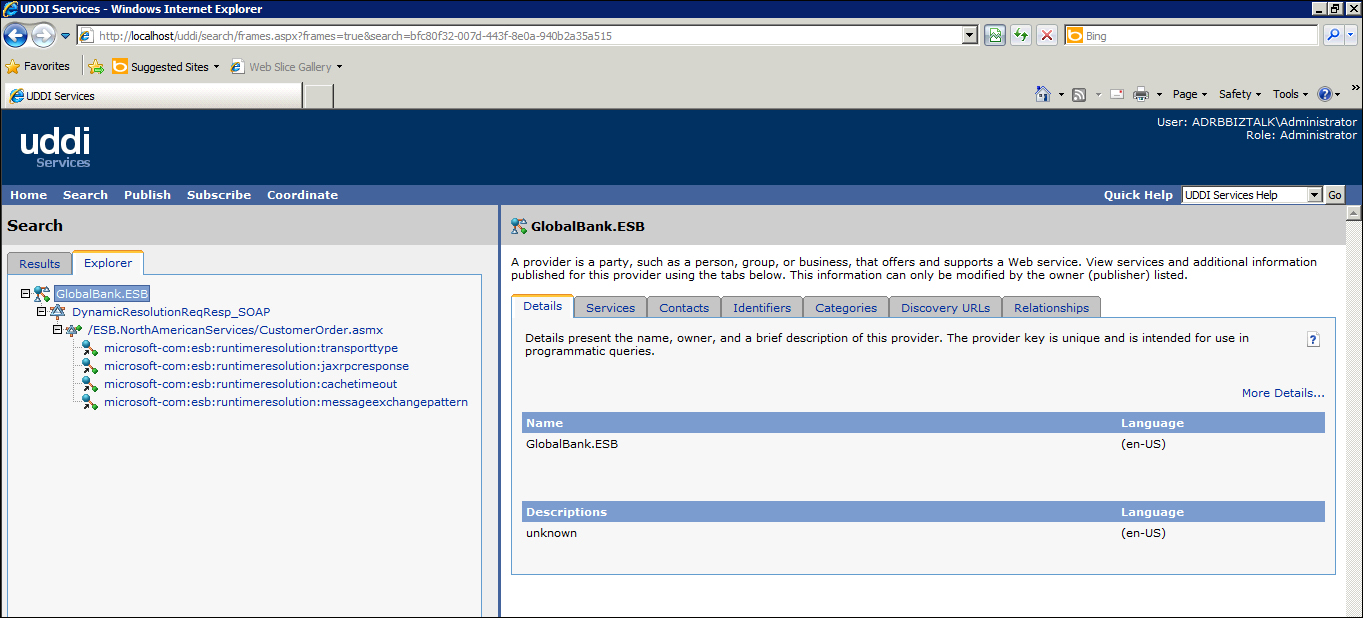
Once we approve the request, we will receive a confirmation message on the portal telling us that it got approved. Then, we can go to the UDDI portal and look for the service provider that we just created, where we will see that our service got registered.
The following screenshot shows how the service provider of the service we just published is shown in the UDDI portal:

In the following screenshot we can see the actual service published, with its corresponding properties.
With these simple steps, we can easily build our own services registry in UDDI based on the services our organization already has, so they can be used by the ESB or any other systems to discover services and know how to consume them.