
We shape our tools, and thereafter our tools shape us.
—Marshall McLuhan
Media scholar and critic
Command-line tools are the Swiss Army knives of the developers. You can connect to backend systems, run complex commands, and automate your daily tasks with them. The official command-line tool for Kubernetes is kubectl. As the god of gates Janus in mythology, kubectl is the god of entrances into the cluster. It lets you create workloads, manage resources, and check statuses by communicating with Kubernetes API. In this chapter, we will focus on extending the kubectl by writing plugins. At the end of this chapter, you will develop and install new plugins into kubectl and run custom commands.
Let’s start by installing the gods of the Kubernetes API gateways to your local workstation.
kubectl Installation and Usage
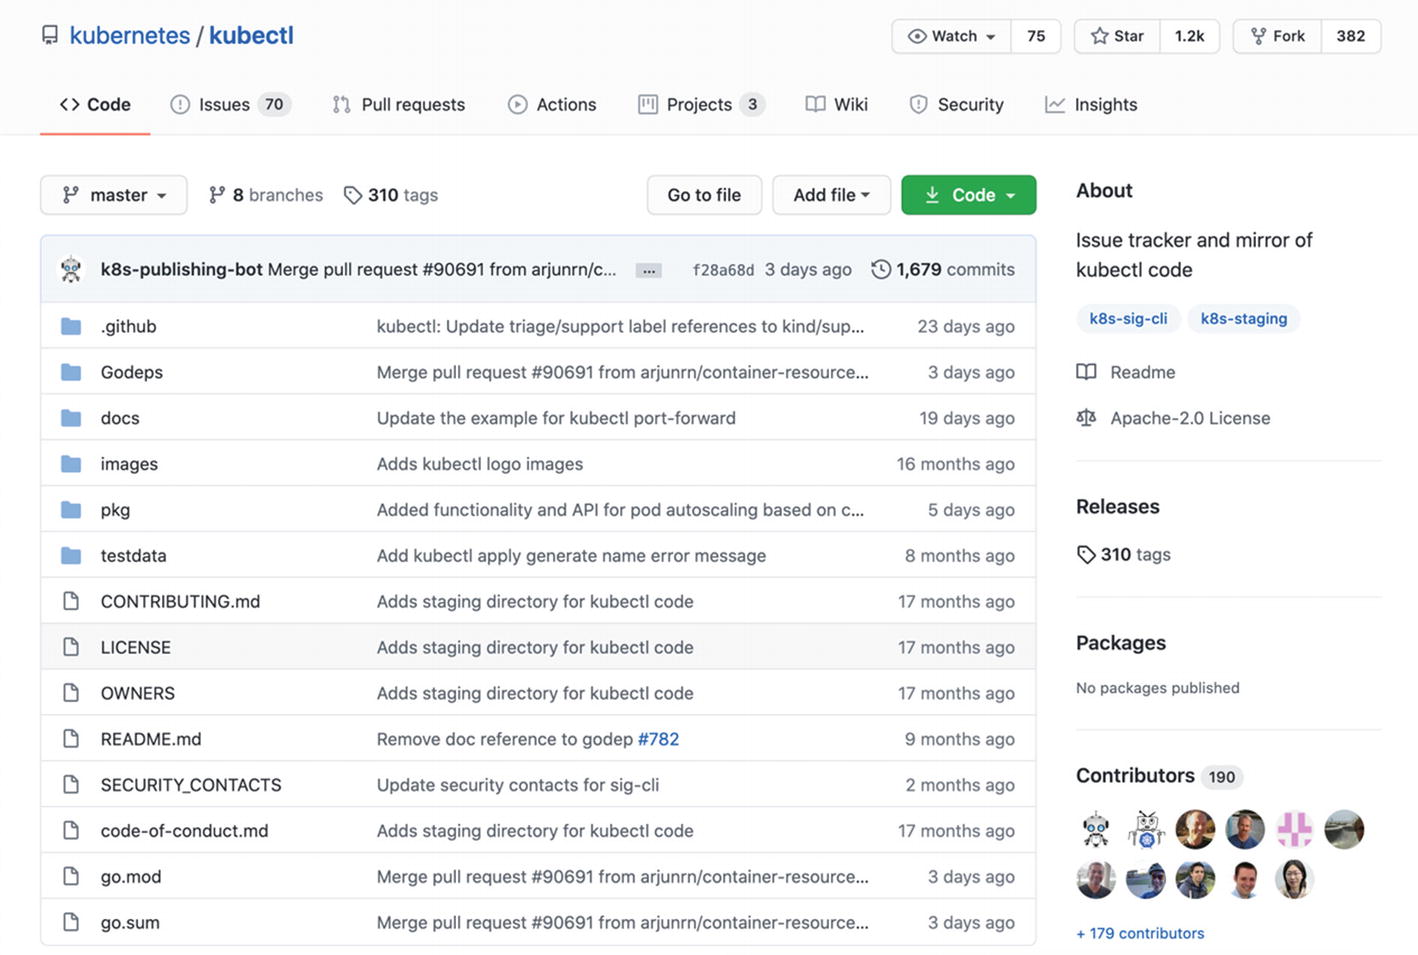
Kubernetes kubectl repository
Downloading kubectl binary
Executable kubectl binary
Moving kubectl binary
kubectl version check
The command prints the client version of kubectl, which is v1.19.0. In the following exercise, you will create a local Kubernetes cluster and continue with more complex kubectl commands interacting with the cluster.
Although Kubernetes is a container management system for large clouds, it is possible to create single-instance Kubernetes clusters locally. minikube is the recommended and officially supported way of creating single-node clusters. It is mostly used for development and testing purposes.
- 1.Download the binary of minikube according to your operating system:# Linuxcurl -LO https://storage.googleapis.com/minikube/releases/latest/minikube-linux-amd64# macOScurl -LO https://storage.googleapis.com/minikube/releases/latest/minikube-darwin-amd64
- 2.Install the binary to the path:# Linuxsudo install minikube-linux-amd64 /usr/local/bin/minikube# macOSsudo install minikube-darwin-amd64 /usr/local/bin/minikube
- 3.Start a local cluster with minikube:

The simplicity of Kubernetes operations is packed into the single command of the minikube start. It downloads the images, starts control plane components, enables addons, and verifies the cluster components. In the last step, it configures kubectl to connect to the cluster created by minikube.
You have a Kubernetes cluster and a client tool. Now, it is time to have fun with Kubernetes by deploying applications, scaling them, and checking their statuses.
kubectl syntax
kubectl help output
kubectl API resources
It is a long list with more than 50 resources supported currently in Kubernetes API.
NAME specifies the name of the resource to execute the command on it, the operations. If you do not specify a NAME, the commands are executed for all the resources in the TYPE.
kubectl options output
You can run kubectl <command> --help to get more information such as options, usage, and examples on a given command. Considering the high number of resources and commands, kubectl is a tool packed with numerous actions. It is advised to get your hands dirty with kubectl by trying different commands. kubectl is almost exclusively the single-entry point to the cluster for deployment, status tracking, and troubleshooting. In the following exercise, you will use the most common kubectl commands to get used to it before developing extensions.
- 1.Start with checking the version of your client tool and the API server:$ kubectl versionClient Version: version.Info{Major:"1", Minor:"19", GitVersion:"v1.19.0", GitCommit:"e19964183377d0ec2052d1f1fa930c4d7575bd50", GitTreeState:"clean", BuildDate:"2020-08-26T14:30:33Z", GoVersion:"go1.15", Compiler:"gc", Platform:"darwin/amd64"}Server Version: version.Info{Major:"1", Minor:"19", GitVersion:"v1.19.0", GitCommit:"e19964183377d0ec2052d1f1fa930c4d7575bd50", GitTreeState:"clean", BuildDate:"2020-08-26T14:23:04Z", GoVersion:"go1.15", Compiler:"gc", Platform:"linux/amd64"}
It shows that both the client and the server have the version 1.19.0.
- 2.Check the nodes available in the cluster:$ kubectl get nodesNAME STATUS ROLES AGE VERSIONminikube Ready master 88s v1.19.0
Nodes are also a resource type in Kubernetes, and the command is to retrieve them from the Kubernetes API. You will have one node since you are running a minikube cluster.
- 3.Create a deployment with the following command:$ kubectl create deployment my-first-deployment --image=nginxdeployment.apps/my-first-deployment created
This command creates a resource type of deployment with the name my-first-deployment using the image nginx.
- 4.Check the status of the deployment created in Step 3:$ kubectl get deployment my-first-deploymentNAME READY UP-TO-DATE AVAILABLE AGEmy-first-deployment 1/1 1 1 16s
This command retrieves the resource with its name. The deployment has one ready instance available.
- 5.Scale the deployment to five instances:$ kubectl scale deployment/my-first-deployment --replicas=5deployment.apps/my-first-deployment scaled
This is a special command to scale the number of instances of the resource provided. The --replicas flag specifies the requested replica count.
- 6.Check the pods after scale-up:$ kubectl get podsNAME READY STATUS RESTARTS AGEmy-first-deployment-...-26xpn 1/1 Running 0 13smy-first-deployment-...-87fcw 1/1 Running 0 13smy-first-deployment-...-b7nzv 1/1 Running 0 2m45smy-first-deployment-...-kxg2w 1/1 Running 0 13smy-first-deployment-...-wmg92 1/1 Running 0 13s
As expected, there are now five pods, and the last four ones are created after the first one.
- 7.Clean the deployment with the following command:$ kubectl delete deployment my-first-deploymentdeployment.apps "my-first-deployment" deleted
Your CLI environment has a new member, and you have started discovering its capabilities. Now, it is time to go one step further and extend its skills. In the following section, we will continue with the plugin design to add custom commands to kubectl.
kubectl Plugin Design
Core kubectl commands are essential for interacting with the Kubernetes API. Plugins extend the kubectl with new subcommands for new custom features. kubectl extensions implement the binary plugin approach. As in the binary plugin pattern, kubectl executes third-party applications as extensions. There are three main rules for plugin binaries:
- Executable
- Anywhere on the user’s PATH
- Begin with kubectl-
Plugin handler in kubectl
Note Source code of the DefaultPluginHandler is available at https://github.com/kubernetes/kubernetes/blob/master/pkg/kubectl/cmd/cmd.go.

kubectl command handling
kubectl binary plugin handling
Note Source code of the DefaultPluginHandler is available at https://github.com/kubernetes/kubernetes/blob/master/pkg/kubectl/cmd/cmd.go.
DefaultPluginHandler has an Execute function with the inputs of the executable path, arguments, and environment variables. The function passes these variables to the third-party binary, which is the plugin. In Windows, it connects the standard input and output to the command and then executes it. In Linux and macOS, the function uses syscall on the operating system level with the arguments and environment variables.
Now, it is time to add a new custom command to the kubectl by creating the plugin.
Create Your First kubectl Plugins
Installed plugins
Plugin code
Plugin installation
Installed plugins
kubectl whoami plugin
There are two critical points about running the last command. The first point is that kubectl whoami is an extended command not available in the native implementation. However, with the extension capabilities, you can run a custom subcommand. The second point is that it is possible to retrieve information and interfere with the operations of kubectl now.
In the following exercise, you will create a kubectl prompt command to show the current Kubernetes cluster and the username in the bash prompt.
- 1.Create a file with the name kubectl-prompt with the following content:#!/bin/bashcurrentContext=$(kubectl config current-context)prompt="(%s @ %s) > "template="{{ range .contexts }}{{ if eq .name "$currentContext" }}{{ printf "$prompt" .context.user .context.cluster}}{{ end }}{{ end }}"kubectl config view --template="$template"
The script checks for all the contexts in the kubeconfig and retrieves the cluster and username fields.
- 2.Move the file to a folder in PATH environment variable and make it executable:sudo chmod +x ./kubectl-promptsudo mv ./kubectl-prompt /usr/local/bin
- 3.Test the plugin with the following command:$ kubectl prompt(minikube @ minikube) >
- 4.Set the prompt environment variable:$ export PS1=$(kubectl prompt)(minikube @ minikube) >
From now on, every terminal command will have the prompt available. It will always be on your sight which cluster and user are in control.
Plugins extend the kubectl and help you achieve more while interacting with the Kubernetes clusters. It is expected to have similar difficulties while operating the clusters, which leads to developing similar plugins. In the following section, the focus will be on plugin repository for kubectl and how to use it.
Plugin Repository: krew
Kubernetes community has a kubectl plugin manager named krew . The plugin manager helps to discover, install, and update open source and community-maintained plugins. Currently, there are more than 100 plugins distributed on krew. Therefore, it is noteworthy to check the plugin repository before creating a new one. It is already possible someone in the Kubernetes community has developed the same functionality and distributed it.
Downloading krew
Downloading krew
Path expansion
kubectl krew output
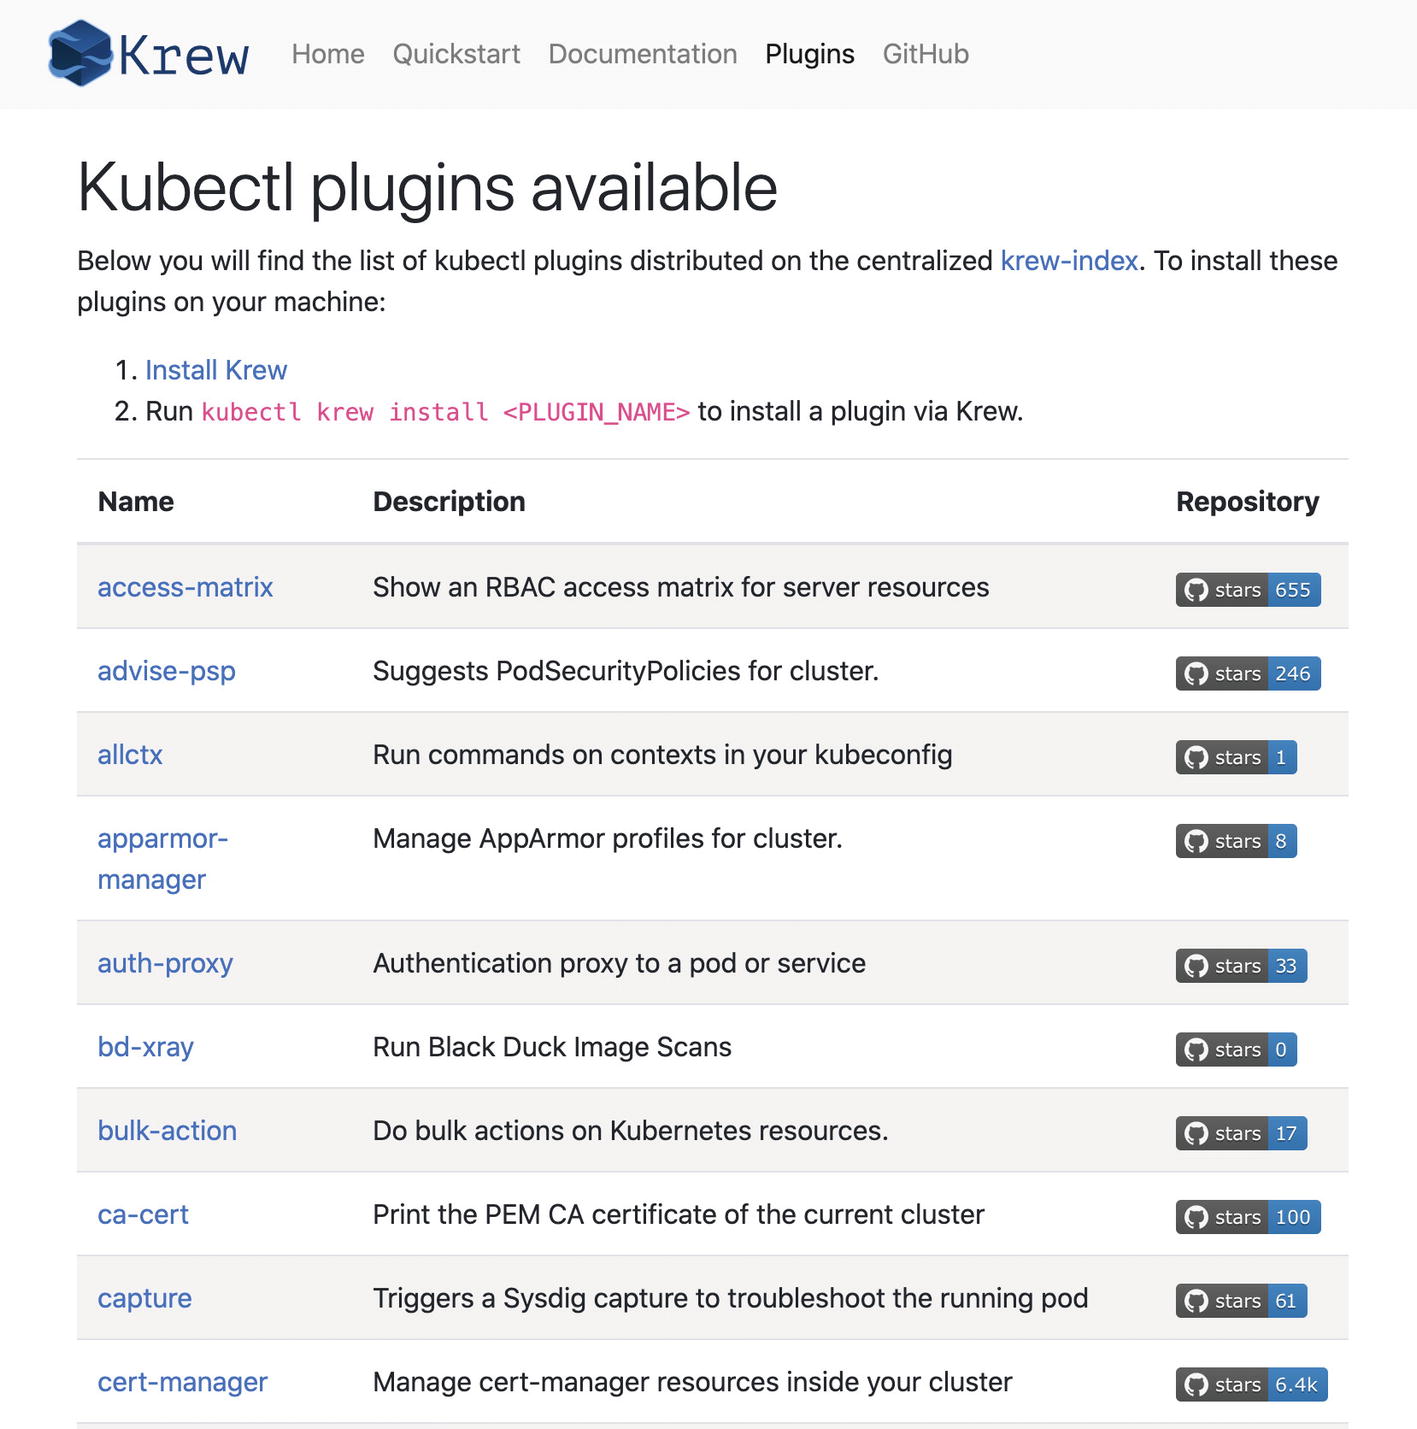
krew plugin list
Installing open-svc plugin
Note If you have not enabled the Kubernetes dashboard for your cluster, you can run minikube dashboard to install it.
open-svc plugin in action
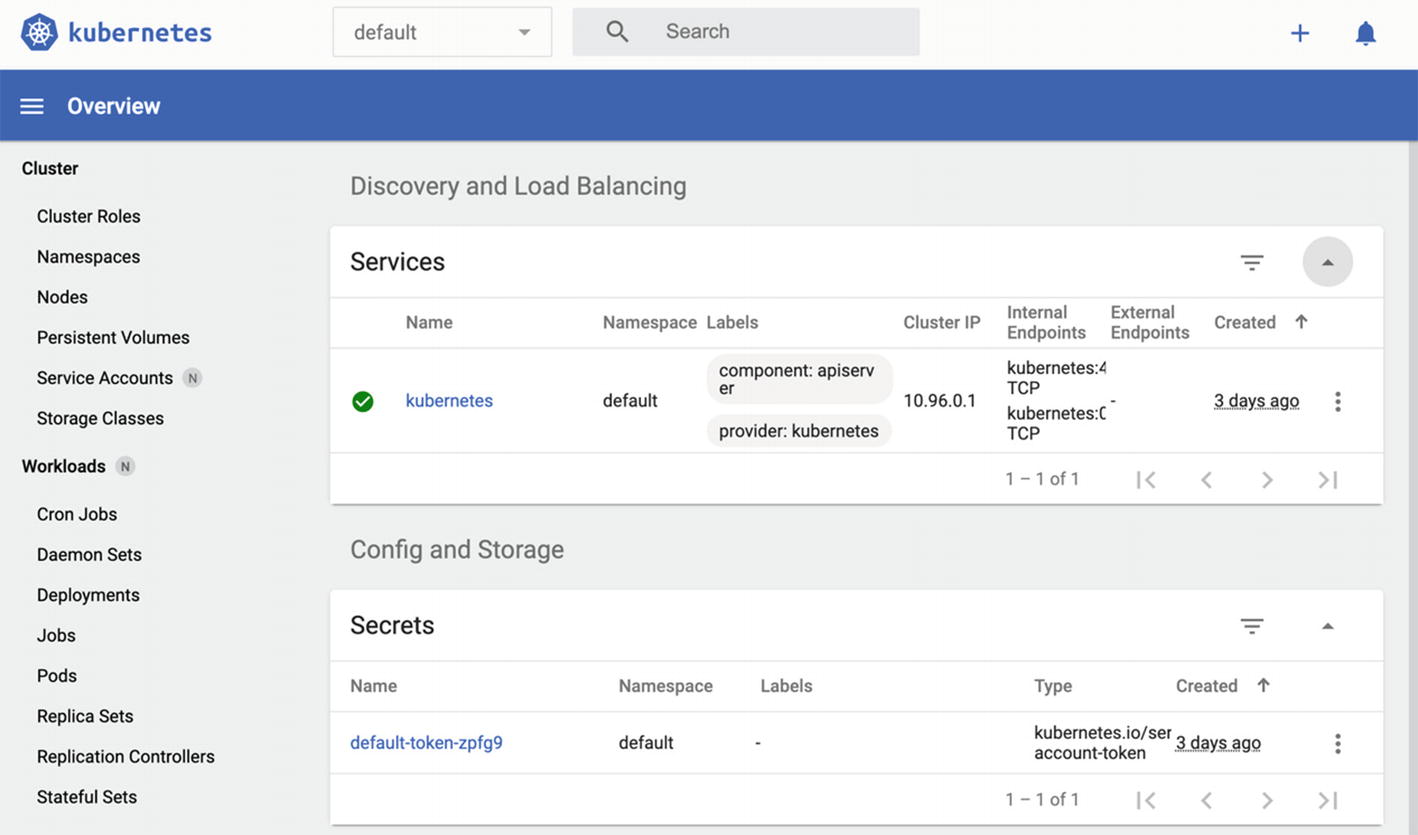
Kubernetes dashboard
It is just a couple of commands to install new plugins from the repository and start using them. Therefore, it is useful to check what has already been developed by the community before creating it from scratch.
Key Takeaways
kubectl is the official client to interact with the Kubernetes API.
Native kubectl commands are essential to operate Kubernetes clusters.
It is possible to extend kubectl with new commands by creating plugins.
kubectl plugins are third-party binaries, and they are executed by kubectl.
There is a community-maintained plugin repository for kubectl, named krew.
In the following chapter, we will continue with API flow extensions and learn how to extend the flow with authentication, authorization, and admission controls.