
NAV page objects can be published on a SharePoint site as SharePoint apps or web parts that will be embedded into site pages. Reports are not so flexible--there is no option to set a report in a page as a web part. NAV reports can only be presented as an application.
Now we will develop a SharePoint app that will expose a NAV report in the site apps list. This recipe is very similar to the Developing NAV apps for SharePoint recipe. Steps overlapping in these two recipes will be outlined here. If you need a detailed description, refer to the aforementioned recipe.
- Open your developer site on SharePoint, access the application registration page located on the URL
http://<SharePointWebsite>/_layouts/15/AppRegNew.aspx, and register a new app, as described in Developing NAV apps for SharePoint recipe, Step 1 through Step 5. - Run Visual Studio and create a new project. Select the application template App for SharePoint.
- Type a name for the project. Name it
NavSharePointReportand click OK. - Visual Studio will request the type of the application--either SharePoint-hosted or Provider-hosted. Choose Provider-hosted, enter the URL of your SharePoint site, then click Next.
- Select the version of SharePoint that you want to target your application at. Choose a version appropriate for your setup, then click Finish.
- Two reports are generated in the solution:
NavSharePointReportandNavSharePointReportWeb. TheNavSharePointReportWebweb project containing ASP.NET pages will not be used in this example and can be deleted. - In the Solution Explorer window, expand the list of project files and right-click on
Manifest.xml. Choose Open With... and select XML (Text) Editor. - Set the value of the StartPage property:
http://localhost:8080/DynamicsNAV90/WebClient/?report=309. - In the
RemoteWebApplicationproperty, set the value obtained from SharePoint in Step 1. - In the Title property, set the report title that will be displayed on the site. Finally, the contents of
Manifest.xmlshould be as follows (note that values ofProductIDandClientIDwill be generated individually for each application, andSharePointMinVersiondepends on the version of the software installed on your server):<?xml version="1.0" encoding="utf-8" ?> <App xmlns= "http://schemas.microsoft.com/sharepoint/2012/app/manifest" Name="PurchListReport" ProductID="{a2fd7d81-3cf4-401c-a222-37afd808b468}" Version="1.0.0.0" SharePointMinVersion="16.0.0.0"> <Properties> <Title>Vendor - Purchase List</Title> <StartPage>http://localhost:8080/DynamicsNAV90/WebClient/? report=309</StartPage> </Properties> <AppPrincipal> <RemoteWebApplication ClientId= "e9942529-c528-47cf-aad3-05119ce55141" /> </AppPrincipal> </App> - Save the project and build it. The SharePoint app will be deployed to the site.
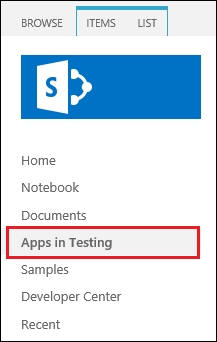
- To run the report, open the SharePoint site and locate the application in the Apps in Testing list:
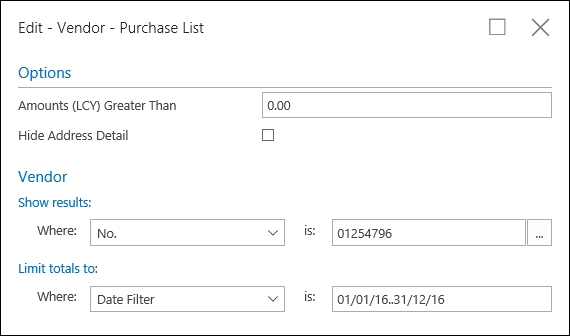
- When the application is run, a report request page is displayed. To see the report data, fill in the request parameters, click the Send to button, and select a report format (
PDF / Word / Excel
):
..................Content has been hidden....................
You can't read the all page of ebook, please click here login for view all page.