In this chapter, we will learn how to back up and restore workloads in Google Cloud Platform (GCP). Backing up and restoring workloads in any infrastructure (self-hosted or cloud-hosted) is one of the most critical operations you will need to make sure you have under control. Many organizations neglect this part of the operation, only to find out when it is too late how important having a backup is.
The second important thing in any environment is to make sure your backups are working by testing your restore process. Over my sixteen years in IT I have heard too many horror stories about companies backing up workloads for years only to find out they are not working because no one tested the restore process and everyone assumed the restore would work.
Back Up and Restore Compute Engine VM Instances
Back Up GKE Persistent Storage Disks
Manage Cloud Storage and File Store
Back Up Compute Engine VM Instances
I would like to start with VM instances, which will help you understand the concept of backups in GCP.
Snapshots
In Google Cloud Platform, backups are done using snapshots of persistent disk volumes that are attached to resources like VM instances and GKE hosts. When it comes to VM instances, you run a backup by taking snapshots either manually or by using a scheduler, which is the recommended method.
When you run your first snapshot, GCP will take a full disk backup; however, after the first snapshot, any further backups will only contain the changes that were made to the instance. Using this method, backup size is smaller and so are the costs of running backups and keeping them for a long period of time.
Create Snapshot
Go ahead and create your first snapshot to learn by example and understand how back up and restore works in GCP. In my case, I have a running VM instance of which I will take a snapshot.
Open the GCP console and navigate to the Compute Engine console.
In the Compute Engine console’s left-hand navigation menu, click on Snapshots.
Snapshots
On the Snapshots page, click on Create Snapshot.
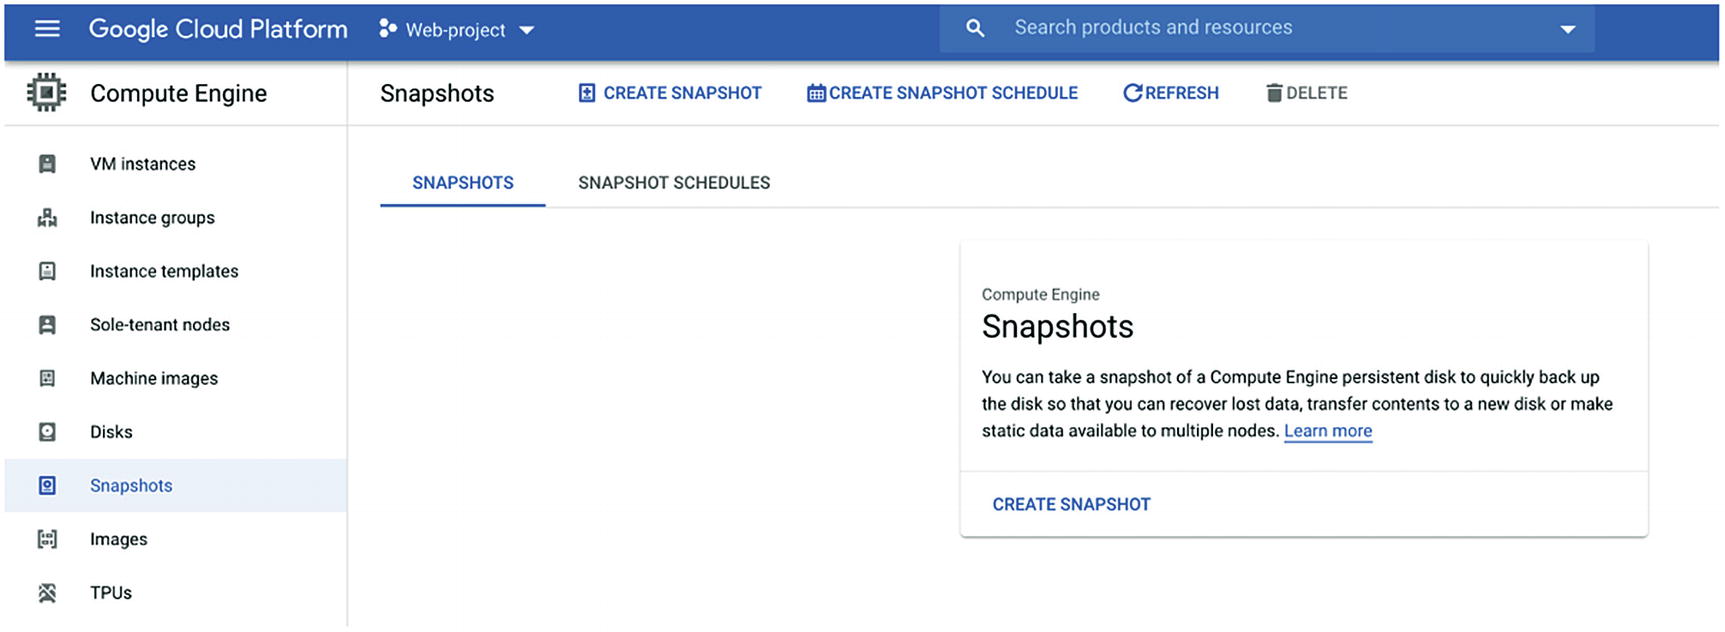
- On the Create Snapshot page, fill in the following details:
Name: This the name of the backup set.
Source Disk: This is the present storage disk of the VM instance you are backing up, so make sure you get this value right. If you are not sure, click on the VM instance and scroll down to the Boot Disk section and note the name of your disk or disks.
Location: This is very important. By default, GCP will backup your data to multiple regions for high-availability reasons; however, the cost will double since two backup sets are kept, plus there are network traffic charges.
If the workloads belong to a development environment, it might be smarter to use a regional zone. If you select a regional zone, make sure the backup is in the same location as the VM; otherwise, you will pay for network traffic.
When you are ready, click on Create to start the backup process.
Create a snapshot

Snapshot
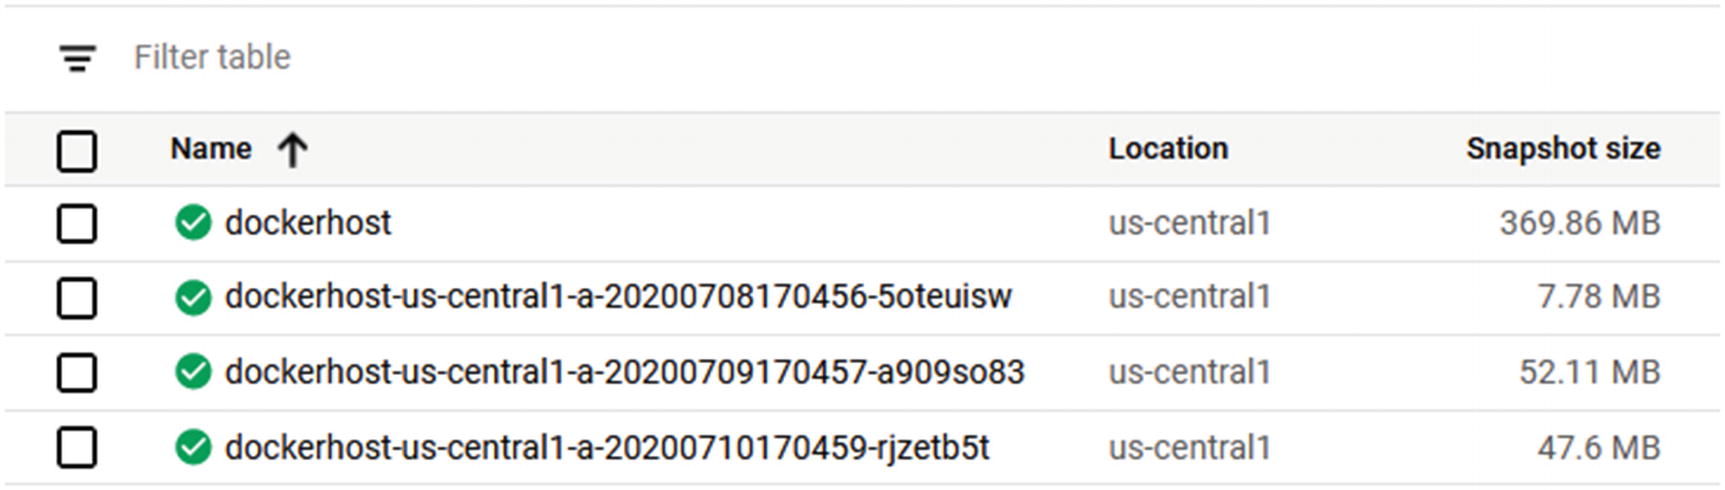
If you look at Figure 9-3, my snapshot has completed, and it is 369.86 MB in size.
Create a Snapshot Using Cloud SDK and gcloud
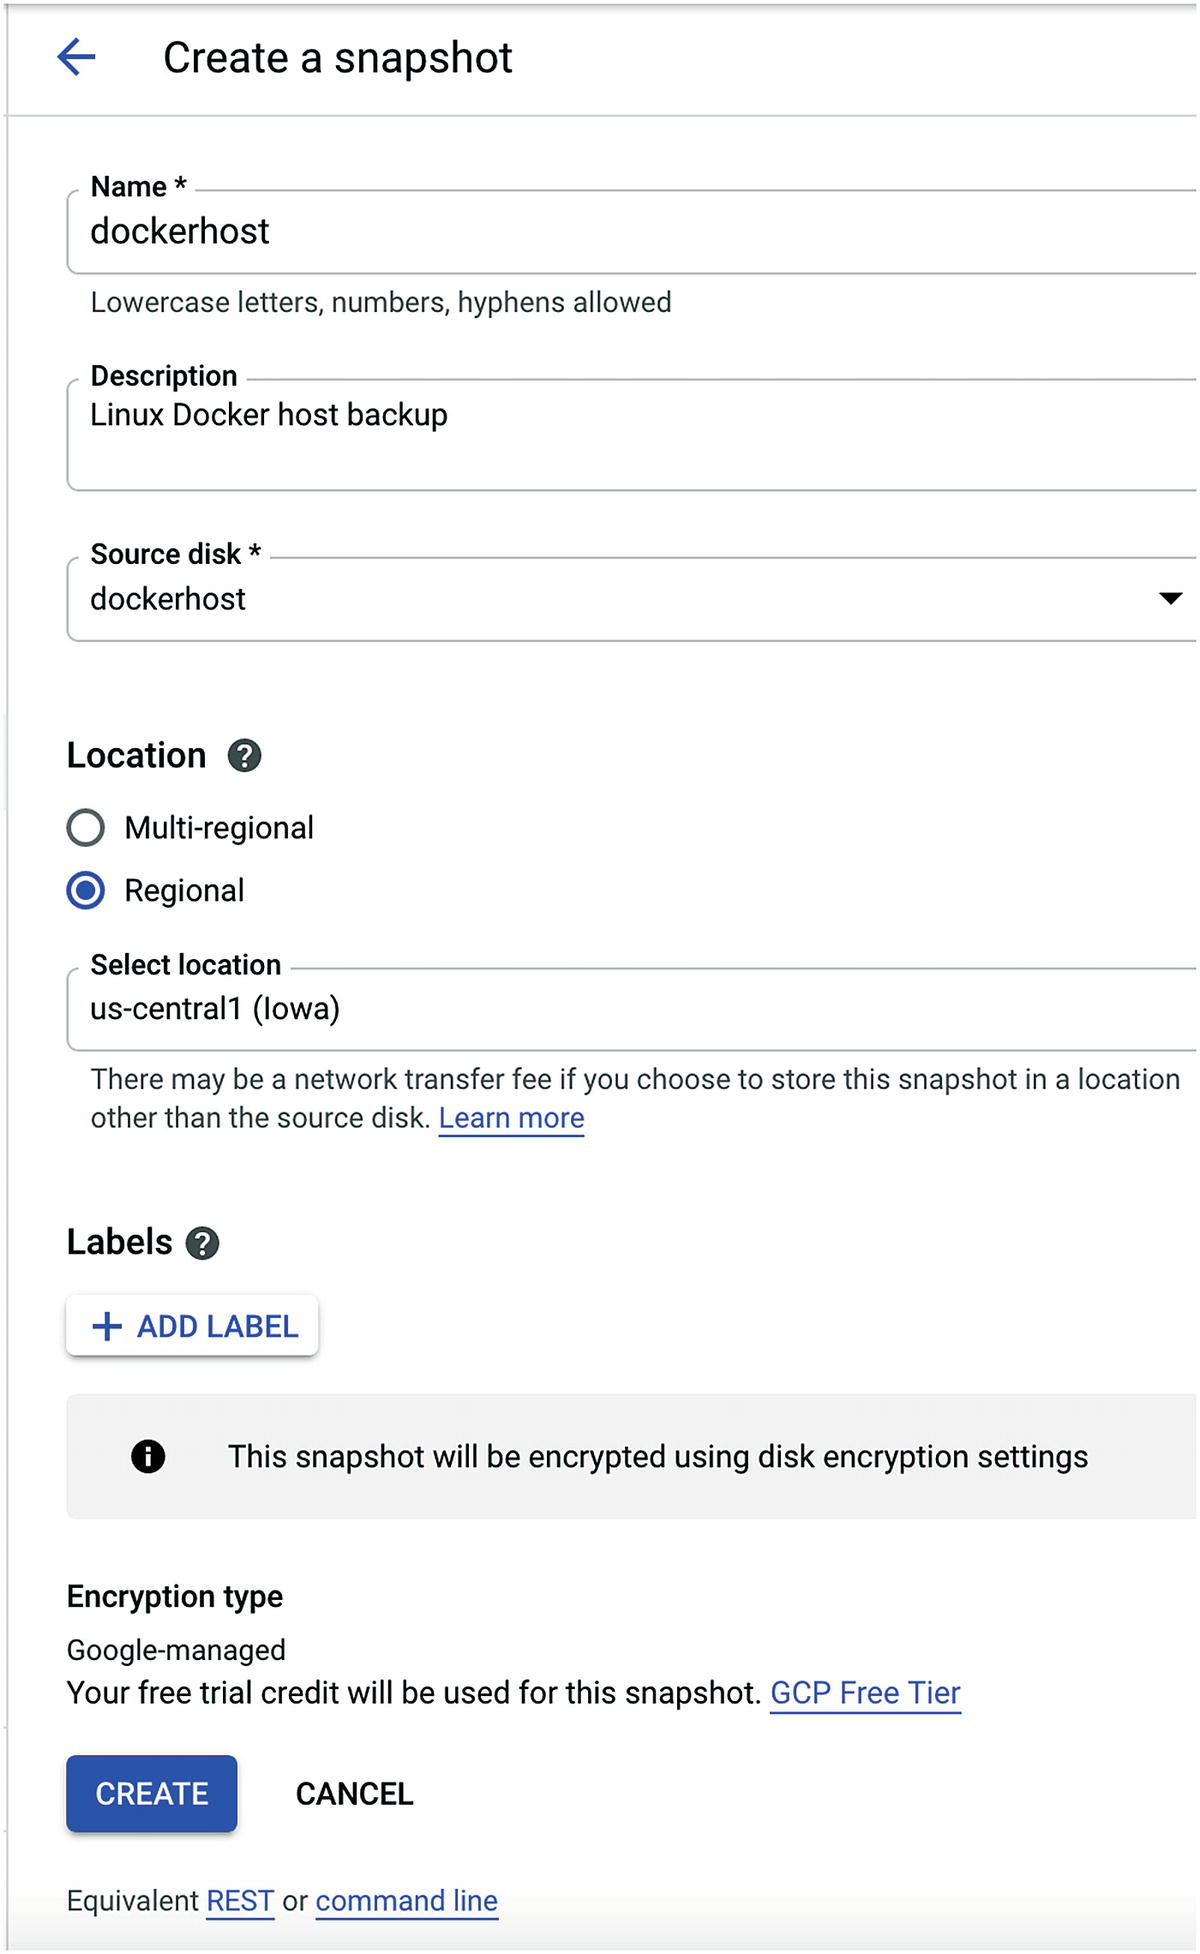
Schedule Snapshots
To schedule the operation of your backup infrastructure in GCP so as to not worry about taking backups, it is smart to automate the entire process. Using a snapshot schedule, you can configure the backup process to take place on specific days and times.
The process to use the snapshot schedule is simple. First, you create a schedule in the Snapshot Schedule console. Second, you configure the VM to use the schedule. Let’s see how this process works.
Create a schedule
Name: Use a meaningful name that will help identify what type of backup it is.
Region: Select a region where the schedule will be located.
Snapshot location: Select a region where the backup data will be.
Schedule options: This is where we configure the schedule details (day and time).
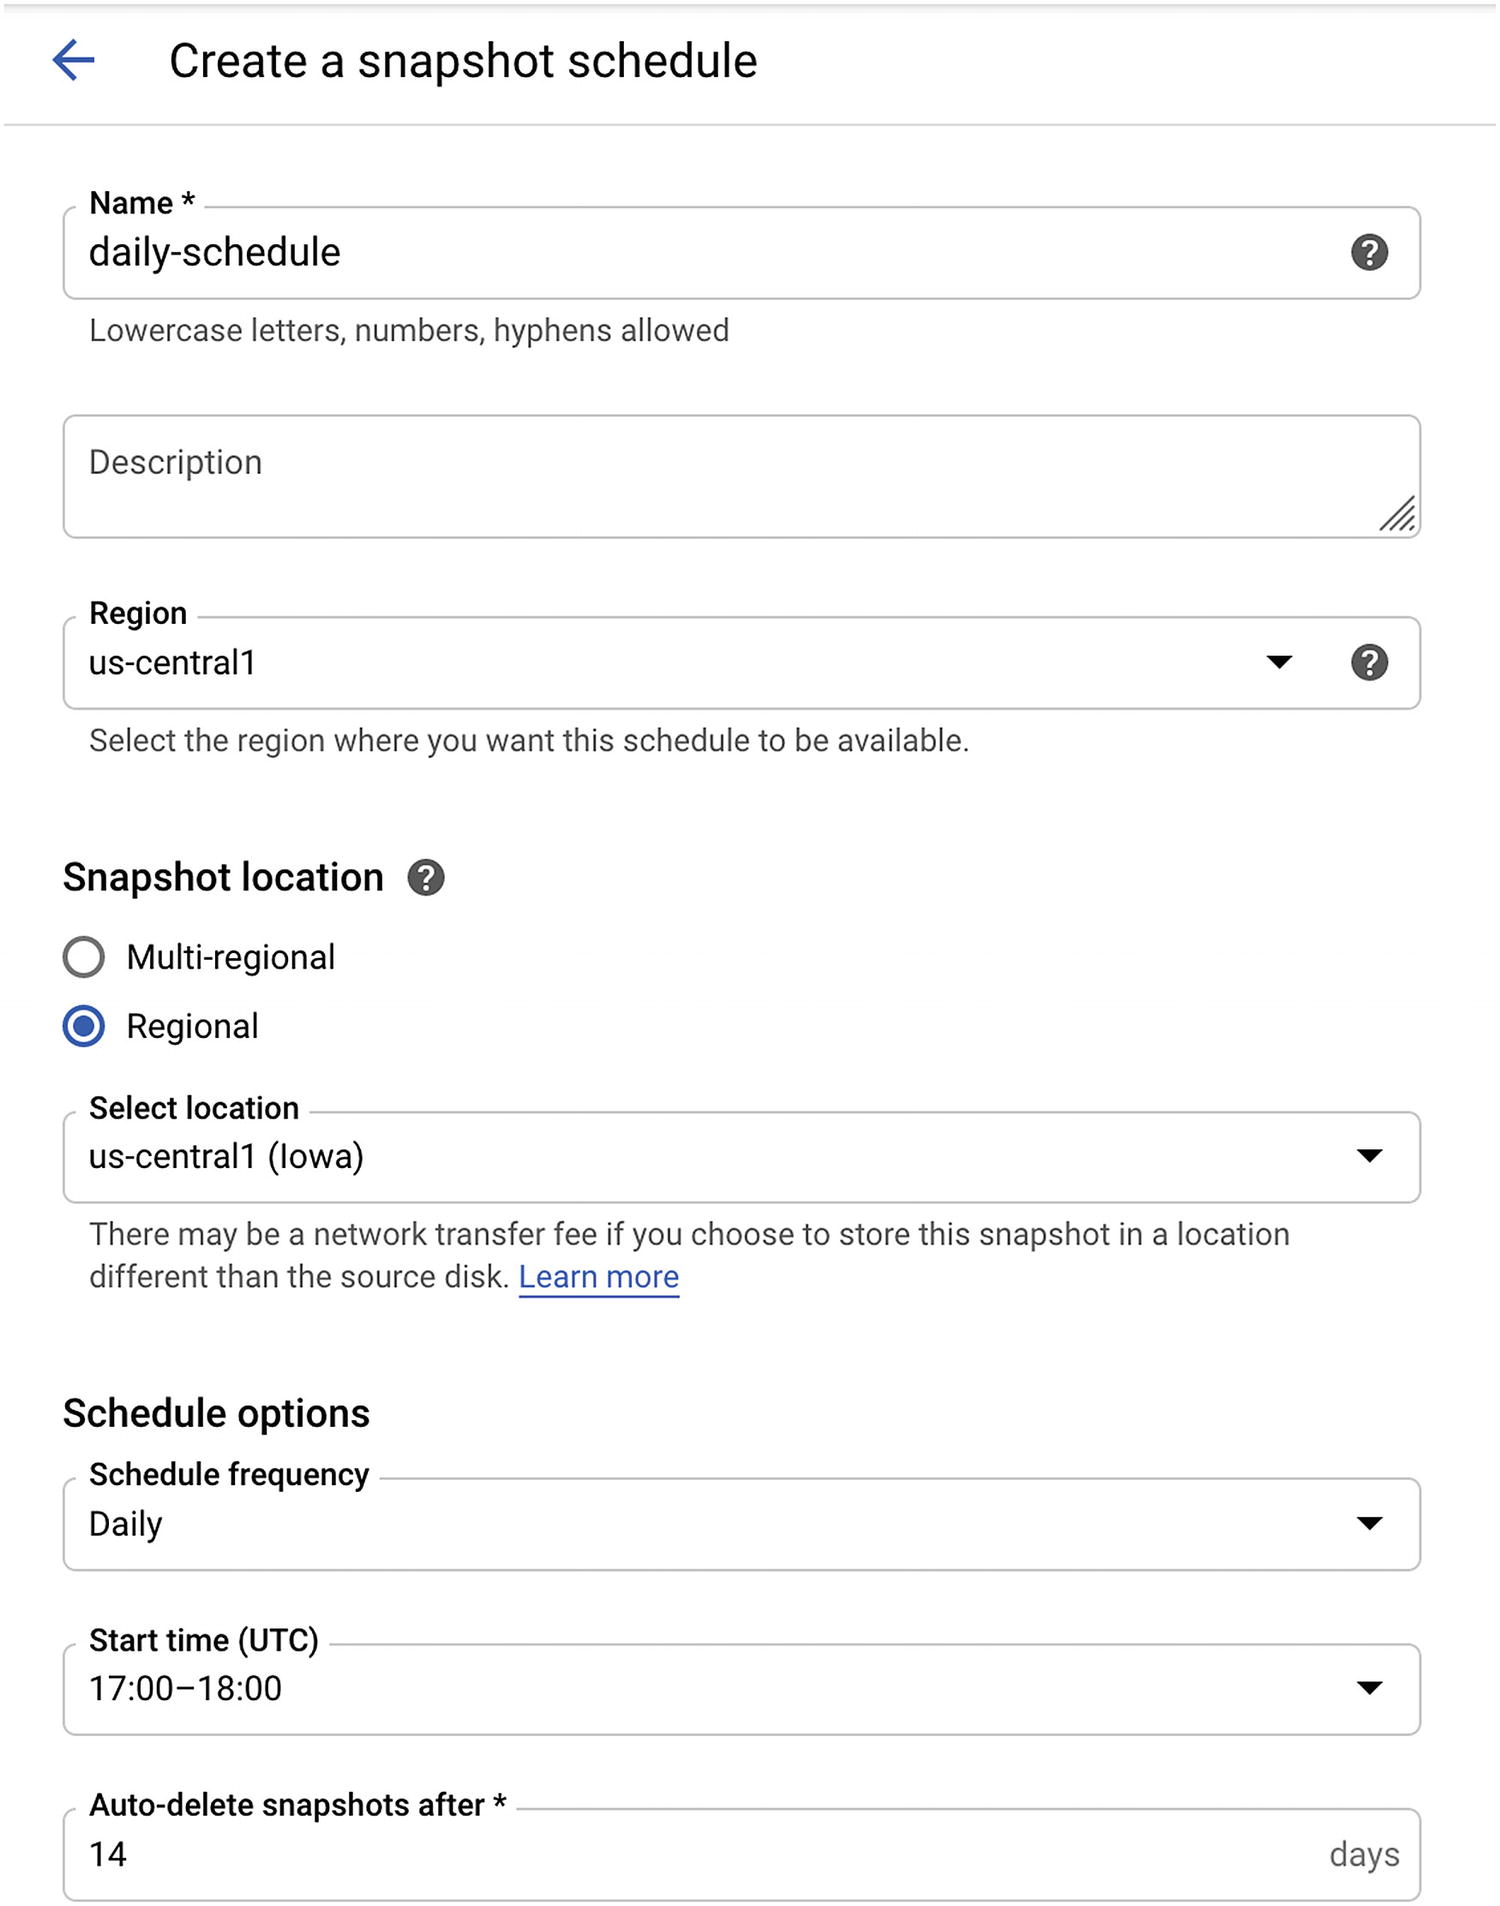
Create a schedule
Attach VM Instance Disk to Snapshot
Now that you have the schedule ready, it is time to associate the schedule with a VM. When you attach a VM to a snapshot schedule, the VM will be backed up in accordance with the schedule.
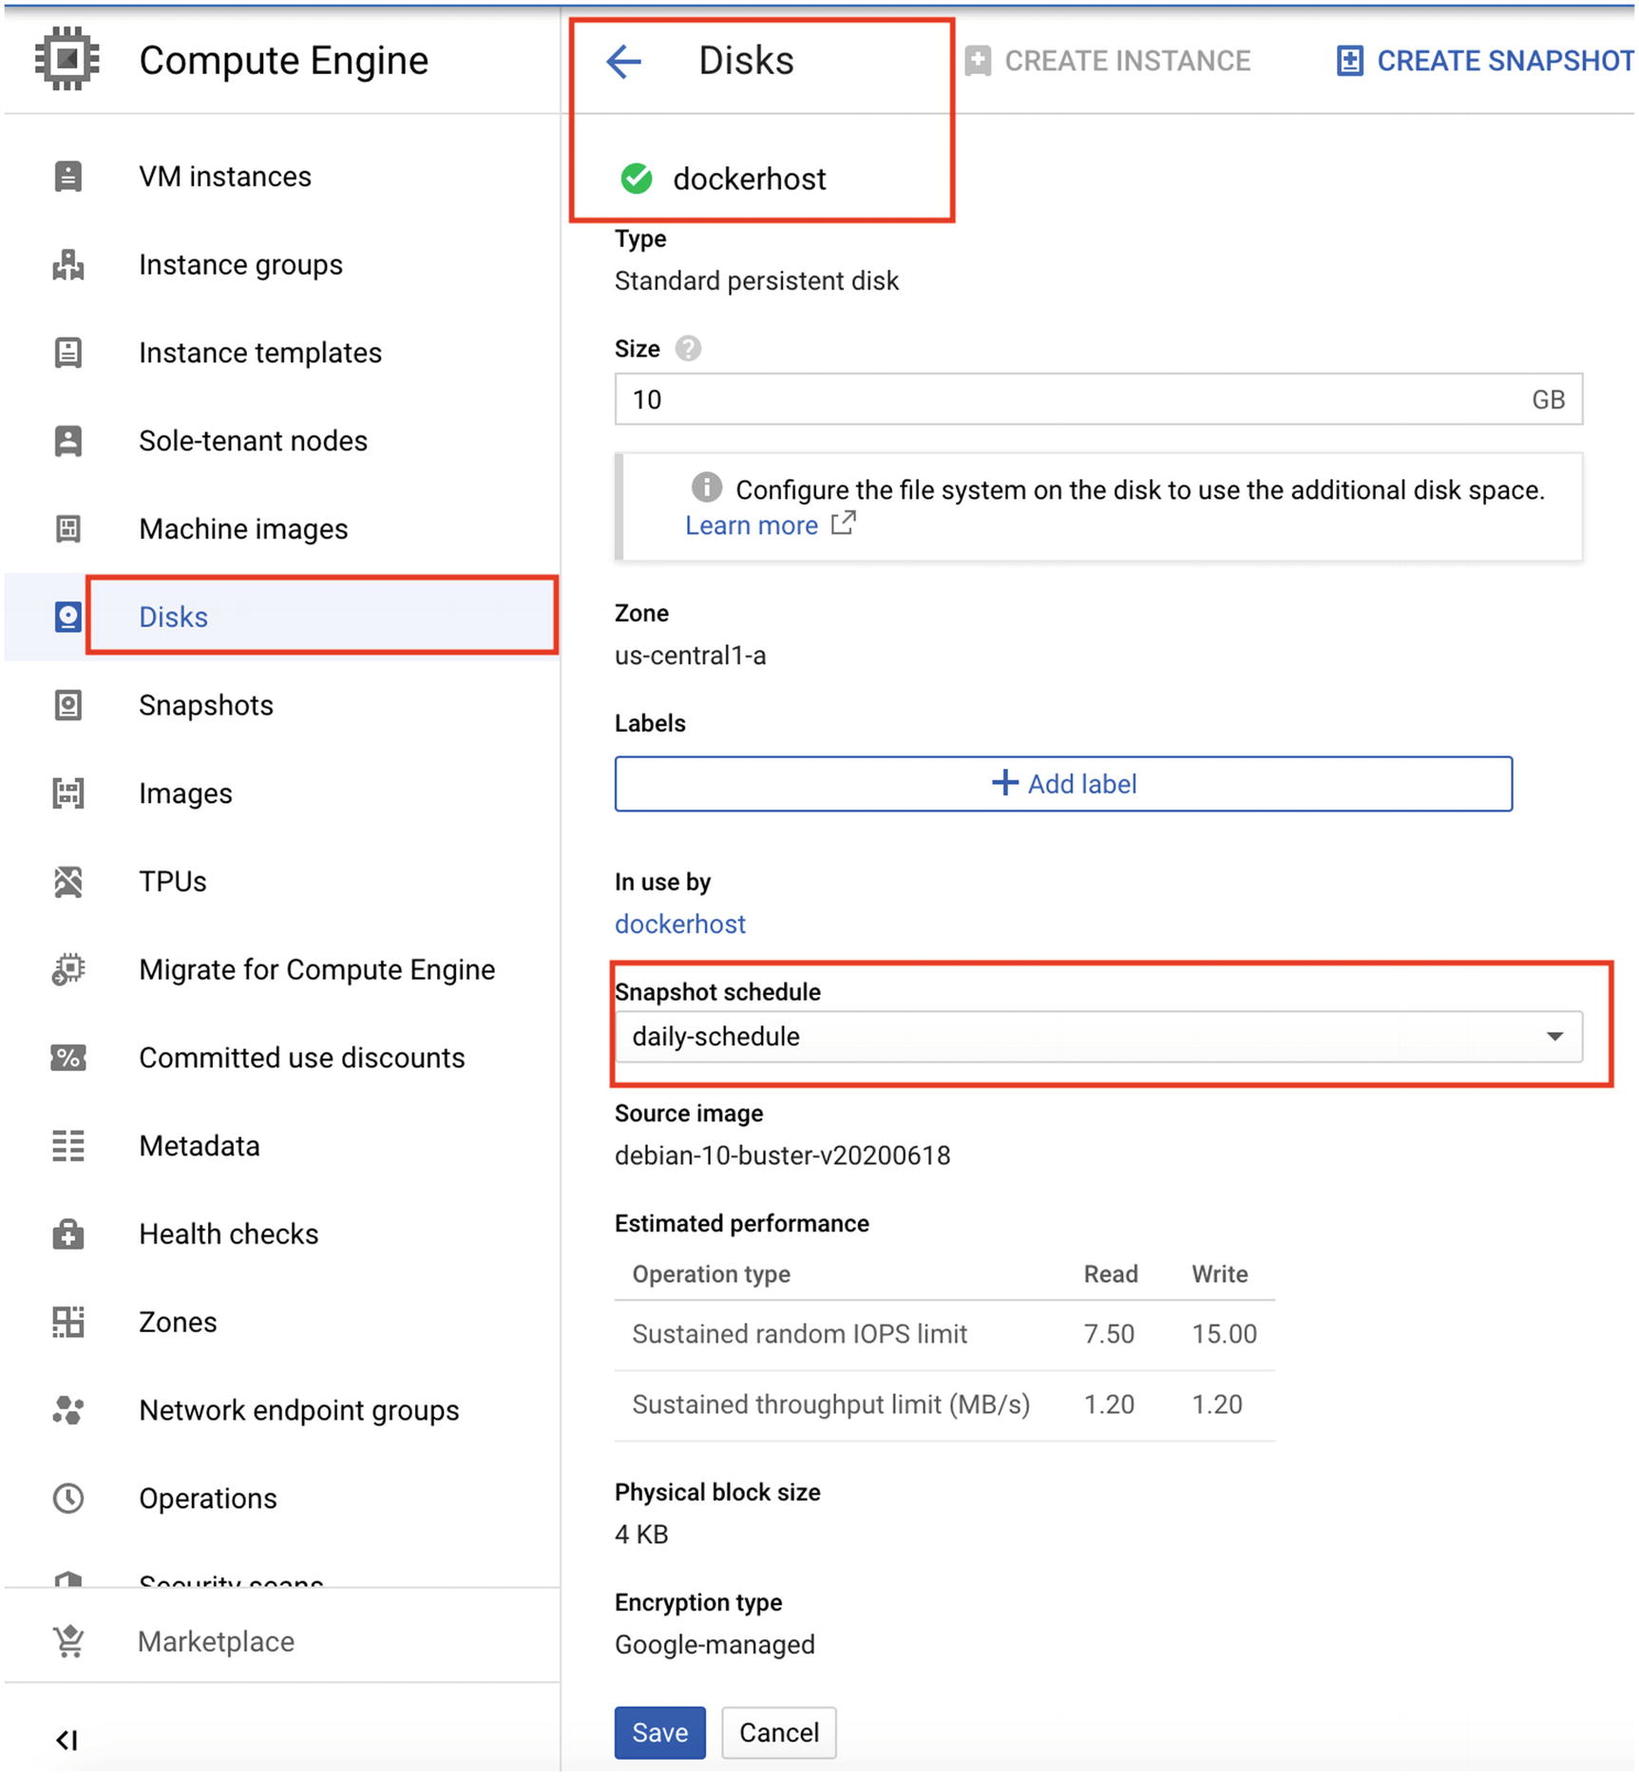
Snapshot schedule
On the Disk Details page, scroll down and select the snapshot from the Snapshot Schedule drop-down menu, as shown in Figure 9-6.

Used by
Restore Compute Engine VM Instance
Create a new VM from an existing snapshot: This option is good if you would like to have a copy of a running instance and compare or test the configuration of the instance in a sandbox environment.
Replace existing disk with a snapshot: This is probably what most people will use if they need to restore the VM. In this case, we first create a disk from a snapshot and attach it as a boot disk.
Let’s go ahead and start with the first option.
Create a New Instance from a Snapshot
Snapshots

Create instance

Boot disk
Replace Boot Disk
The second restore option is handier if you need to restore a running VM instance, because it will replace an existing boot disk or a secondary disk.
Create a New Disk from Snapshot
Open the Disks section from the Compute Engine console and click on Create Disk.
Name the disk.
On the Create Disk wizard, in the Source Type section, click on Snapshot and select the snapshot you would like to use.
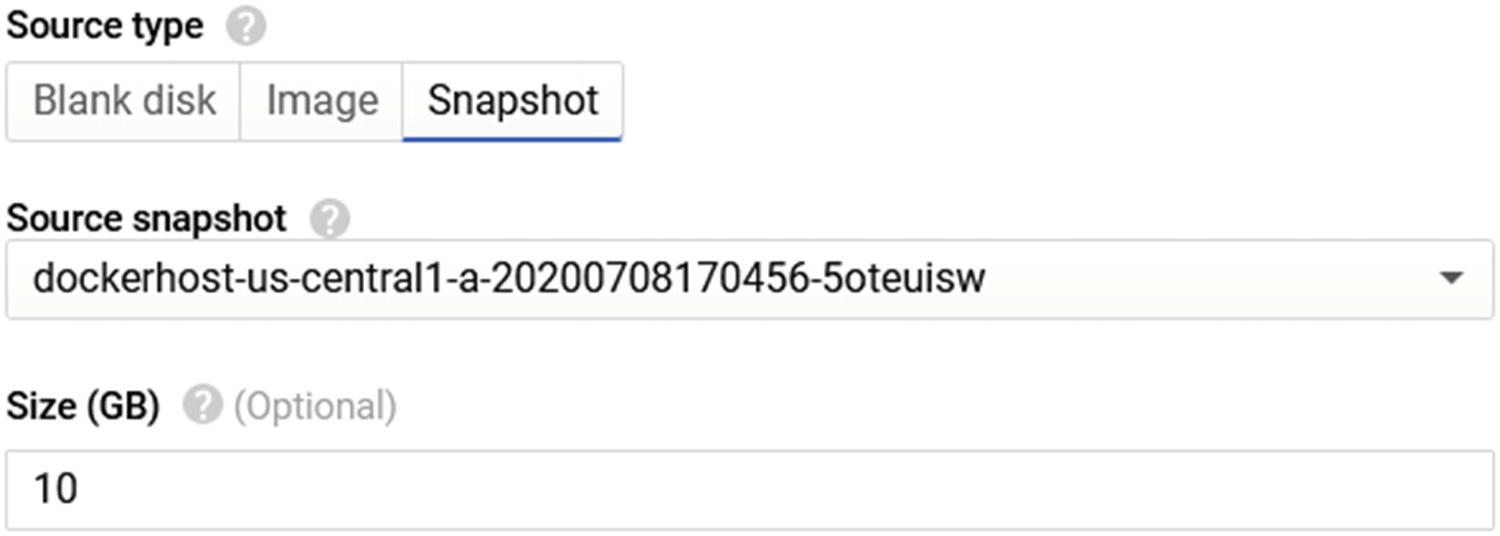
Source type
Replace Disk of an Existing VM
First, stop the VM and click on it.
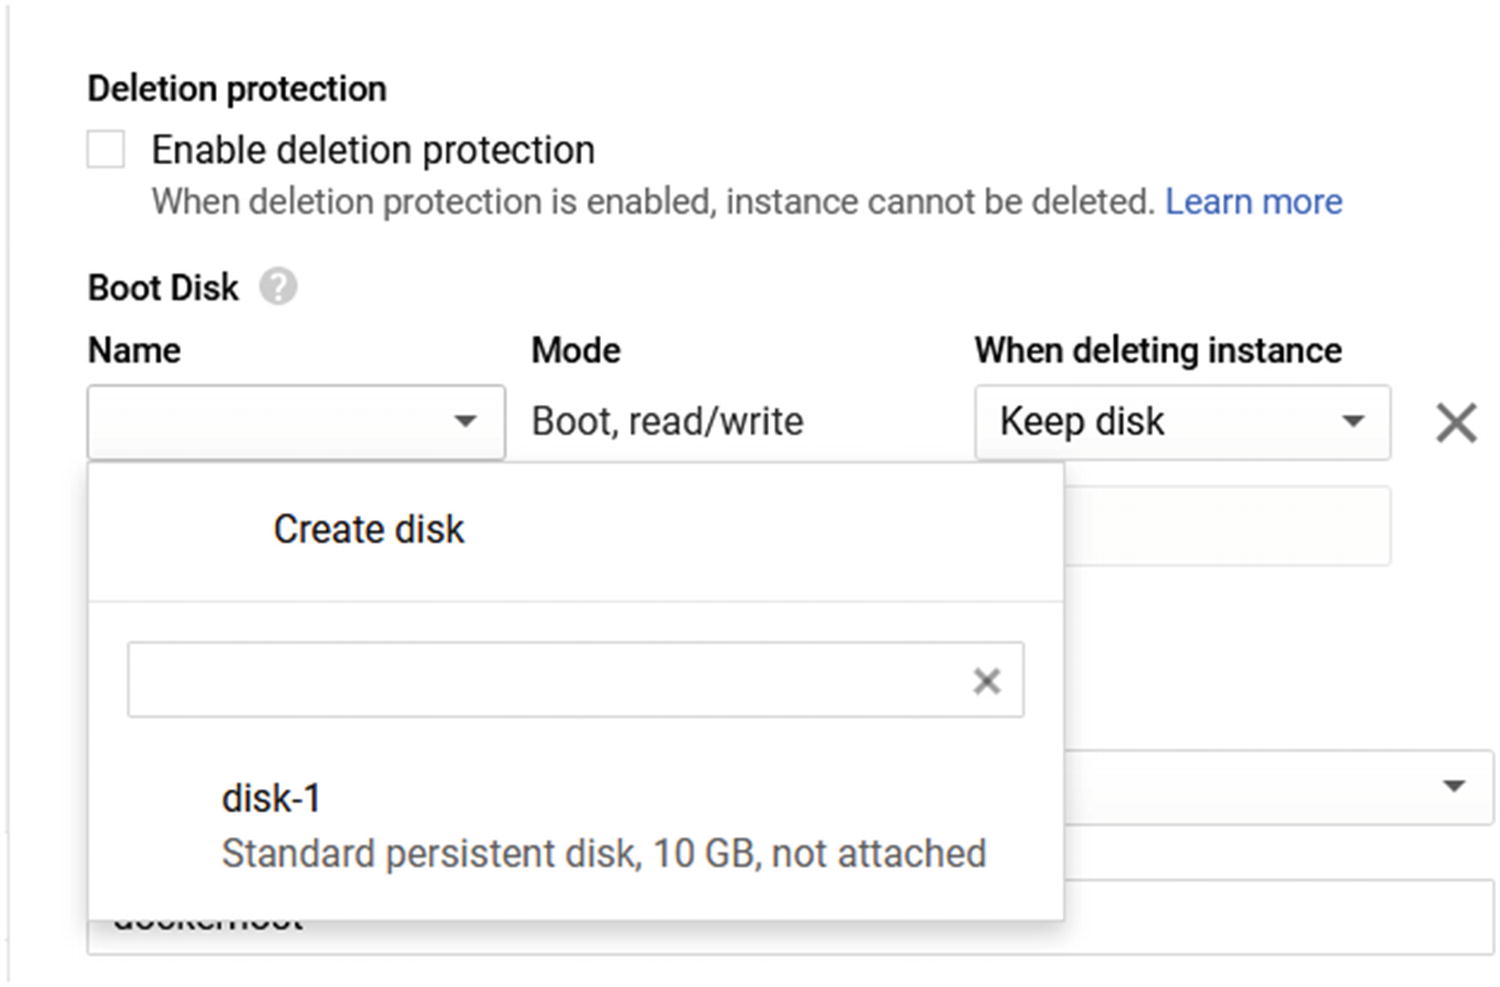
From the VM Details page, click on Edit and scroll down to the Boot Disk section, as shown in Figure 9-12.
Remove the existing disk using the X sign and click on the Add Item button.
Add disk
When you finish, save the settings and start the VM.
Back Up Persistent Storage Disks (GKE)
When it comes to Google Kubernetes Engine (GKE) backups and recovery, the process to manage GKE data is very similar to that for Compute Engine VM instances. Since GKE uses persistent storage (same as VM), we actually use the same interface and process to back up and restore data as we used in the previous section.
Let’s go ahead and deploy a stateful GKE application using the process we learned in Chapter 4. To deploy a stateful application, connect to your GKE cluster from the Shell terminal using the following gcloud command:
You can find the connect command, on the GKE cluster page, by clicking on the Connect button next to the cluster name.
After connecting to the GKE cluster, deploy a stateful application using the following line:
This is the same random app we deployed in Chapter 4.
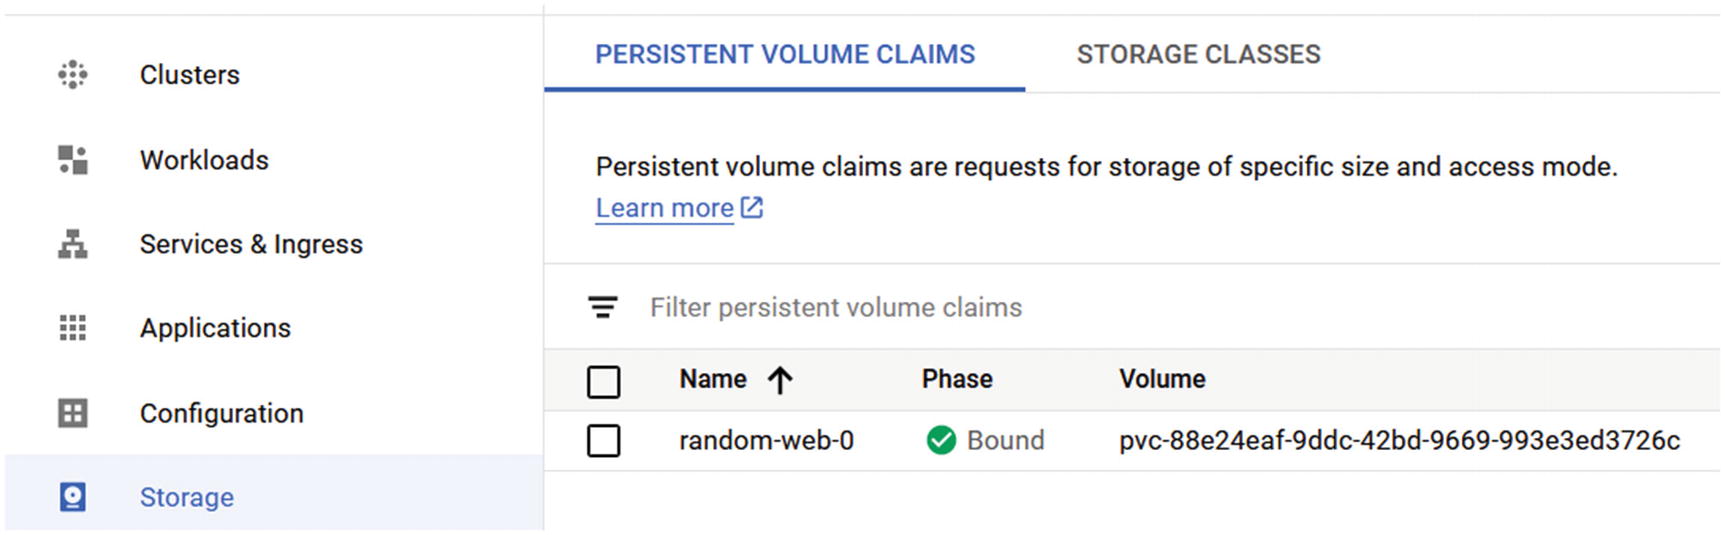
GKE storage

GKE disks
If you click on the disk, you will see to which application it belongs in the cluster. This part is very important when you need to back up and restore applications that are running on GKE.

Disk details
Manage Cloud Storage
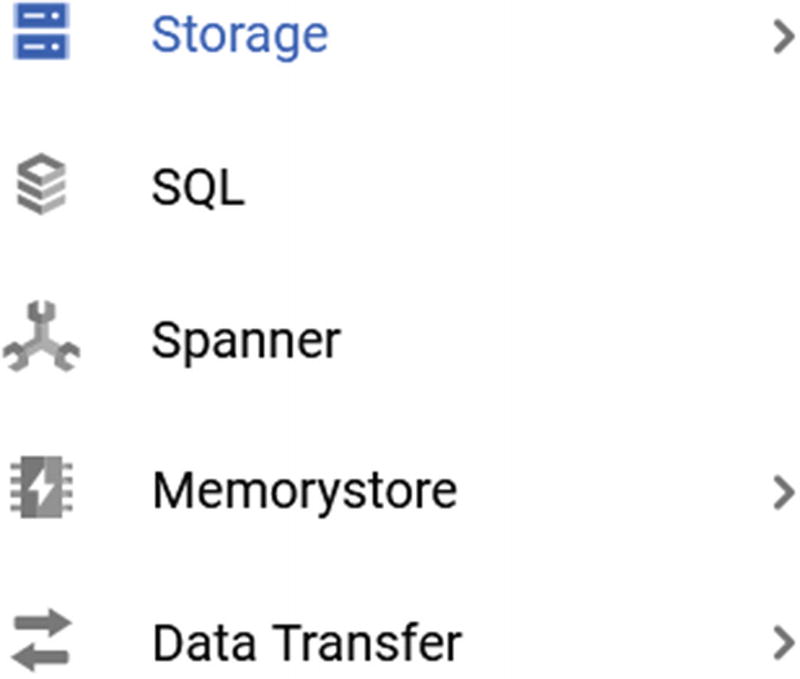
Cloud Storage
About Cloud Storage
Create Bucket
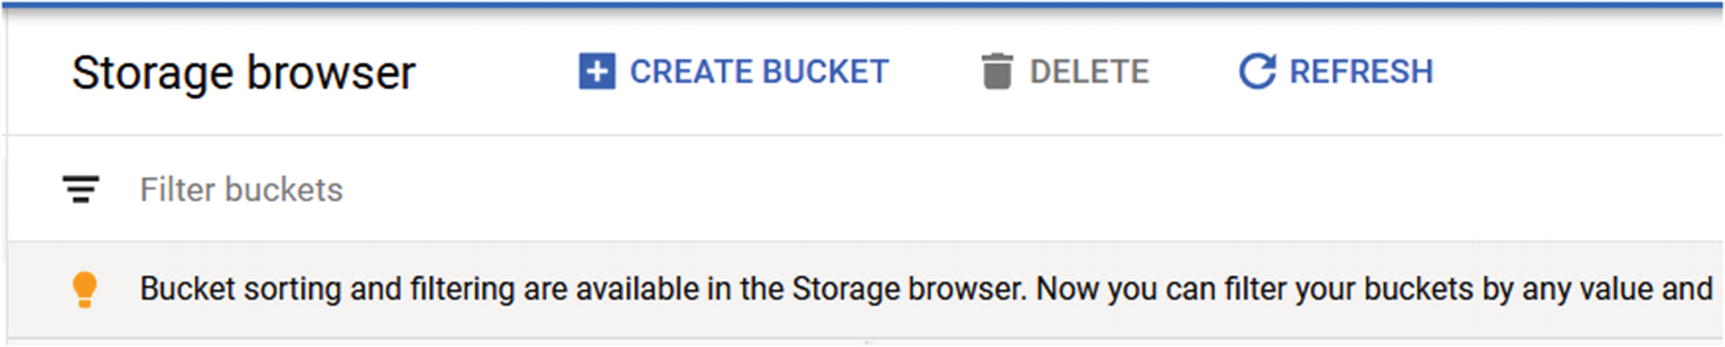
Create storage
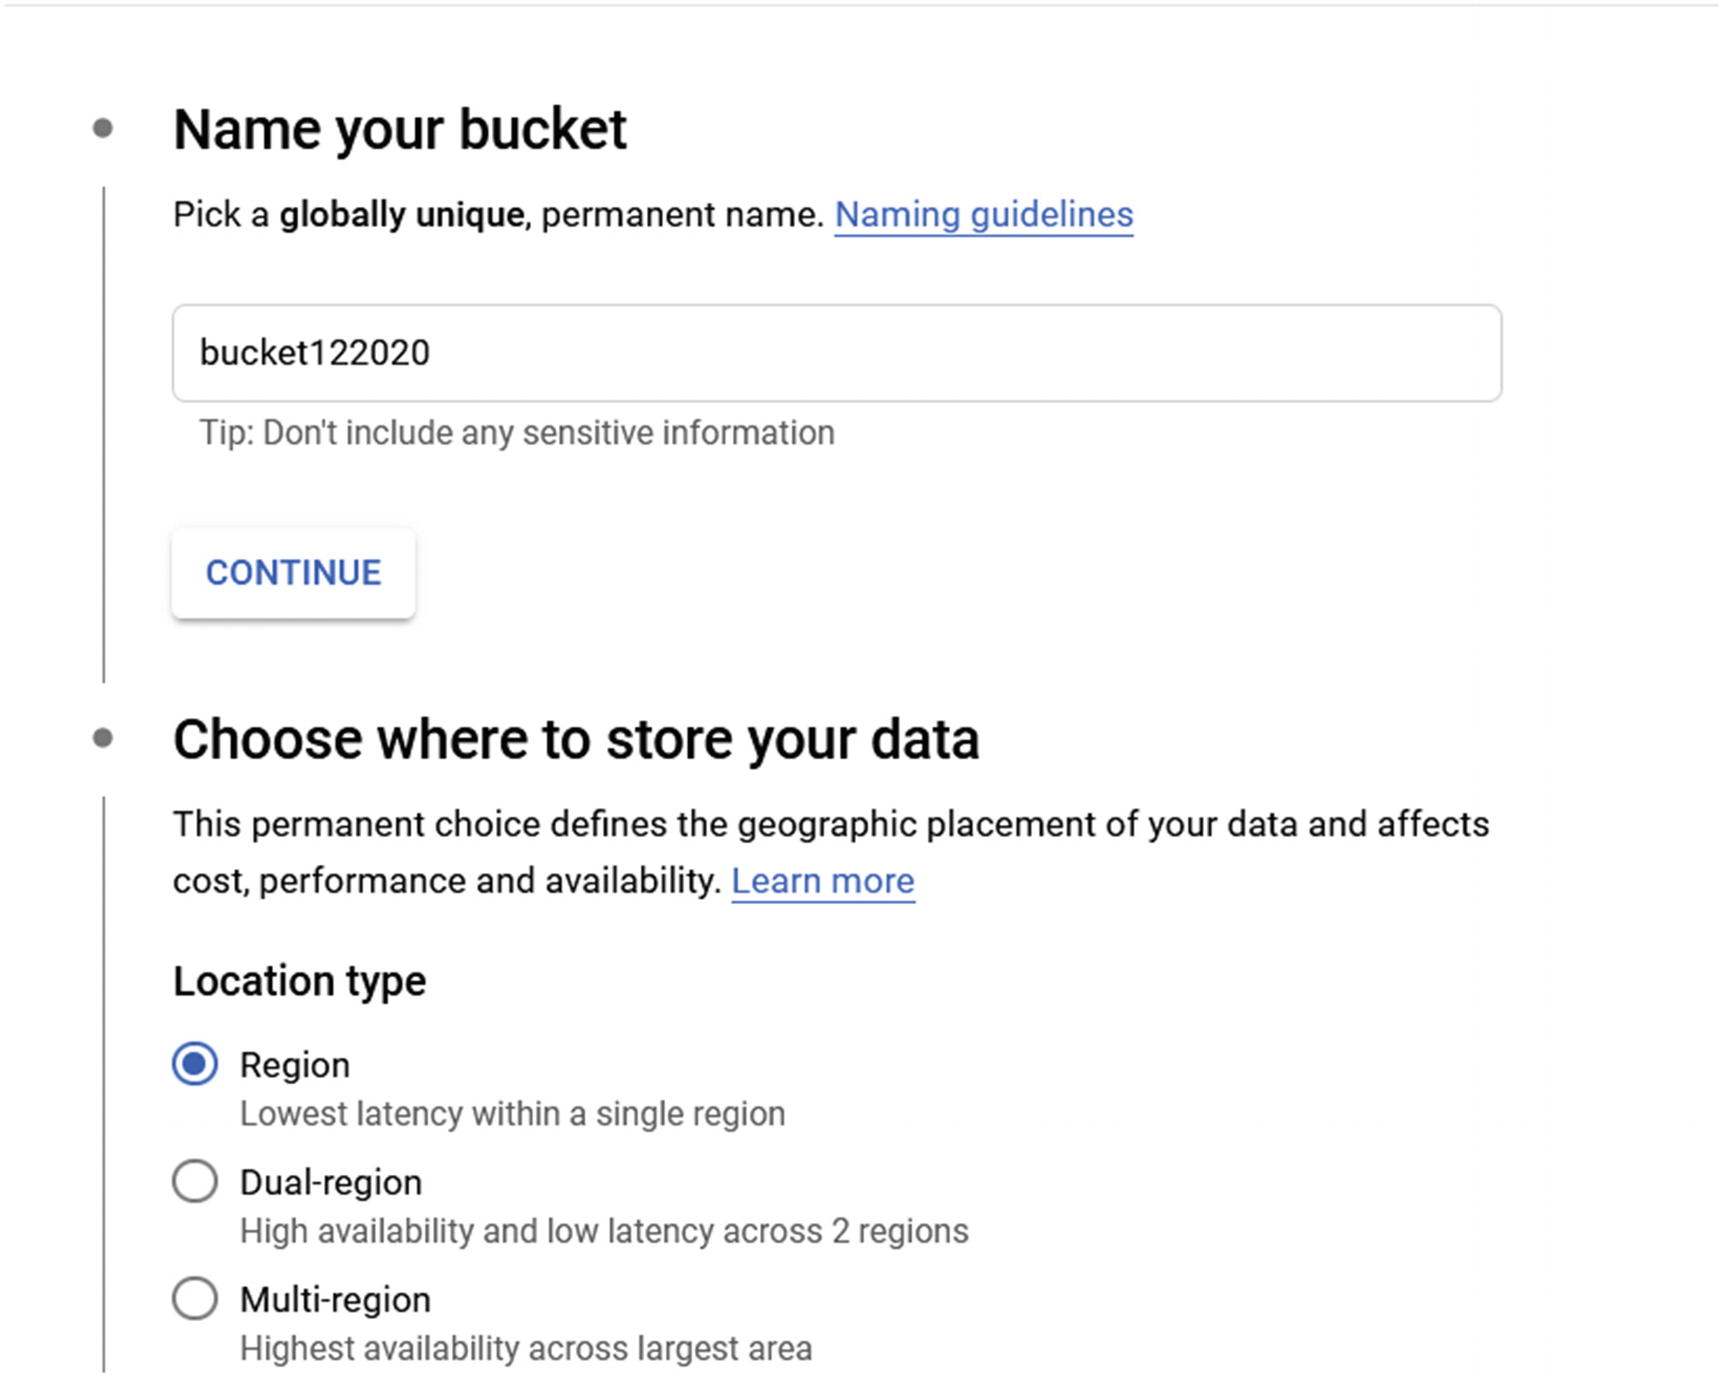
Location
Set Retention Policy
When it comes to Cloud Storage, backup and restore are different—and I mean completely different, because there is no backup option. Cloud Storage uses retention policies to control data and prevent you from losing your data.
It is very important you understand this point: without using a retention policy, deleted data is gone forever and cannot be restored. The retention policy will keep any deleted data in the storage bucket for the life of the configured retention policy.
For example, if I set a retention policy of two years, deleted data would be kept in the bucket and be visible for two years before being deleted automatically.
Set a retention policy in the Retention Policy section on the Create Bucket setup page. By default, the retention policy is disabled. In my case, I will enable the retention policy with two days of retention just for testing purposes.
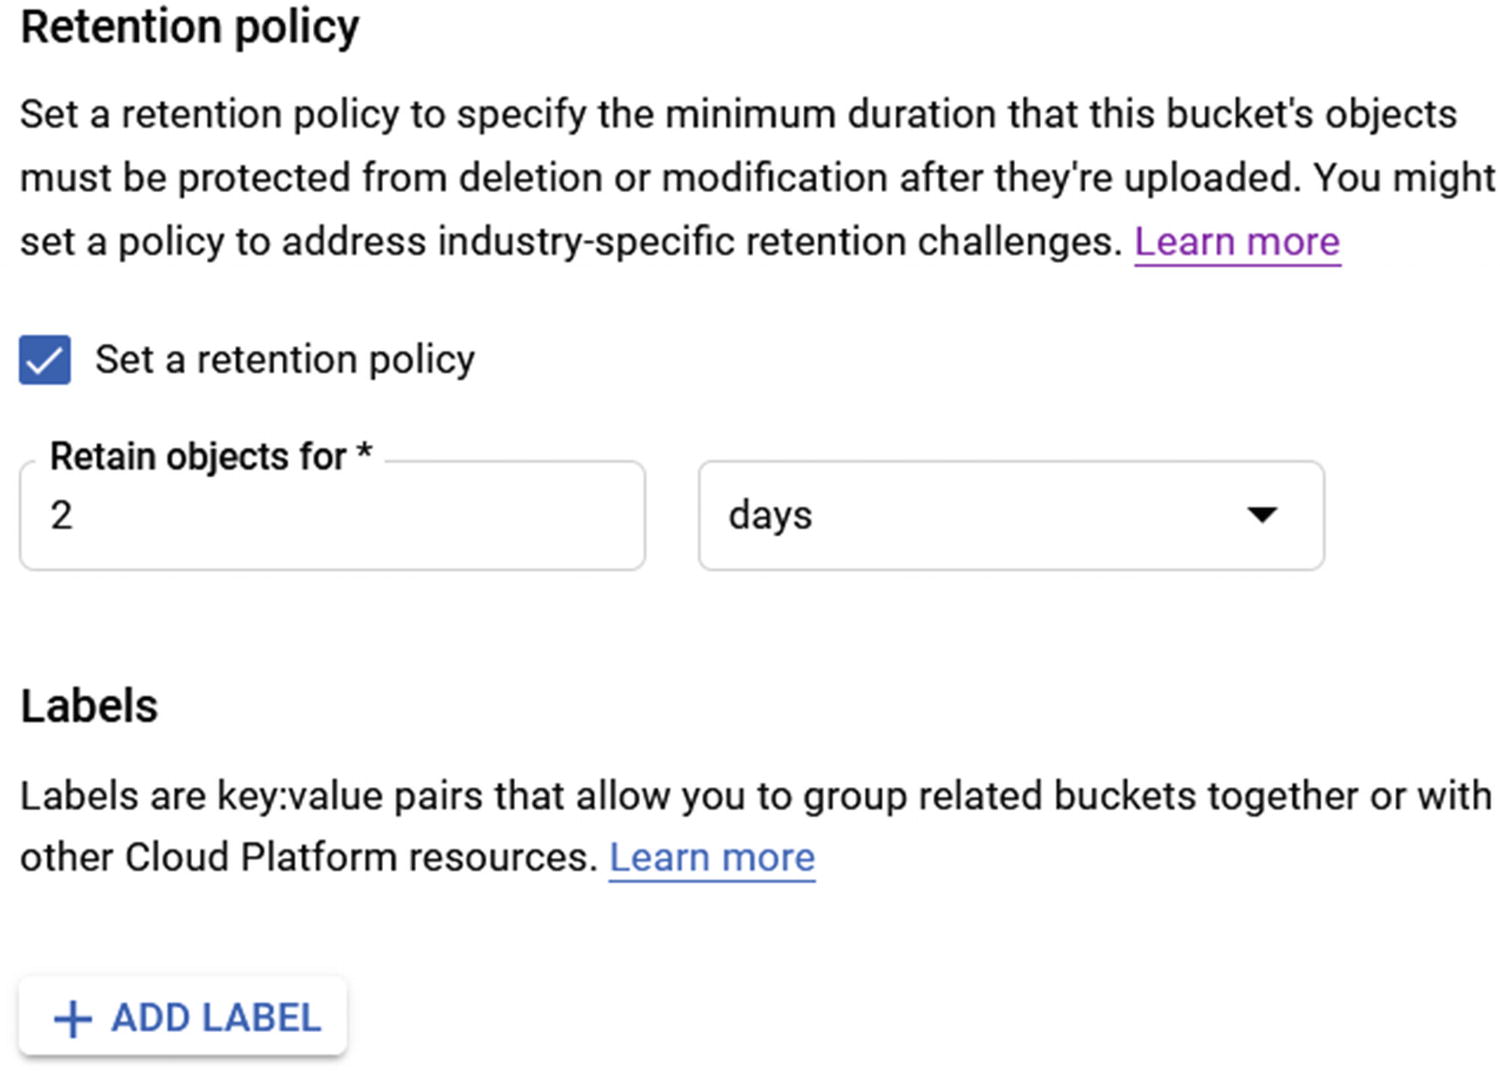
Retention policy
Add and Delete Files from Cloud Storage
To add files to Cloud Storage, you can use the GUI for GCP API tools by using the following link:
https://cloud.google.com/storage/docs/uploading-objects#rest-upload-objects
For the purpose of this demo, we will use the GUI.

Upload files and folders
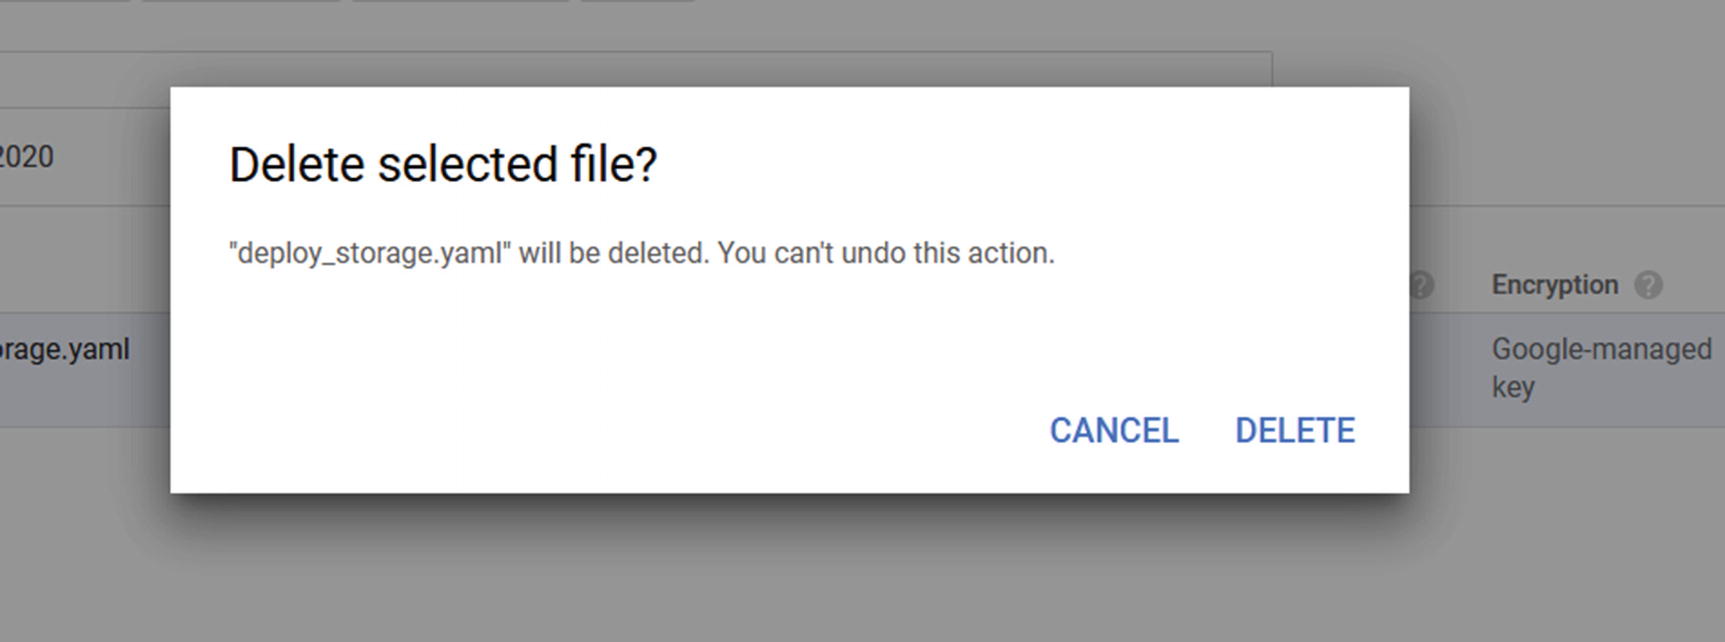
Delete file

Retention expiry date
Configure or Add Retention Policy
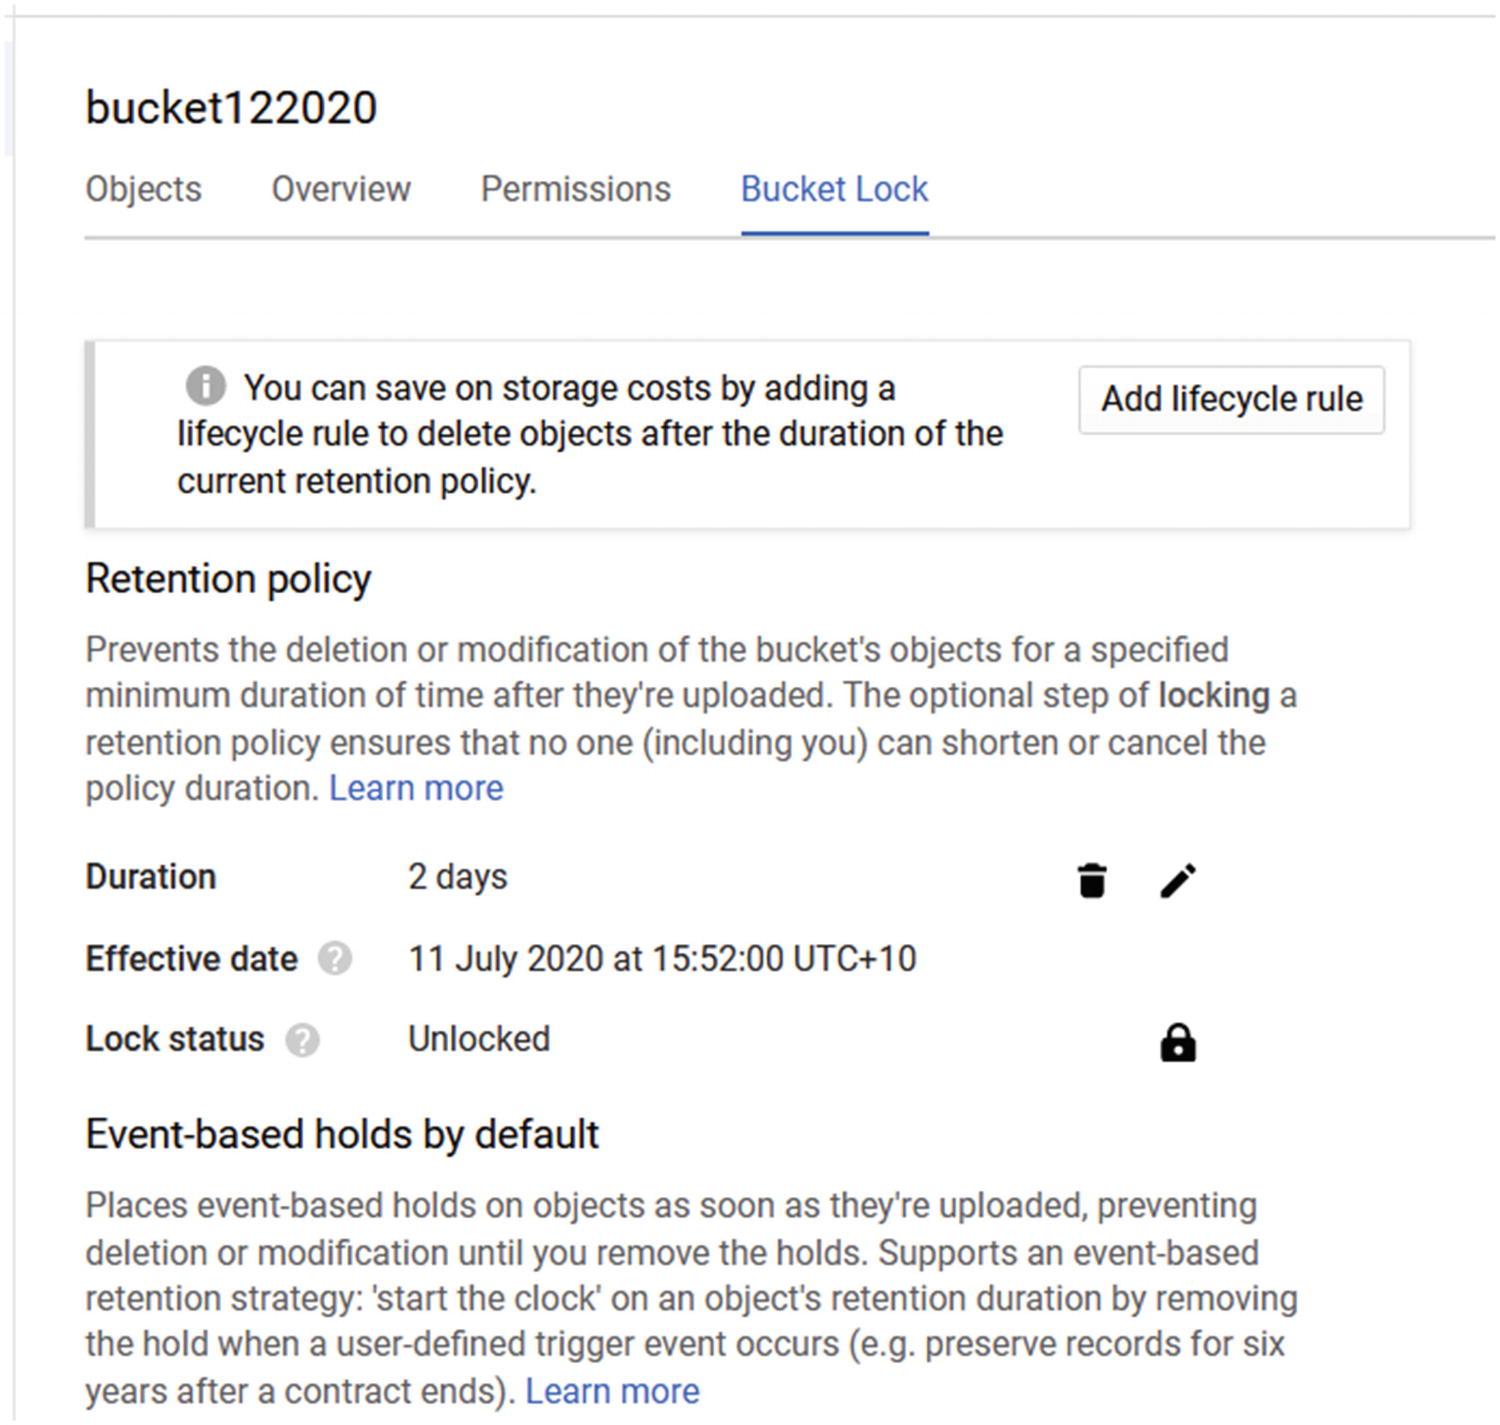
Bucket lock
Create Lifecycle Rules
Using lifecycle rules, you can automate tasks like deleting data from storage buckets. To create a lifecycle policy, on the Bucket page, click on the Bucket Lock option and select the Age option.

Set bucket age
In the Select Action section, there are four options; the first three can move old data to a different tier of storage that costs less. This is very useful if you use Cloud Storage to store data that you do not need very often.
The fourth option is to delete, and in my case, any data that is older than 100 days will get deleted from the bucket.
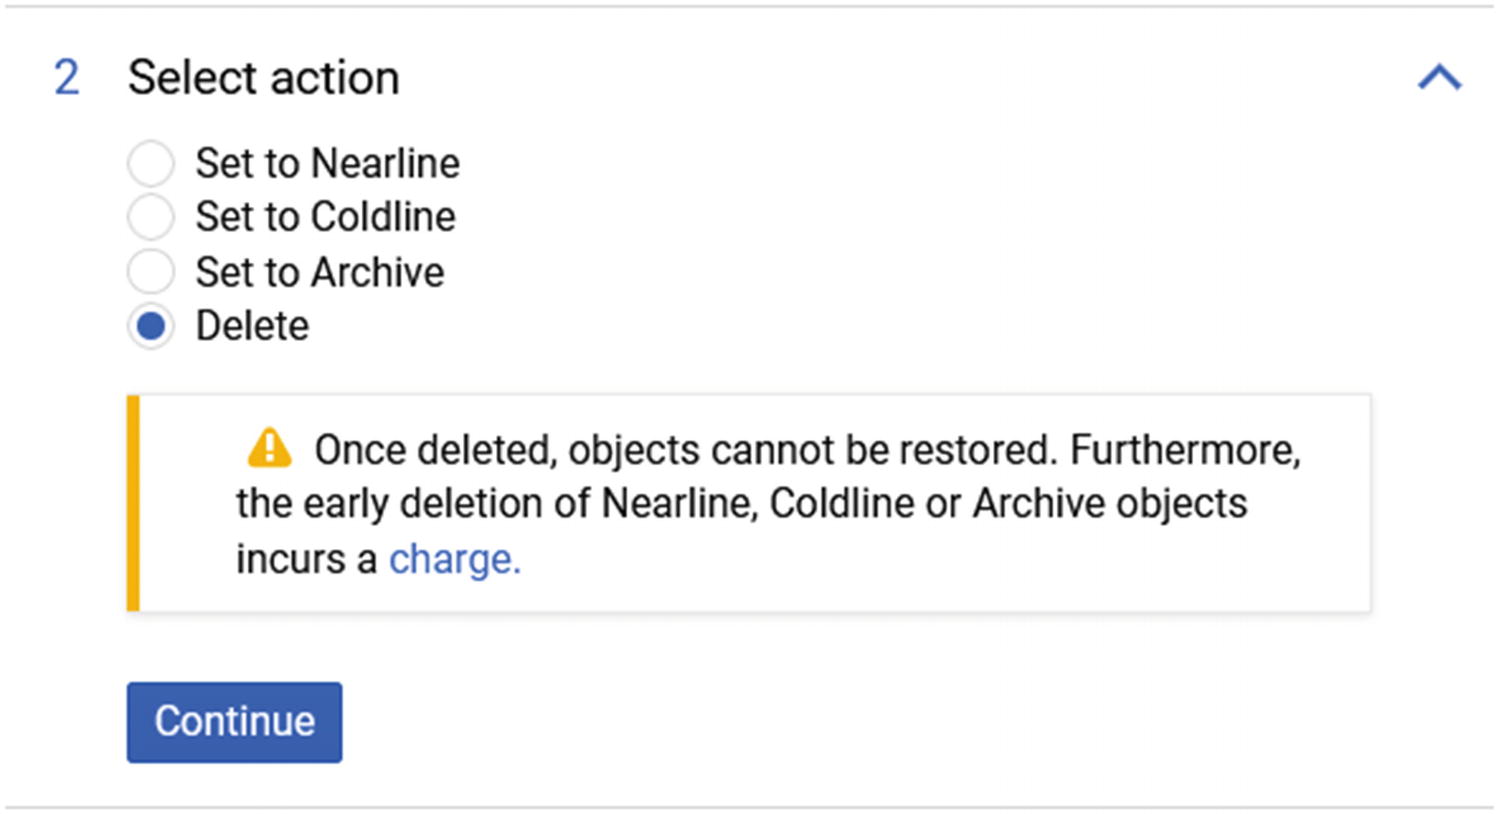
Select action
Back Up Compute Engine Resources
In this last section of the chapter, I will show you how to configure a static public IP address to be used by Compute Engine resources. By default, any public IP address that a VM instance is using is not static, and when the instance is restarted, it gets a new IP address.
This process is not good at all if we are using the instance to host public sites, as public DNS entries use the public IP address to route traffic to websites and applications hosted on the host. Over the last few years, I have seen so many applications hosted on instances and various clouds that become inaccessible after reboot because a static IP address was not configured on the instance.
I hope that this section will prevent you from making this very common mistake.
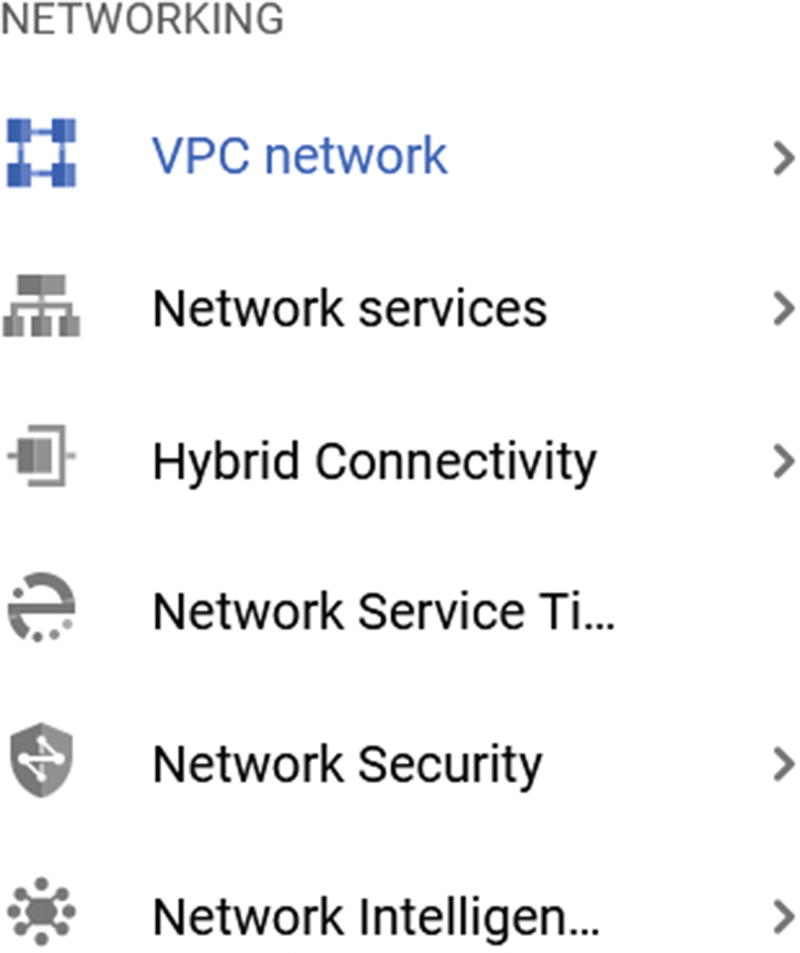
VPC network
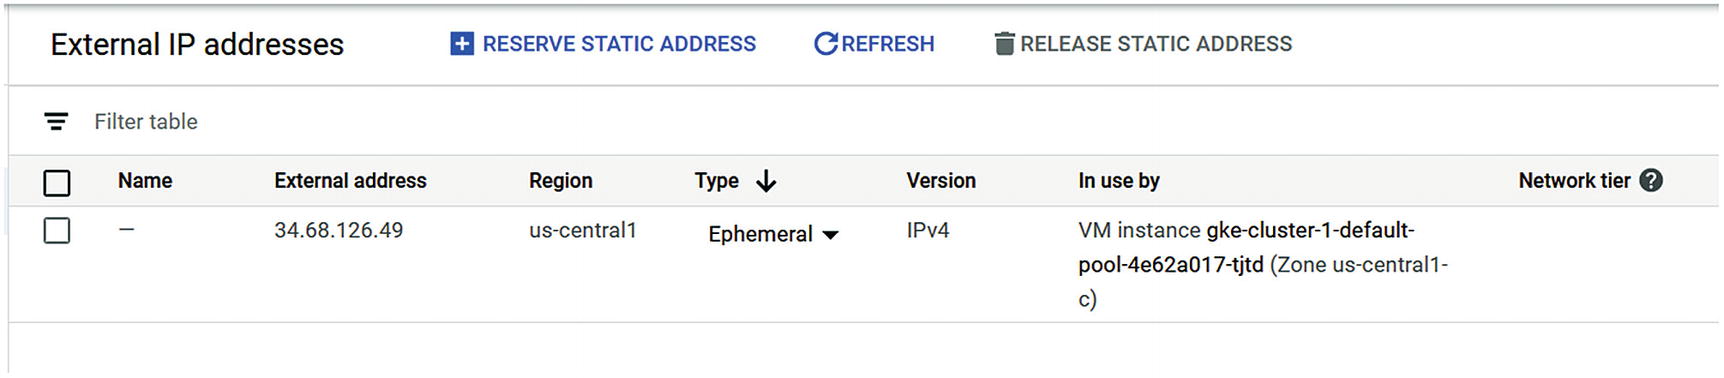
External IPs

Change the IP type

Reserve IP
Summary
In this chapter, we have learned how to back up and restore GCP resources that are using disk volumes for storage. In our case, we covered the process of backing up and restoring VM instance volumes and GKE storage volumes that are used by stateful applications.
In the last section, we learned how to use a static IP address in a VM instance when we host public DNS or if we need a static IP address that doesn’t change on reboot.
In the next and last chapter, we will cover troubleshooting.