In this chapter, we will learn how to troubleshoot the core services we’ve learned about in this book, but with more focus on using Cloud SDK and gcloud. The main goal of this chapter is to help you avoid common misconfiguration issues with GCP container services.
Basic gcloud commands
Troubleshooting Google Kubernetes Service (GKE)
Troubleshooting Cloud Run and Cloud Build deployments
Troubleshooting GCP Container Registry
Troubleshooting the Compute Engine resource
Basic gcloud Commands
Let’s start with a review of the most basic commands of gcloud and how to get started after installing it.
Install Cloud SDK
To install Cloud SDK and gcloud, use the following URL and select your OS platform; as of the time of writing, you can install it on the following platforms:
Linux
MacOS
Windows
Docker container image
Initialize Cloud SDK
Work with Projects
Troubleshoot Google Kubernetes Service (GKE)
In this section, we will start by going over the steps needed to connect to a GKE cluster using Cloud SDK.
Connect to a GKE Cluster
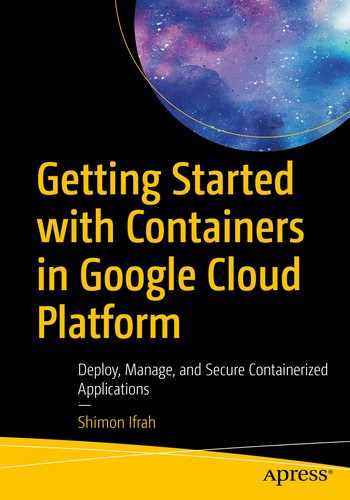
To connect to a GKE cluster using Cloud SDK, use the following process.

Connect to GKE
Copy the command into your terminal where you installed Cloud SDK, and authenticate to the cluster.
Click on Run in Cloud Shell, and, using the browser, connect to the cluster with Cloud Shell.
Connect to the cluster
Overloading
A lot of performance issues in GKE are caused by overloading the cluster with too many deployments. To overcome the overloading issue, I recommend you enable Auto-scaling on the cluster.
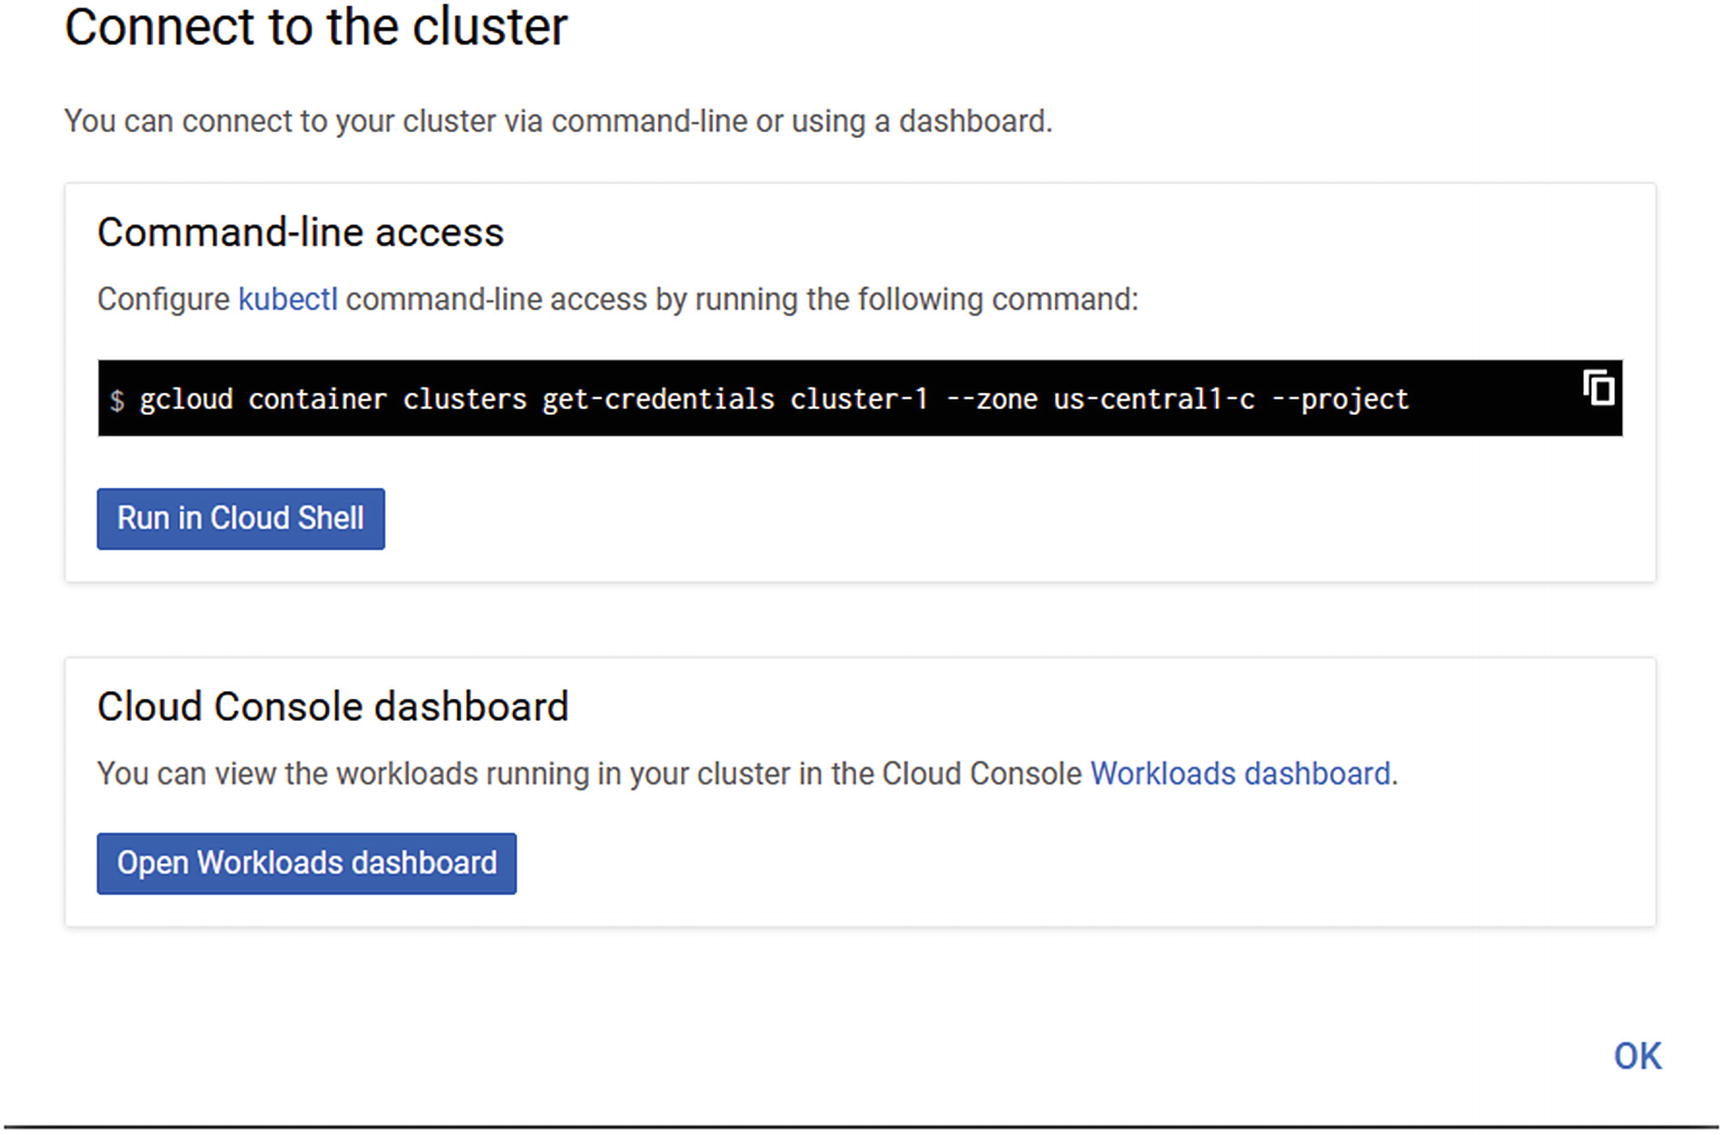
Workloads

Resource usage
If you click on the Details tab, you will get a detailed view of the deployment that includes the following details:
Cluster name
Namespace
When it was created

Details tab
Auto-scaling
If your workloads are slow and you feel that the performance is not where it should be, I recommend you check if auto-scaling is enabled, and, if not, enable it. Running a GKE cluster without auto-scaling is not recommended since the cluster can run out of resources if no one is actively checking the resource utilization of the cluster. Auto-scaling takes the guesswork away and lets GKE manage the resource utilization.

Auto-scaling
To prevent issues with your cluster, I strongly recommend you enable all the cluster and pod automation features GKE has to offer. By using automation, your GKE cluster will auto-scale and fix issues that arise as a result of large deployment, updates, and workloads.
Troubleshoot Cloud Run and Cloud Build Deployments
Keep your container images in the same region of your Cloud Run deployment for maximum performance. Pulling a Docker image from a GCR registry in a different region will cause latency in the container startup time.
- Space your deployment accordingly and don’t go with the default option. In the Capacity section of the wizard, you have the option to set the memory and CPU allocation, as shown in Figure 10-7.
 Figure 10-7
Capacity
By default, Cloud Run is configured with an auto-scaling feature that will scale the number of containers if the load is high, so make sure you review the settings before deploying your Cloud Run service.
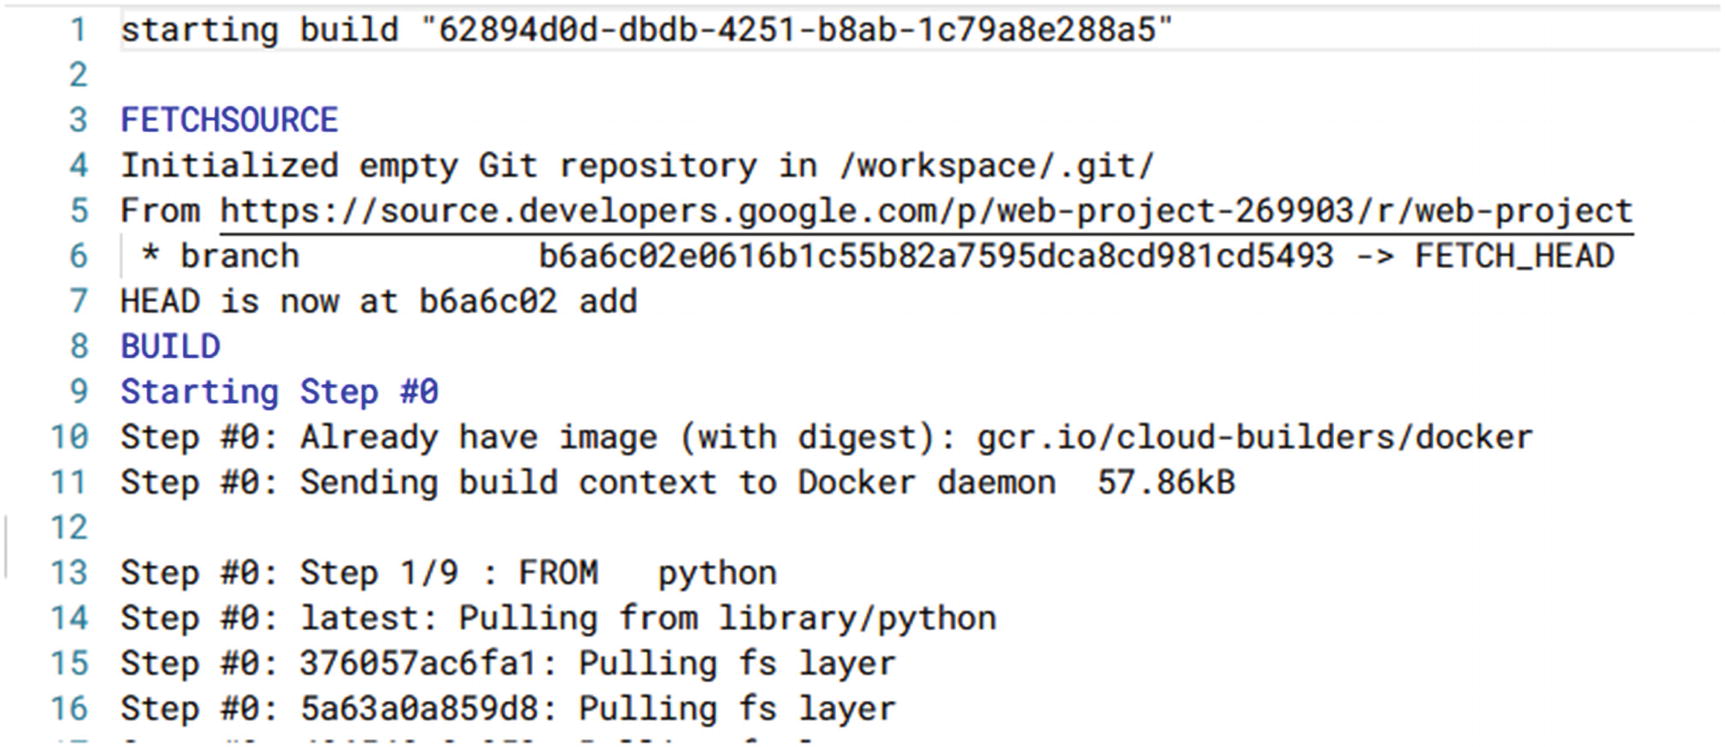
Console Logs

Logs
The console also shows real-time logs, and in my case every time someone accesses the application, an entry will appear in the console. In the case of an application issue, these logs can be very useful and helpful.
Permissions
Cloud Build Triggers

Trigger status
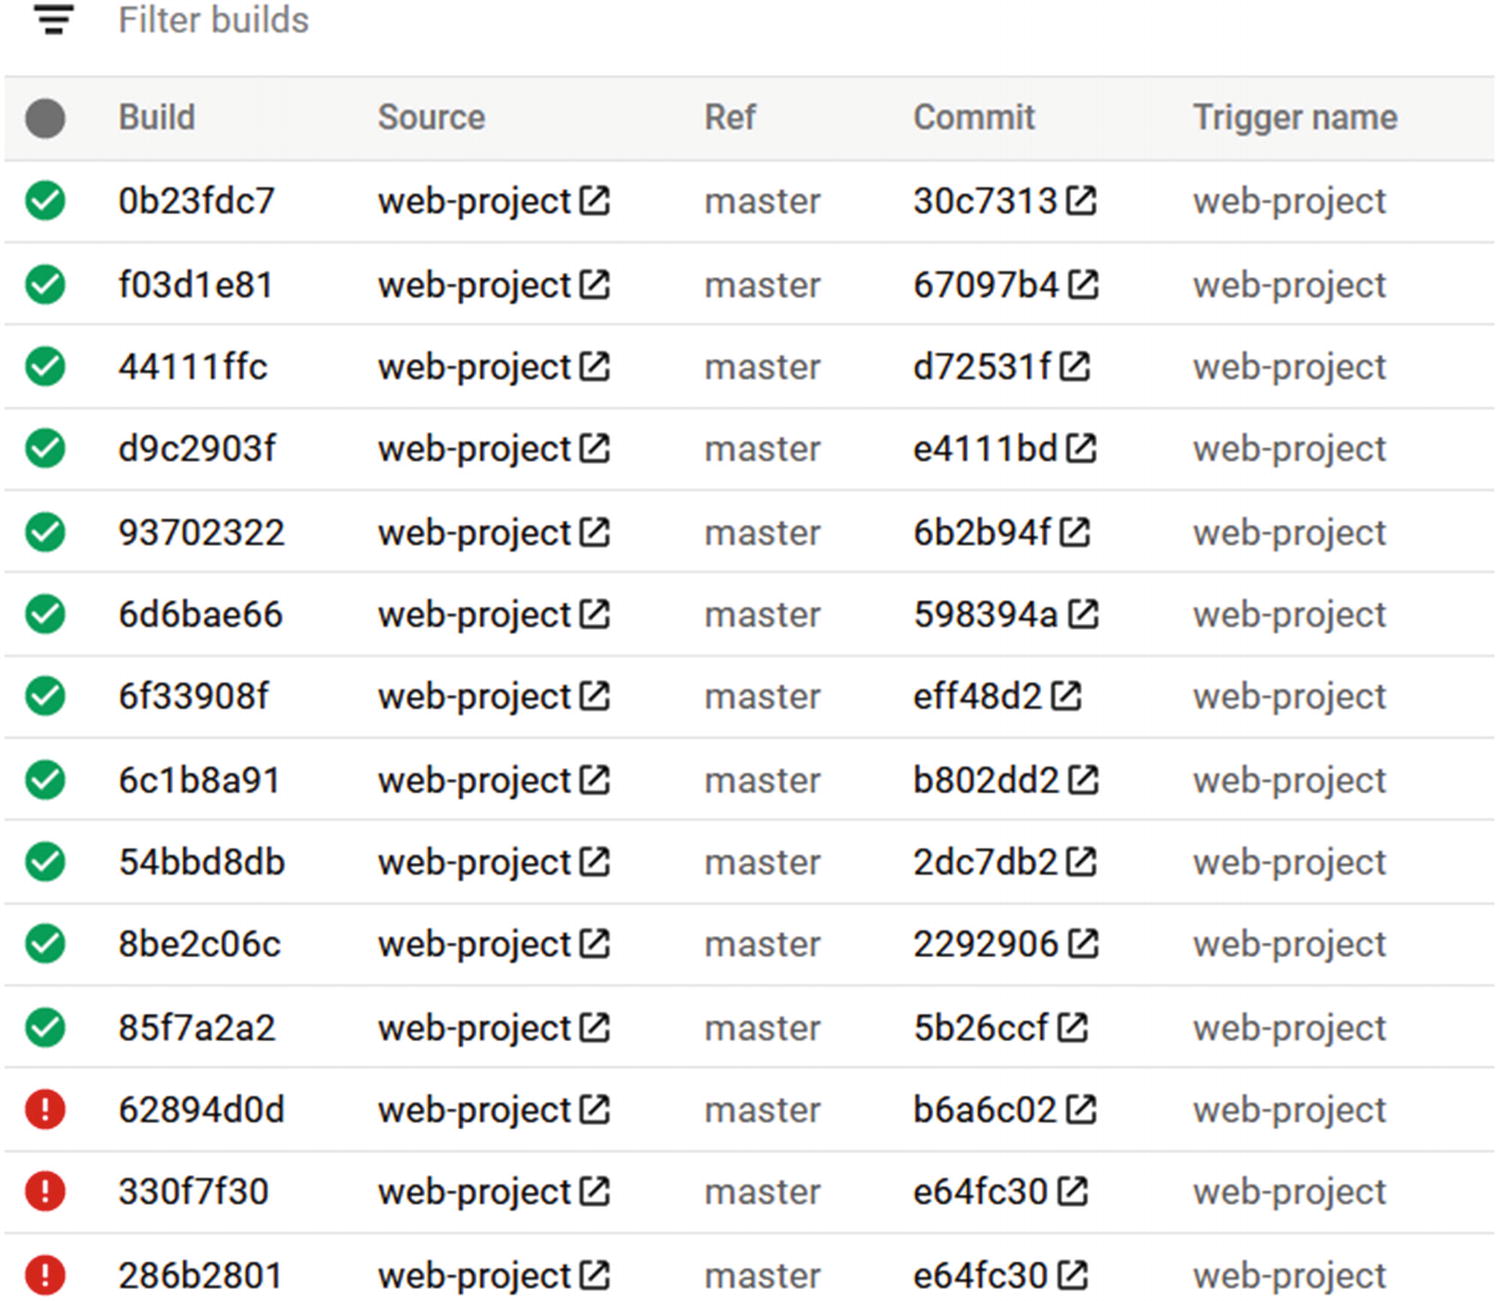
History
Build steps
Troubleshoot GCP Container Registry
The most common issues I have seen with Google Container Registry (GCR) is that the wrong region is set to host the images. Using the wrong region can cause performance issues.
gcr.io — United States
eu.gcr.io — Europe
asia.gcr.io — Asia
When you tag your image make sure you tag it with the correct location. If your apps are running in the United States, make sure you align the image location with gcr.io.
Troubleshoot Compute Engine Resource
In this section, I will cover a couple of known issues that you need to pay attention to when working with Compute Engine VM resources.
Select the Right Machine Family
Many performance issues in public clouds are related to a poor selection of instance type. It is very easy to make a mistake and select a general-purpose instance for running a database server. When selecting your instance, make sure you select a VM instance that is suitable for your workloads.
General-purpose
Memory-optimized
Compute-optimized
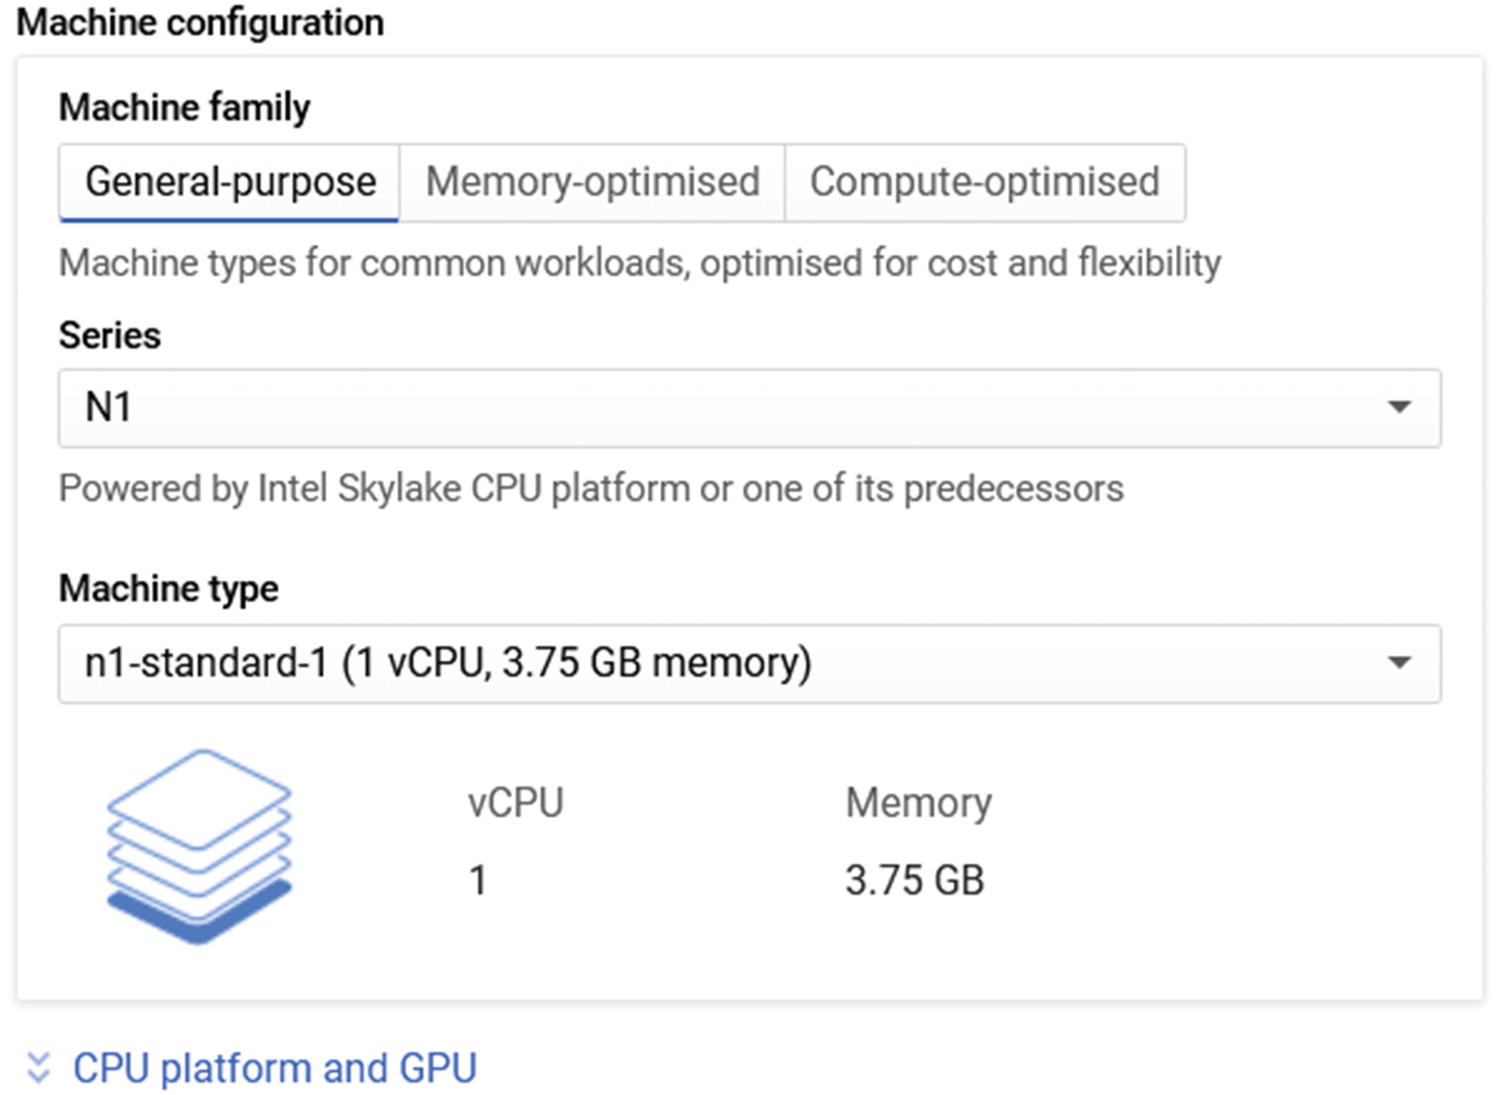
Machine family types
Firewall Ports
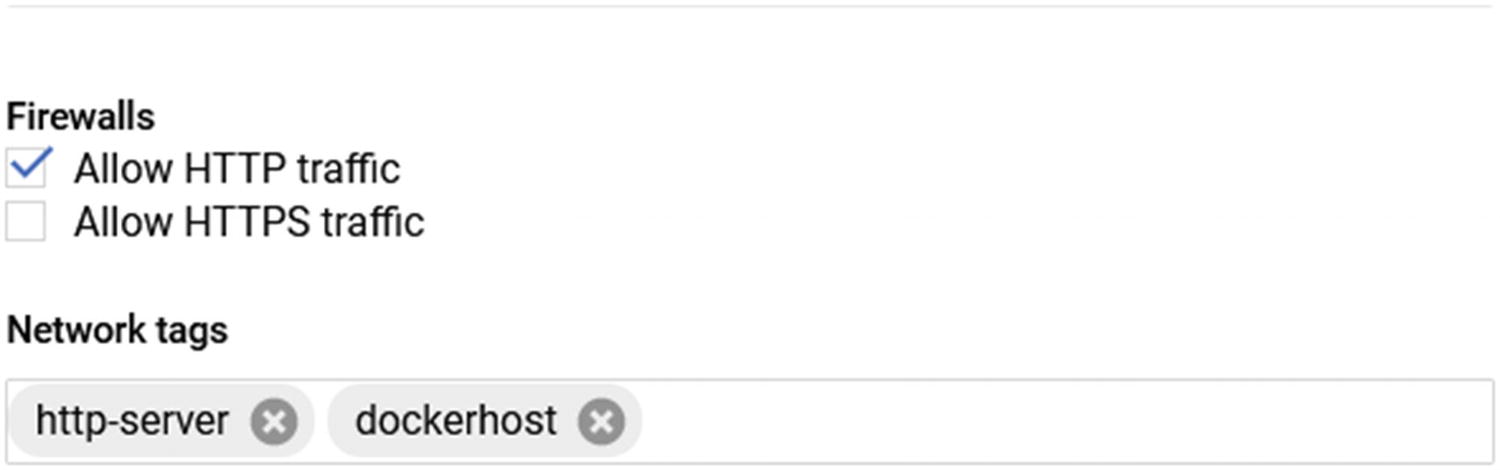
Firewalls options
Open Non-standard Ports
If you need to open ports that are different from HTTP and HTTPS, you will need to open them from the Firewalls section of your VPC network. By default, your GCP workloads are protected by a virtual firewall that is attached to your Virtual Private Cloud (VPC) network. To access your VPC firewall, search for VPC network or Firewall from the GCP management console search bar.
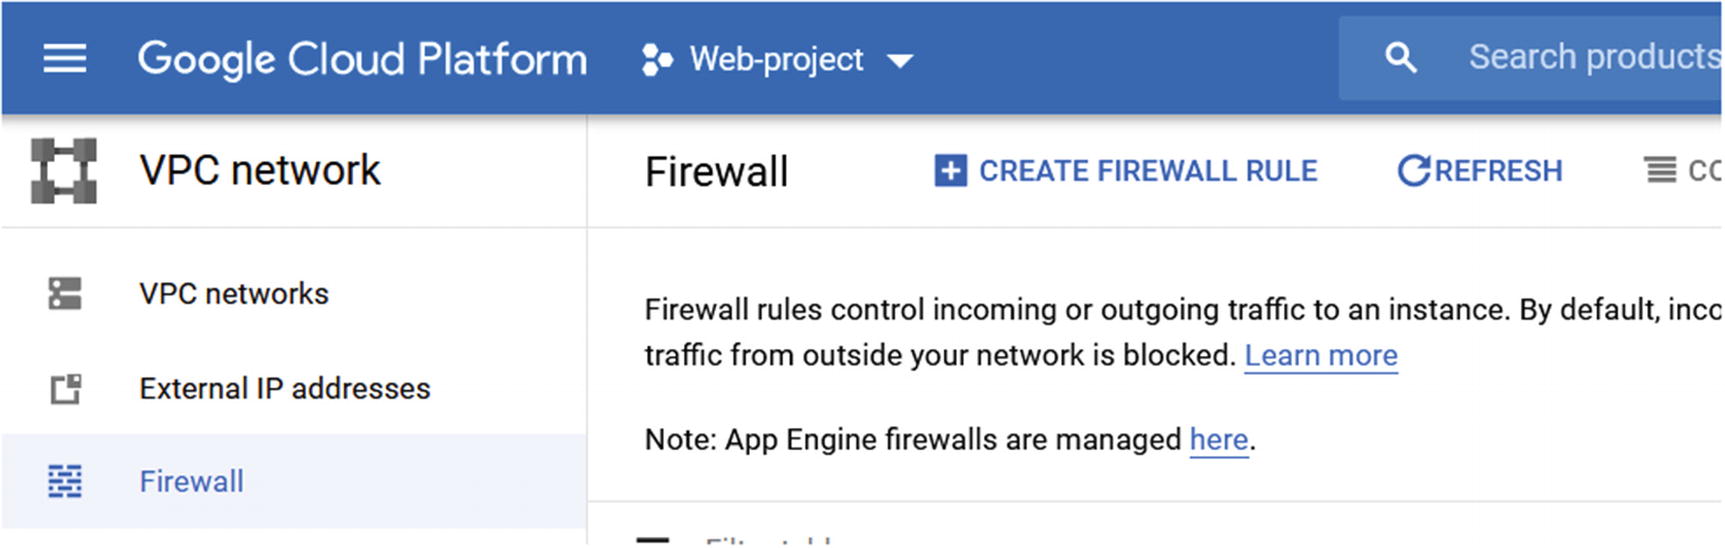
Firewall page
To open a port different from HTTP and HTTPS, you need to add a network tag to your virtual machine.
Add Network Tag
To add a network tag, edit your VM and scroll down to the Firewalls section. In the Network Tags section, type a name that describes your host. For this demonstration, I will type dockerhost and save the VM configuration.

Network tags

Create a firewall rule
Add the source address; for everything use 0.0.0.0/0. In the Protocols and Ports section, type the TCP port number and click Save.
Summary
gcloud
GKE
Cloud Run
Cloud Build
Compute Engine
You must learn how to use gcloud command-line tools and develop a library of code that will help you redeploy workloads and save time.