
First, the term data source indicates a given method of accessing a database from a server. Recall from the previous chapter that the database used by our web project is named LibraryDatabase. There is a file with the same name within the project folder, which is the data source for that database.
Throughout this chapter, we will be working with the corresponding folder in the code repository Chapter09/DatabaseTutorial. Go ahead and import the folder into your PyCharm workspace. As the first step of the database management process, we will learn how to import a data source into a PyCharm project:
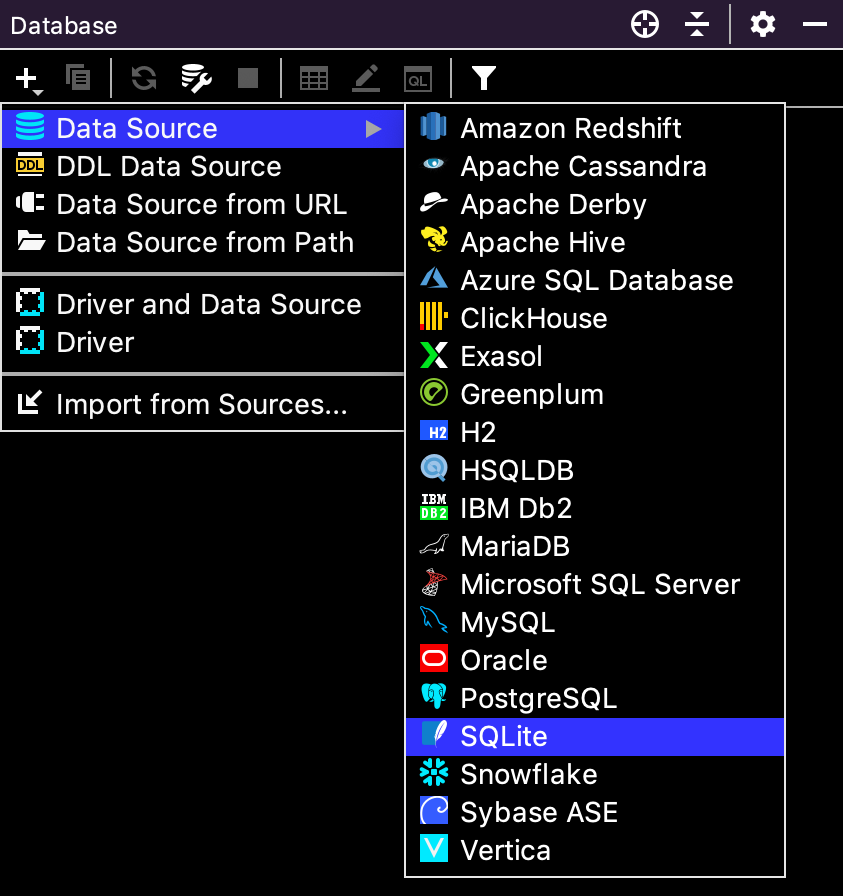
- In general, if the data source file you'd like to work with is not in your current project, then open up the Database panel by going to View | Tool Windows | Database and click on the + icon within the window, as illustrated in the following screenshot:
- In our current example, we already have a file named Chinook_Sqlite.sqlite, which is the data source that we will be working with, so the preceding step is not applicable to our specific case.
- From the Project panel of your PyCharm window, double-click on the file to open the PyCharm Database panel. You can do this because PyCharm can automatically detect that the file you are opening is a data source. Your Database panel should look similar to the following:

- We cannot interact with this data source just yet, as some initial configurations are necessary. Within the toolbar at the top of the Database panel, click on the Data Source Properties icon, which will open the configuration window for our data source.
- The first thing you might notice is the bottom section of the window indicating that the driver appropriate for our data source is currently missing, as highlighted in the following screenshot:

- The beauty of PyCharm is that, as we have seen multiple times, not only does it look for potential errors and warnings for our programs (as in the previous screenshot), but it also provides simple commands to address the problems. In this case, a simple click on the hyperlink in Download, and PyCharm will take care of all of the nitty-gritty details on its own. If, on the other hand, you don't see this message, it means your PyCharm already has all the necessary driver files for your data source, and you can simply move on to the next steps.
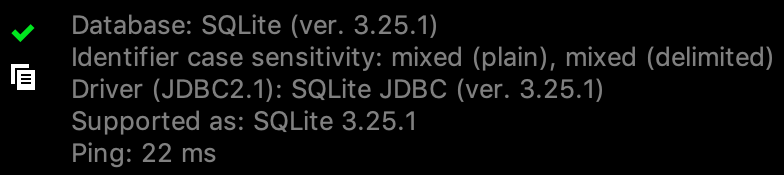
- With the driver files downloaded, we have successfully imported our data source into PyCharm. We can test out the connection to this data source by clicking on the Test Connection button in the configuration window we opened earlier. If everything goes well, you will see the following output:
- Now, simply click Apply and OK in the configuration window to apply the specifications we have made to our data source.
- Now, we need to customize the schema for our data source. In the Database panel, click on the icon next to our current data source highlighted (note that instead of saying 0 of 1, the icon can display ... as well):

- This will open up a pop-up window with a number of checkboxes. Select the Current schema (main) option within the window, and you will see that with the correct schema our data source can now be expanded and examined within the Database panel:

With that, we have successfully connected a sample data source to our PyCharm project. The different sections in the main schema are the database tables included in the data source. So in our current Chinook example, we have various different database tables such as Album, Artist, Customer, and so on.
We see that the Database panel offers quite a powerful feature, giving us the ability to inspect not only the different tables we have but also their respective fields (as well as any relationship between the tables). For example, the preceding Album table has a foreign key referencing the Artist table, indicating the creator of the given album. If you are not familiar with these concepts involving relational databases, don't worry because we will have that discussion later in this chapter.
Additionally, if you have gone through the last chapter where we worked on a Django web project, you might remember that we also implemented our own data source called LibraryDatabase. If you were to go back to the project and walk through the same steps for that data source (still using SQLite), you would be able to examine the schema for the database tables created, as shown here:

Again, we are able to inspect all the fields in any given database table from the data source, including the many-to-one relationship via a foreign key from the Book table to the Author table. You might also notice that there are multiple other tables in a Django data source, such as auth_group, django_admin_log, or sqlite_sequence. These are database tables used by Django to handle complex backend logic such as user authentication or logging for admin users.
We have seen how to import a given data source into our PyCharm projects. Still using the current Chinook example, we will discuss the various options to work with our database tables via the PyCharm Database panel in the next section.