Git was primarily developed for Linux- or Unix-based operating systems. When it grew in popularity and Windows users started to demand Git, Git for Windows was launched. Installing Git on Windows is now a very easy process. To install Git, go to https://git-scm.com/download/win.
You will be taken to the page shown in the following screenshot:

Git for Windows should start downloading automatically. If it doesn't start, you can click on the links given on the website. The download file will be an executable file, so to start installation, execute the executable file. During installation, if you are not sure what to choose, the best option here is to keep everything as default.
The following screenshot shows which components you can install:

There is a section in which you can choose the default editor to be used for Git. The default editor that is chosen is Vim, as shown in the following screenshot. If you are not used to using Vim, you can change it to your preferred one:

Follow the steps. After Git is installed, to test whether the installation was successful, go to the command line or PowerShell and type the following:
git --version
You should see an output similar to the following:
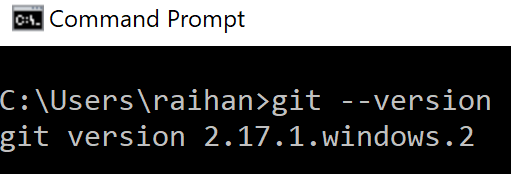
If you can see the version number, this means that the installation was successful.