
Yesod is a web framework based on Haskell for the professional development of type-safe, REST model–based, high-performance web applications.
Yesod uses templates to generate instances for the listed entities and to produce dynamic content. The templates are based on code expression interpolations in web-like language snippets; in this way, they are fully type-checked at compile time.
It’s free and open source.
It can turn runtime bugs into compile-time errors.
Asynchronous programming is easy.
It is scalable and performant.
Its syntax is lightweight.
The current version of this chapter will cover version 1.6 of Yesod.
Well-formed content is guaranteed at compile time
Static type safety, which helps prevent cross-site scripting (XSS) attacks
Interpolated links that are automatically validated through type-safe URLs
Installing and Configuring Yesod
- 1.Install and configure the Stack build tool.
- a.
With your favorite browser, go to the following page: https://haskell-lang.org/get-started/windows .
- b.
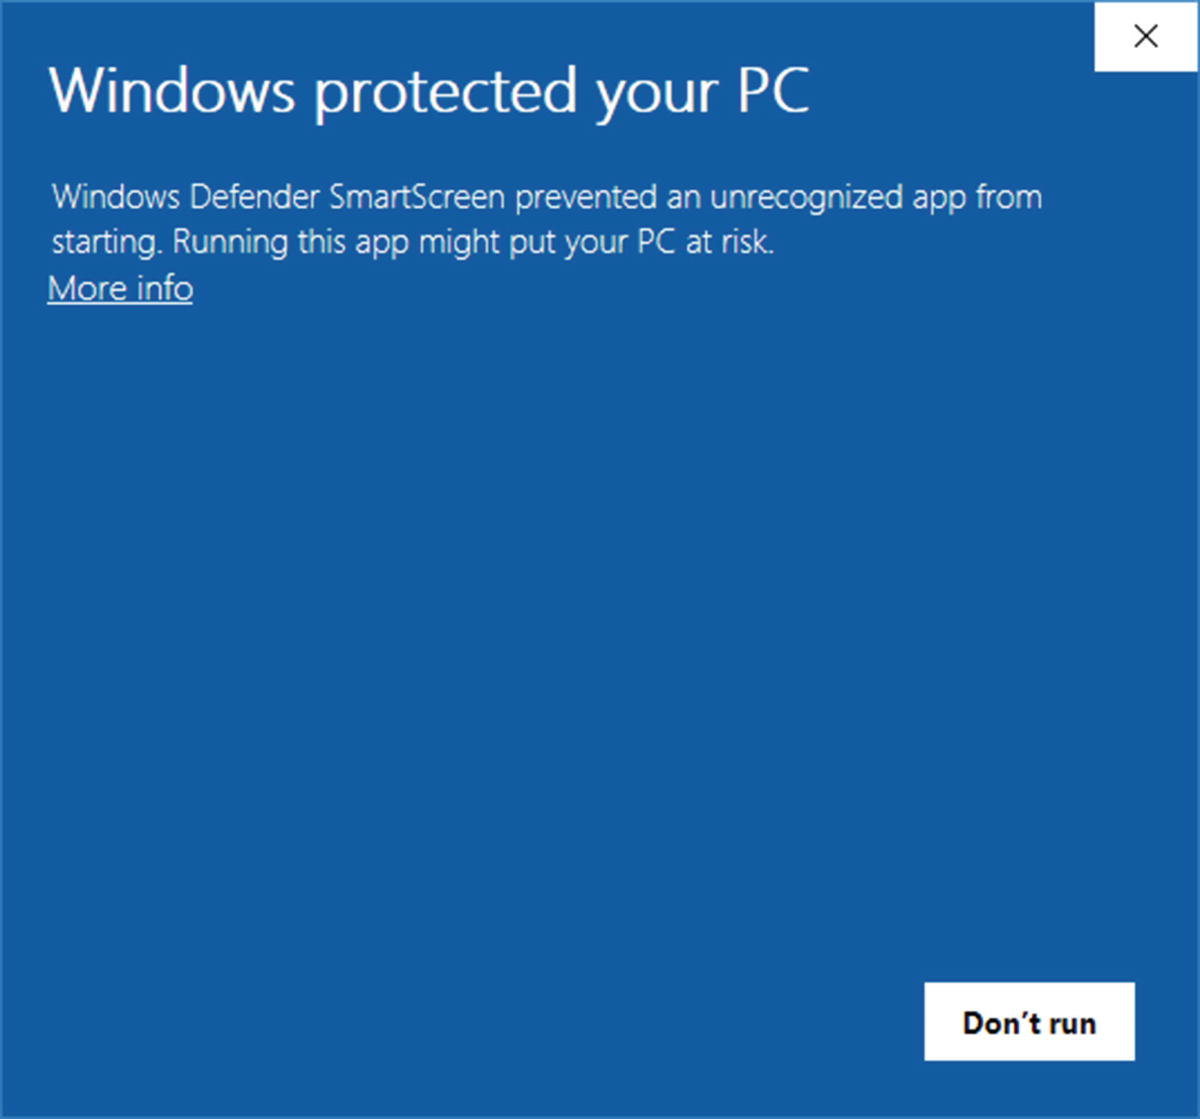
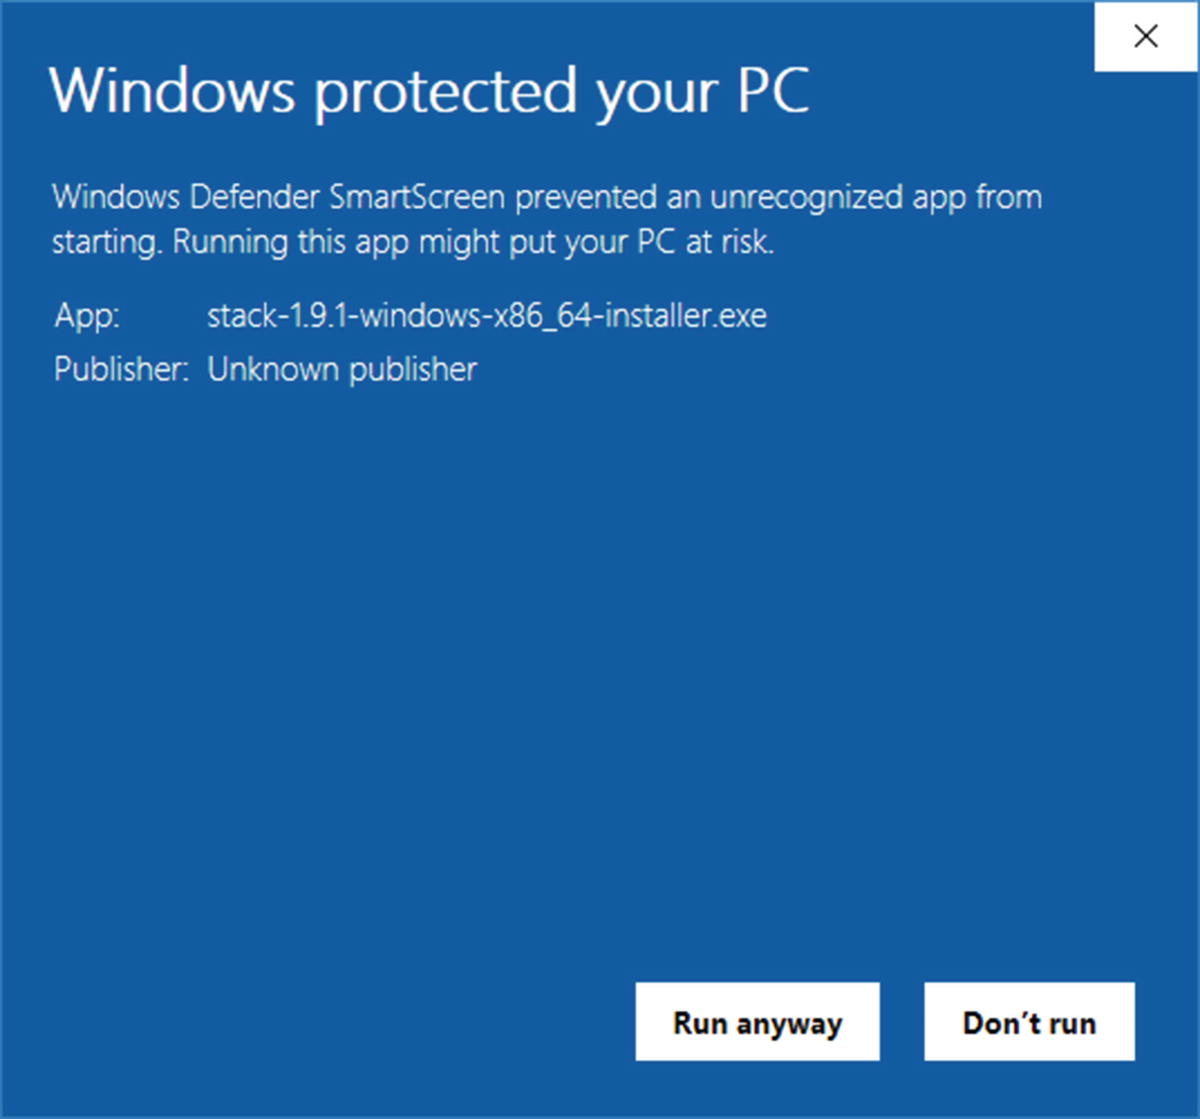
Download the Haskell Stack tool for your operating system. If your operating system is Windows, you should have a file called stack-1.9.1-windows-x86_64-installer.exe. Double-click and follow the steps in the installer.
- c.
- d.Configure the path where Haskell Stack will be installed, as shown in Figure 24-3. We recommend you leave the default path as it is.
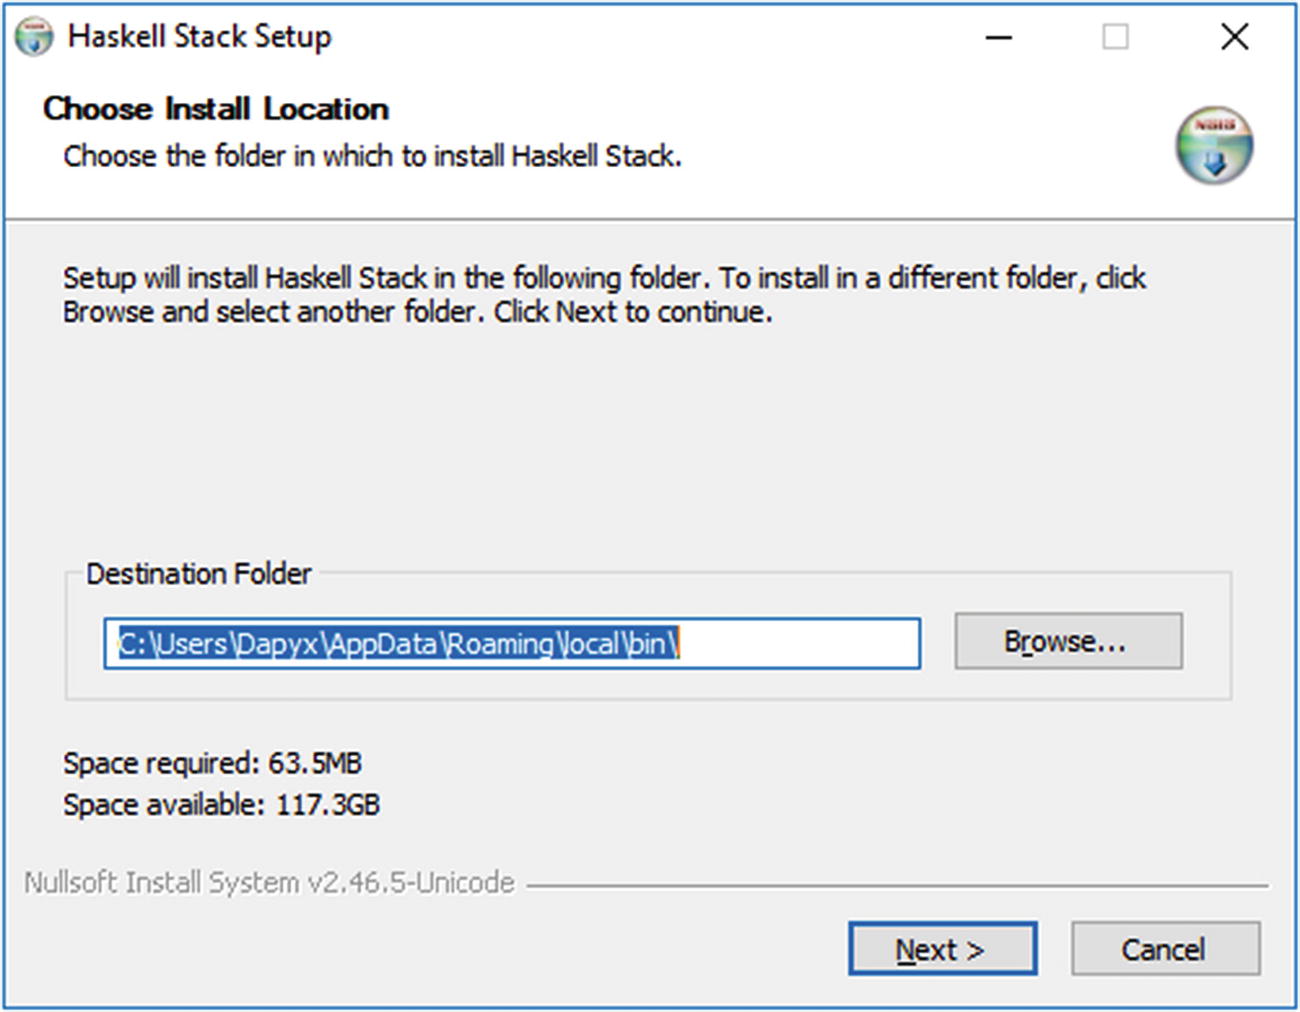 Figure 24-3.
Choosing a location
- e.Select or deselect the components that you want or do not need. We recommend you leave everything at their defaults and click Install, as shown in Figure 24-4.
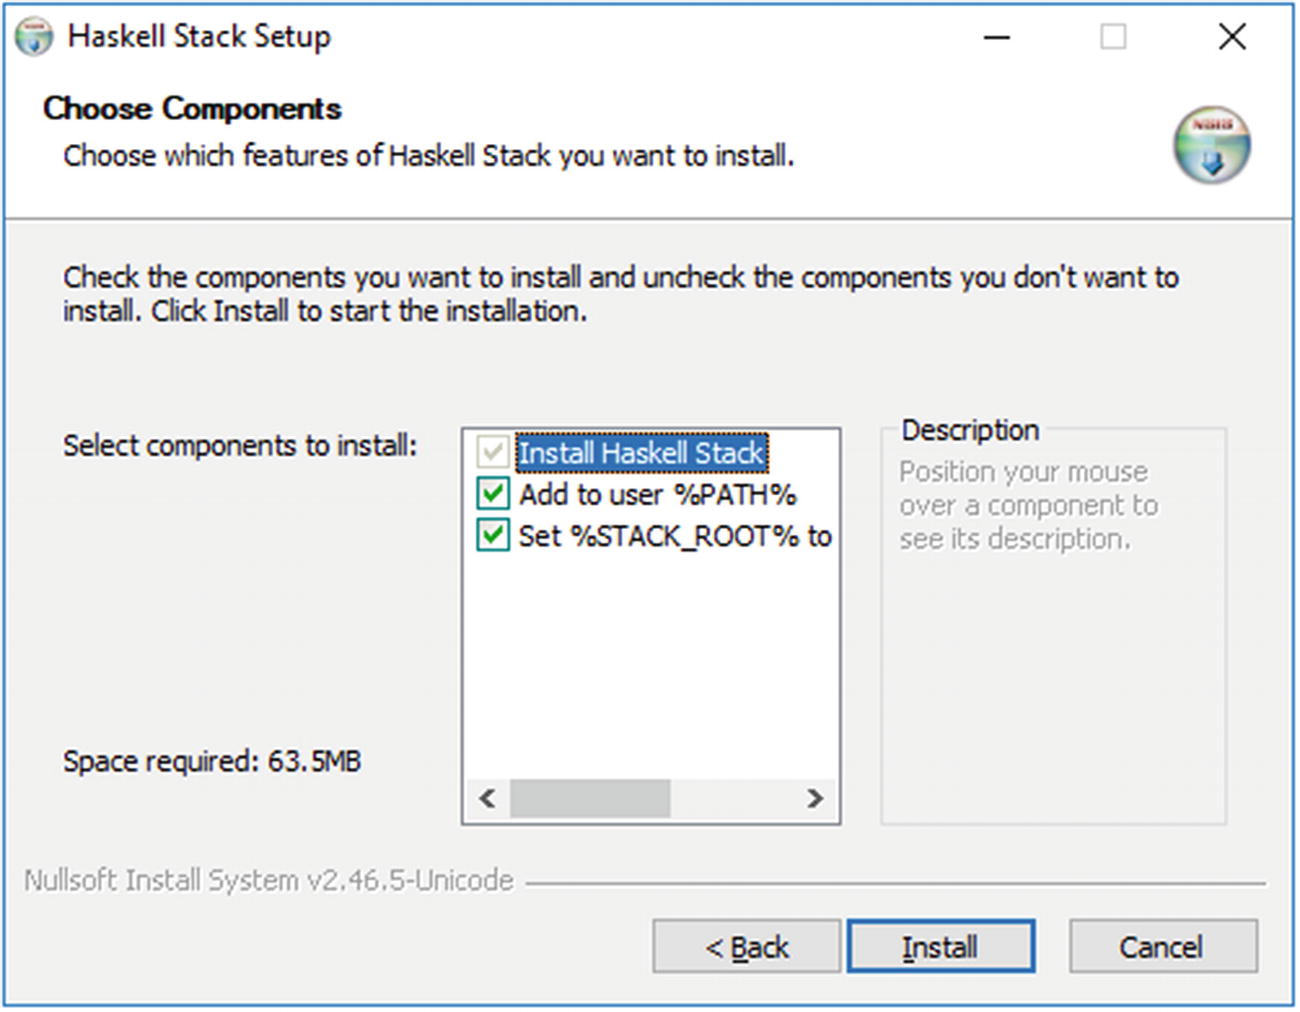 Figure 24-4.
Choosing the components
- f.Once you see the screen in Figure 24-5, click Close.
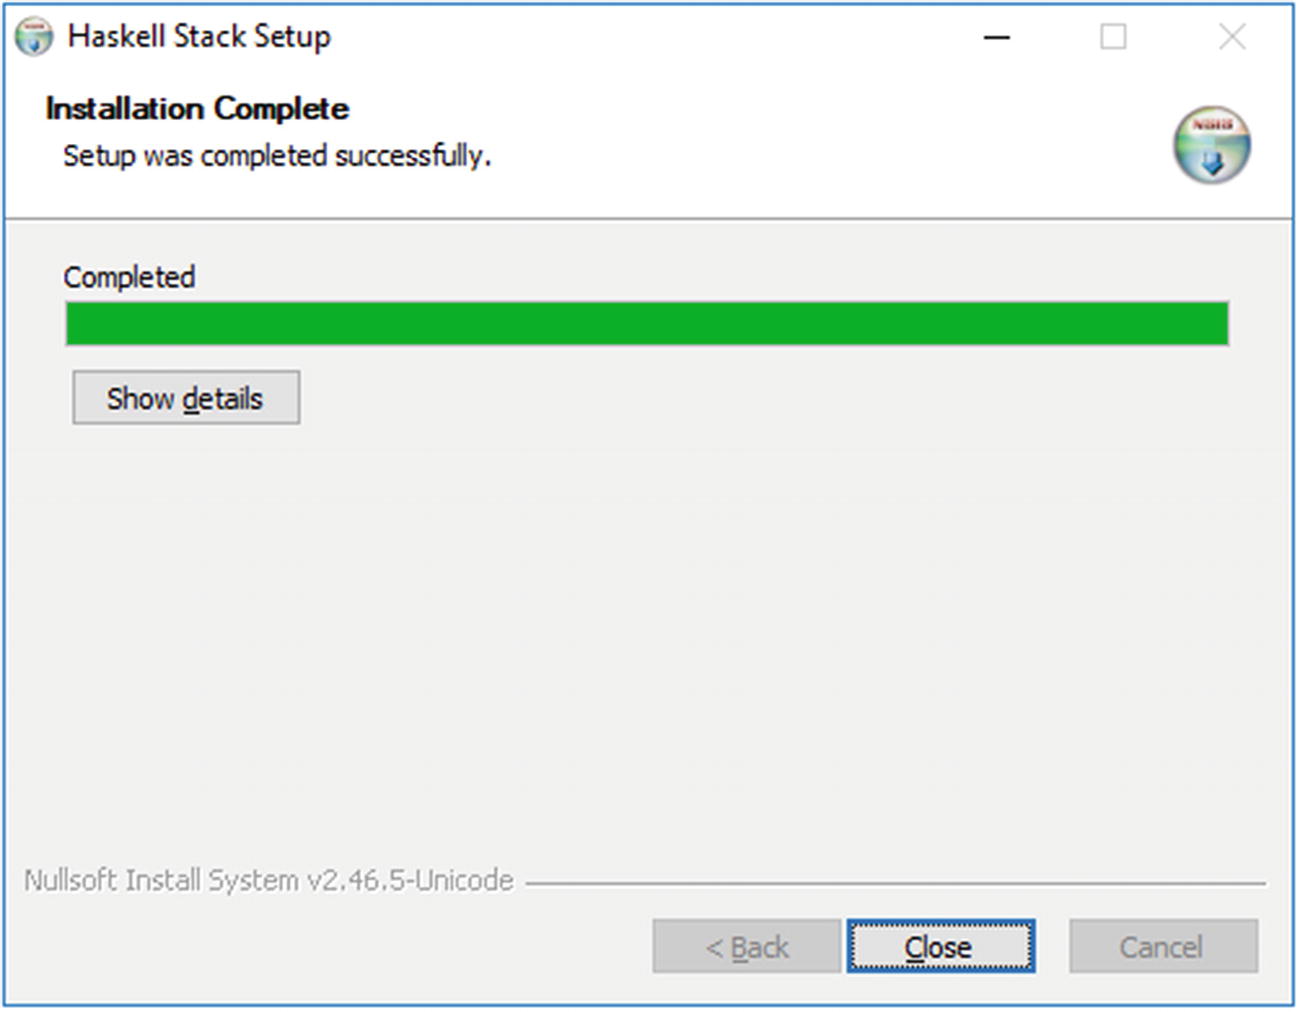 Figure 24-5.
Installation complete
- a.
- 2.Copy the following code into your favorite editor (e.g., Notepad++):#!/usr/bin/env stack-- stack --install-ghc runghcmain :: IO ()main = putStrLn "Hello World"
- 3.
Save the file as HelloWorld.hs.
- 4.
Open a terminal and run stack HelloWorld.hs.
- 5.If everything goes accordingly, you should see in your terminal the message “Hello World,” as shown in Figure 24-6. If it is the first time you are running the program, it will take a couple of minutes until Stack is installed and configured properly (it’s possible to install the newest version of GHC underneath, which might take about 3 GB of free space).
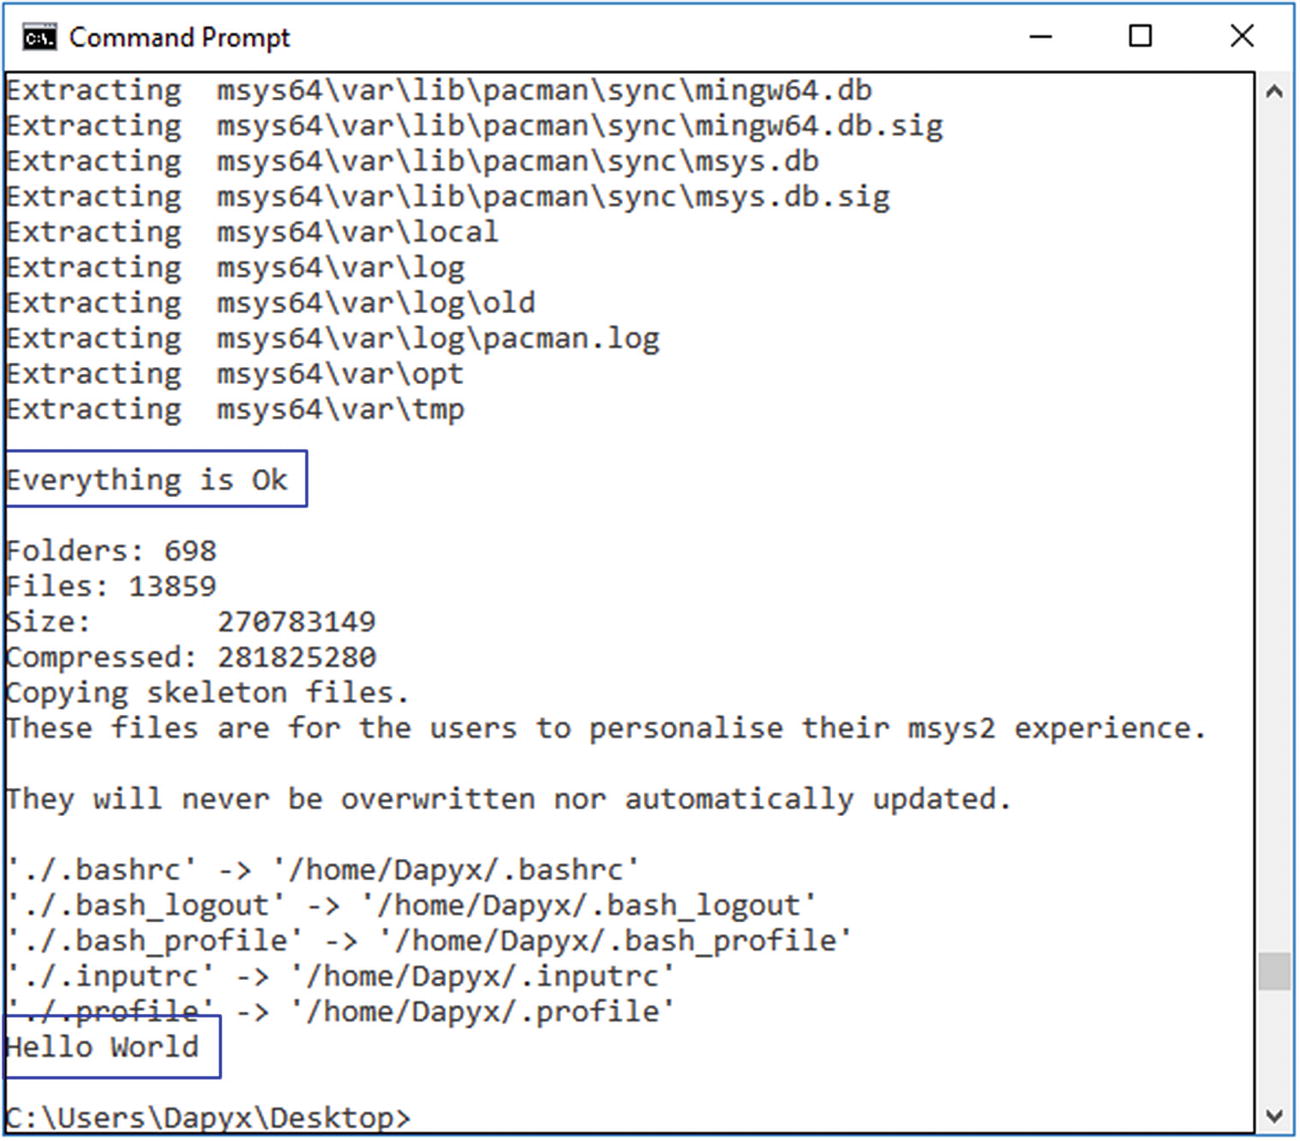 Figure 24-6.
Running the program
- 6.Create a new scaffold site by running the following command, shown in Figure 24-7, in your terminal: stack new my-project yesod-sqlite && cd my-project.
 Figure 24-7.
Creating new site
- 7.Once that is done, you should see the screen shown in Figure 24-8 in the terminal.
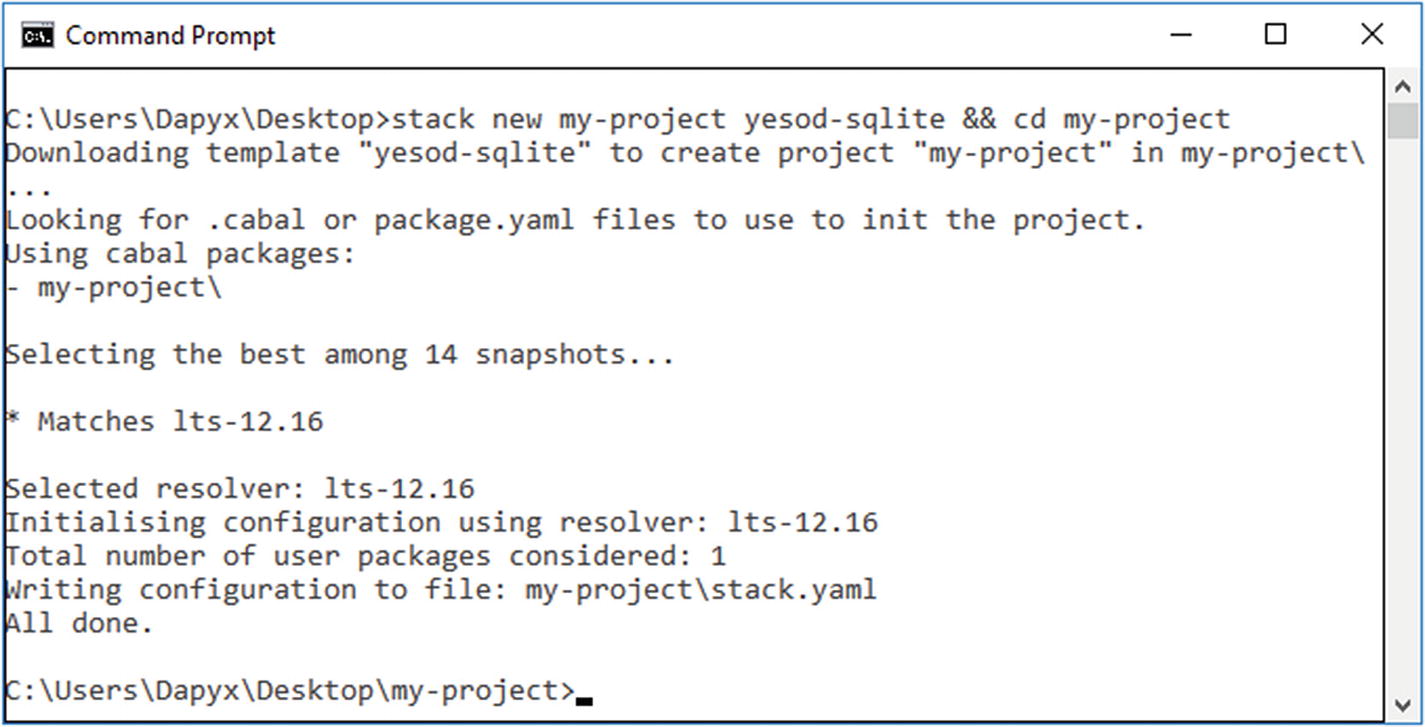 Figure 24-8.
Project created
- 8.Install the Yesod command-line tool by running the command stack install yesod-bin --install-ghc in your terminal, as shown in Figure 24-9. So you don’t experience any issues, it is recommended that you turn off your antivirus program. The firewall and other network settings need to be configured during the installation process of the Yesod tool. Remember also that the antivirus will run automatically because of some executable files that need to be checked.
 Figure 24-9.
Installing the Yesod command-line tool
- 9.After a couple of minutes, if everything is OK, you should see the lines shown in Figure 24-10 in your terminal. If you see them, it means that the Yesod tool has been installed correctly.
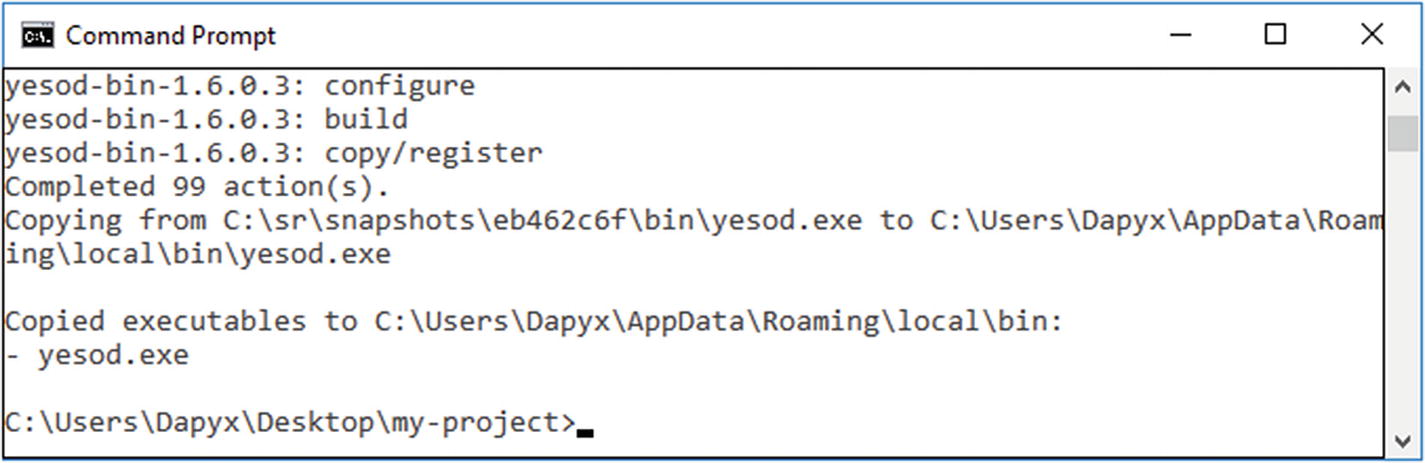 Figure 24-10.
Correctly installed
- 10.Build libraries by running the command stack build in the terminal, as shown in Figure 24-11.
 Figure 24-11.
Building libraries
- 11.Launch the devel server by running the command stack exec -- yesod devel in the terminal, as shown in Figure 24-12. Once it starts, you will see two pop-ups with Windows Security Alert (GHC and Yesod). Click “Allow access.” The process will take a couple of minutes to run.
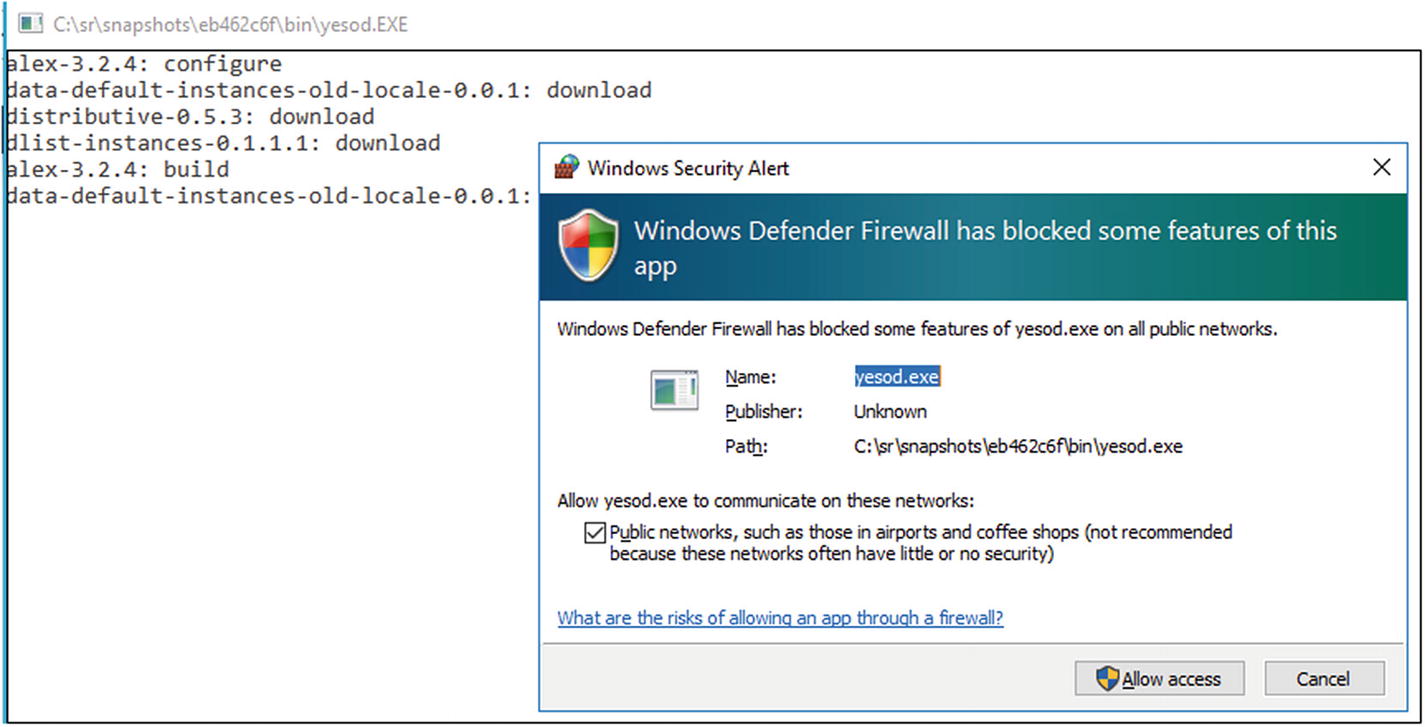 Figure 24-12.
Launching the server
- 12.Once the server has been installed with success, you should see the screen in Figure 24-13.
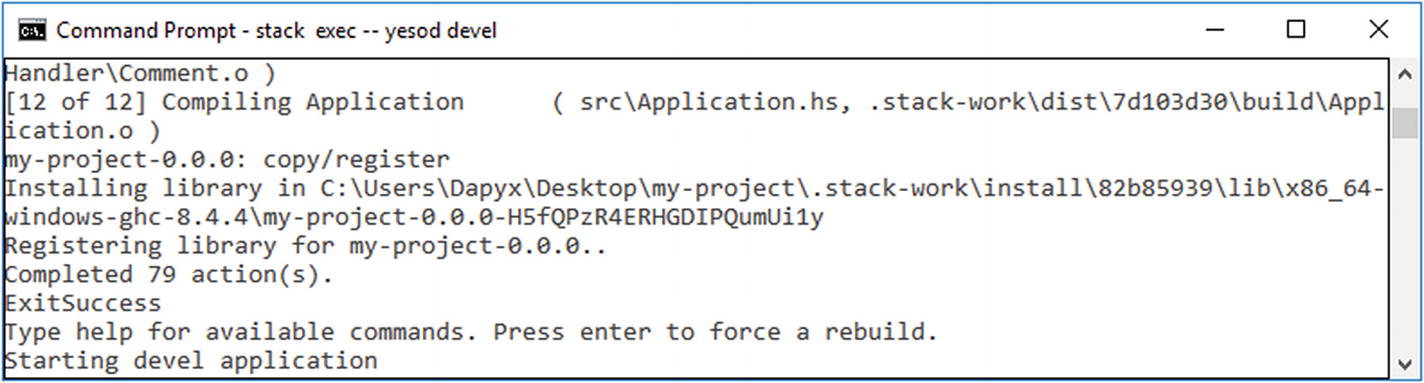 Figure 24-13.
Successful install
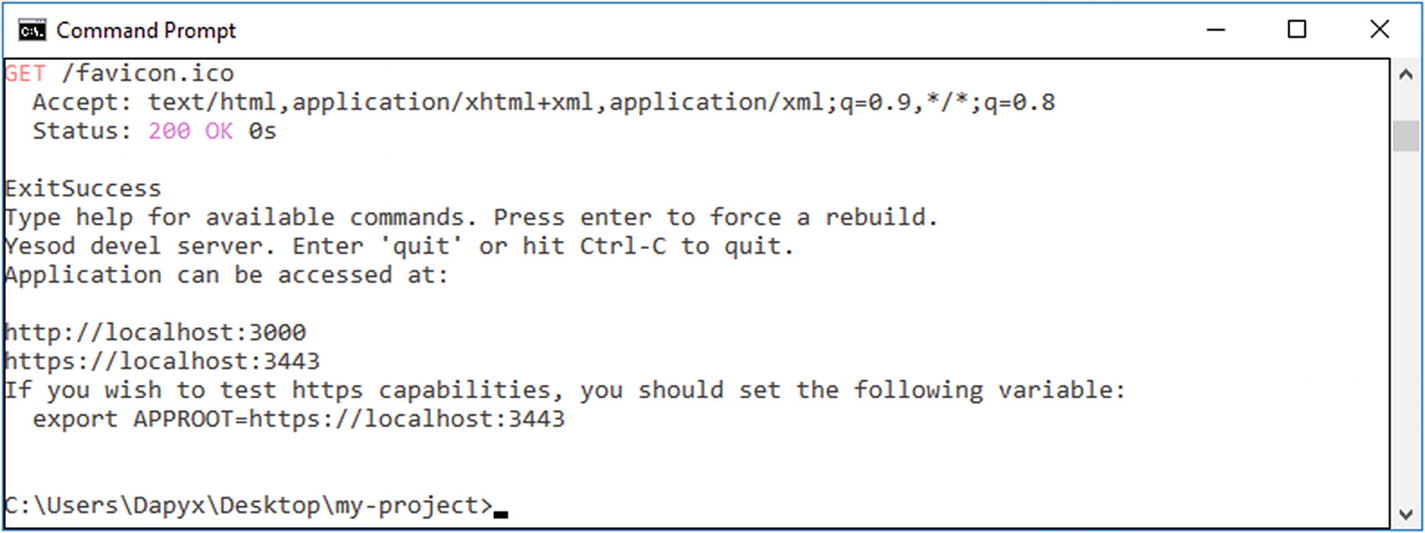
- 13.To test Yesod, go to the browser and type http://localhost:3000 in the address bar. If everything was installed successfully, you should see the screen in Figure 24-14. In the terminal you will see the server running accordingly (Figure 24-15).
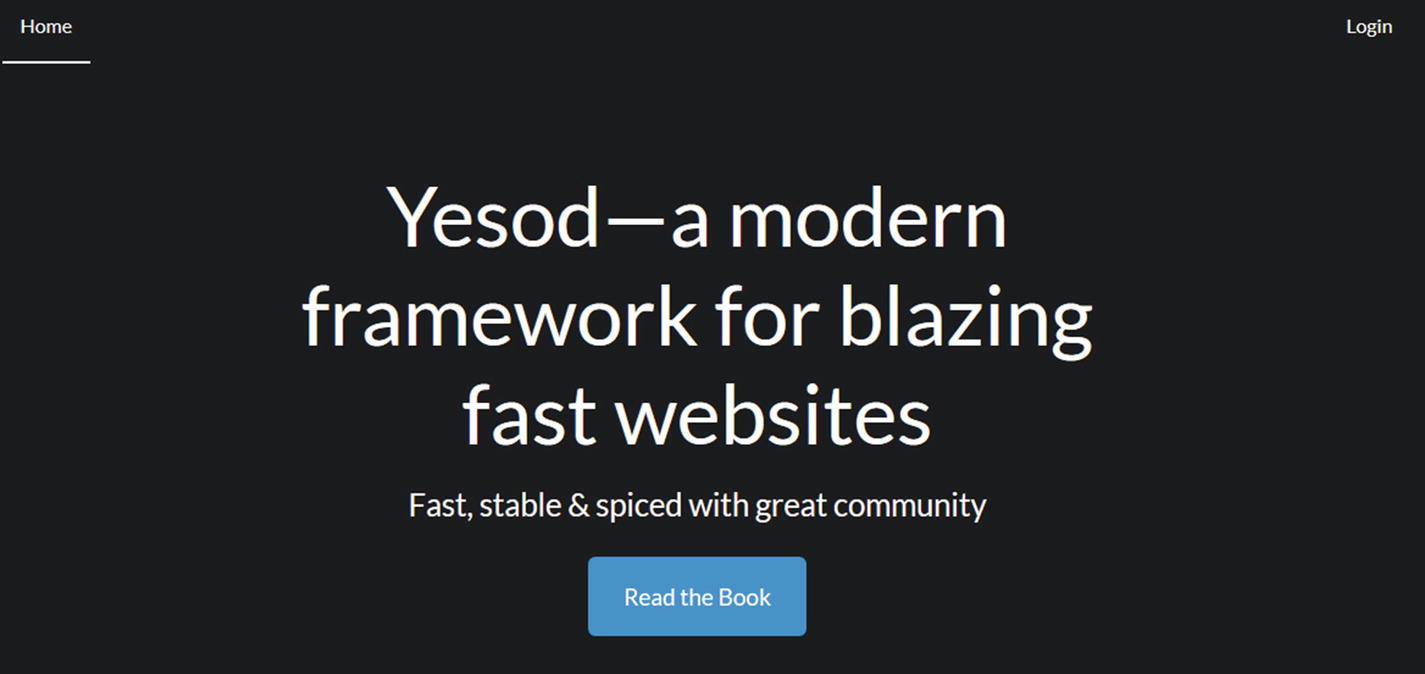 Figure 24-14.
Successful installation
 Figure 24-15.
Server running
- 14.
Using Yesod in a Practical Example
- 1.
Open Notepad from Windows or download Notepad++ (recommended).
- 2.Copy and paste the following code in your editor and save the file as HelloThere.hs. As a note, the following is a general example that can be found also within other literature references.{-# LANGUAGE OverloadedStrings #-}{-# LANGUAGE QuasiQuotes #-}{-# LANGUAGE TemplateHaskell #-}{-# LANGUAGE TypeFamilies #-}{-# LANGUAGE MultiParamTypeClasses #-}import Yesoddata HelloWorld = HelloWorldmkYesod "HelloWorld" [parseRoutes|/ HomeR GET|]instance Yesod HelloWorldgetHomeR :: Handler HtmlgetHomeR = defaultLayout [whamlet|Hello There World!|]main :: IO ()main = warp 3000 HelloWorld
- 3.
Save the file as HelloWorld.hs in a specific path.
- 4.
Open a command prompt and navigate to the path where you saved the file (e.g., in our case it will be D:).
- 5.At the prompt, enter the command stack runghc HelloWorld.hs, as shown in Figure 24-17, and hit Enter.
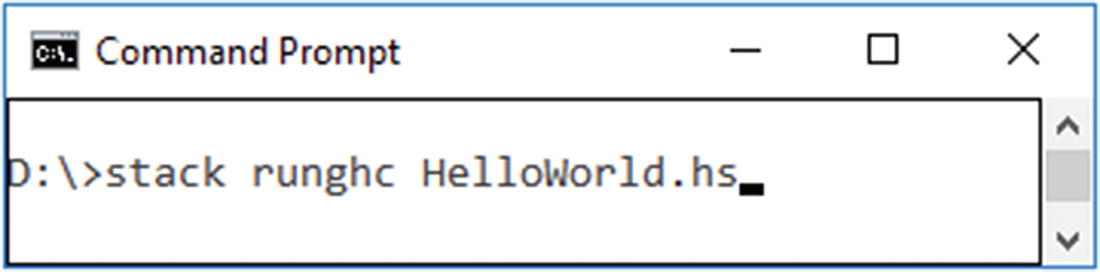 Figure 24-17.
Running the program
- 6.After running the command, you should see the result in the command prompt window, as shown in Figure 24-18.
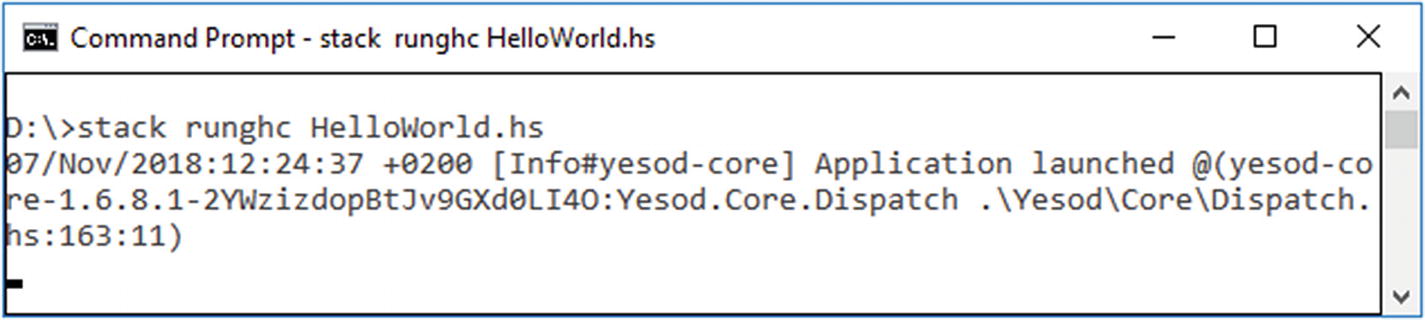 Figure 24-18.
Result of program
- 7.Go to the browser and open a new tab. Enter the following address: http://localhost:3000. If everything is OK, you should see on the screen the result, as shown in Figure 24-19.
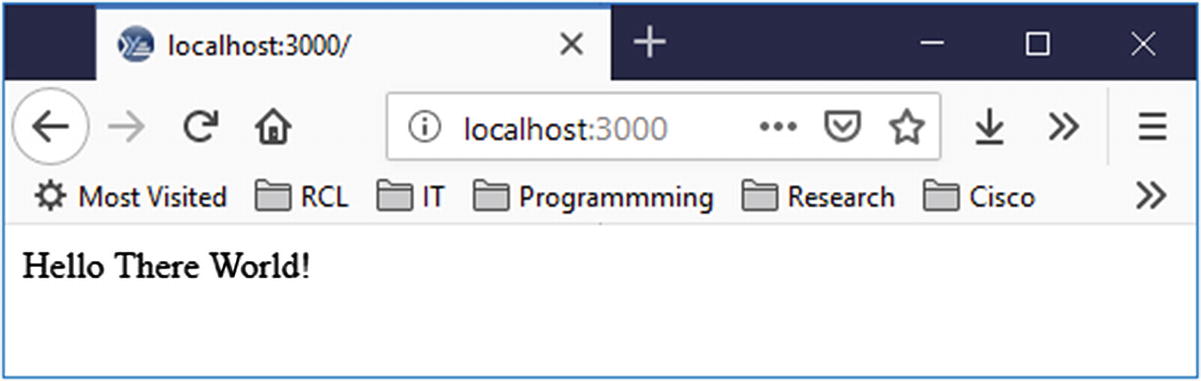 Figure 24-19.
http://localhost:3000
Summary
In this chapter, you learned about the Yesod web framework and saw how to use it to start developing applications.
References
- 1.
Yesod (web framework), https://en.wikipedia.org/wiki/Yesod_ (web_framework)
- 2.
- 3.
Yesod: creation of type-safe, RESTful web application, http://hackage.haskell.org/package/yesod
- 4.
Yesod, web framework, https://www.yesodweb.com/book