Tracking ROI is a 50 billion dollar skill, because it’s at the core of Google’s success, and you could even argue that it’s a trillion dollar skill, because of how much revenue Google helps businesses make. This chapter looks at how to set up a Shopify account, which is one of the easiest ways to set up a “real” e-commerce system to learn about tracking ROI with analytics. I think it’s important to see how you can set things up so that when you create an ad, you can track exactly how much money you are making. This is a fundamental concept and opportunity in analytics, where Google Analytics and AdWords can act together. My goal has been to find the easiest, least expensive way to set up the moving pieces, and Shopify is part of the puzzle. Originally, I was going include the entire lifecycle in one chapter, but I decided to split the chapter into two—this first chapter lays the foundation in Shopify, and the next chapter covers connecting things in AdWords.
In an ideal world, this would be free, but from what I can tell, there isn’t an e-commerce platform out there that is free and allows you to do conversion tracking. At the time of writing, there are some platforms such as Gumroad (covered in Chapter 7), which is free and provides some basic tracking, but if you point an ad at a Gumroad site, you are still guessing about the effectiveness of particular ads.
The great strength of being able to do “real” conversion tracking is that in Google AdWords, you can tell exactly how effective a particular ad has been, in terms of revenue. When you or your employer or client is spending money on ads, it’s important to know what is most effective, so you can spend money on ads with confidence, instead of through guesswork. That’s the exciting thing about setting up the full deal.
Setting up Shopify , at $29.95/month, is about the best and easiest way to do things at present (e-mail me if you know of an alternative).
Understanding Conversion Tracking
At a high level, conversion tracking allows Google to make 50 billion dollars a year. The magic behind this machine is that unlike most other forms of advertising, with AdWords you can get analytics that tell you exactly how much money you are making, based on what you are spending. If you spent money on a billboard, you can only guess at how many people are influenced to purchase—and the same thing goes for television, radio, and most other forms of advertising.
If you’re spending $1000/month on Google ads and you know you’re making 10,000 as a result, you can confidently consider increasing the budget, or just keeping it in place. Without the conversion tracking, you have no idea. Of course, selling something online is not as simple as just placing an ad on Google. People have to want what you are selling, and there’s also competition for Google ads. But when you follow the best practices for online marketing, and when you have conversion tracking in place, it gives you analytics to track ROI—the bottom line.
In terms of Google Analytics and Google AdWords, they are both tools. They work closely together, but it’s the conversion tracking that makes the difference.
Why Shopify? Why “Live”?
My recommendation is to follow along in this chapter as a learning experience about how e-commerce comes together, to set up a “live” Shopify site. Start thinking about a product that you could sell, even a physical product if you have one, or think of someone who might like some help exploring this area. Another area that is slightly easier to develop and manage, as part of a learning experience, is a digital product. Take anything that could be written/developed in Microsoft Office or Open Office, save it in PDF format, and make it a digital download.
You are also welcome to use the Introduction to Social Media book PDF, or one of my other books, as a live file to place on your “test” Shopify store. Ultimately, the competition for keywords about social media marketing in AdWords means the money you have to spend in order to actually sell the PDF might be more than you want, but it’s still worth the test. The only thing I’d ask is that you contact me first, partly because if multiple people are using it as a sample, it makes sense for me to coordinate “areas” that you could target your ads to.
Don’t worry if you don’t have experience in e-commerce, AdWords, etc. I try to make it as easy as possible to start out. Even if you want to keep spending down to a bare, bare minimum, you can get one or two friends to search on Google for the keywords you choose, click on the Google ad, follow it through to your site, and purchase the item. That will allow you to see the full lifecycle of conversion tracking.
It is an exciting thing , to be able to trace your effects for real. It’s also an important skill, and I do think that it’s worth pursuing, so that whether you are just learning for yourself, expanding your skillset at work, or building your skills to find work, you can say “I have experience setting up an e-commerce site and generating analytics with conversion tracking in AdWords”. This will definitely get people’s attention.
There might be alternatives to Shopify, but Google itself recommended it as an option for e-commerce when they discontinued Google Checkout, and Shopify has pretty good support. Using a combination of these chapters, the extra links for learning material, and the 800 numbers for support, I think it is realistic and doable to try this out. There’s also the Shopify LinkedIn group to pose questions to as well (ideally after you’ve tried asking either Google or Shopify support).
It is doable, and you will find it exciting, so I recommend trying it. First read both of these chapters and then try creating a Shopify site. Then set up the Google AdWords after that.
Think of it as a ride at an amusement park —it will be a new experience—but it can be fun!
Get Started with Shopify
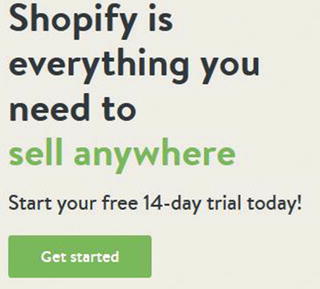
To get started , go to shopify.com and click Get Started:
Note
Until/unless things change, you can definitely do a free trial to try Shopify without spending money. In order to be able to do the conversion tracking, though, you have to pick a plan and spend $29.95/mo or so until you cancel. Given the impact it could have on your business, career, and employer, I think it’s worth it.
Next, enter your e-mail address, a password, and a name for your store. Click Create Your Store Now :
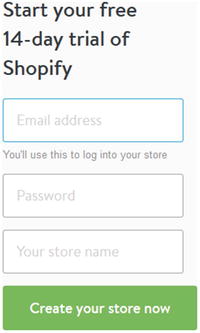
The store name could be anything you like it to and should ideally be related to the product you are selling. To make it easy, you could just use your initials, and say something like JDmarket. You’ll end up with an address like jdmarket.shopify.com, and if you like this e-commerce thing, you can always upgrade to a full web site name like www.jdmarket.com .
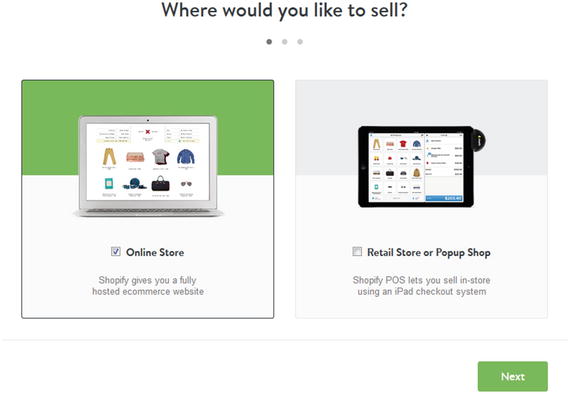
When you’ve got a name, choose the Online Store checkbox and click Next:
Then enter your name and address information:
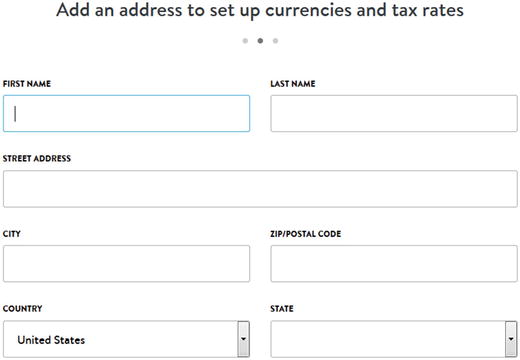
Click Next when you’re done:
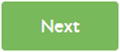
At this point , I’m going to follow the scenario of digital products. If you’re setting up your site to sell physical products, there’s more to configure, but you can always guess and then call Shopify support if you need to.
You make some basic choices and click Take Me to My Store:
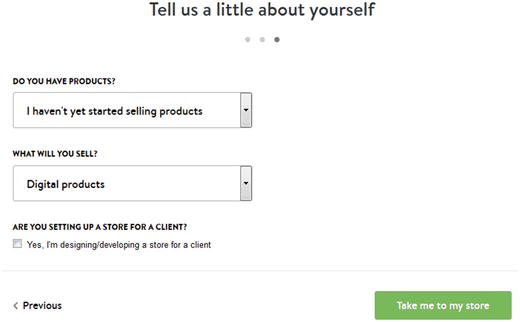
Next, you add a product.
If you are following along with a digital product , you can enter a title.
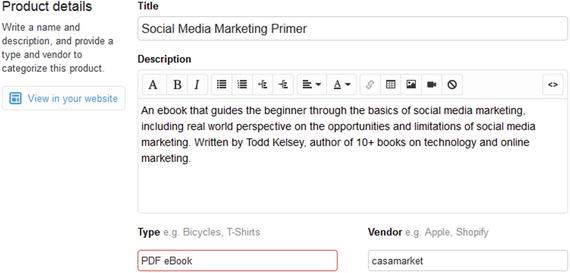
Then click Add Product:
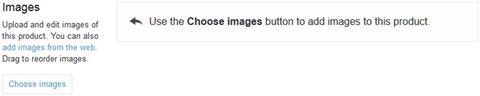
Next, you choose images (such as a book cover for a digital product). If you are uploading your own and don’t have a cover image, try hiring someone on elance.com or odesk.com or read the “Content” chapter in my Introduction to Social Media book for some tools on working with images. Try for a 250x450 image using SnagIt, Photoshop, or Gimp. You can add text and use clipart.
After you upload an image, it should look something like this:
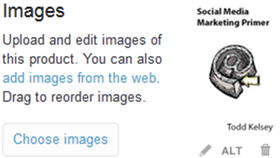
Then click Save :

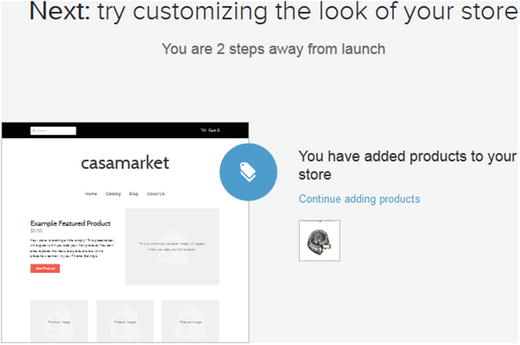
The Shopify wizard will walk you through things, and you can click on the 2 steps link:

In theory, you should also see a link like this, where you can click View Your Store to see a preview of what it looks like :

Customize Navigation
The next thing you’ll want to do is to customize navigation . If you know that only you and your friends will be looking at the store, not all the steps I go through are necessary, but it’s still a good experience to do it. The more likely you are to try and actually get people to visit the store and buy something, the more you’ll want to tweak your site.
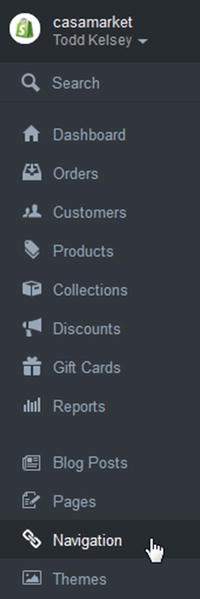
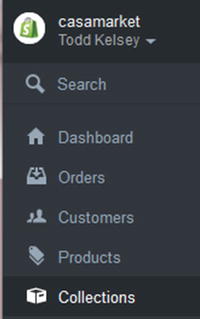
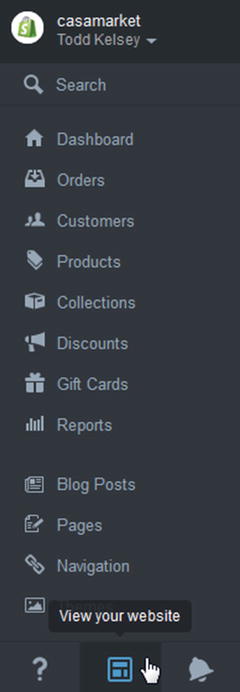
To customize the navigation, go to the menu on the left side of the screen click Navigation:
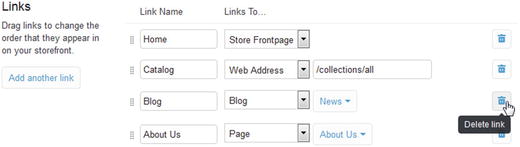
In this section, I recommend taking out a few things, such as the link to the blog, so you don’t have to add content to it or maintain it. If you want to blog about your e-commerce store, go for it! Just make sure you regularly add posts . You don’t want potential customers to come to the site and find old blog posts, or no blog posts, which will make your site seem less professional. You can also add a blog later.
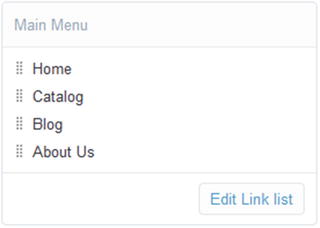
Next, the Edit Link List link:
Then click the trash icon next to the blog :
Finally, click Save:

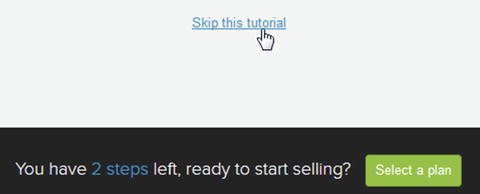
If you encounter a link like this, you might just want to skip it for now:
Adding the Product to the Front Page
Even after you add a product , you’ll want to add it to the front page. To do this, go to the left navigation and click Collections:
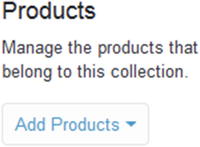
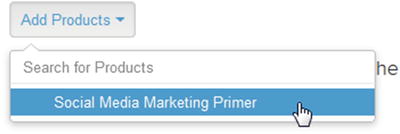
Look for the Front Page collection. Then click on the Add Products menu:
Select the product you added to the system :
It should show up in the list:
Then you can click Save :

Tweaking and Payments
Shopify makes it about as easy as possible to set up a fully functional e-commerce site and accept payments. It used to be, and often still is, the case that you needed to be a web developer, hire one, or learn how to be one, and then work with a hosting company to put a lot of pieces together, including adding payment processing to your web site, etc. Suffice to say that jumping through the hoops on Shopify is a lot easier than other setup situations.
Next, go to your Dashboard:

You will probably see a wizard like this:
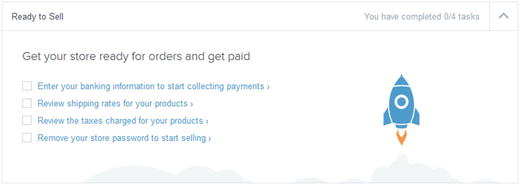
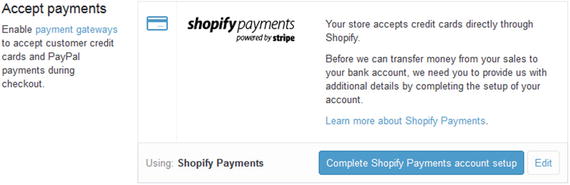
If you’re following the “digital products” example, all you need to do is enter your banking information. Even if it’s just you and your friends, colleagues, or classmates testing things out, you should enter the information to get the full effect .
First, click Complete Shopify Payments Account Setup:
You’ll probably want to choose Individual/Sole Proprietorship:

Note
By continuing to read, you are accepting the fact that I am not giving you tax or business advice, just options to consider.
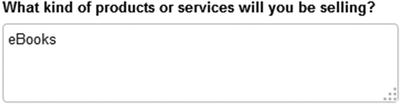
Next, uncheck We Sell and Ship Physical Goods :
Type in eBooks instead:
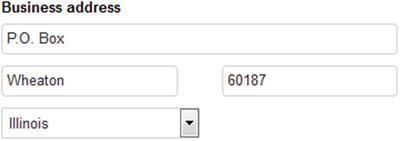
Then enter your business address:
Finally, enter your bank information:

Click Complete Account Setup :
Then click Save:

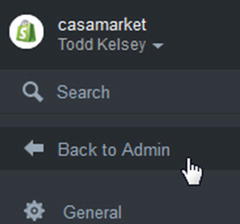
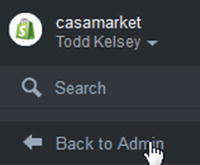
Then click Back to Admin:
Next, click the check boxes on the left, to set up shipping rates and tax rates :
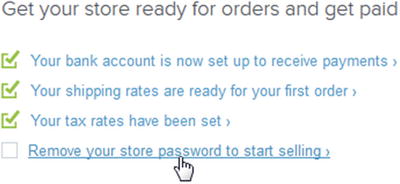
Then click Remove Your Store Password, and it will lead you to pick a plan, which is covered next.
Picking a Plan
This is where you have to pay . The trial allows you and others to visit the site, and it’s live, but they need a password, and random visitors from a Google ad can’t get in. In theory, if you tell friends to find the Google ad and click on it and you give them the password, technically you might be able to try Shopify for free. I haven’t tested that idea, but it’s possible in theory.
My recommendation is to make it live. Go through the exercise of making it as professional looking as possible, spend the money if you can, then find a person with a real product, physical or digital, to sell. Chances are there are a fair number of people in your community who might be trying to find a solution like that, and if someone comes along to help them, they might even pay for everything, as well as pay you to help them.
Click Pick a Plan :

I suggest the cheapest plan. Click Choose this Plan:
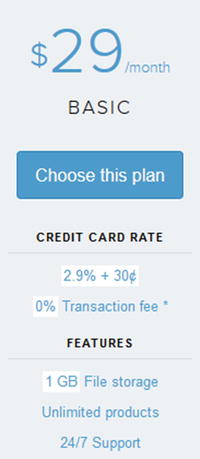
Start with the Once a Month plan instead of the yearly plan:
Then click Confirm changes:
Next, click Remove Your Storefront Password :
Uncheck Password Protect Your Storefront:
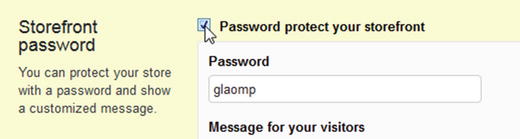
Then click Save:

Note
If you are paying attention, you might notice that you can connect Google Analytics to your storefront. When you do that, what you are mainly gathering is “conventional” analytics, such as behavior and number of visitors to your Shopify site. You could try that, but the focus for now is on setting up conversion tracking. I suggest filing that away for later, if you plan on wanting to learn about e-commerce analytics using an ongoing store.
Click Back to Admin:
Setting a Price
For any product you sell, you’ll need to set the price. Click on the Products link:

Then select a product to price:
In order to have a price, you have to make a “variant”. E-commerce items like t-shirts will often have different sizes, colors, etc., so for a digital download, you could just have a name for a particular edition, like “First Edition” or “Version 1.0”.
To proceed, click the Edit link:
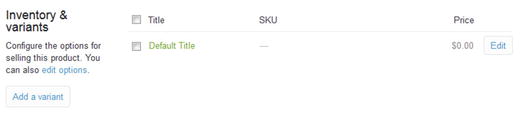
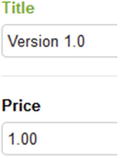
Type in a variant name and price:
Note
By continuing to read, you agree I’m not giving you business or tax advice.
If you’re doing this as a limited time experience, you may not need to charge taxes, and unless you are shipping physical goods, you don’t need to require a physical address :
So uncheck both of those boxes and click Save and Close:

Tip
If you plan to sell things on an ongoing basis, I recommend finding an accountant. The old principle is, focus on what you do the best (such as marketing) and work with others to do the rest (such as accounting). You can do preliminary research on Google, such as “do selling digital downloads require charging taxes?”. You can also call Shopify support for questions. Most likely they will help you configure your site, but will probably say that ultimate tax strategy should be determined in conjunction with an accountant. At a high level, the landscape seems to shift. In some cases, if you’re shipping to the same area as your business, taxes may apply, and because of changing legislation, there may be taxes anyway. For a long time businesses like Amazon didn’t have to charge taxes for online purchases, whereas buying in a local retailer would cause local sales tax. But local and state governments are catching up with this and starting to push for tax revenue. Something to research if you’re interested in e-commerce. Ultimately, I recommend working with an accountant. Better to do it right than get burned later.
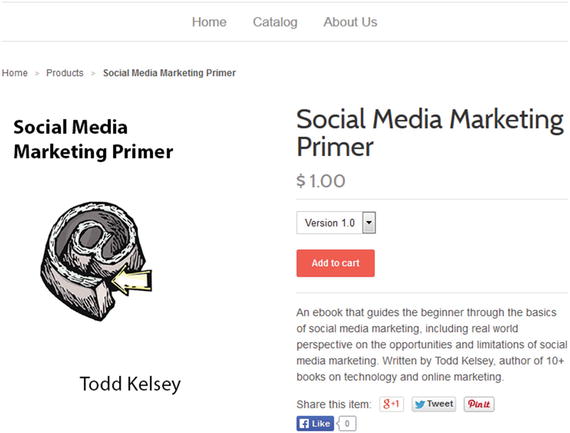
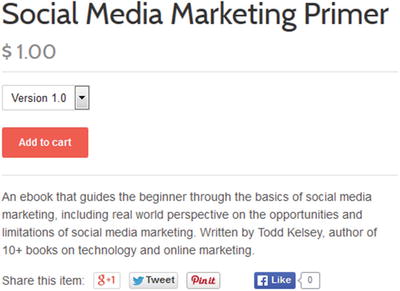
Next, you might like to scroll up on the screen and click View in Your Website :
Then take a look. Congratulations! You have fought half the battle in setting up an e-commerce site. In the next chapter, you’ll get everything configured and find some visitors.
The link for your site will be something like this: https://casamarket.myshopify.com .
Making More Tweaks
These tweaks are not strictly necessary, but recommended. Even if you took the blog link off, there might still be a News section on your front page:

To get rid of this, you can click Themes:
Then click Customize Theme :
And Footer:
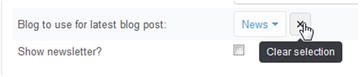
Then click the X next to blog:
Note
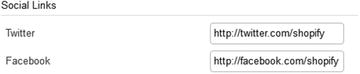
This page also happens to be where you can configure “where” your social media icons point. I wouldn’t worry about it, but you can always come back later and add this. In the meantime, if anyone clicks on those icons, they will be taken to Shopify.
Finally, click Save:
Updating Content
You’ll want to spruce things up a bit. Click on Pages :
And then click Frontpage:
Add some descriptive text:
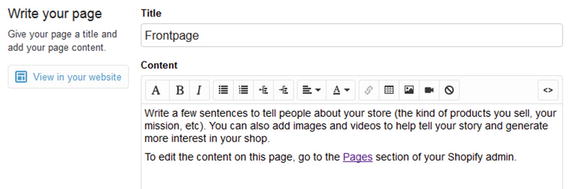
For example, using the sample text/files mentioned earlier, you could add the following and click Save:
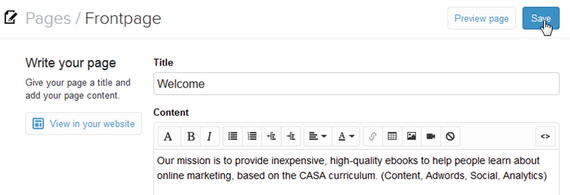
(If you want to “go pro,” hire a copywriter, locally or through elance or odesk.)
Next, click Pages :
Click on the About Us link:
Using the sample text or your own text, enter the About Us text. You can use Shopify’s suggestions as a guide:

Feel free to use the sample text as well:
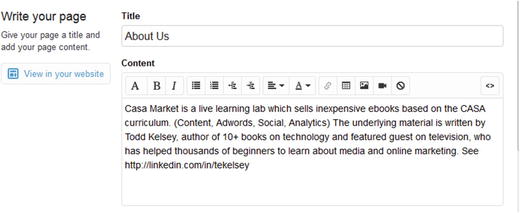
Then click Save :

Adding the Digital Product
Next, you’ll need to upload a digital product , using the Shopify app.
Click on Apps:
Then click Visit the App Store:
Type in digital downloads and select from the drop-down list:
Next, click Install Digital Downloads:

Now you need to select a product that you set up before. Click the Product link:

Then select your product you want to upload:
Click on the “…” icon and choose Add Digital Attachment:

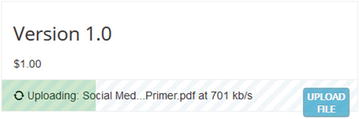
Next, click Upload File:
The file should begin to upload:
Congrats! You set up a digital download .
To see your store, click on the middle icon at the bottom of the left navigation:
Buy Your Product
At this point, I recommend buying your own product , just to test it out and get that sense of satisfaction that comes from setting things up. Click Add to Cart:
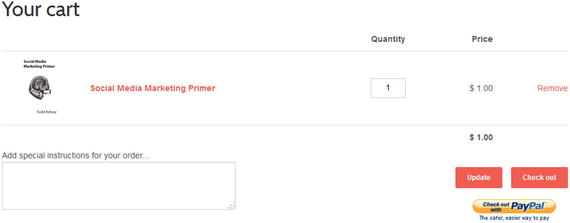
Click at the cart icon at the top of the screen. If you want to make it clearer to visitors what to click on and where, you can add text to your product description, such as “Click on Add to Cart to buy, then click on the Cart icon at the top of the screen to check out.”
Next, you can click Check Out:
You’ll get the standard user experience. For digital downloads, it collects an e-mail:
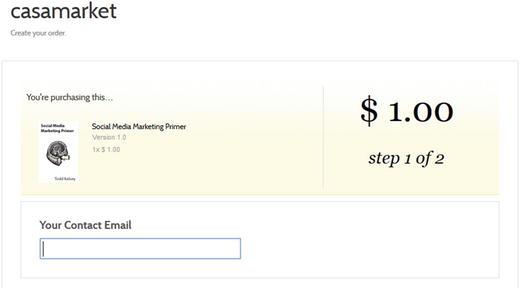
Note
If you plan to do this on an ongoing basis, you’ll want to establish a privacy policy and put it on the site in relation to e-mails you capture. Ask Shopify about this.
Next, you’ll get a confirmation, and buyers can download “now” or through the e-mail they receive .

Take a Deep Breath
Okay, take a deep breath.
Congratulations! You made it through setting up an e-commerce site. It’s live and ready to advertise!
Learning More
To learn more about Shopify, this link might be helpful: http://docs.shopify.com/manual .
The docs.shopify.com/support page also has options for e-mail, live chat, and calling 24/7.
You can also get assistance from a Shopify expert, in hiring someone to help you set things in motion, via http://experts.shopify.com .
Conclusion
I think that going through the process of setting up an e-commerce site gets at the heart of analytics, bringing you closer than ever to being able to experience ROI first hand. Not many online marketing professionals can say they’ve done this, especially on their own. Even if you don’t plan on selling anything yourself, I recommend considering this. If you end up with an employer or client who is trying to figure this out, you’re one step ahead. You might end up doing analytics in a situation where all the underlying connections have been made, and I still recommend learning about this, so that you can have the “Aha!” moment. It’s partly about inspiration. I do believe that ROI is one of the most important concepts, if not “the” most important concept, in online marketing. This is true whether you see analytics as your full-time job or just a skill in your toolbox.
Getting your head around ROI, really understanding it, will help you to be a stronger analyst and online marketer, period. If your emphasis is on ROI, you will be helping yourself, your employer, and your clients create more sustainable online marketing efforts.