
In this section, we will look at how to use Video Indexer.
We are going to take a quick look at how you can utilize Video Indexer.
To use the prebuilt Video Indexer tool from Microsoft, head over to https://vi.microsoft.com/. Sign up or log in with your Microsoft account. When you have signed in, you will be asked to register the account by filling out some information, as shown in the following screenshot:

Once you have logged in, you will find yourself at a dashboard, as shown in the following screenshot:

To get started, you can upload your videos by clicking on Upload. This will open a popup that you can use to either upload a video or enter a URL to a video. Alternatively, you can get started quickly by selecting a sample video by clicking on Sample Videos in the menu.
When you have chosen a video, or when the video you have uploaded has completed its indexing, you will be taken to a page to see the insights. This page will show you the video in full, along with any insights that are found, as shown in the following screenshot:
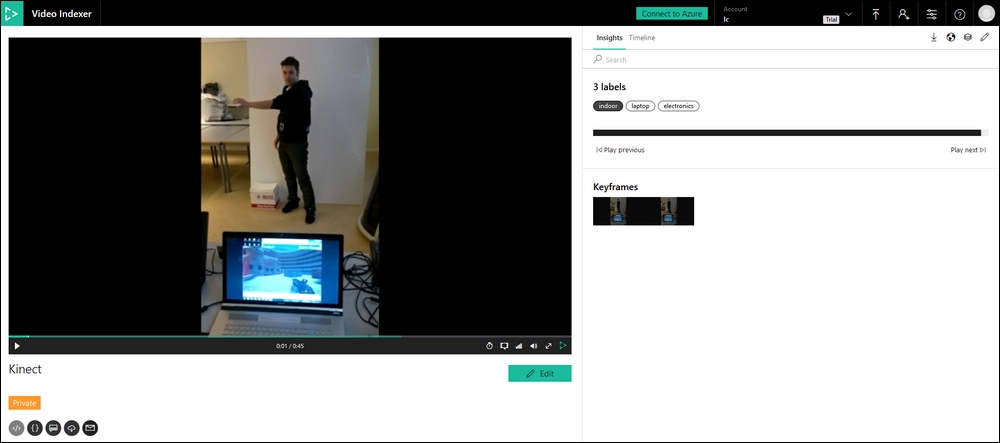
In addition to the keywords and people that were discovered in the video, you will get a list of annotations and sentiments of the speech throughout the video. These insights will give the following list of information (if such information is detected):
Video Indexer will also create a timeline of every key event throughout the video. You can follow along with this timeline by selecting Timeline at the top of the Insights frame, as shown in the following screenshot:

This timeline will automatically move forward as the video moves forward.
The timeline will display the transcript of any audio in the video. In addition, it will show any objects that were detected and any people recognized.
Apart from the premade Video Indexer site, there is also a Video Indexer API present. This allows you to gain the exact same insights as the web tool from your own application.
To get started with the API, head over to https://api-portal.videoindexer.ai/. Once here, log in with your Microsoft account. The first step is to subscribe to the API product. You can do this by clicking on the Products tab. This will present you with the following:

By clicking on Authorization,you will be taken to another page, as shown in the following screenshot:

Click on Add subscription. This will display the following:

Fill in a Subscription name and make sure you read and agree to the terms of use. Click Confirm.
Once you have subscribed to the product, you will be taken to a page to see the API keys, as shown in the following screenshot. This can always be reached by going to the Products tab and selecting the product you have subscribed to:

Once you have the key, select the APIs tab and select your subscribed product. This will present all the API calls that are available for you to use. The entire API is REST-based and, as such, you are able to use it from any application as long as you provide the correct request parameters and API keys.