
When running Zimbra for the first time, you need to go to the admin console to configure it. To do that, all you need is to go to the following address: https://172.16.126.140:7071/zimbraAdmin
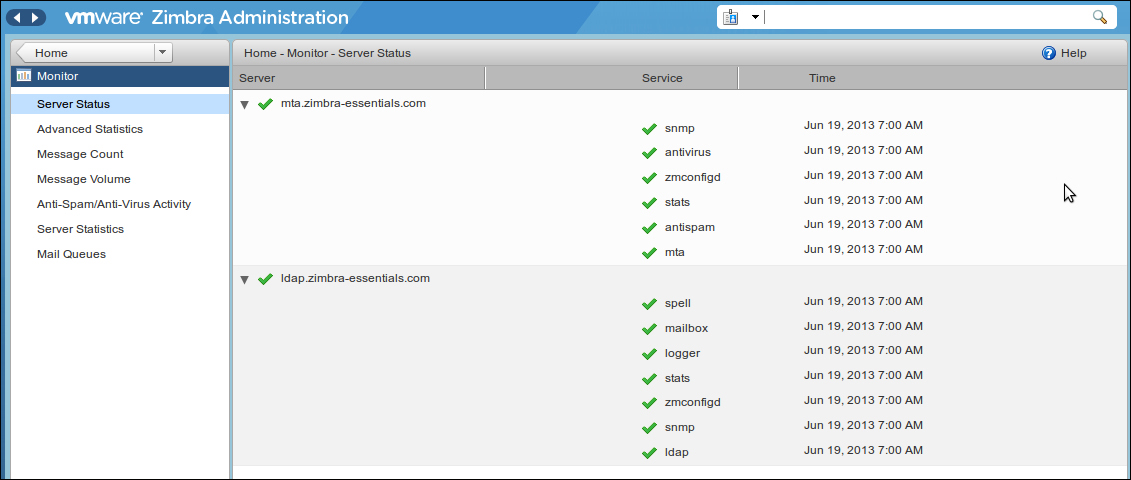
You can now check that all services are running well (this may take some minutes after restarting the servers), as shown in the following screenshot:
Note that, when you do this for the first time you will receive an SSL certification exception:
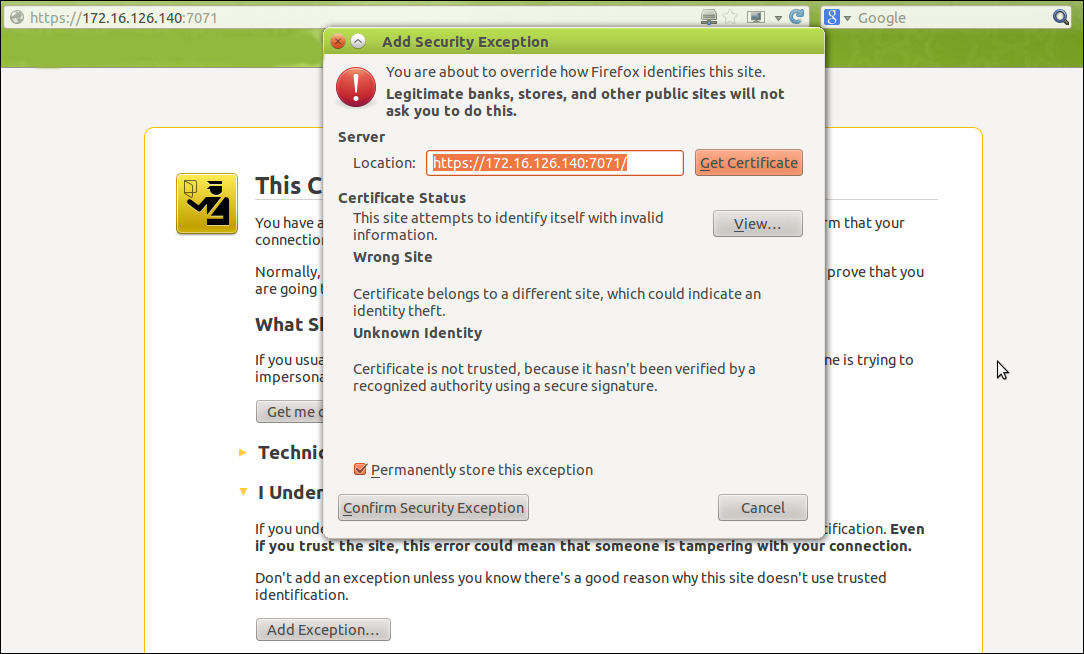
Don't worry; accept it. As we explained before, the Zimbra installation process generates a local certificate, which is not signed by any certification authority; that's why some browsers show this warning. In a professional context, you should get a professional certification signed by a trusted certificate authority; in this manner, you will avoid that warning. We will see this point in a later chapter of this book.
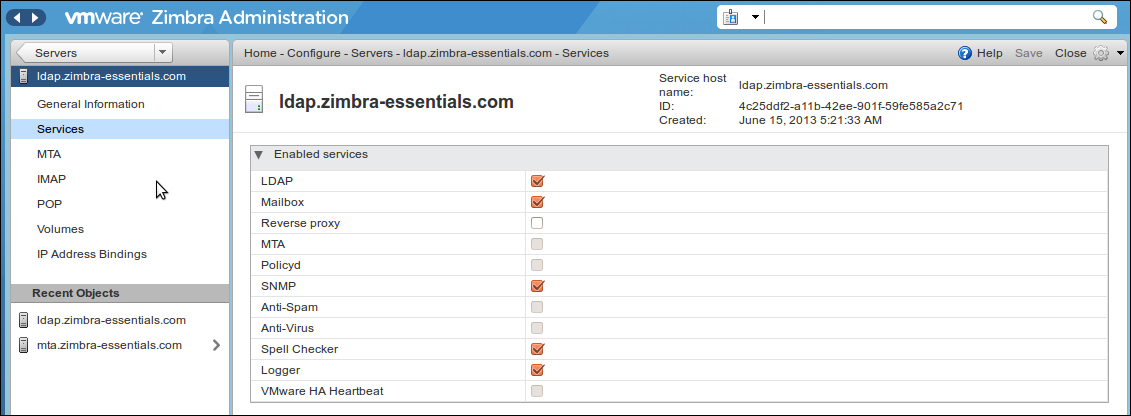
After login, you can start managing your Zimbra servers via the admin console by going to Configure | Servers; then double-click on the server you want to manage and you will get the following screenshot for each server, in our case:
The LDAP server:
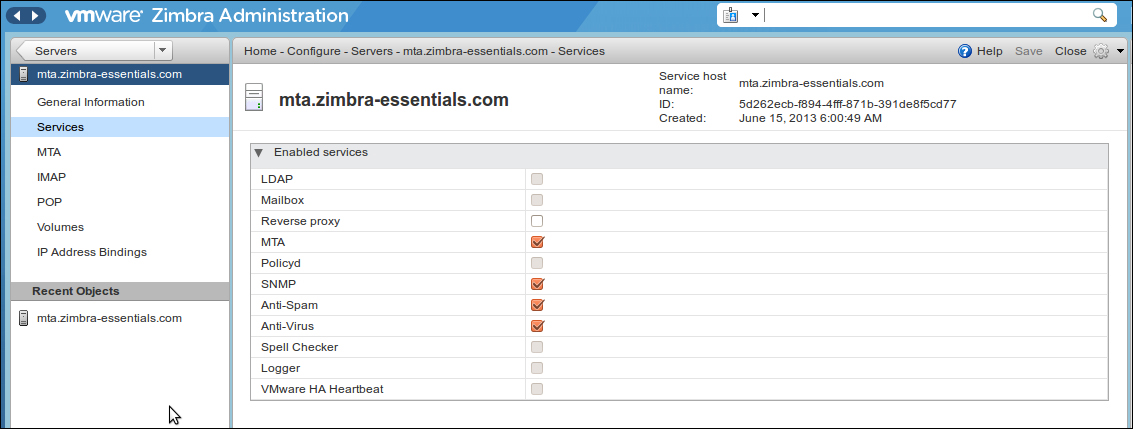
The MTA server:
To access the mail account for the administrator (or any other created user), you should go to the address: https://172.16.126.140/
(The same as for the admin console, you will get an SSL exception the first time—accept it.)