
In version 2 of Magento, it adopted the use of the jQuery library as the main JavaScript library. Also, with the adoption of RequireJS, the use of jQuery has become modular and provides easy management between the different layers of visualization and templates enabling the creation of widgets.
Besides jQuery, jQuery UI can also be used for your projects with the same idea of creating widgets. Currently, Magento 2 supports jQuery UI 1.9.2 version with a peculiarity: the style sheet files are added separately to avoid problems with the existing Magento 2 stylesheet files.
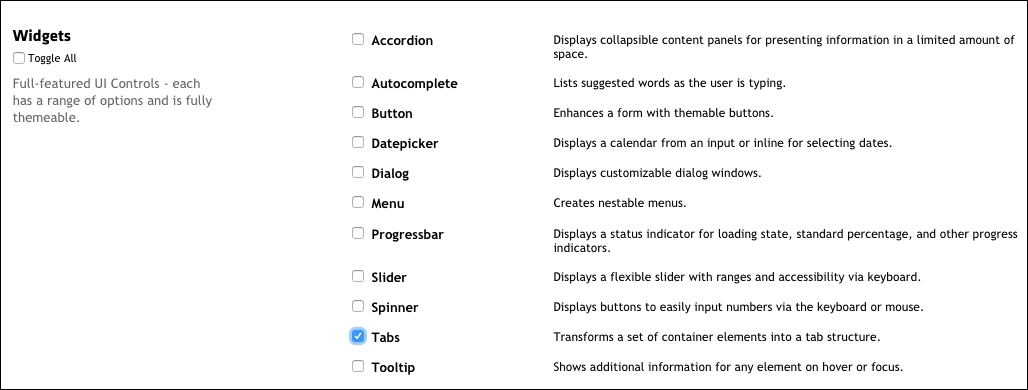
The main jQuery widgets that can be used on Magento are:
- Accordion widget
- Alert widget
- Calendar widget
- Collapsible widget
- Confirm widget
- Dropdown Dialog widget
- Gallery widget
- List widget
- Loader widget
- Menu widget
- Modal widget
- Navigation widget
- Prompt widget
- QuickSearch widget
- Tabs widget
They all follow the functionalities of the jQuery library and can be applied in the Magento templates. You can test them and consult the documentation, available for the collection of ideas, but to exemplify the use of jQuery widgets in your Magento themes projects, we will demonstrate a method to customize the Bookstore theme.
Tip
For more information about jQuery widgets on Magento 2, access the official documentation available at http://devdocs.magento.com/guides/v2.1/javascript-dev-guide/widgets/jquery-widgets-about.html .
To practice the techniques seen so far, you will implement a Tabs widget in the product view page. This widget will be a mini FAQ with information about the shopping process in the store.
First copy the file /vendor/magento/module-catalog/view/frontend/templates/product/view/details.phtml to the directory /app/design/frontend/Packt/bookstore/Magento_Catalog/templates/product/view.
Open the file on your favorite code editor and at the end of the file add the following markup:
<h2>FAQ</h2>
<div id="tabs">
  <ul>
    <li><a href="#tabs-1">How can I download eBooks?</a></li>
    <li><a href="#tabs-2">What payment methods can I use?</a></li>
    <li><a href="#tabs-3">What format are Bookstore eBooks?</a></li>
  </ul>
  <div id="tabs-1">
    <p>Once you complete your eBook purchase, the download link for your eBook will be available in your account.</p>
  </div>
  <div id="tabs-2">
    <p>You can pay with the following card types:
      <ol>
        <li>Visa Debit</li>
        <li>Visa Credit</li>
        <li>MasterCard</li>
        <li>PayPal</li>
        <li>American Express</li>
      </ol>
    </p>
  </div>
  <div id="tabs-3">
    <p>Bookstore eBooks can be downloaded as a PDF, EPUB or MOBI file. They can also be viewed online.</p>
  </div>
</div>

<script>
require(['jquery','jquery/ui'],function($, tabs) {
  $("#tabs").tabs();
});
</script>
The first part is an HTML code that will contain the content of your tabs. From the <script> element, the require function is used to load the jQuery and jQuery UI libraries. At the end, the instruction $ ("# tabs").tabs( ) runs the script and applies the Tabs widget.
Do you remember that the Magento default does not contain the jQuery UI CSS file? It will be necessary to generate customized library contents on the website of jQuery UI (http://jqueryui.com/download/) and select only the following options:
- Version: 1.9.2
- UI Core: Core, Widget
- Widgets: Tabs
After selecting the options, download the file and extract it in a directory. Rename the file jquery-ui1.9.2.custom.min.css to jquery-ui1.9.2.custom.min.less and copy it to the directory /app/design/frontend/Packt/bookstore/Magento_Catalog/web/css/source/.
Open the file /app/design/frontend/Packt/bookstore/Magento_Catalog/web/css/source/_module.less, that was used in Chapter 5, Creating a Responsive Magento 2 Theme, and add the following instruction at the beginning of the file:
@import 'jquery-ui-1.9.2.custom.min.less';
This instruction will do the import of the file to the LESS processing in the Magento_Catalog module.
Now do the following process to update the system and apply the updates:
- Open the terminal or Command Prompt and access the root directory in your Magento 2 instance.
- Run the commands
grunt exec:bookstore_en_USandgrunt exec:bookstore_de_DE. - Run the commands
grunt less:bookstore_en_USandgrunt less:bookstore_de_DE. - Run the commands
php bin/magento setup:static-content:deploy en_USandphp bin/magento setup:static-content:deploy de_DE. - Lastly, run the command
php bin/magento cache:clean.
Open the visualization page at some product to see the result:

Very simple, isn't it?
Now, what if you want to add your own script to requirejs or even insert an external script or another library plugin in your theme development project, and what if you wanted this new script that has already received data and been integrated directly with the Magento 2 database?
In the following section of this chapter, you will make a new implementation using the techniques learned here. This time, RequireJS in the Promo module will be implemented, which is developed in Chapter 8, Magento Layout Development, using a jQuery plugin and an integration with the products system.