
Making a garment larger
“It’s just a bit small” is a common reason not to wear an item. While we can’t magically make an item bigger, we can insert a strip into side and sleeve seams to size-up a top or dress.
| You will need | seam ripper, tape measure, fabric-marking tool, insert fabric (match to garment fabric type), fabric scissors, iron, ironing board, hand-sewing needle, thread (match color to the garment), scissors/thread snips, pins |
| Sewing machine? | For hemming (step 4): for woven fabrics, use a straight stitch; for knits, use a three-step or wide zigzag stitch. For attaching the insert (step 6): for woven fabrics, use a straight stitch; for knit fabrics, use a narrow zigzag, which will allow the seam to stretch a little |

1 Carefully unpick the side seams and sleeve seams of the garment. If the garment is sleeveless and has an armhole facing, unpick the side seam of the facing, too, then treat the outer and facing layers as one in the following steps.
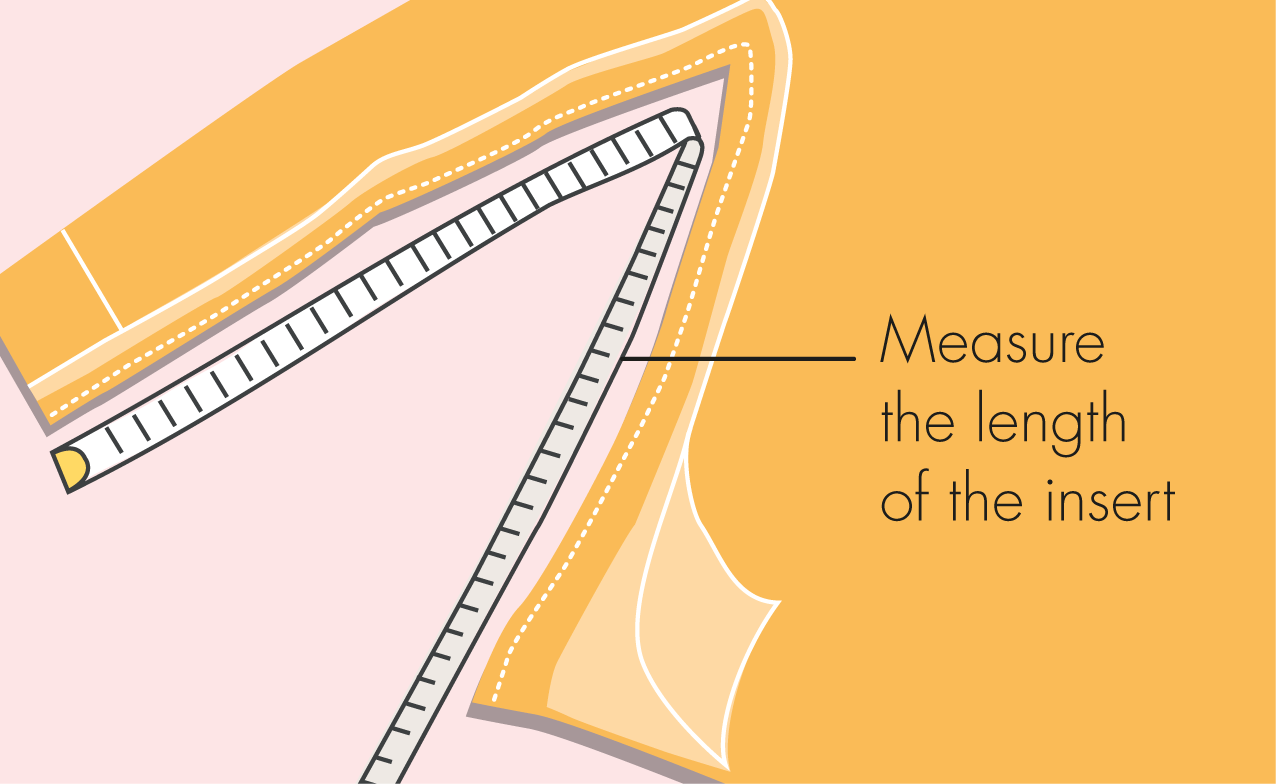
2 Measure the length of the seam from sleeve hem (or armhole) to the garment hem. Add 1⅝in (4 cm) to this figure to find the length of the insert. Gauge how wide you’d like the insert to be and add double the garment’s original seam allowance.
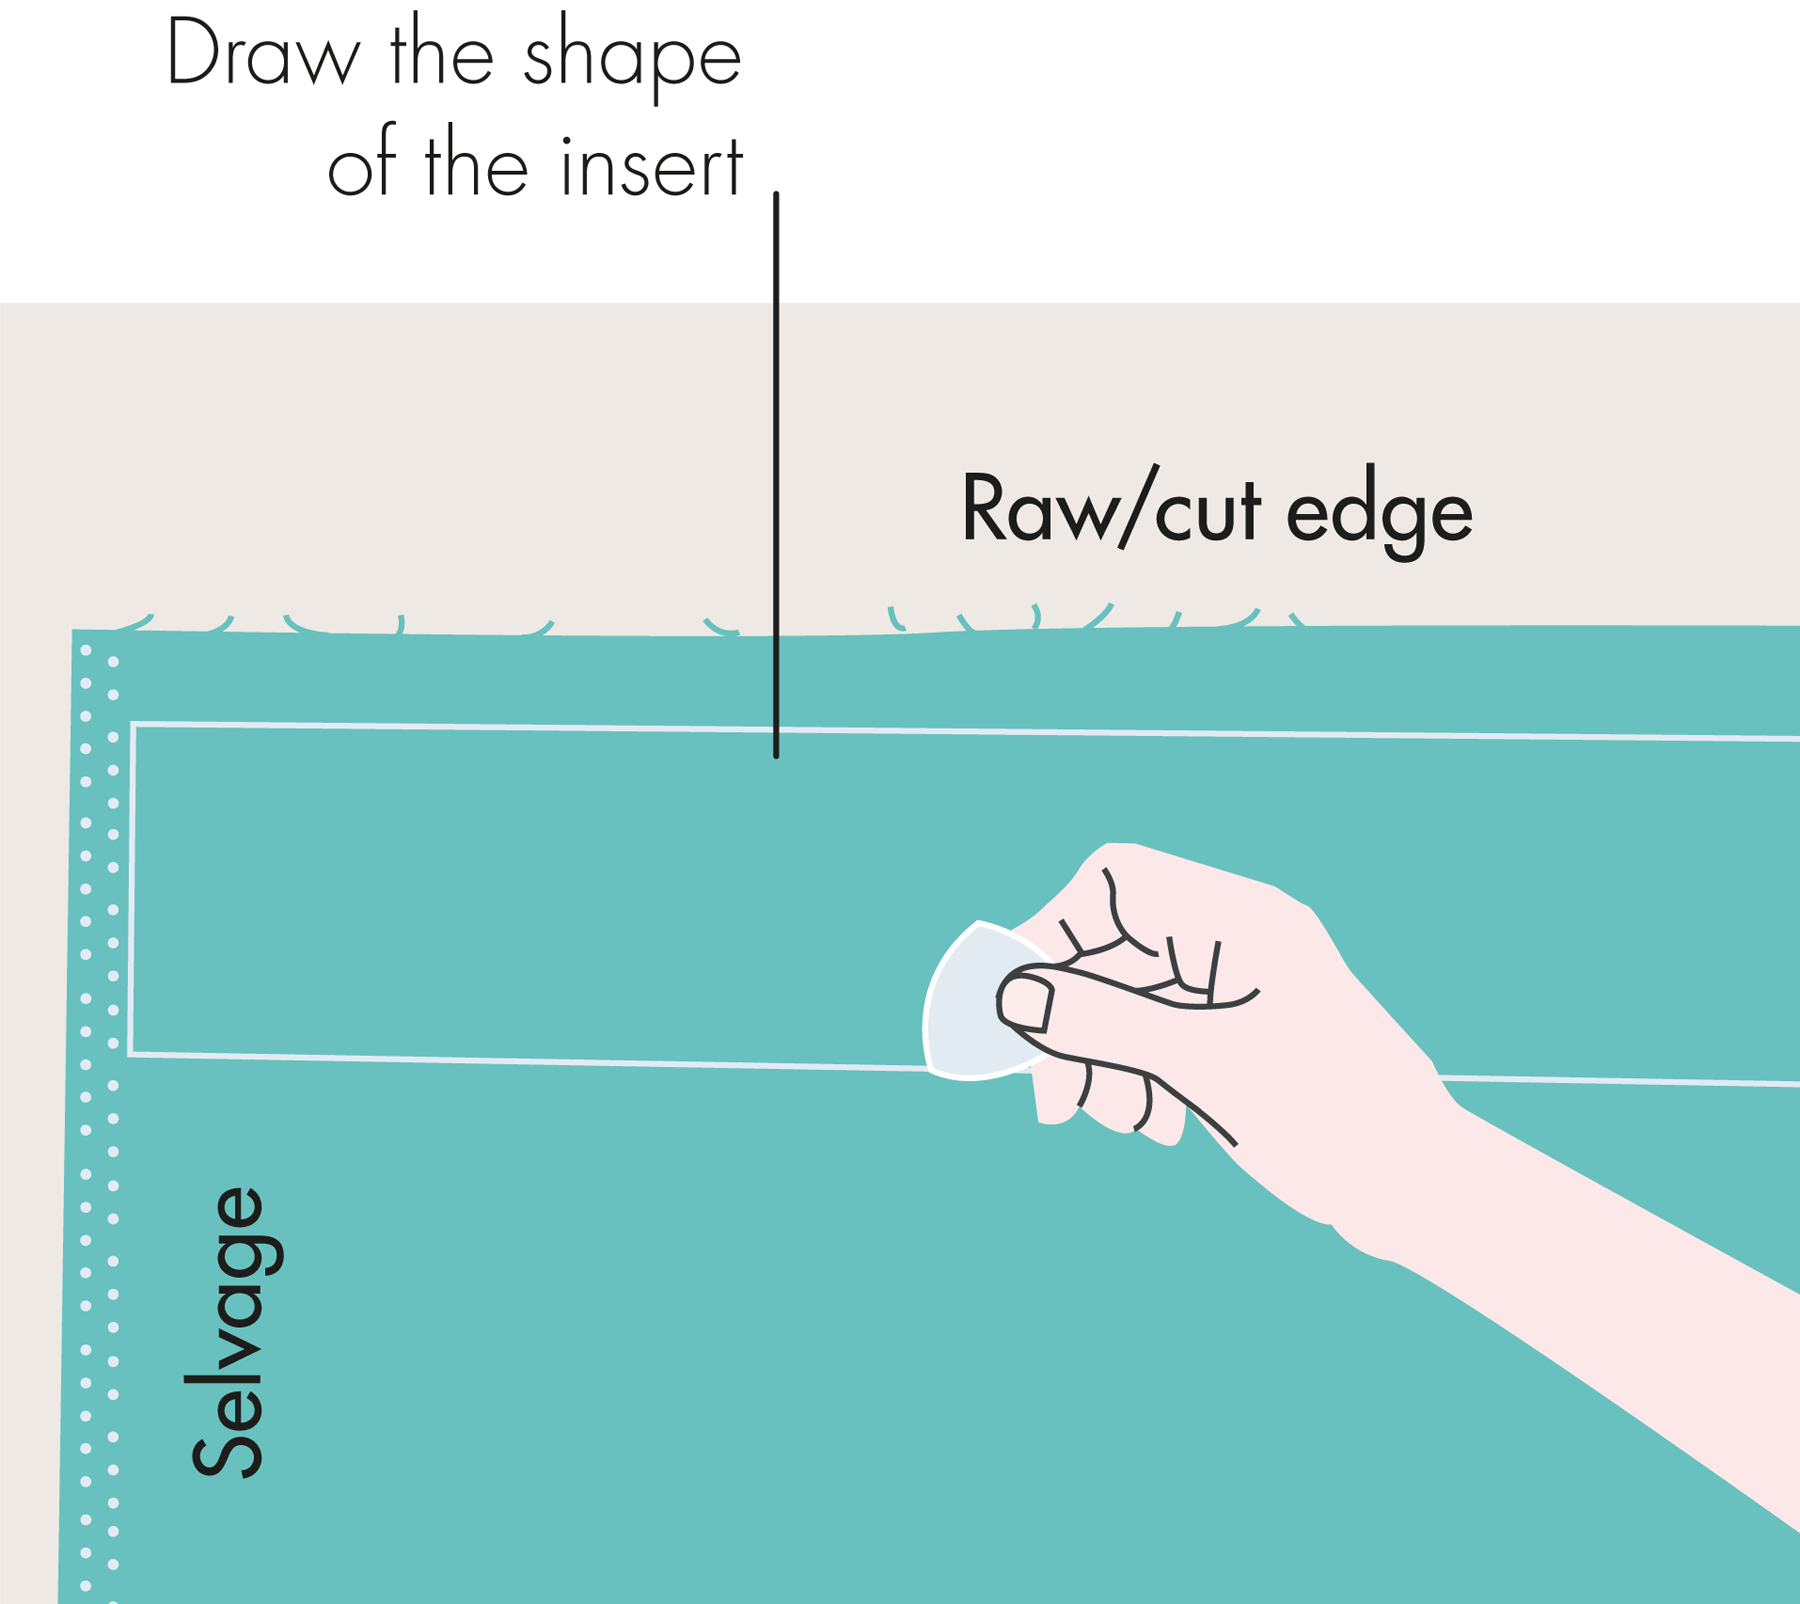
3 Using a fabric-marking tool, mark this rectangle out on your insert fabric and cut it out. It may be necessary to make a join with running stitches if the rectangle length measurement is particularly long.

4 Turn the short ends back by ⅜in (1 cm), press, then turn again by ⅜in (1 cm) and press. Thread a needle with 12 in (30 cm) of thread and tie a knot in one end. Make small running stitches close to the hem at both short ends.
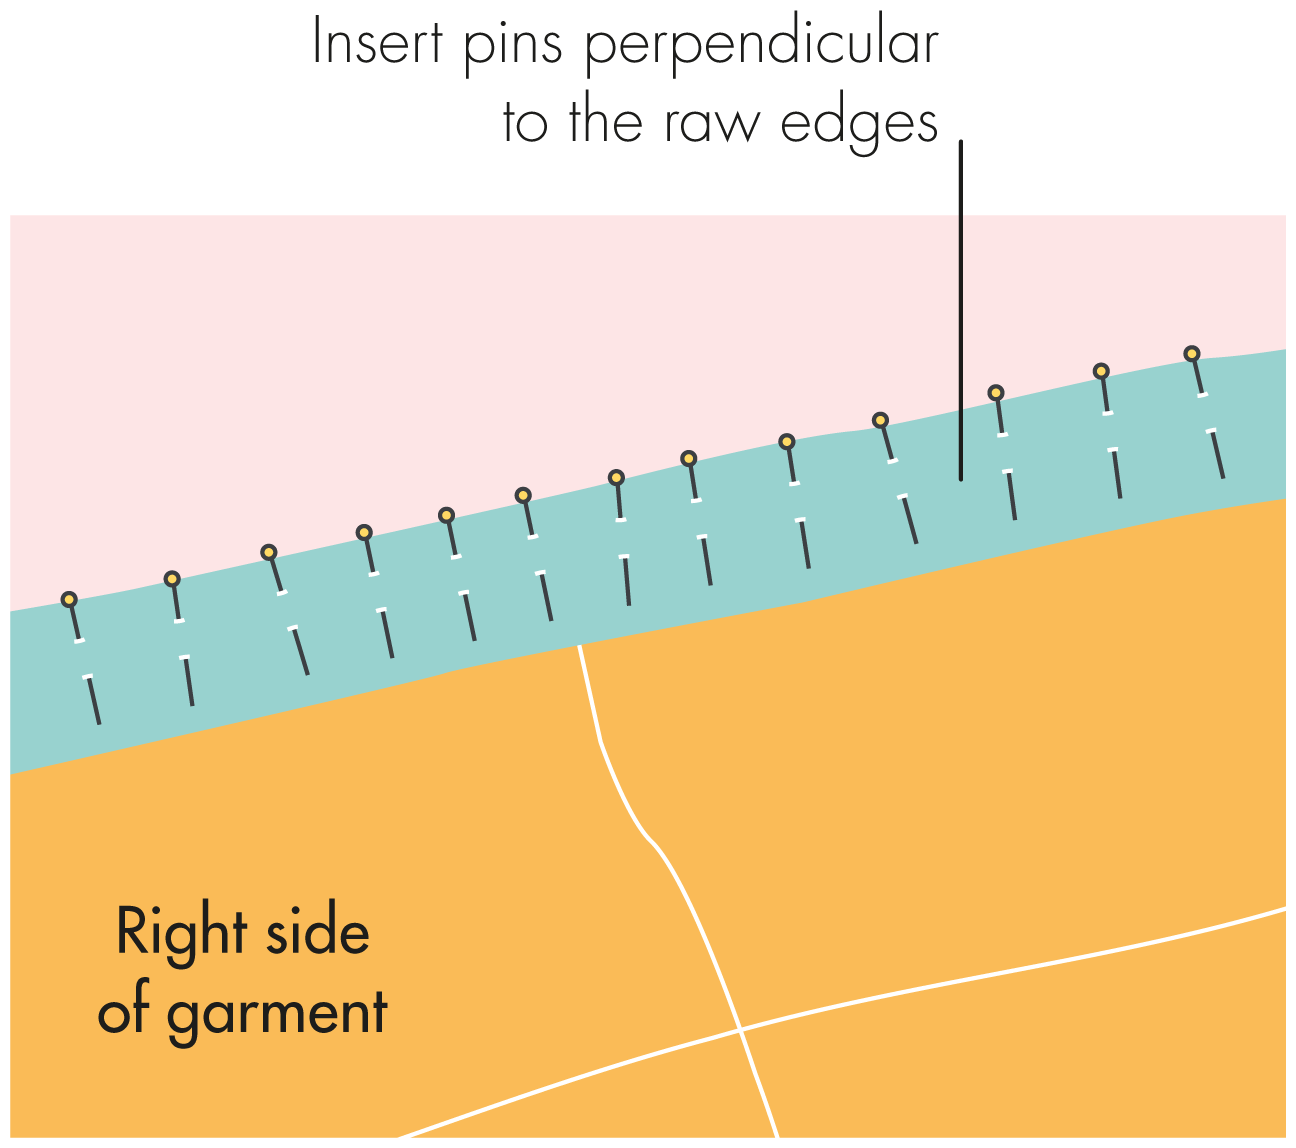
5 With right sides together, position the insert along one of the side seams (and sleeve seam, as necessary), aligning the raw edges. Match the insert’s hems with the garment’s hem and sleeve hem or underarm. Insert pins at regular intervals.

6 Thread a needle with 18 in (45 cm) of thread and tie a knot in one end. With the garment fabric wrong side up, make small, neat running stitches to attach the insert. Pin the other edge of the insert as for step 5; repeat to sew the other side.