
Before we start playing with the pretrained CIFAR-10 network, let's first discuss how to set up and configure our OpenMV camera using OpenMV IDE. Begin by opening OpenMV IDE. You'll notice that the IDE is broken up into four main areas:
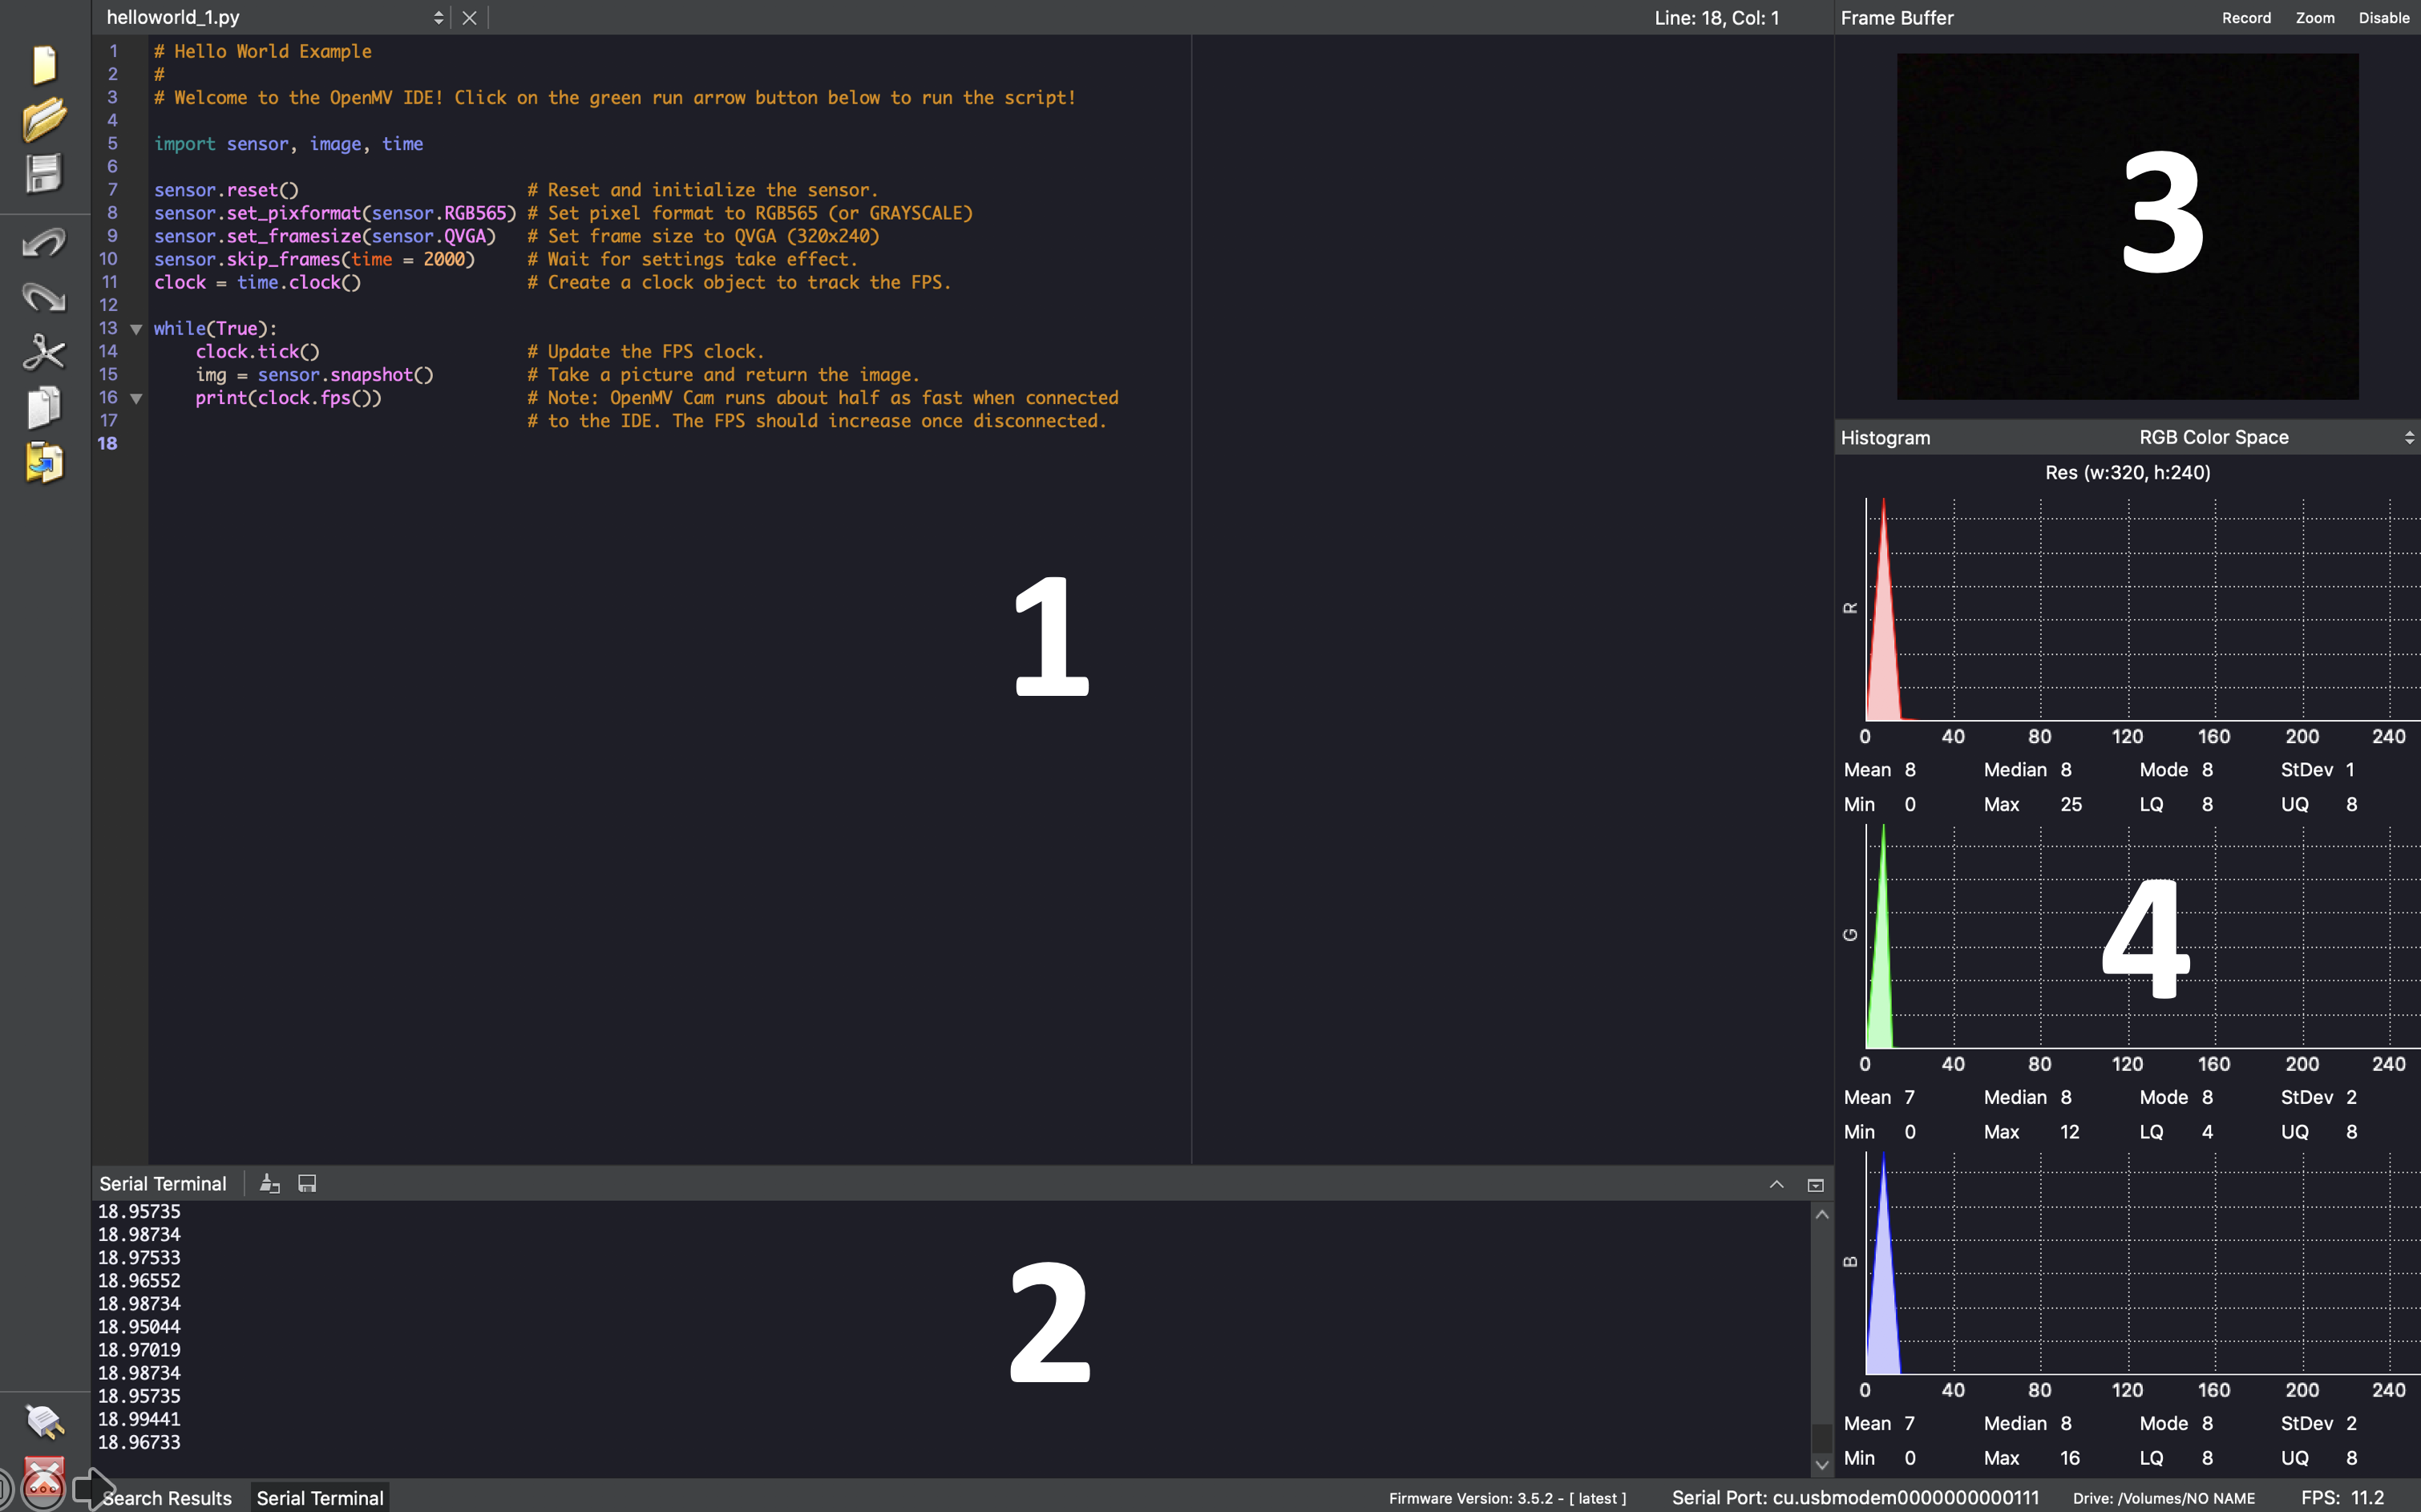
The main areas that are marked in the preceding screenshot are as follows:
- The code editor
- A terminal window
- An image preview
- An image histogram
On the lower left-hand side of the screen, you'll also notice that there are two buttons:
- One for connecting to the OpenMV camera
- One for running the current OpenMV script
By default, the OpenMV IDE loads with the hello_world.py script ready to run. This script continuously takes images from the camera and displays the frames per second (FPS) that it is able to achieve. (Note that the maximum achievable FPS is much higher if the camera is not connected to a PC). The script is shown in full as follows (script source: OpenMV IDE hello_world.py):
# Hello World Example
# Welcome to the OpenMV IDE! Click on the green run arrow button below
# to run the script!

import sensor, image, time

sensor.reset()                      # Reset and initialize the sensor.
sensor.set_pixformat(sensor.RGB565) # Set pixel format to RGB565
                                    # (or GRAYSCALE)
sensor.set_framesize(sensor.QVGA)   # Set frame size to QVGA (320x240)
sensor.skip_frames(time = 2000)     # Wait for settings take effect.
clock = time.clock()                # Create a clock object to track the FPS.

while(True):
    clock.tick()                    # Update the FPS clock.
    img = sensor.snapshot()         # Take a picture and return the image.
    print(clock.fps())              # Note: OpenMV Cam runs about half
                                    # as fast when connected
                                    # to the IDE. The FPS should increase
                                    # once disconnected.
Let's take a moment to run this script and make sure that we are able to successfully connect to the OpenMV camera. (Note, if your camera is brand new, you should review the OpenMV getting started documentation for how to focus the camera). You can perform the following steps:
- Connect the OpenMV camera to your computer.
- In the lower-left corner, click the icon that looks like a plug-in order to connect the camera.
- If this is your first time using the camera, OpenMV IDE may tell you that the firmware is outdated. Allow the IDE to update the firmware before continuing. (This may take a few minutes.)
- Click on the green arrow execute button.
At this point, you should see a read-out in the terminal that displays the calculated FPS, as shown in the following screenshot:

You should also see that the histogram and the image preview window changes as you move the camera around to point at different objects in your environment. Now that the camera is up and running and we have some basic experience with it, let's try playing with the pretrained CIFAR-10 network.