
Creating an ASP.NET “Hello World” Application
In this section, you will create your first ASP.NET application. This application is a simple but useful Hello World application. This application, upon execution, displays the message Welcome from ASP.NET Web Forms!, as shown in Figure 21.9. This application is simple in that you only have to drag and drop a Label component on the form and change the Text property; no coding is required. To create this application, first select New Project from the File, New, Project menu, as shown in Figure 21.3.
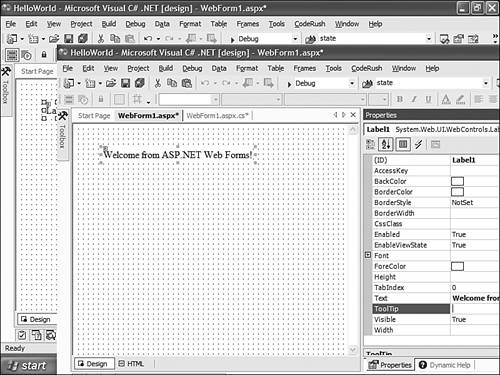
Figure 21.9. Modify the Text property to set the message.
![]()
Next, select the ASP.NET Web Application from the Visual C# Projects menu, as shown in Figure 21.4, and enter http://localhost/HelloWorld in the Location section of the dialog.
Figure 21.4. Select ASP.NET Web Application to create the Hello World application.
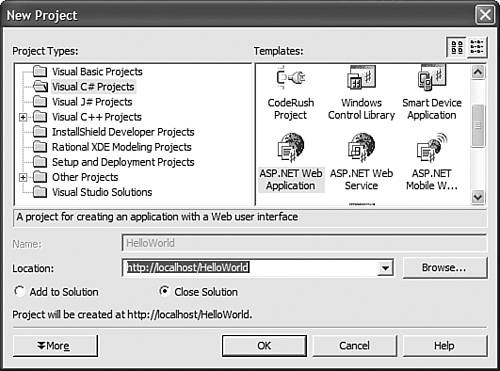
This will create a new C# ASP.NET application in a directory off of the Web Root folder. Visual Studio .NET will also create a virtual directory and point it to the specified location, as shown in Figure 21.5.

After the Hello World application has been created, you can see the application and all of its files in the Solution Explorer, as shown in Figure 21.6.
In the Solution Explorer, you can see that Visual Studio .NET not only created the project, but added four files as well. Three of these four files will always exist in every web application. These files are discussed in Table 21.1.
The last file is the Web Form that was created for the application. By default, this form is given the name WebForm1. Now that you have an understanding of what Visual Studio .NET does when it creates a web application and what files are created along with the application, you can modify the form to display the welcome message. First, select the Web Forms tab from the toolbox and drag the Label component to the WebForm1 Design view, as shown in Figure 21.7. After you've dropped this component on the form, you will see a component that displays Label as its Text property, as shown in Figure 21.8.
Figure 21.7. Drag and drop the label from the toolbox onto the Web Form.
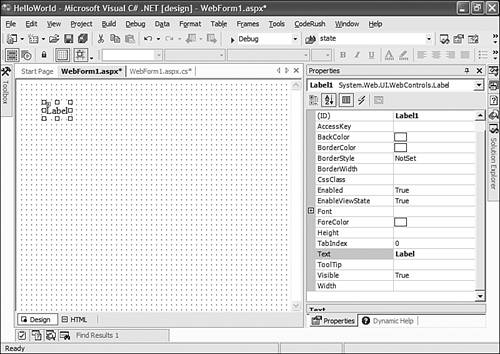
Now change the message displayed by the Label component from Label to Welcome from ASP.NET Web Forms!. You do this by selecting the Label component and modifying the Text property in the Properties window, as shown in Figure 21.9.
Now that the application is finished and displays the correct message in the Design view, as shown in Figure 21.10, it is time to run the application and see whether the application does what you expect.
To run the application, select the Debug, Start menu item or simply press the F5 key (assuming that you are using the Visual Studio Developer profile). When the program is running, you should be able to see the application in the browser and it should display the message Welcome from ASP.NET Web Forms!, as shown in Figure 21.11.

Listings 21.1 and 21.2 show the complete source code that it took to create the Hello World application. Listing 21.1 is the HTML code that displays the Web Form. The following line is the only line that was necessary to add in order to display the desired message ![]() :
:
<asp:Label id="Label1" style="Z-INDEX: 101; LEFT: 48px;
 POSITION: absolute; TOP: 40px" runat="server">Welcome from ASP.NET Web Forms!</asp:Label>
All other lines of code were generated by the ASP.NET Application Wizard.