Within AWS IoT, you can set up any range of devices. For example, you can test connectivity to the AWS IoT service by connecting a Raspberry Pi device:
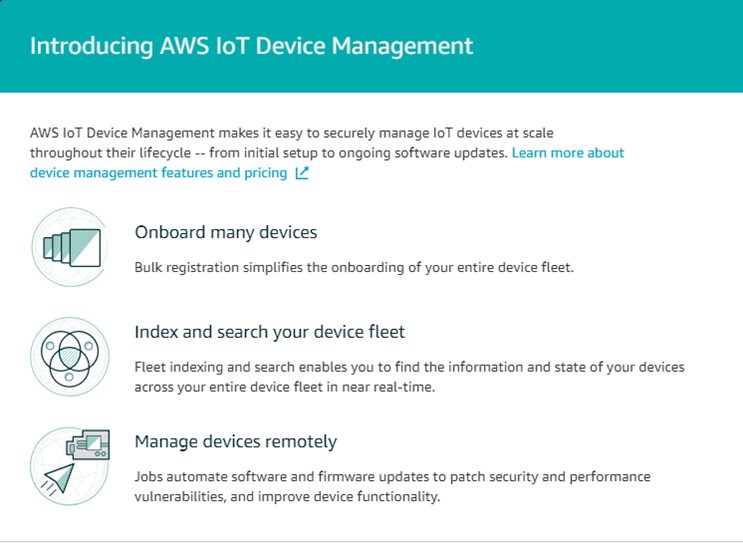
- The process is straightforward. The first step is to log into the AWS console and navigate to the section titled Internet of Things. You'll notice a set of options that includes AWS IoT, AWS IoT Analytics, IoT Device Management, Amazon FreeRTOS, and AWS Greengrass.
- Click on AWS IoT. You'll be greeted by a menu on the left side that lets you configure, monitor, manage, and test your IoT devices.
- Choose Onboard to begin the configuration process for your new device:

- Onboarding lets you securely configure devices singly or in bulk. Administrators are also provided with the option to connect AWS starter kits, which can be set up more easily based on their preconfigurations.
- Choose Get started under Configuring a device to continue:

- Next, proceed through a three-step process of registering your device, downloading a connection kit, and configuring and testing your device.
- Click on Get started to provide registration details:

- You are asked to choose between Linux/OSX and Windows. For our configuration we will choose Linux/OSX. You are then asked to choose an AWS IoT Device Software Development Kit (SDK), from three options: Node.js, Python, and Java.
- For our example, choose Python:

Prior to downloading the SDK, AWS mentions that the prerequisites for the IoT device are that Python and Git are installed and that the device has a TCP connection open to the internet on port 8883. Make sure your Raspberry Pi 3 meets these prerequisites.
On the next page, you'll be asked to name your thing. This is where naming conventions come into play. For purposes of our example, the name choice is not as significant as in enterprise installations. For an enterprise installation, consider a multipart name whereby you can easily identify your devices amongst the (potentially) millions of others in your inventory.
Aspects of an IoT device that you should consider when defining a thing's name include:
- Manufacturer
- Device type
- Serial number
- Deployment date
- Location
Fortunately, on this page, you can also configure your device with additional attributes which makes this easier, as well as allocating your device to a particular thing type.
For our example, create a thing type defined as Raspberry_PI, and then allocate four attributes including:
- Manufacturer
- Location
- Deployment_Date
- Operating System
Now, name your device based on a simple Electronic Serial Number (ESN). Make up an ESN for this example.
Upon completion, you will notice that AWS has assigned a Thing Amazon Resource Name (ARN) which uniquely identifies the device within AWS. Also note that you can go back and edit your device attributes at any point; for example, if you've installed an update to the operating system.
For the next step, download the connection kit for ease of installation. Note that this is not required, and you can simply create certificates on your own, which is discussed later in this chapter:

The connection kit contains a set of keys and certificates, as well as an installer for the Python SDK and a start.sh script. Save these files into your directory structure, add execution privileges to the start.sh script, and then run the script:
chmod +x start.sh
# ./start.sh
You will notice that the Python SDK is downloaded, and then a connection is made to AWS IoT where Hello World messages are passed back and forth between the Raspberry Pi and the AWS IoT service.
