In this recipe, we will learn how to set up OpenGL in Qt.
- First, let's create a new Qt widgets application by going to File | New File or Project.
- Next, we will remove the
mainwindow.uifile because we are not going to use it in this example. Right-click on themainwindow.uifile and select Remove File from the drop-down menu. Then, a message box will appear and ask for your confirmation. Tick Delete file permanently and press the OK button. - After that, open up your project file (
.pro) and add the OpenGL module to your project by adding anopenglkeyword behindQT +=, like so:QT += core gui opengl
- You also need to add another line in your project file so that it will load both the OpenGL and GLu (OpenGL Utilities) libraries during startup. Without these two libraries, you program will not be able to run:
LIBS += -lopengl32 -lglu32
- Then, open up
mainwindow.hand remove several things from it:#ifndef MAINWINDOW_H #define MAINWINDOW_H #include <QMainWindow> namespace Ui { class MainWindow; } class MainWindow : public QMainWindow { Q_OBJECT public: explicit MainWindow(QWidget *parent = 0); ~MainWindow(); private: Ui::MainWindow *ui; }; #endif // MAINWINDOW_H - Next, add the following code to your
mainwindow.h:#ifndef MAINWINDOW_H #define MAINWINDOW_H #include <QOpenGLWindow> class MainWindow : public QOpenGLWindow { Q_OBJECT public: explicit MainWindow(QWidget *parent = 0); ~MainWindow(); protected: virtual void initializeGL(); virtual void resizeGL(int w, int h); virtual void paintGL(); void paintEvent(QPaintEvent *event); void resizeEvent(QResizeEvent *event); }; #endif // MAINWINDOW_H - Once you have done that, we will proceed to the source file, which is
mainwindow.cpp. Functions that we have just added to the header, such asinitializeGL(),resizeGL(), and so on, can be left empty for now; we will only use these in the next section:#include "mainwindow.h" #include "ui_mainwindow.h" MainWindow::MainWindow(QWidget *parent): QMainWindow(parent), ui(new Ui::MainWindow) MainWindow::MainWindow(QWidget *parent) { ui->setupUi(this); setSurfaceType(QWindow::OpenGLSurface); } MainWindow::~MainWindow() { delete ui; } void MainWindow::initializeGL() { void MainWindow::resizeGL(int w, int h) { } void MainWindow::paintGL() { } void MainWindow::paintEvent(QPaintEvent *event) { } void MainWindow::resizeEvent(QResizeEvent *event) { } - Lastly, set a title for the main window and resize it to 640x480 by adding the following code to your
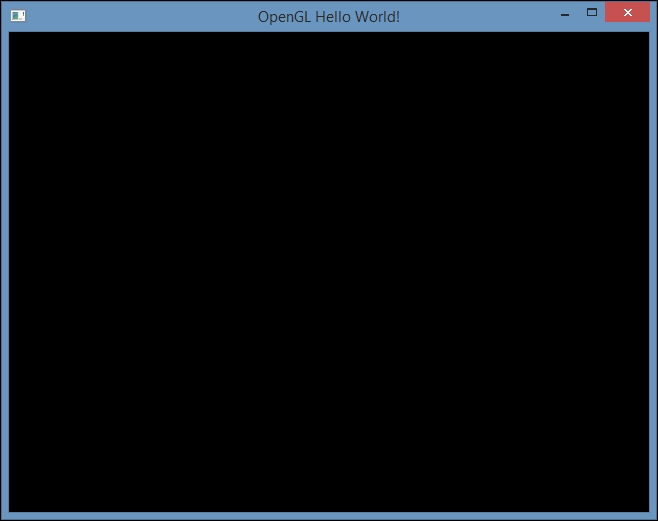
main.cppfile:#include "mainwindow.h" #include <QApplication> int main(int argc, char *argv[]) { QApplication a(argc, argv); MainWindow w; w.setTitle("OpenGL Hello World!"); w.resize(640, 480); w.show(); return a.exec(); } - If you compile and run the project now, you will see an empty window with a black background. Don't worry about it, your program is now running on OpenGL!

The OpenGL module must be added to the project file (.pro) in order to access header files that are related to OpenGL, such as QtOpenGL, QOpenGLFunctions, and so on. We used the QOpenGLWindow class instead of QMainWindow for the main window because it's designed to easily create windows that perform OpenGL rendering, and it offers better performance compared to QOpenGLWidget due to the fact that it has no dependencies in its widget module. We must call setSurfaceType(QWindow::OpenGLSurface) to tell Qt we prefer to use OpenGL to render the images to screen, instead of QPainter. The QOpenGLWindow class provides several virtual functions (initializeGL(), resizeGL(), paintGL(), and so on) for us to conveniently set up OpenGL and perform graphics rendering.
OpenGL is a cross-language, cross-platform API for drawing 2D and 3D graphics on screen through the Graphics Processing Unit (GPU) within our computer's graphics chip.
Computer graphics technology has been evolving rapidly over the years, so rapidly that the software industry can hardly keep up with its pace. In 2008, Khronos Group, the company that maintains and develops OpenGL, announced the release of the OpenGL 3.0 specification, which created a huge uproar and controversy throughout the industry. That was mainly because OpenGL 3.0 was supposed to deprecate the entire fixed-function pipeline from the OpenGL API, and it was simply an impossible task for the big players to make the sudden switch overnight from a fixed-function pipeline to a programmable pipeline. This resulted in two different major versions of OpenGL being maintained concurrently by the Khronos Group, namely OpenGL 2.x and 3.x.
In this chapter, we will be learning OpenGL 2.x instead of 3.x, because the fixed-function pipeline is easier for beginners to grasp than the programmable pipeline. It's very straightforward and less confusing for learning the basics of computer graphics programming. Qt supports both versions, so there should be no problem switching over to OpenGL 3.x (and above) once you have learned the basic concepts of OpenGL rendering.
Qt uses OpenGL internally whenever it sees fit. Moreover, the new Qt Quick 2 renderer is based on OpenGL and is now a core part of Qt's graphical offering. That makes OpenGL more compatible with Qt than any other graphics APIs, such as DirectX.
