w.bloggar
| Web Site: | http://www.wbloggar.com/ |
| Platform(s): | Windows |
| License: | Freeware (donation requested) |
w.bloggar, the popular desktop client by Marcelo Cabral, works with a wide range of weblogging systems. That being said, it's rather basic and lacks many of the Movable-Type–specific features you will probably want if you're using your weblog at all beyond basic posting. However, it is fairly mature and rather stable, and would be a fine choice for someone looking for a simple tool with better HTML-authoring assistance than most of its competitors.
Installing and Configuring w.bloggar
Download and run the installer program from the w.bloggar Web site. It will walk you through the process of selecting where you want to install w.bloggar, and will add an icon to your Programs menu. After the installer's finished, use that icon to launch the program.
You should now have a dialog just like the one in Figure 21.16. This is where we'll start by creating a new account.
1. | Enter your Movable Type username and password in the User and Password fields. |
2. | Leave the Save Password box checked if you would like w.bloggar to remember your password for you. Otherwise, uncheck it. |
3. | Click the OK button. |
4. | Click OK again in the dialog box that pops up asking you to confirm that you want to create a new account. |
5. | The Account Properties dialog should open next. Select Movable Type from the Blog Tool menu, as shown in Figure 21.17. Figure 21.17. Let w.bloggar know that you're using Movable Type in the Account Properties dialog, and tell it where to find your XML-RPC interface.
|
6. | Enter a nickname for this account in the Account Alias field. I like to use the format <username>@<hostname>, but you can enter anything you'd like. |
7. | Enter your server's hostname in the Host field. |
8. | Enter the path to your mt-xmlrpc.cgi script in the Page field. This is the portion of your XML-RPC URL that follows your server's name. |
9. | If you need to use a proxy server to connect to the Internet, click the Proxy Server tab. Otherwise, click OK to create the account. |
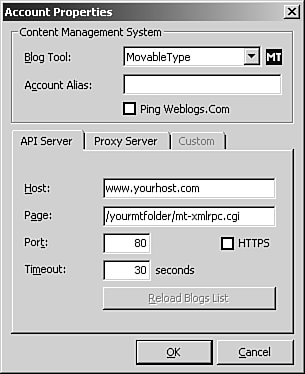
Figure 21.16. w.bloggar's login dialog prompts you to create a new account.

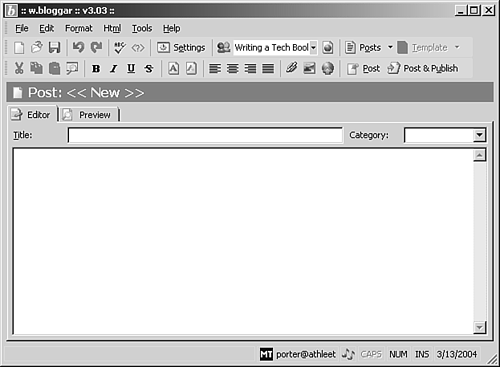
With that, you should be looking at w.bloggar's main window with a blank new post like the one in Figure 21.18.
Figure 21.18. w.bloggar's main editing window offers enough options to get by.
Using w.bloggar
Posting an entry with w.bloggar is a very quick process because of its limited capabilities compared to tools with fuller Movable Type implementations.
1. | Enter a title for the post in the Title field. |
2. | Enter the body of the post in the large textarea. |
3. | If necessary, select a category to assign the entry to from the Category menu. |
4. |
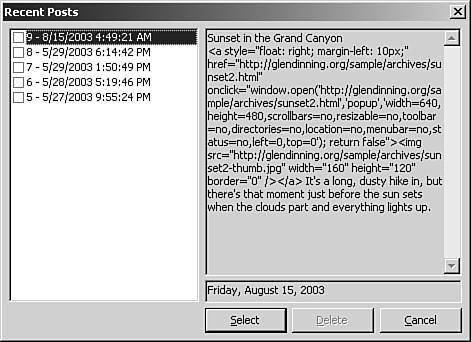
To edit or delete existing entries from your weblog, open the Recent Posts window shown in Figure 21.19 by clicking the Posts button in the toolbar. Delete entries by activating their check boxes and then clicking the Delete button, which becomes active when at least one entry's box is checked. Edit an entry by selecting it from the list and clicking the Select button.
Figure 21.19. Select entries to edit or delete from w.bloggar's Recent Posts window.