
Tomcat can be downloaded from https://tomcat.apache.org/. Once Tomcat is downloaded, go through the following the steps:
- Extract the ZIP file to a convenient folder
- Go to the bin directory in the Tomcat installation and double-click startup.bat
A console window similar to the one shown in the following screenshot will pop up:
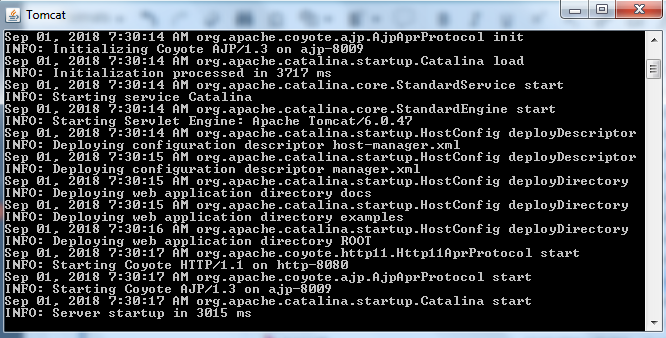
- When the text INFO: Server startup in ... ms is displayed, it means that Tomcat has started successfully. To verify the Tomcat server, simply go to http://localhost:8080. A screen similar to the one shown in the following screenshot will then be displayed:

Creating the HTML fileThe next step is to create the HTML and JavaScript files for our sample application.
Next, we create the HTML file with an internal JQuery.
The following code shows the HTML file with the internal JQuery and CSS:
<!DOCTYPE html>
<html>
    <head>
    <style>
        #waitlogo {
             border: 16px solid #f3f3f3; /* Light grey */
             border-top: 16px solid #3498db; /* Blue */
             border-radius: 50%;
             width: 120px;
             height: 120px;
             animation: spin 2s linear infinite;
        }
        @keyframes spin {
            0% { transform: rotate(0deg); }
            100% { transform: rotate(360deg); }
        }
</style>
<script src="https://ajax.googleapis.com/ajax/libs/jquery/3.3.1/jquery.min.js"></script>
<script>
    $(document).ready(function(){
    $(document).ajaxStart(function(){
        $("#waitlogo").css("display", "block");
    });
     $(document).ajaxComplete(function(){
     $("#waitlogo").css("display", "none");
     });
     $("button").click(function(){
         $("#txt").load("demo_ajax_load.txt");
     });
    });
</script>
</head>
<body>
    <div id="txt"><h2>Ajax will change the page contents</h2></div>
    <button id="changecontent">Change Page Content</button>
    <div id="waitlogo" style="display:none;width:69px;height:89px;border:1px             solid black;position:absolute;top:50%;left:50%;padding:2px;"><img                 src='giphy.gif' width="64" height="64" /><br>Loading..</div>
    </body>
</html>
(giphy.gif has been taken from https://giphy.com/)
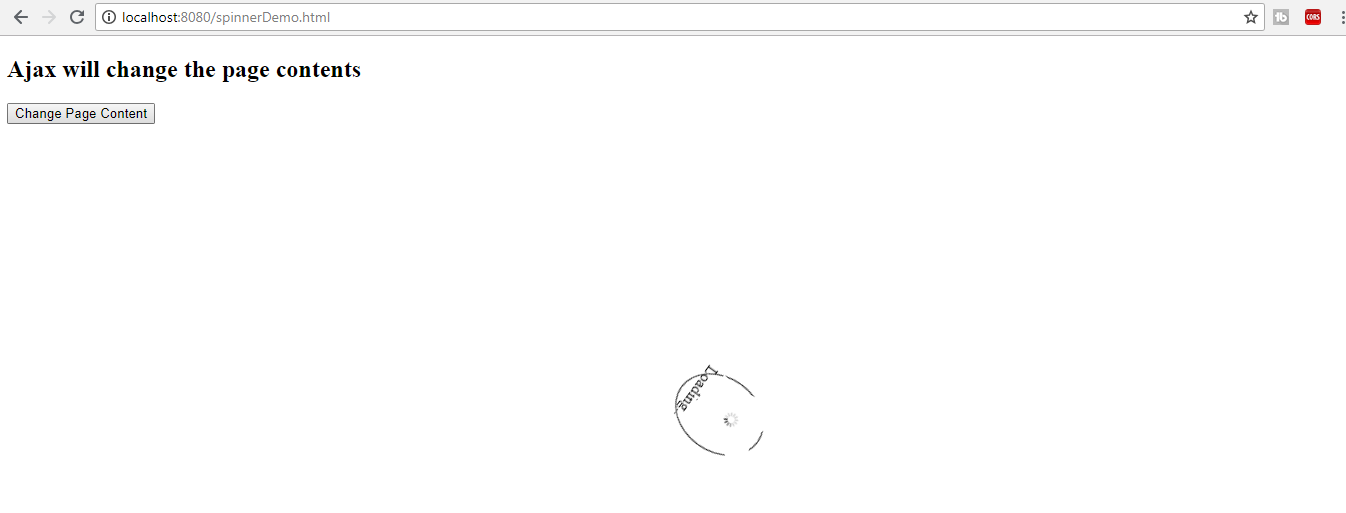
We do not need to go into the details of the preceding snippet. This HTML should be placed in the webapps/ROOT folder of the Tomcat installation. The page that is generated is shown in the following screenshot:

Upon clicking the Change Page Content button, a spinner will load while data is fetched from demo_ajax_load.txt, which is also present in the same Tomcat directory as the html file, as shown in the following screenshot:
Once the AJAX call completes, the data from the text file is displayed on screen.
The Selenium script to check whether any active JQuery request is currently going on is shown in the following code:
 System.setProperty("webdriver.chrome.driver",
 "C:\SeleniumWD\src\main\resources\chromedriver.exe");
 RemoteWebDriver driver = new ChromeDriver();
 driver.navigate().to("http://localhost:8080/spinnerDemo.html");
 driver.findElement(By.xpath("//*[@id='changecontent']")).click();
 Boolean isJqueryCallDone = false;
 int counter = 0;
 while (counter < 10) {
     isJqueryCallDone = (Boolean) driver
         .executeScript("return jQuery.active==0");
     System.out.println("JQuery call in loop: " + isJqueryCallDone);
     if (isJqueryCallDone == true) {
         break;
     } else {
        counter++;
     }
 }
 System.out.println("JQuery call done: " + isJqueryCallDone);

The output is shown in the following printout:
JQuery call in loop: false
JQuery call in loop: false
JQuery call in loop: false
JQuery call done: true
The output prints false in the console until the JQuery has completed the AJAX call. The duration of the AJAX call depends on the size of the demo_ajax_load.txt. During this execution, the size of the text file was 4,692 KB.