
Drawing Techniques
Learning to draw requires patience and dedication. Many people believe it’s about talent, but drawing is a skill. With practice, it can be enjoyed by anyone who wants to learn.

Creating Tonal Values
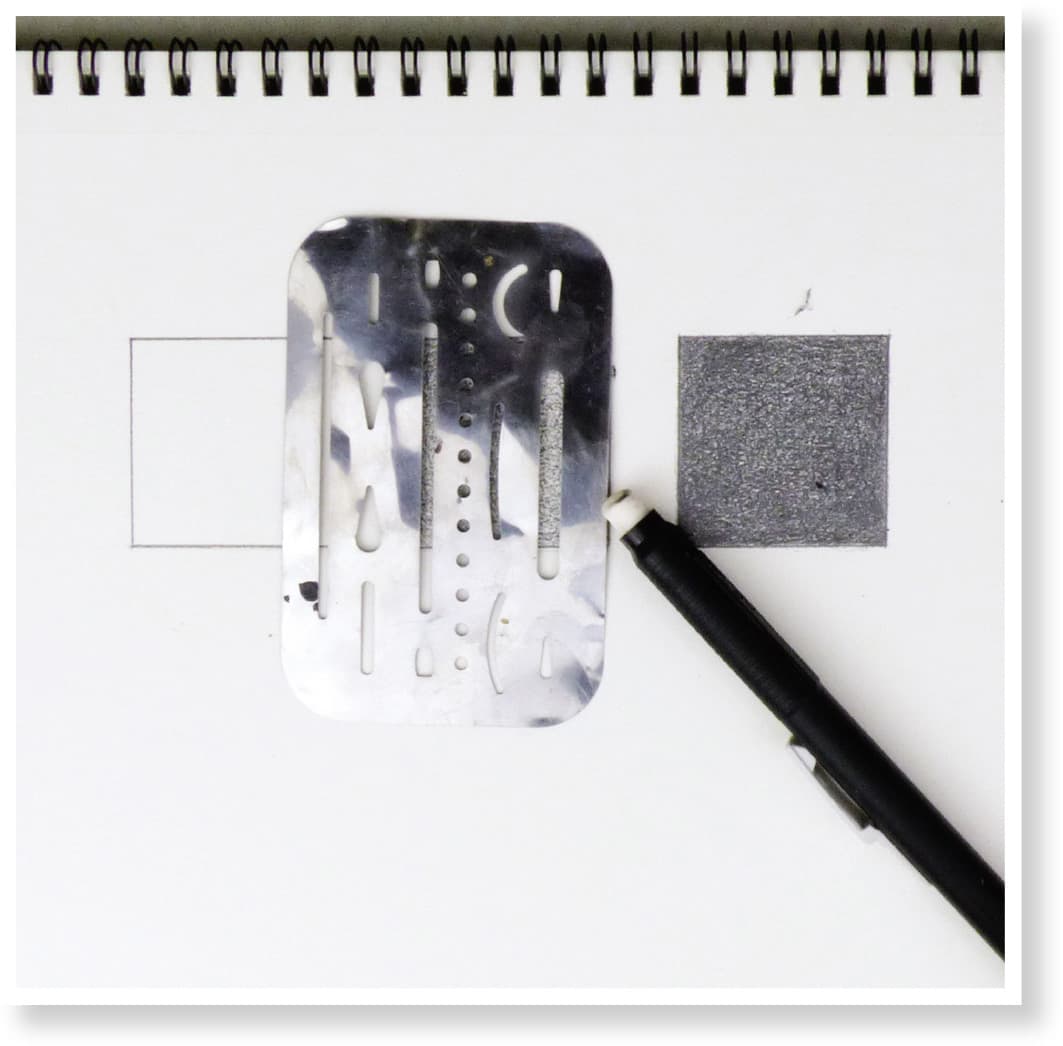
One of the essential components of drawing is learning to create a range of tonal values. It’s important to train the eye to see different shades of gray. I like to work with one pencil for most of my graphite drawings. Here are some beginning exercises to help you decide what strength of pencil you prefer. I do these exercises each time I purchase a new pencil from a new manufacturer. It helps me evaluate what I do and don’t like about the pencil. Here is a practice worksheet I use to evaluate each pencil and hone my skills.
Create three 1" × 1" boxes side by side, and label them 0%, 50%, and 100%. Using your pencil of choice, fill in the 50% or the 100% square first with even, smooth coverage. Start by using the side of the pencil, not the point, and move diagonally in elliptical shapes from one corner of the square to the other. To ensure that you’re using the side of the pencil, your hand should be near the end of the pencil shaft to help the pencil lie flat on the paper. Don’t worry if the strokes go outside the lines.

For the next layer, start at a different corner and work in the opposite direction, cancelling out the direction of the first layer. Then make a layer going straight across, and another layer going up and down. Changing the direction each time you create a layer eliminates texture or inconsistencies in tone.
When you can no longer deposit any graphite onto the paper with the side of the pencil, it’s time to use the point. Before making the box darker, clean up any strokes outside the box using an eraser shield. Place the shield over the square and use a plastic eraser to erase any strokes outside the box.
Sharpen your pencil to get a good clean point. Using the point, work in the same manner, changing directions with each layer. Shift the position of your hand so that it is closer to the point of the pencil. Continue to apply layer after layer until you have reached saturation.

For the 50% square, don’t saturate the box completely, but approximately half the amount of the 100% square. Leave the 0% box blank. Squinting helps train the eye to see different values. You should see a white, medium gray, and almost black box when you squint at the three boxes. If the middle box is too dark, use a kneaded eraser to lift some of the graphite. Make sure that the eraser is soft and pliable, and flatten it so that it’s larger than the square and completely smooth. Place the eraser over the square and press evenly to lift off graphite. Repeat if necessary. If the eraser lifts too much graphite, simply add another layer.


Tonal Scales
11-Step Tonal Scale This exercise is a continuation of the exercise on pages 18 and 19. The procedure is the same, but now there are 11 tonal increments, which increase by 10 percent saturation for each box. Use the printed tonal scale created by the computer (see below) to see the individual increments of tone, ranging from 0% to 100%. Remember:
the computer uses ink and you are using graphite, so the color will vary.

Try this exercise three different ways.
1. For the first scale, start with the 100% box and work from dark to light. Fill the 100% box, and then proceed to the 90% box, 80%, 70%, etc.
2. For the second scale, start at the 10% box and work from light to dark. Fill the 10% box, and then proceed to the 20% box, 30%, 40%, etc.
3. For the third scale, start at the 100% box, followed by the 50% box, and then find the percentages in between until you have completed the scale.
More than likely, you’ll discover that one method is easier for you. Make notes as you work, and record how you felt doing each process. Regardless of which method works best for you, you’ll find that you may need to go back and lighten or darken a box where tones are too similar. Remember to squint to identify distinct tones and determine where adjustments are needed. Be patient and remember that the more you do this, the better you will get. Don’t spend hours trying to perfect one tonal scale. It’s better to complete many scales than to try to get the first one perfect.

Continuous Tonal Scale In drawing you won’t work in a paint-by-number fashion, with boxes of tone in increments of 10%. There should be a continuous flow of values. To create a continuous tonal scale, start by using the side of the pencil; but rather than staying in a confined square, the pencil will travel across the entire scale. Apply more pressure and more layers in the dark area and less pressure and fewer layers as the scale lightens in value. Change the direction of the strokes to produce smooth, even tone. Think of the movement as sweeping a broom across the paper. Try working light to dark, dark to light, and bouncing around to discover what works best for you.

11-Step Textured Tonal Scale In this exercise, focus on using the point of the pencil, rather than the side. To create interesting drawings, you must simulate different textures. For instance, you wouldn’t try to draw every single leaf on a tree. By creating a textural pattern, you create the essence of what leaves looks like. The area where light directly hits an object is the highlight; the texture in this area is usually bleached out, and detail is minimal or missing. Where there is little or no light, the detail is lost in shadow. Areas in a medium amount of light have the most detail and texture. Use the point of your pencil and work light to dark, dark to light, or randomly. Darker tones should contain more layers and denser pattern.
