
3. THE CHARACTERISTICS OF LIGHT
![]()
THERE ARE MANY ways to characterize light: quantity, direction, size, color, and range. All of these are important to the final photograph, but some are more significant when it comes to the technical world of exposure. In order to achieve optimum exposure, we need to have a solid understanding of what aspects of light affect the exposure system and how we can work with them.
Quantity
Do you want to know how much light there is? Use a traditional handheld light meter (yes, they still make them) to get an exact reading. One of the options on most of these light meters is to measure light in terms of Exposure Value (EV).
In this system, 0 (zero) equals an easy-to- remember setting that is extremely low light. A reading of 0EV is equal to ISO 100, a shutter speed of 1 second, and an aperture of f/1.0. This is about the amount of light you’d encounter on a dark street with just a single common light in the distance. EV2 is twice as bright (think: two lights). A typical work or home interior might be around 8EV, a cloudy day around 12EV, and a bright sunny day 15EV.
The EV number system was designed with photographers in mind. Each numeric increase in EV allows us to decrease shutter speed by one stop or close our aperture by one stop. However, because the standard EV scale was designed around ISO 100, using a different ISO setting means recalculation is necessary.
Most photographers don’t use handheld meters or work with the EV system anymore, but the concept helps illustrate the idea of light quantity. Brighter scenes will require faster shutter speeds and/or smaller aperture openings. It is, however, somewhat limited: it only tells us the total amount of light landing on a particular spot on the sensor or film, and not the specific brightness values from different areas within our scene.
Range
The range of light in a particular scene is not something the average person thinks too much about. Human vision adapts to various lighting conditions very quickly. When we look at a bright object our pupils constrict to block the excessive light, and when it gets dark, our pupils open wide to let in more light.
The camera, on the other hand, is capturing a single exposure for the entire scene and must settle on one set of settings. Furthermore, the camera’s sensor is limited in the range of brightness that it can record, at least in comparison with the remarkable versatility of the human eye.
Imagine a scene in a sunny park: bright sun reflecting off lily pads on the surface of a pond, and a thick grove of trees at the edge of the park. As a photographer, we need to decide how to bias our exposure for the highlights or the shadows.
If the highlights are most important to us, we can adjust the exposure so that the lily pads in the pond keep their natural green color rather than becoming overexposed. We’ll do this by making our photo a little bit darker overall to protect our highlights from getting too bright. A consequence of this exposure will be that everything in the shadows will be rendered very dark to pure black.
We could, on the other hand, shoot for the shadows and let in enough light to clearly see a couple sitting on a bench in the shadow of the trees. This will be achieved by making our image a bit brighter so that we can see into the shadow region a little be better. The effect of this choice will be that the lily pads will be rendered as a collection of blobs of pure white, lacking any color or detail. Neither option is specifically right or wrong—just a choice we must make depending on our desired outcome.
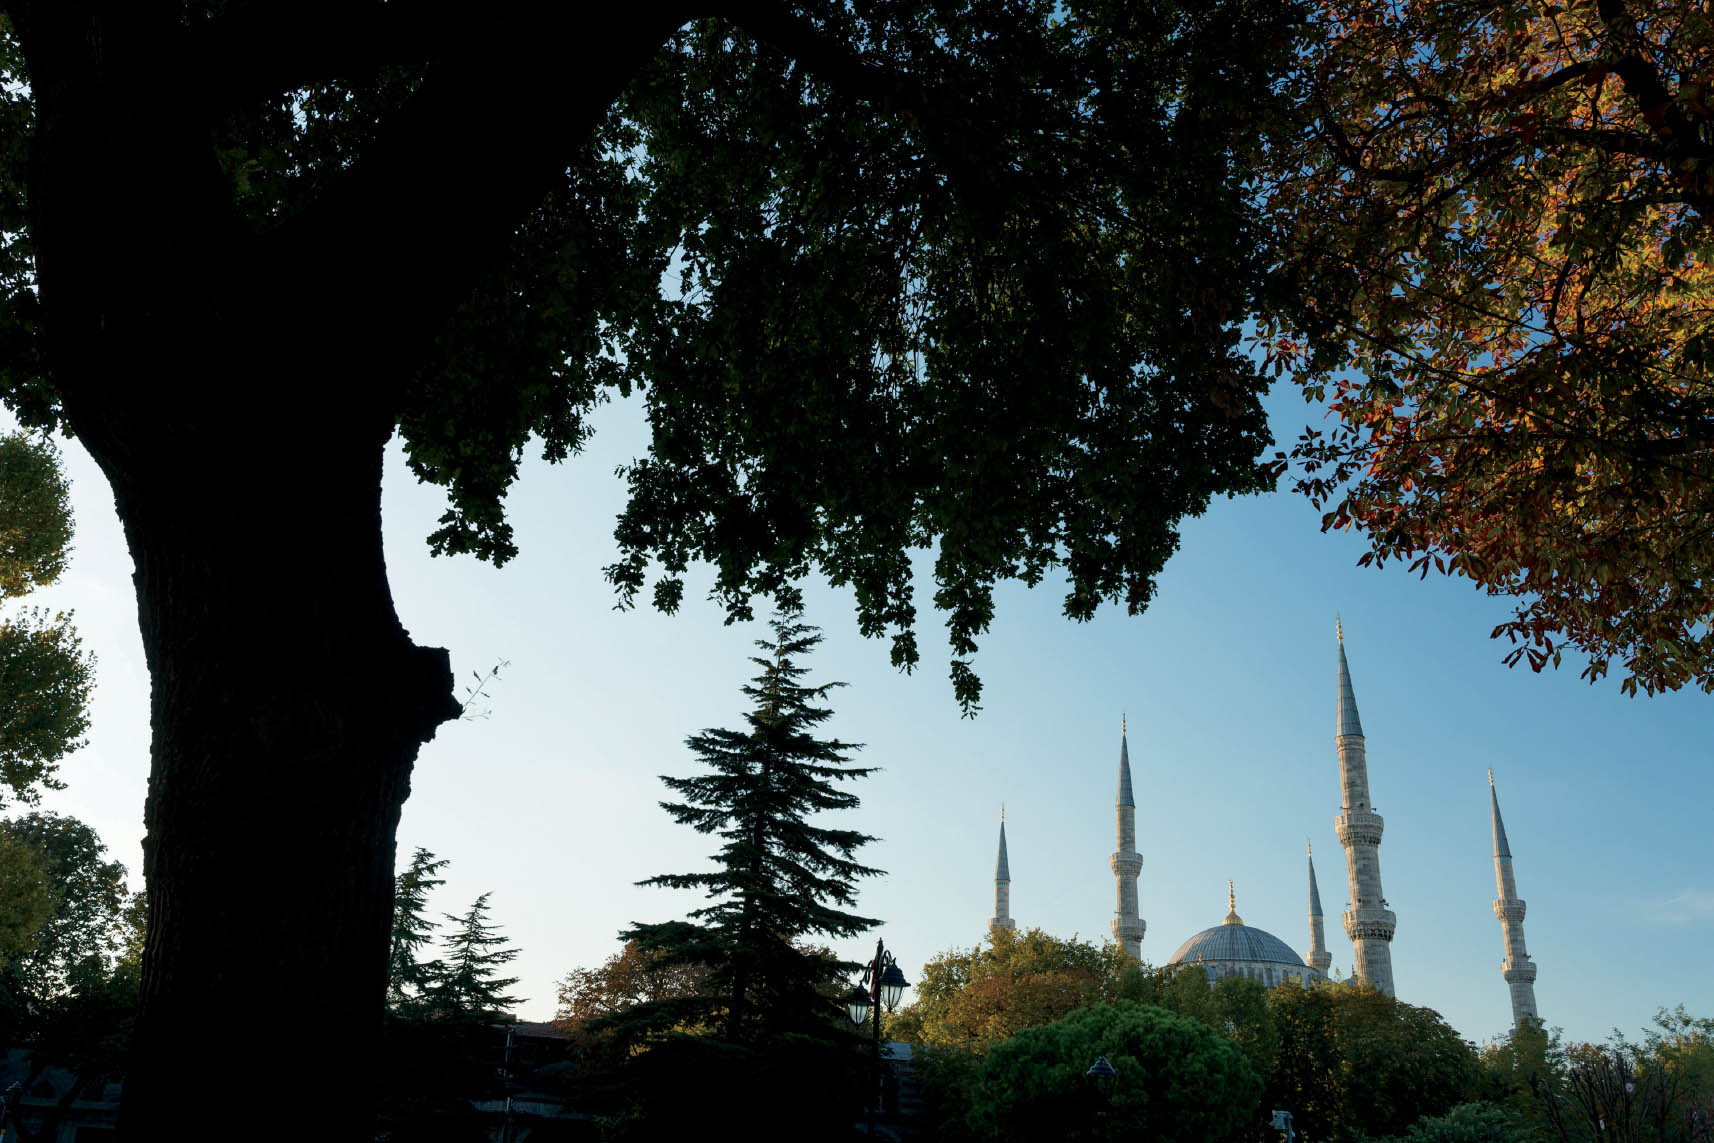
3.1 It can be difficult to properly expose scenes with areas of both shade and sunlight. In some cases, you’ll have to choose whether subjects in the sun or subjects in the shade are more important for the exposure.
1/80 sec; f/5.6; ISO 100; Canon 5D Mark IIIl EF24-70mm f/2.8L USM @ 26mm
Color
All light has color, and that color can strongly affect your image and the impact of your photograph. For instance, sunlight is pure white. As it passes through the atmosphere, the light may be perceived as yellow, orange or red.
The lights in our homes and offices have a wide range of colors depending on the type of bulb being used. Tungsten or incandescent bulbs emit a warm reddish-orange color. Fluorescent bulbs traditionally were limited to a slightly off-white greenish color, like an office with lots of cubicles. Modern fluorescent lights are now available in a variety of color temperatures. Take a look at their packaging to see what color they are.
White Balance
To control the color of our image, we will work with a camera feature called White Balance. This can be set to one of several preset options that will correct for a variety of common lighting scenarios (daylight, cloudy, shade, tungsten, flash). There are also manual options that will allow the camera to correct for almost any conceivable lighting situation. In order to use the manual option on your camera, you may need to check your instruction manual.
One very challenging situation to work with is a mixed lighting scenario.
This could happen at a stage play or concert where the color of the lighting changes from moment to moment. At the beginning of the song, everyone may be bathed in blue light, but by the end, the stage is illuminated in red light. This is truly a photographic nightmare scenario, but there are ways to deal with it.
An equally challenging problem occurs when there are two strong light sources with different colors. This could happen at a banquet hall where the room lights are warm in color and the natural light coming through the windows on one side of the room is neutral in color. If you need to shoot photos at a variety of locations within that environment, every image will have a slightly different mix of the two light sources.
One solution to these problems would be to adjust the White Balance setting for each scenario. This is a bit time consuming, but it can work. Another solution is to shoot with a RAW image file format. The RAW format allows for adjustment after the fact, without damage to the original file. In a wide variety of photo-editing software programs there will be a temperature slider that will allow you to adjust the color in a blue to yellow spectrum. This allows you to shoot your subject without regard to the color, since you know you will be able to fix it later.
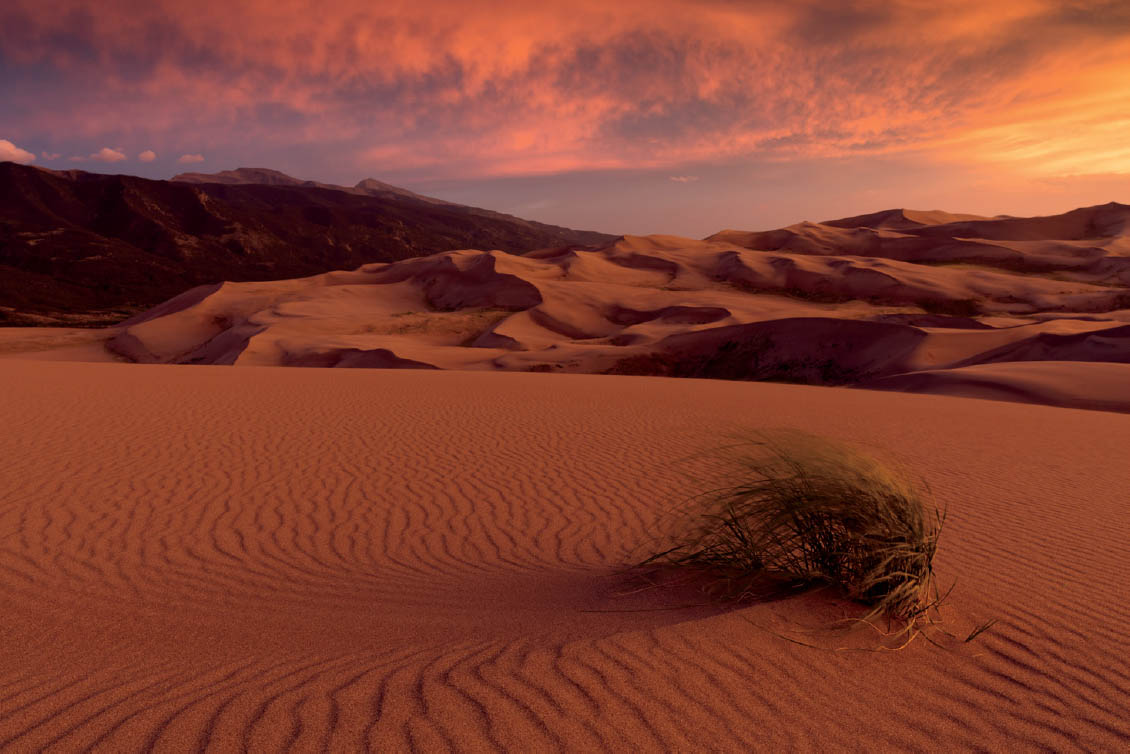
3.2 Light from the setting sun passes through more of the Earth’s atmosphere than it does when it’s shining from an overhead angle. This affects the color of the light.
1/2 sec.; f/11; ISO 100; Canon 5DSR; EF24-70mm f/4L IS USM @ 32mm
3.3 Bright, sunny days are known for their hard light in the middle of the day. Areas in the sun are easy to see, but shadows can be hard to see because of the vast difference between sunlight and shade.
1/125 sec.; f/8; ISO 100; Canon 5D Mark III; EF16-35mm f/4L IS USM @ 35mm