
When we use the Vehicle Game project example, there are default User Inputs already in place that allows you to control the vehicle in the game, but we will take a look at the input settings so that we have a better understanding of what they are. To view the current input controls, let's navigate to Project Settings by first left-clicking on the Edit drop-down and selecting Project Settings; be sure to either be in a blueprint or a level to gain access to Edit options:

From Project Settings, navigate to the Input option in the Engine section so that we gain access to Action Mappings and Axis Mappings for our controls. By default, we already have the MoveForward mapping and the MoveRight mapping in place that utilize a combination of keyboard keys and gamepad buttons; for our purposes, we will only need to use a few of these buttons. Let's expand the Axis Mappings drop-down list and first view the MoveForward option; we will see multiple buttons that are used to move our vehicle forward, such as the W, S, up, and down keys for example. We will remove all the options, except the W and S keys to ensure that we don't have any unnecessary key bindings for our controls; to do this, just click on the X button located next to each option to remove it. We will also see a Scale value next to each key binding: 1 and -1. This refers to the direction that the MoveForward control will actually move the player or vehicle forward or backward; the same idea applies to the MoveRight option as well. Let's expand the MoveRight Axis mapping and remove all the key bindings, except the A and D keys.
The last thing we want to do here is evaluate Handbrake Action Mapping. By default, we have multiple key bindings, but we want to remove all of them, except the Space Bar option:

Before we move on, let's briefly discuss the differences between Action Mappings and Axis Mappings:
- Action Mapping: These mappings are for key presses and releases, such as the pressing and releasing of spacebar
- Axis Mapping: These mappings allow inputs that have a continuous range and direction
Overall, Action and Axis Mappings provide a mechanism to easily map keys and axes to input behaviors by inserting a layer of indirection between an input behavior and the keys or the game pad buttons that initiate it.
The final step is for us to create a Game Mode blueprint so that when we play in-editor, we are able to drive around in our vehicle. Let's navigate back to Content Browser and to our VehicleContent folder so that we can create the Game Mode blueprint. Once in the VehicleContent folder, let's right-click on an area of the Content folder that is empty, select the Blueprint Class option. Then, from Common Classes, select the Game Mode option and name this new blueprint BP_VehicleGameMode. Now, double-click on this new blueprint, and under the Details panel, we will find the section labeled as Classes. We will change the Default Pawn class from DefaultPawn to BP_NewVehicle. This ensures that when we play the game, by default, it will use our BP_NewVehicle Pawn class.
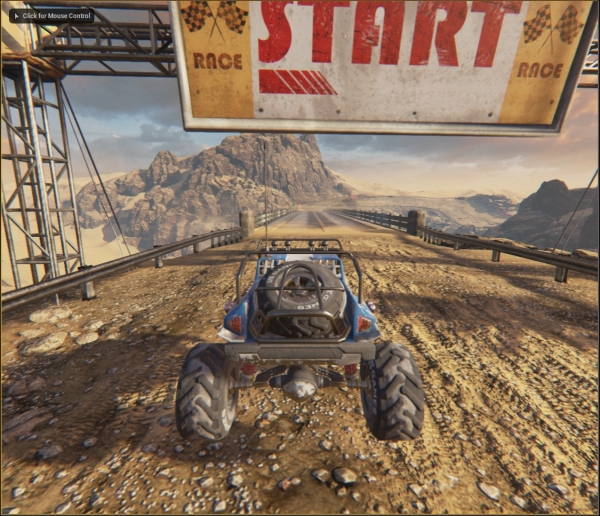
The last thing we need to do is apply this new BP_VehicleGameMode to our Project Settings by navigating back to Project Settings, and under the Project section, we will find the Maps & Modes option. It's here that we can apply BP_VehicleGameMode by expanding the Default Modes section. Now, from the Default Game Mode drop-down list, we can select the BP_VehicleGameMode option. For future reference, when we create levels, we can navigate to the Settings option while in the main Level Editor and select World Settings. This allows you to view your World Settings located next to the Details panel on the right-hand side of the screen. In World Settings, we will find the Game Mode section. Here, we can see the Game Mode Override parameter and select BP_VehicleGameMode. With this in place, we can play the game and see our vehicle in action, but we will see that we are unable to move our vehicle when we press the W, A, S, and D keys.
We can now move on and add the input action events in our BP_NewVehicle so that we are able to move around and control our vehicle.