
Painting Techniques
A feature of watercolor, spontaneity is what makes this medium exciting! But there are also a number of techniques that you can practice that will hone your painting skills and harness the freedom of this beautiful paint.
FLAT WASH
A uniform application of paint color, a flat wash is useful as a first layer for objects, and as a background color.

GRADIENT WASH
A gradient wash is made by concentrating more pigment in one area of a wash than another. This is a great technique to show the form of an object, or as a sky application.

GLAZING
Glazing occurs when you apply one color to your painting and allow it to dry before layering another color on top. Use glazing to darken certain areas of an object or to show overlap.
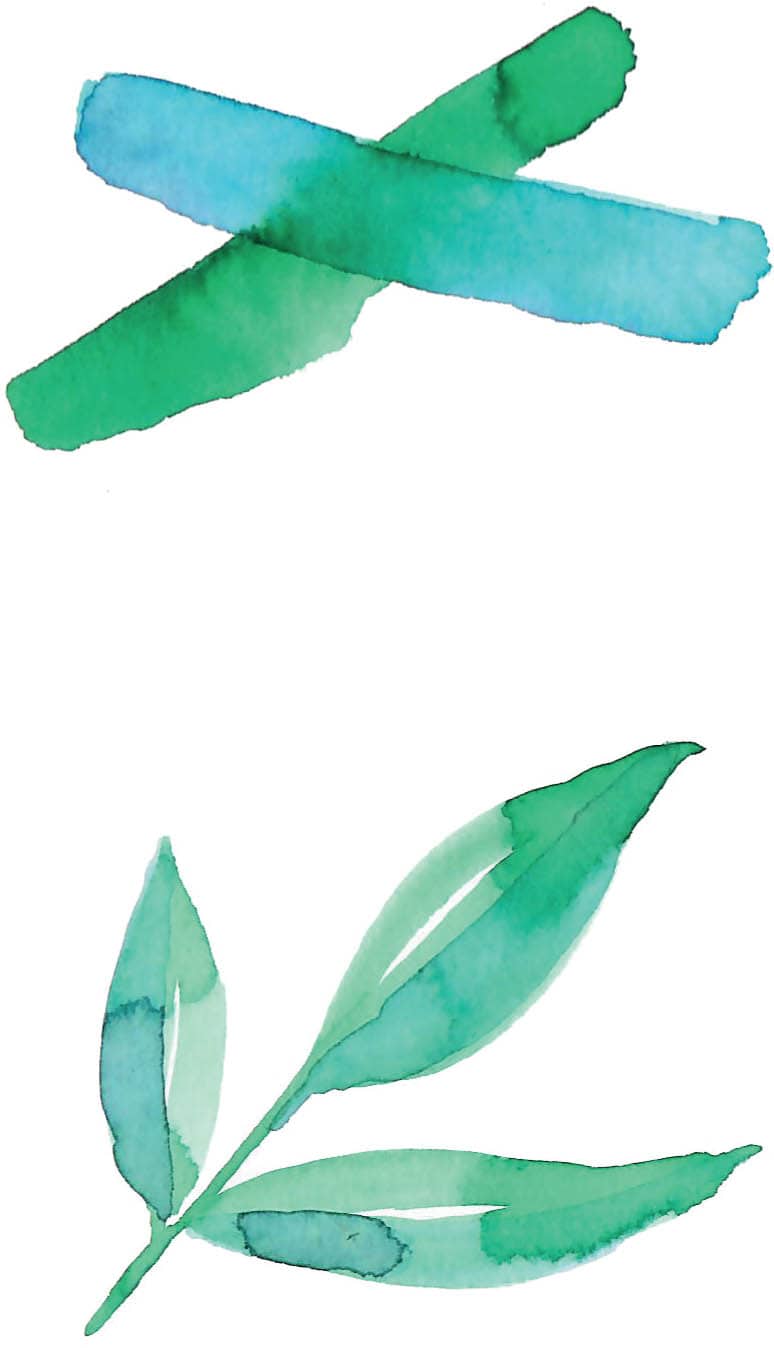
DRYBRUSHING
Just as it sounds, the drybrushing technique employs the natural texture of the paintbrush to create a staggered-looking “dry” stroke. It is great for conveying texture, especially in animal fur and landscape features, like grass.

BLEEDING
Another aptly named technique, bleeding allows pigments to blend naturally. This can be a difficult technique for beginners to embrace sometimes, but once you get seduced by the beautiful accidents that happen in this technique, you will be convinced. Simply place shapes of different colors with two edges touching each other while wet and let the magic happen.

WHITE HIGHLIGHTS
One tricky aspect of watercolor is that there is no white paint; you must rely on the white of your paper for the brightest highlights. One way to approach this is to leave small areas of shape unpainted, thus preserving the white. You can use this highlight to also imply form by curving the shape of the highlight to mimic the form. Highlights are important in creating a pleasing painting; it is one more area for the light to bounce from and attract the eye of the viewer.
WET-INTO-WET
One of my favorite techniques, wet-into-wet refers to wetting the paper and then dropping in wet paint. This technique is excellent for creating animals: Simply wet the silhouette of the animal fully with plain water, and then drop in your colors and allow them to blend naturally as they dry. You will often end up with darker, shadowed areas and white areas as highlights.

WAYS TO USE YOUR BRUSH
You can practice these strokes to improve your skills with a paintbrush.
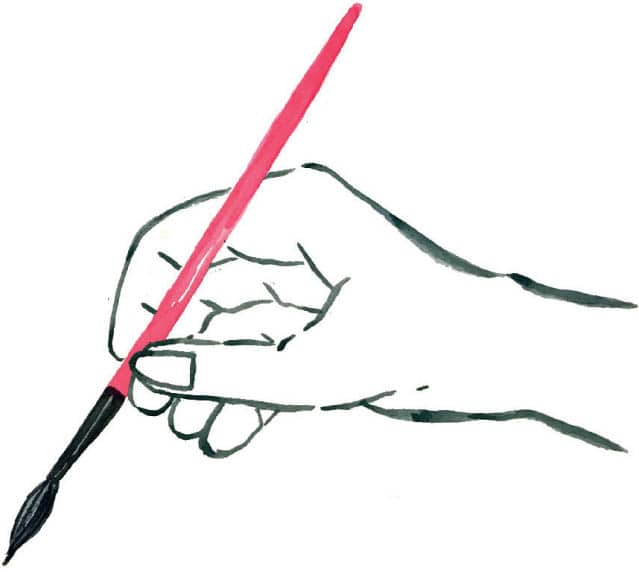
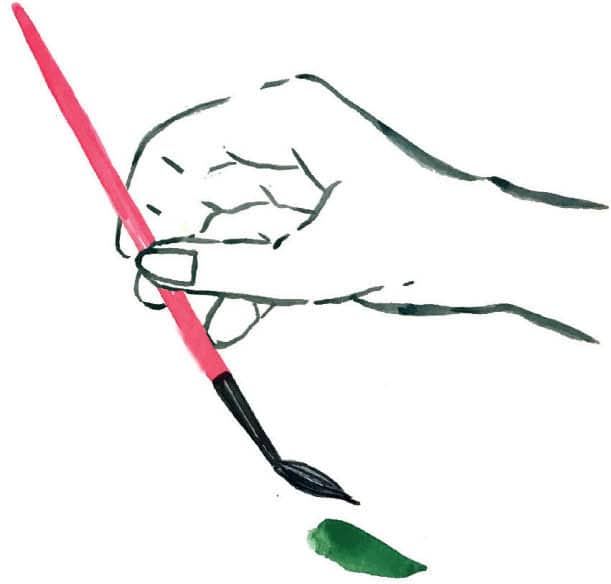
FINE OR OUTLINE STROKE
Use just the tip of the brush and move your strokes quickly for fine lines.
Hold the brush like this:

Use this stroke for:
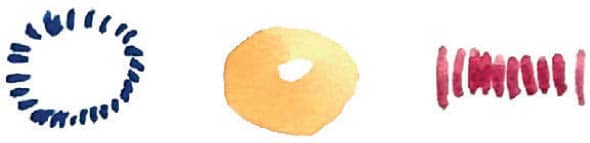
Small marks around centers

Thin vein details
Outlining a shape
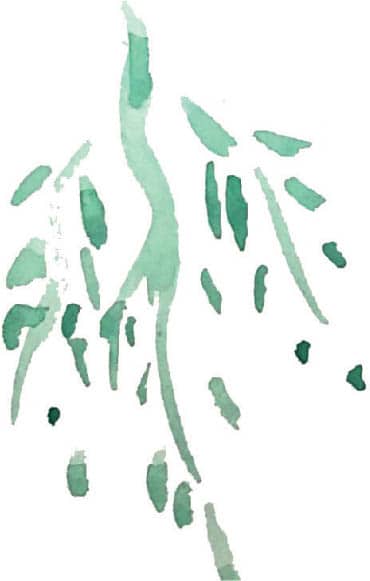
Delicate foliage
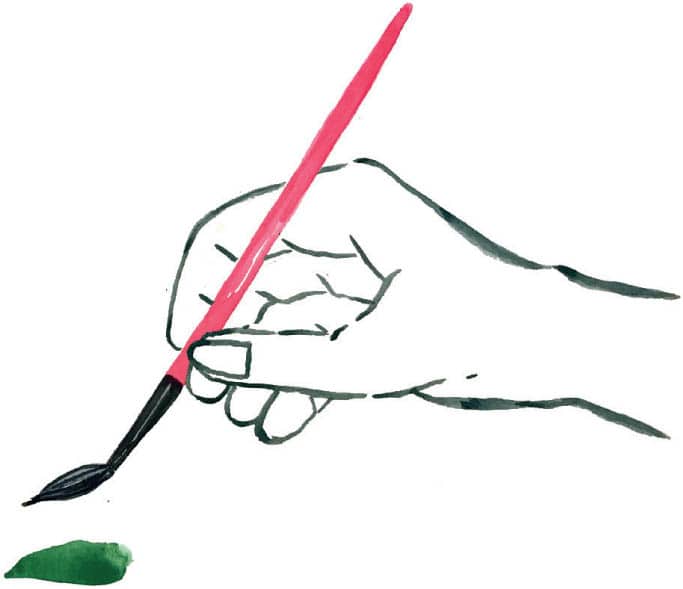
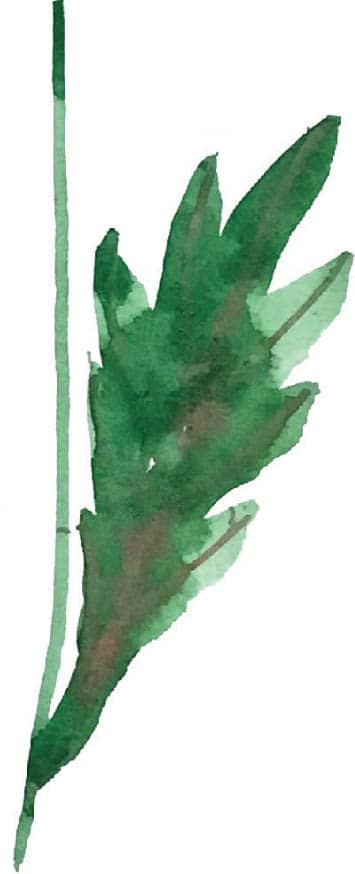
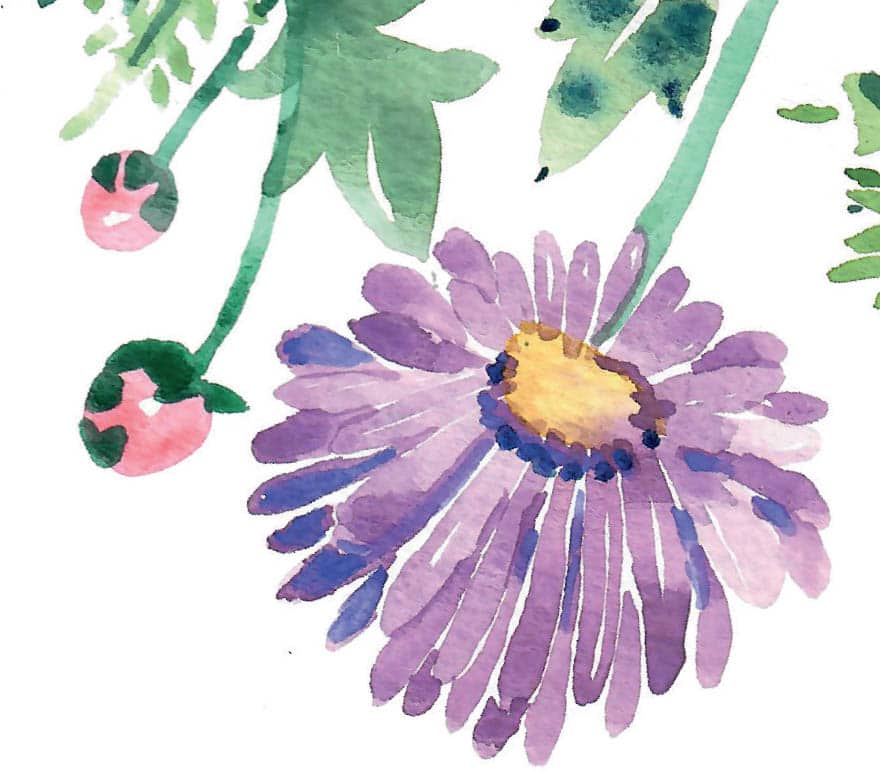
THICK LINE STROKE
Push the brush down all the way and pull the line out. Vary the pressure at beginning, end, or middle for different line widths.
Hold the brush like this:
Use this stroke for:

Fatter, longer lines
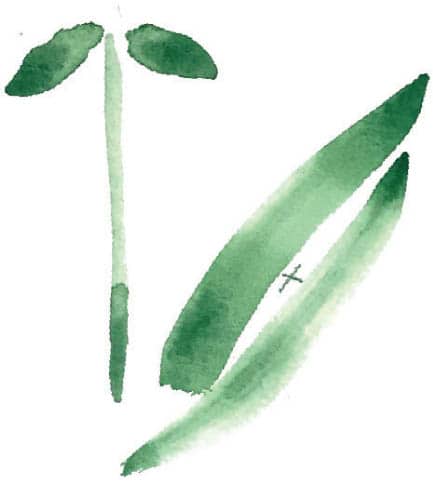
Outlining shapes

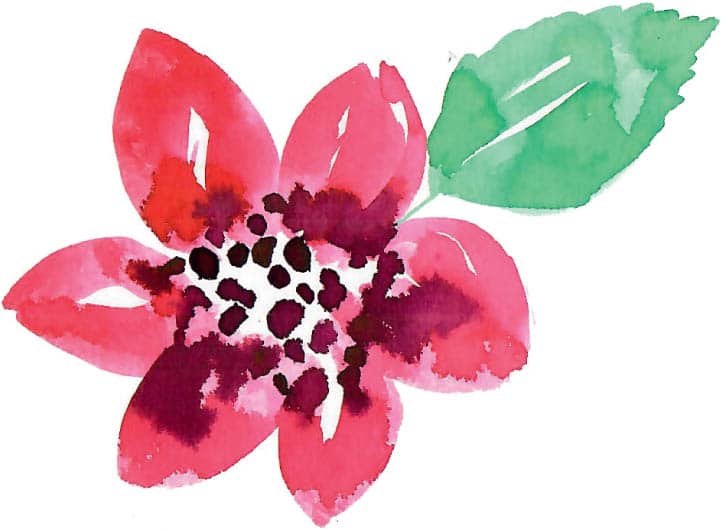
Thick line strokes around the center create a flower head.
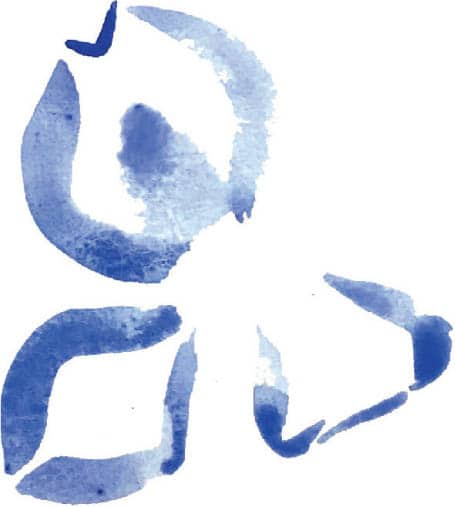
STAMP & PULL STROKE
“Stamp” brush to paper and pull to create a shape. Vary the direction and pressure in which you pull for different shapes.
Hold the brush like this:
Use this stroke for:
Or hold the brush like this:

These petals are tapered around the outer edge.
The point of the brush faces the tapered end of a petal.
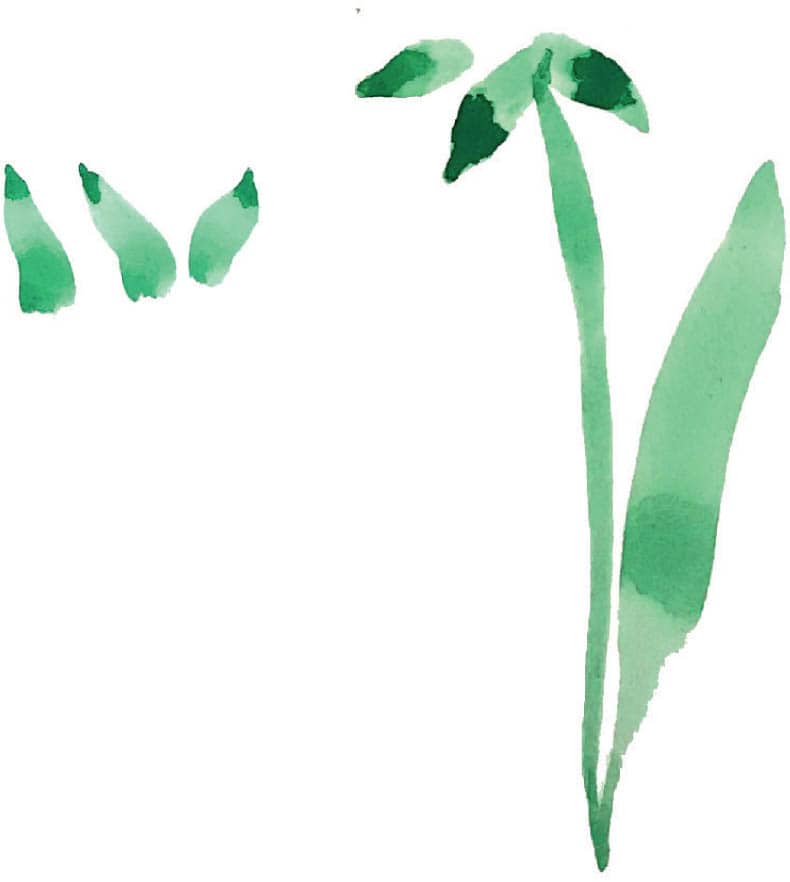
A stacked stamp:
Stamp the brush in a series to create the overall shape of leaf or flower.

These petals are tapered toward the center.