
Similar to the Hello Location application that we saw in Chapter 2, Using Location in Windows Phone 7.5, we will now create a new application titled HelloMaps that shows the Windows Phone Bing Maps Silverlight Control in action:
- Launch Microsoft Visual Studio 2010 Express for Windows Phone.
- Create a new Project from the File | New Project menu option and Name it
HelloMaps. - Add the Map control to your app by selecting it from the Toolbox. Change the Application Title to
Hello Mapsand the Page Title toBing Maps. Your project should now look like the following screenshot: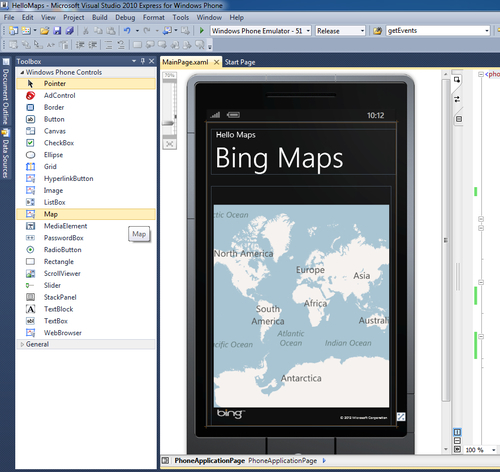
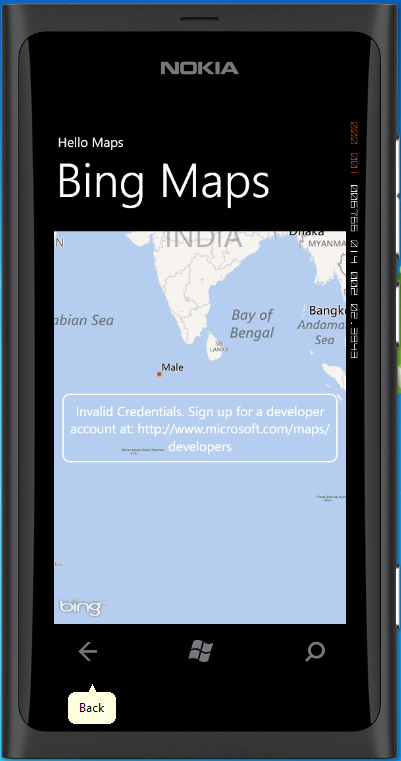
- If you run the app now it will show the following output, as depicted in the next screenshot:
Invalid Credentials. Sign up for a developer account at:
http://www.microsoft.com/maps/developers
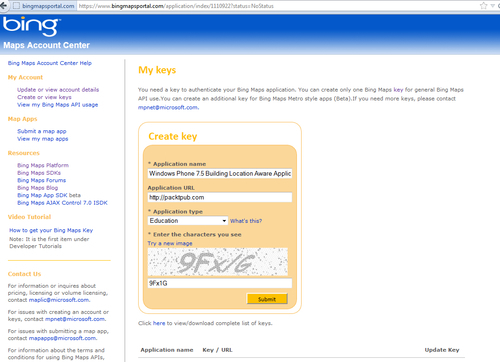
- This is because we have not signed up for a map key from https://www.bingmapsportal.com/. Let's do so.
- Visit https://www.bingmapsportal.com/ and sign up or log in with your Windows Live ID. Create your application and store the map key in a safe place.
- Now that we have our key, (for safety reason we assume
xxxxxxxxxxxxxxas the key) let us initialize our Map control with the same. - Notice the XAML tag
<my:Map>when you added the Map control to your application. Add the key we got from step 7 by using theCredentialsProviderattribute of the Bing Maps Silverlight Control. Also change the name of the map to"myMap".<Grid x:Name="ContentPanel" Grid.Row="1" Margin="12,0,12,0"> <my:Map Height="595" CredentialsProvider="xxxxxxxxxxxxxx" HorizontalAlignment="Left" Margin="6,6,0,0" Name="myMap" VerticalAlignment="Top" Width="444" /> </Grid> - Running the app in the emulator now will not show the Invalid Credentials message we saw earlier.
- Now let us make our application more exciting. We will add an Application Bar to our
Hello Mapsapplication that will allow us to choose the map mode: Road Mode or Aerial Mode. - In your
MainPage.xamluncomment the following lines that add a default application bar to your application:<!--Sample code showing usage of ApplicationBar--> <!--<phone:PhoneApplicationPage.ApplicationBar> <shell:ApplicationBar IsVisible="True" IsMenuEnabled="True"> <shell:ApplicationBarIconButton IconUri="/Images/appbar_button1.png" Text="Button 1"/> <shell:ApplicationBarIconButton IconUri="/Images/appbar_button2.png" Text="Button 2"/> <shell:ApplicationBar.MenuItems> <shell:ApplicationBarMenuItem Text="MenuItem 1"/> <shell:ApplicationBarMenuItem Text="MenuItem 2"/> </shell:ApplicationBar.MenuItems> </shell:ApplicationBar> </phone:PhoneApplicationPage.ApplicationBar>-->
- Modify it to look like the following:
<phone:PhoneApplicationPage.ApplicationBar>
<shell:ApplicationBar IsVisible="True" IsMenuEnabled="True">
<shell:ApplicationBar.MenuItems>
<shell:ApplicationBarMenuItem Text="Aerial Mode"/>
<shell:ApplicationBarMenuItem Text="Road Mode"/>
</shell:ApplicationBar.MenuItems>
</shell:ApplicationBar>
</phone:PhoneApplicationPage.ApplicationBar>
- Now we have seen in Chapter 2, Using Location in Windows Phone 7.5 how to push click events from the XAML code to C#. With your code editor open, go to the
Aerial ModeApplication Bar Menu Item and before theTextproperty enterClick="". IntelliSense will prompt you<New Event Handler>as shown in the following screenshot. Select it.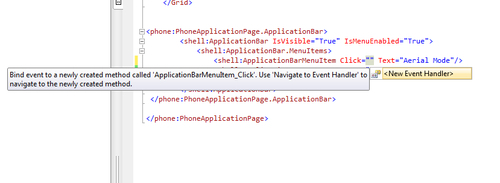
- Do the same for the other Application Bar Menu Item. Your code should now be as follows:
<shell:ApplicationBarMenuItem
Click="ApplicationBarMenuItem_Click" Text="Aerial Mode"/>
<shell:ApplicationBarMenuItem
Click="ApplicationBarMenuItem_Click_1" Text="Road Mode"/>
- Open your
MainPage.xaml.csfile and you will find the two click event functions created automatically:ApplicationBarMenuItem_ClickandApplicationBarMenuItem_Click_1. - As the first menu item is for Aerial Mode, we set the map mode to Aerial Mode by using the following code in the
ApplicationBarMenuItem_Clickfunction:private void ApplicationBarMenuItem_Click(object sender, EventArgs e) { myMap.Mode = new AerialMode(); } - Note the
myMapvariable was assigned to the Map control in step 8. - Similarly we do the same for the
ApplicationBarMenuItem_Click_1function, however here we set the mode to Road by using the following code:private void ApplicationBarMenuItem_Click_1(object sender, EventArgs e) { myMap.Mode = newRoadMode(); } - Run the application in the emulator and click on the three dots you see on the lower right-hand side of your application footer. This invokes the Application Bar and your app screen should like the following screenshot:
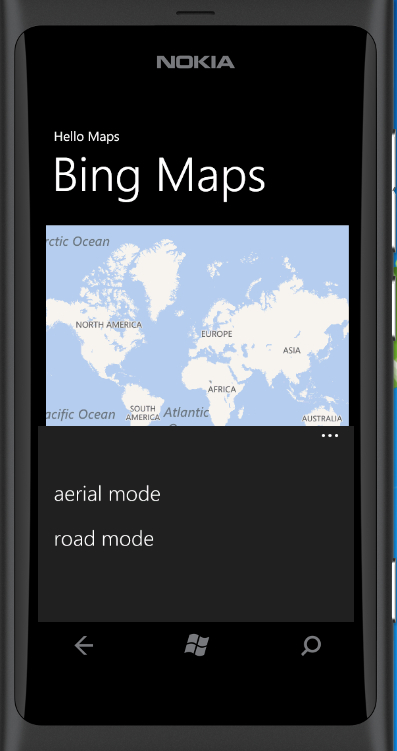
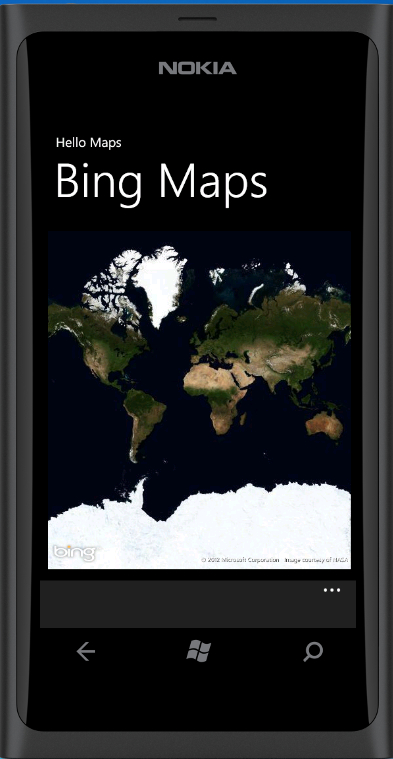
- Select the aerial mode menu item and see your map change to Aerial Mode in real-time. You can switch back to Road Mode by selecting the road mode menu item again.
You can find this example project in the code files for the book under Chapter 3, titled HelloMaps.
..................Content has been hidden....................
You can't read the all page of ebook, please click here login for view all page.