
If you are familiar with developing applications using Visual Studio on Windows, then using Xamarin Studio should be very straightforward. Xamarin uses the same concept of a solution containing one or more projects, and it has created several new project types for iOS and Android applications. There are also several project templates to jump-start your development of common applications.
Xamarin Studio supports several out-of-the-box project types, including standard .NET class libraries and console applications. You cannot natively develop Windows applications on a Mac with Xamarin Studio, but you can certainly develop the shared code portion of your application in Xamarin Studio. We'll focus on sharing code in the later chapters, but keep in mind that Xamarin enables you to share a common C# backend between most platforms that support C#.
In this chapter, we will cover:
- Creating a "Hello World" application for iOS
- Apple's MVC pattern
- Xcode and storyboards
- Creating a "Hello World" application for Android
- Android activities
- Xamarin's Android designer
Launch Xamarin Studio and start a new solution. Just like in Visual Studio, there are lots of project types that can be created from the New Solution dialog. Xamarin Studio, formerly MonoDevelop, supports the development of many different types of projects such as C# console applications targeting the Mono runtime, NUnit test projects, and even other languages besides C#, such as VB or C++.
Xamarin Studio supports the following project types for iOS:
- iPhone or iPad project: These categories of projects use storyboards to lay out the UI and target either the iPad or iPhone only.
- Universal project: This category supports both iPhone and iPad in the same iOS application. This is the preferred project type if you need to target both types of devices.
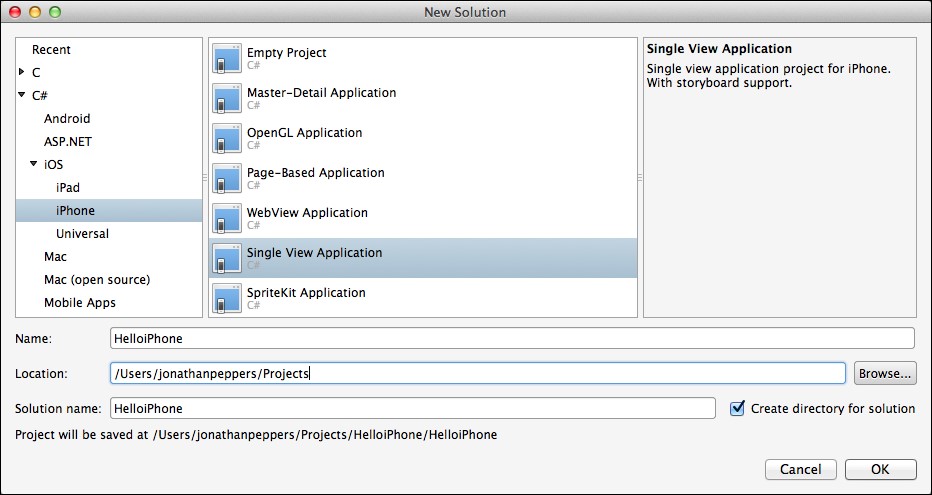
- Single View Application: This is the basic project type that sets up an iOS storyboard along with a single view and controller.
- Tabbed Application: This is a project type that automatically sets up UITabViewController for applications with a tab layout.
- WebView Application: This project type is for creating hybrid applications that are partially HTML and partially native. The application is set up to take advantage of the Razor templating features of Xamarin Studio.
- iOS binding project: This is an iOS project that can create C# bindings for an Objective-C library.
- iOS unit test project: This is a special iOS application project that can run NUnit tests.
- iOS library project: This is a class library used within other iOS application projects.
To get started, navigate to iOS | iPhone, and create Single View Application in the directory of your choice, as shown in the following screenshot:
You'll notice that several files and folders are automatically created from the project template. These files are as follows:
Components: This folder will contain any components added from the Xamarin Component Store. See Chapter 9, Third-party Libraries, for more information about the Xamarin Component Store.Resources: This directory will contain any images or plain files that you want to be copied directly to your application bundle. Note that this will contain a black splash screen image, by default. This ensures that your iOS application runs full screen on the iPhone 5.AppDelegate.cs: This is Apple's main class that handles application-level events in your app.Entitlements.plist: This is a settings file Apple uses to declare permissions for certain iOS features such as push notifications and iCloud. You will generally only have to use it for advanced iOS features.*ViewController.cs: This is the controller that represents the first screen in your app. It will have the same name as your project.Info.plist: This is Apple's version of amanifestfile that can declare various settings for your application such as the app title, icon, splash screens, and other common settings.Main.cs: This file contains the standard entry point for a C# program:static void Main(). It's most likely that you will not need to modify this file.MainStoryboard.storyboard: This is the storyboard definition file for your application. It will contain the layouts for the views in your app, list of controllers, and the transitions used to navigate throughout your app.
Now, let's run the application to see what we get by default from the project template. Click on the large play button in the top-left corner of Xamarin Studio. You will be greeted by the simulator running your first iOS application, as shown in the following screenshot:
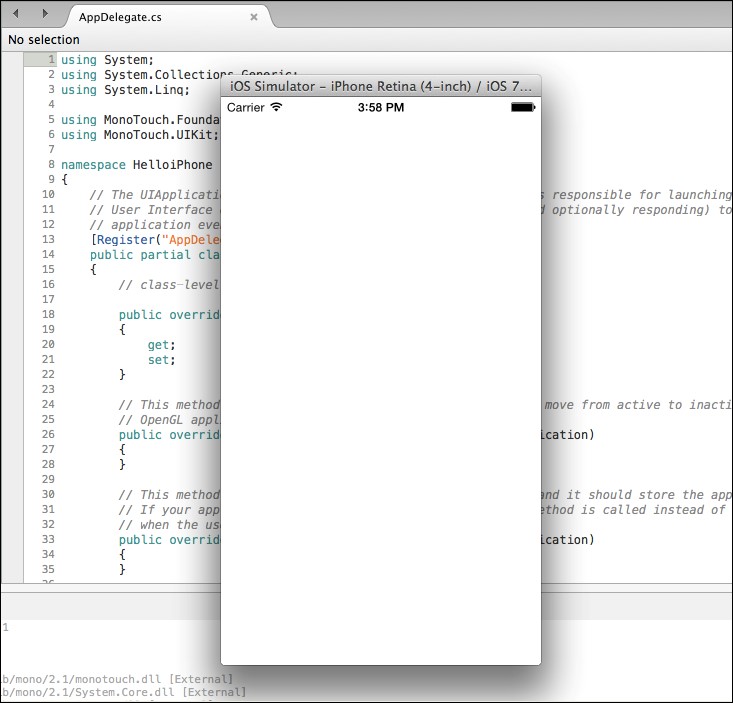
So far, your app is just a plain white screen, which is not very exciting or useful. Let's get a little more background on iOS development before moving forward.
Depending on your application's minimum iOS target, you can also run the application on different versions of the iOS simulator. Apple also provides simulators for iPad and all the different iOS devices currently in the market. It is also important to know that these are simulators and not emulators. An emulator will run an encapsulated version of the mobile OS (just as Android does). Emulators generally exhibit slower performance but give you a closer replica of the real OS. Apple's simulators run in native Mac applications and are not true operating systems. The benefit is that they are very fast in comparison to Android emulators.