Setting up an Android application in Xamarin Studio is just as easy as it is for iOS and is very similar to the experiences in Visual Studio. Xamarin Studio includes several project templates that are specific for Android to jump-start your development.
Xamarin Studio includes the following project templates:
- Android application: A standard Android application that targets the newest Android SDKs installed on your machine.
- Android Honeycomb application: A project that targets Android Honeycomb, which is API (Application Programming Interface) level 12 and higher.
- Android Ice Cream Sandwich application: A project that targets Android Ice Cream Sandwich, which is API level 15 and above.
- Android library project: A class library that can only be referenced by Android application projects.
- Android Java bindings library: A project for setting up a Java library to be called from C#.
- Android OpenGL application: A project template to use low-level OpenGL for 3D or 2D rendering.
- Android WebView application: A project template for a hybrid app using HTML for certain parts. Support for Razor templating is available.
- Android unit test project: A project for running NUnit tests on Android.
Launch Xamarin Studio and start a new solution. From the New Solution dialog, create a new Android Application under the Android section.
You will end up with a solution looking something similar to what is shown in the following screenshot:
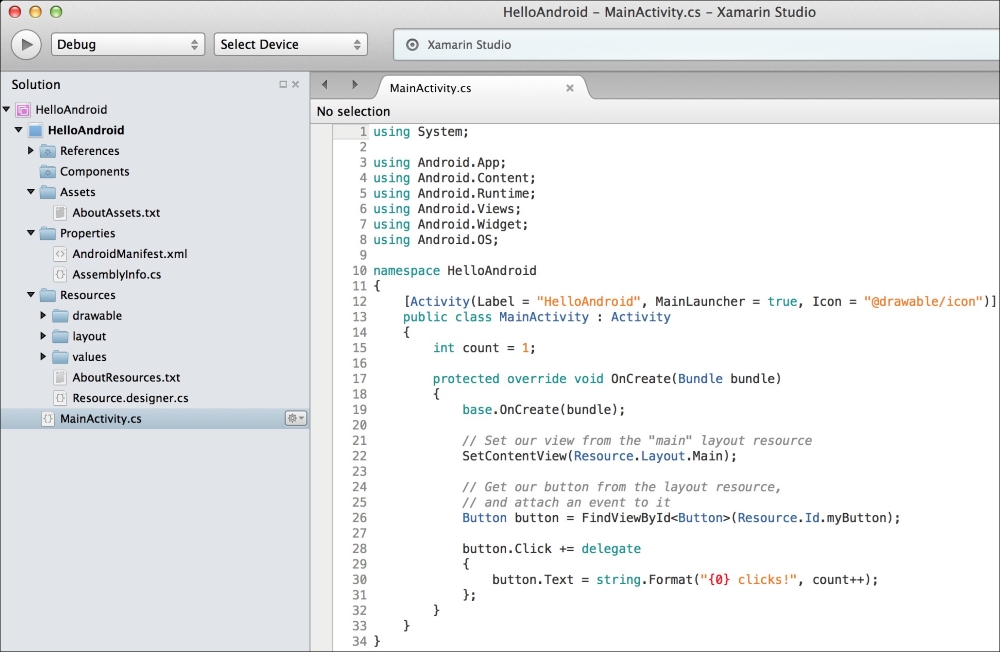
You'll see that the following files and folders specific to Android have been created for you:
- The
Componentsfolder: This is the same as for iOS projects; the place where components from the Xamarin Component Store can be added. - The
Assetsfolder: This directory will contain files with abuildaction ofAndroidAsset. This folder will contain raw files to be bundled with an Android application. - The
Properties/AndroidManifest.xmlfile: This file contains standard declarations about your Android applications, such as the application name, ID, and permissions. - The
Resourcesfolder: Resources are images, layouts, strings, and so on that can be loaded via Android's resource system. Each file will have an ID generated inResources.designer.csthat you can use to load the resource. - The
Resources/drawablefolder: Any images used by your application are generally placed here. - The
Resources/layoutfolder: This contains any*.axml(Android XML) files that Android uses to declare UIs. Layouts can be used for an entire activity, fragment, dialog, or child control to be displayed on the screen. - The
Resources/valuesfolder: This contains XML files to declare key-value pairs for strings (and other types) throughout an application. This is how localization for multiple languages is normally set up on Android. - The
MainActivity.csfile: This is theMainLauncheraction and the first activity of your Android application. There is nostatic void Mainfunction in Android apps; execution begins on the activity that hasMainLauncherset totrue.
Now let's perform the following steps to run the application:
- Click on the play button to compile and run the application.
- A Select Device dialog will appear.
- Select the emulator of your choice and click on Start Emulator. If you have set up the x86 emulator in Chapter 1, Setting Up Xamarin, I would recommend that you use it.
- Wait a few seconds for the emulator to start. Once it starts, it is a good idea to leave it running as long as you are working on an Android project. This will save you a good deal of time waiting.
- You should see the emulator now enabled in the list of devices; select it, and click on OK.
- The very first time you deploy to an emulator or device, Xamarin Studio will have to install a few things such as the Mono shared runtime and Android platform tools.
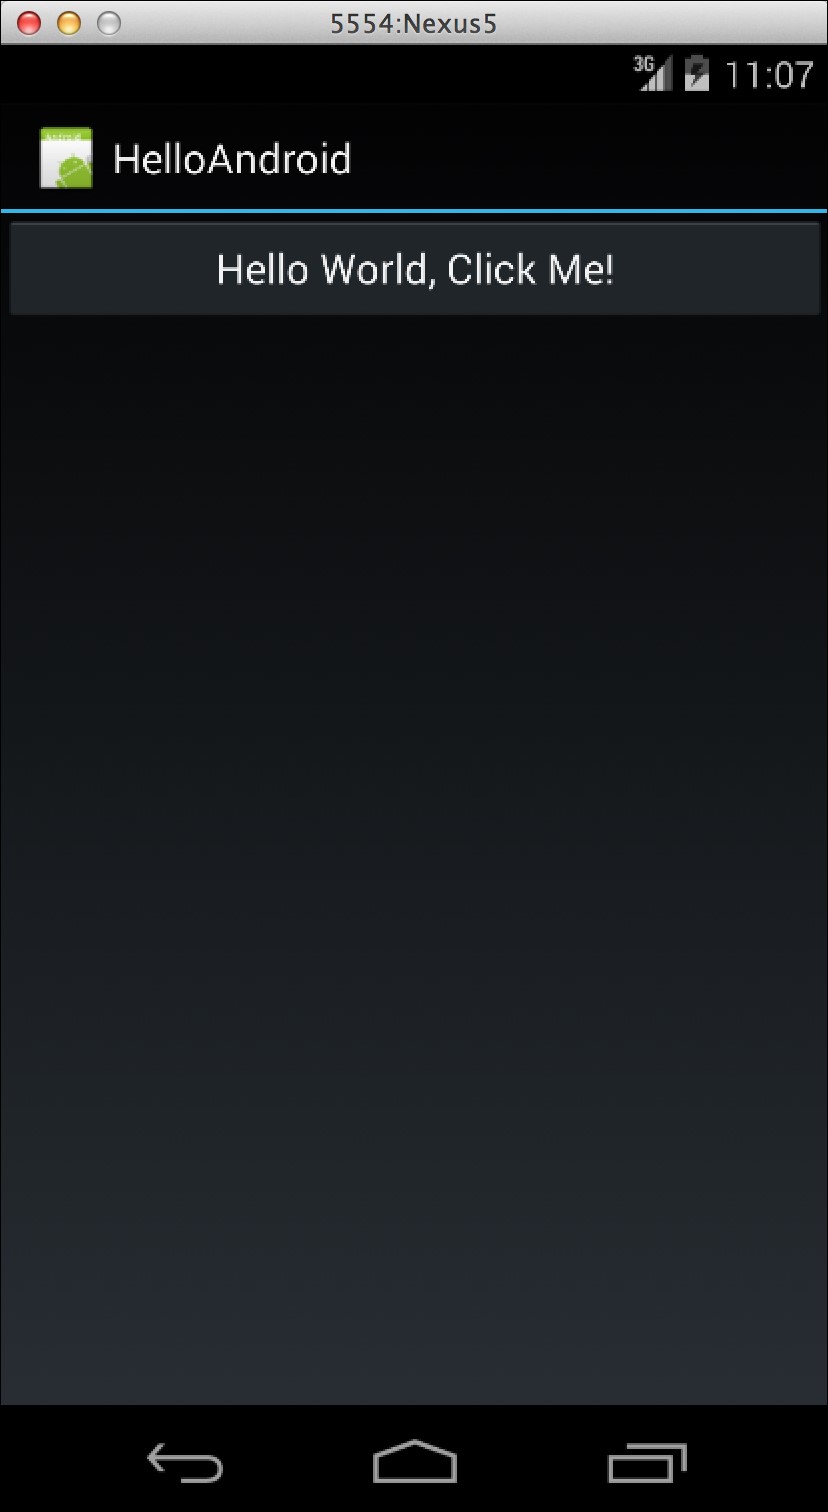
- Switch over to the Android emulator and your application will appear.
When all is done, you have deployed your first Android application, complete with a single button. Your app will look like what is shown in the following screenshot: