
In this chapter, we will look at how we can take existing 3D models and use them in your Augmented Reality scenes as well as discuss the popular free 3D tool “Blender” and how it can be used to create your own 3D models.
We’ve already seen that SceneKit allows us to use seven or eight different primitive 3D models such as boxes, spheres, cylinders, planes, and so on, but they are rather limited and unexciting. By using existing 3D models or even creating our own, we can make our Augmented Reality experiences more impressive and engaging.
Importing 3D Models
Fortunately, it is easy to import existing 3D models into a scene and SceneKit/ARKit support several 3D file formats.
.dae
.usdz
.usda
.usd and .usdc
.rcproject and .reality
.obj and .mtl
.abc
.ply
.stl
.scn
There are an increasing number of websites and creators specializing in pre-made 3D models. I have found free3d.com to be an excellent place to find free and cheap pre-made 3D models.
In Listing 13-1, we can see how simple it is to import a 3D model into our scene.
It is worth noting that once the 3D model has been added to the scene as a SCNNode , it is just like any other SCNNode, so we can change its position, scale, orientation, materials, and so on. In fact, sometimes imported 3D models are far too big for our scene, so we need to change the scale of the nodes before they will fit into our scene.
And of course you can combine other effects we covered in previous chapters with your 3D model. For example, you could use animations to have the 3D model slowly spin or set its opacity to have it slightly transparent or have it fade into the scene.
Adding a 3D model to a scene

Xcode is useful for finding the name of your root node if you do not know it
To reiterate, if you have possession of the 3D model file but don’t know the name of the root node, then if you open the file in Xcode, you should be able to click around parts of the model and navigate the scene graph to find the root node name.
Creating Your Own 3D Models in Blender
If you want to create your own 3D models in your Augmented Reality experiences, I strongly recommend you consider learning how to use a 3D modelling tool called Blender . It is something that I am slowly learning myself.
For starters, it is a free tool that is not only powerful but at the same time accessible to beginners willing to put in the time to learn it, and is becoming increasingly popular. In fact, many film studios have started using Blender for creating 3D models and effects rather than using expensive industry standard alternatives. There are also a lot of tutorials online about how to create various 3D models ranging from doughnuts to furniture to castles and cars.
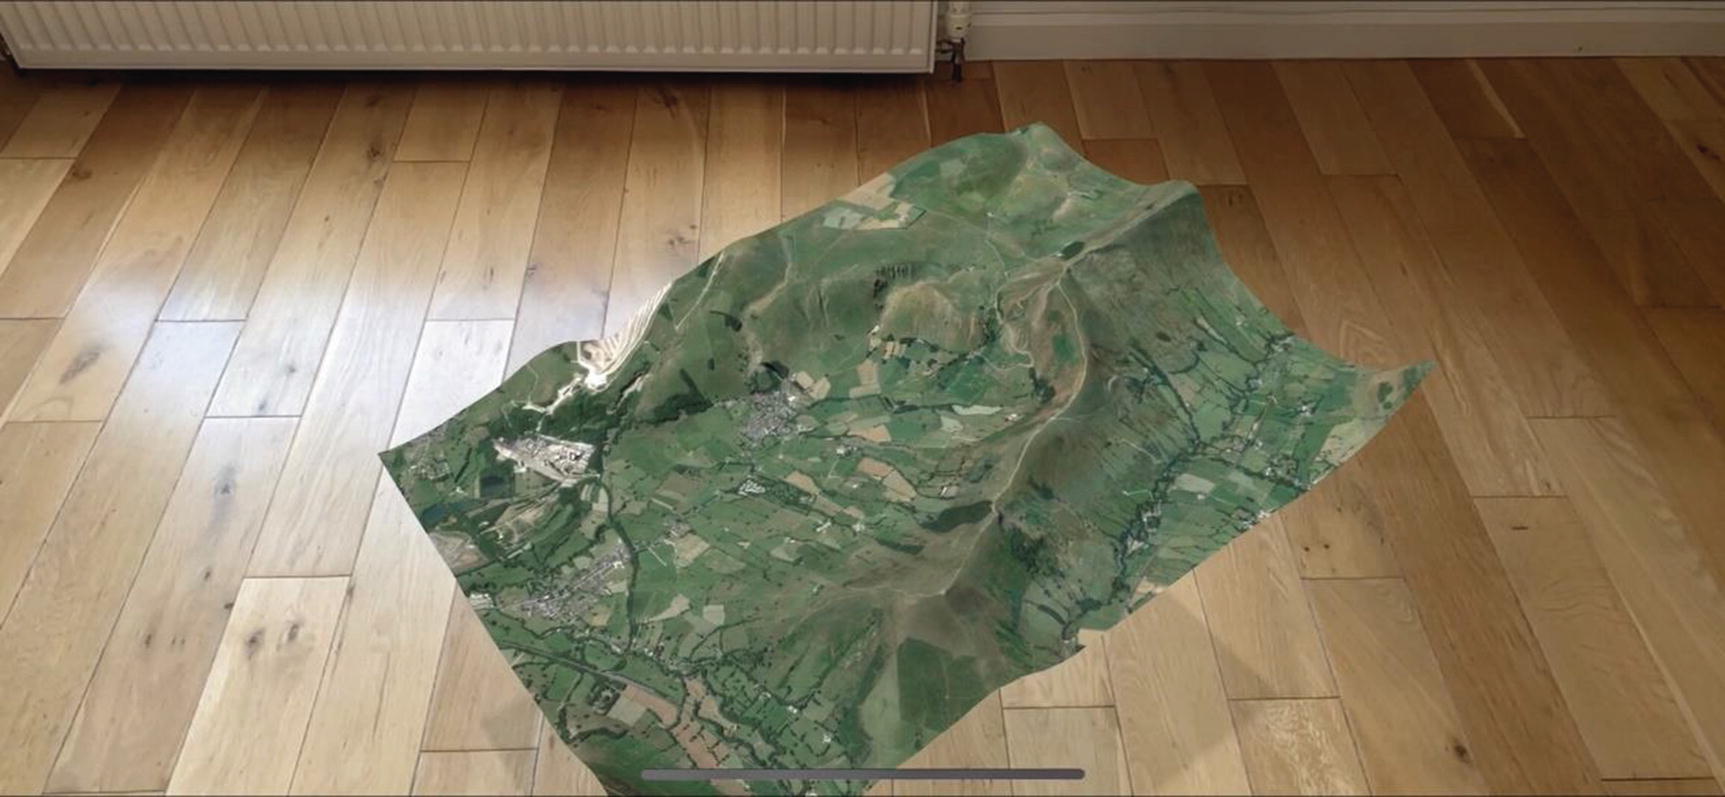
Using 3D models from Blender in our AR experiences can be very impressive
You can see in Figure 13-2, this example is also using shadows (from Chapter 7, “Lighting”) to help the user to understand how high off the ground it is floating and make it look more real.
Whether you create, export, and import your own 3D model or obtain and use a pre-made 3D model, if that model comes with textures (usually one or more image files), you will need to make sure you package those along with your 3D model. Often the 3D model file will reference the image texture files locations relatively, so they often need to be stored in the same folder or at least relative to where the 3D model file resides.
Add Shadows, Animations, and Make Interactive
By this point , we have already covered a few other concepts that we can use in conjunction with our 3D models. We can add lighting and shadows to make the 3D models look more real. We can use animations to make the 3D models more dynamic.
Things to Try
You could spend all day playing around with 3D models in your Augmented Reality scenes; however, here are a few ideas of things you could try.
Add a pre-made 3D model to your app.
Obtain a supported, 3D model file, add it to your project, and place it in your scene.
Create a simple model in Blender and use it in your app.
Create a basic model in Blender; it doesn’t have to be complicated. Then export it into a supported file type, add it to your project, then use it in your scene.
Use touch gestures to interact with 3D models in your scene.
Get your 3D model to respond to the touch interactions discussed in Chapter 12, “Touch Gestures and Interaction.”
Add animations to your 3D model.
Use some of the animations (actions) discussed in Chapter 5, “Animations,” to animate the scale, position, or opacity of a 3D model in your scene.
Use 3D models with Image detection.
Try adding a 3D model to an image detected in a scene. You’ll notice that if you rotate the orientation of the detected image, the orientation of the 3D model will change similarly.
Summary
As well as basic 3D shapes, which we learned about previously, you should now be aware of how more complex 3D models can be added to and used in your AR experiences. You can either obtain pre-made ones or even build and use your own using a 3D modelling tool like Blender.
With various models and shapes in our scene now, we should look at ways that we can allow them to simulate interaction with each other and their physical environment through the use of simulated physics. If you are thinking this sounds complicated, don’t worry. ARKit has some built-in physics abilities so that we don’t have to worry about the maths and complexities as we shall see in the next chapter, “Physics.”