

SPUN COTTON ORNAMENTS
Spun cotton ornaments are an art form from the 19th century. If you search online, you’ll find many intriguing images of old, odd little figures. You will also find many contemporary examples that are just as charming. There is no one right way to make spun cotton ornaments. Every artist adds their own twist. No matter the technique, however, spun cotton creations are whimsical and cozy…and just a little bit different!
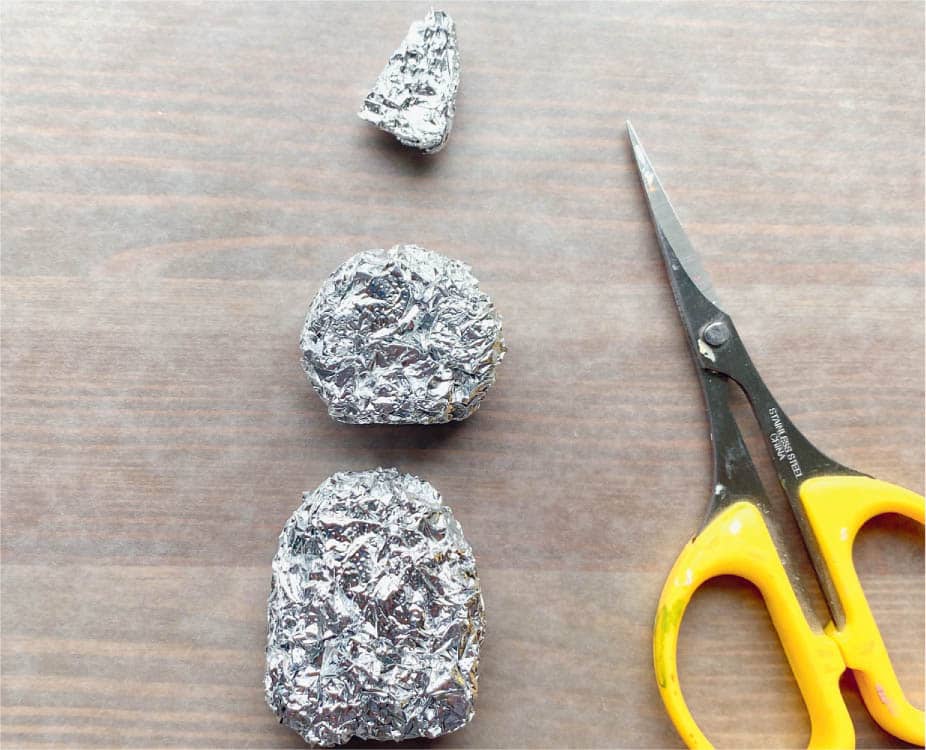
Make the Armature
Step 1
Make a little body and head out of aluminum foil.
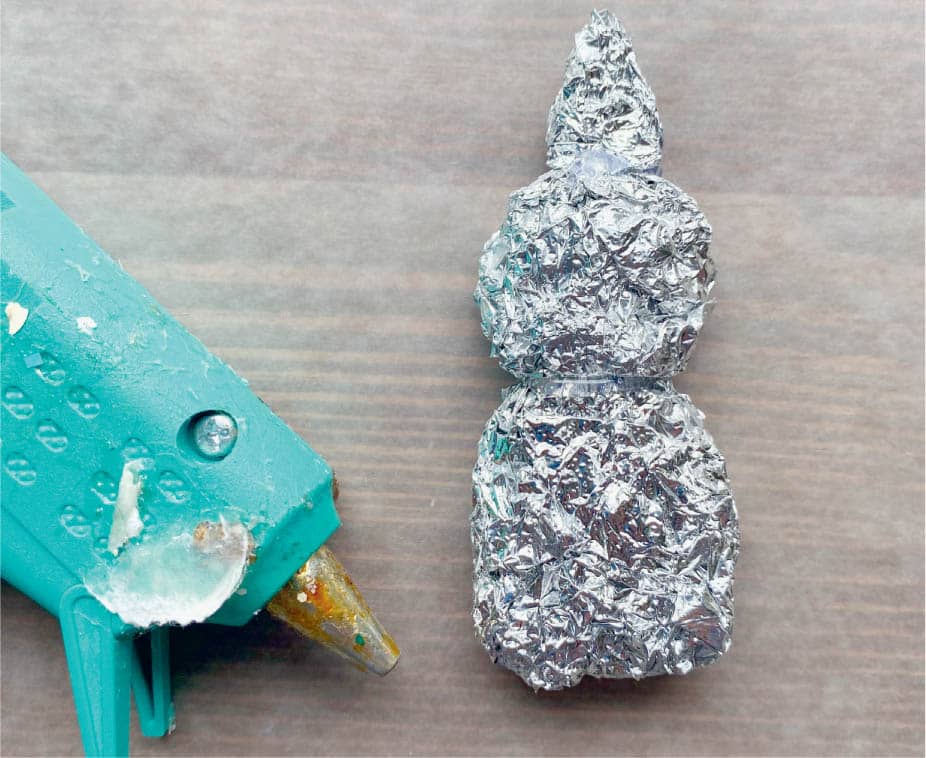
Step 2
Hot glue them together. I’ve decided to make a little hat for my figure, so I crumple another little bit of foil for that too and glue it on. You can add all sorts of foil details: ears, snouts, hats, and so on.
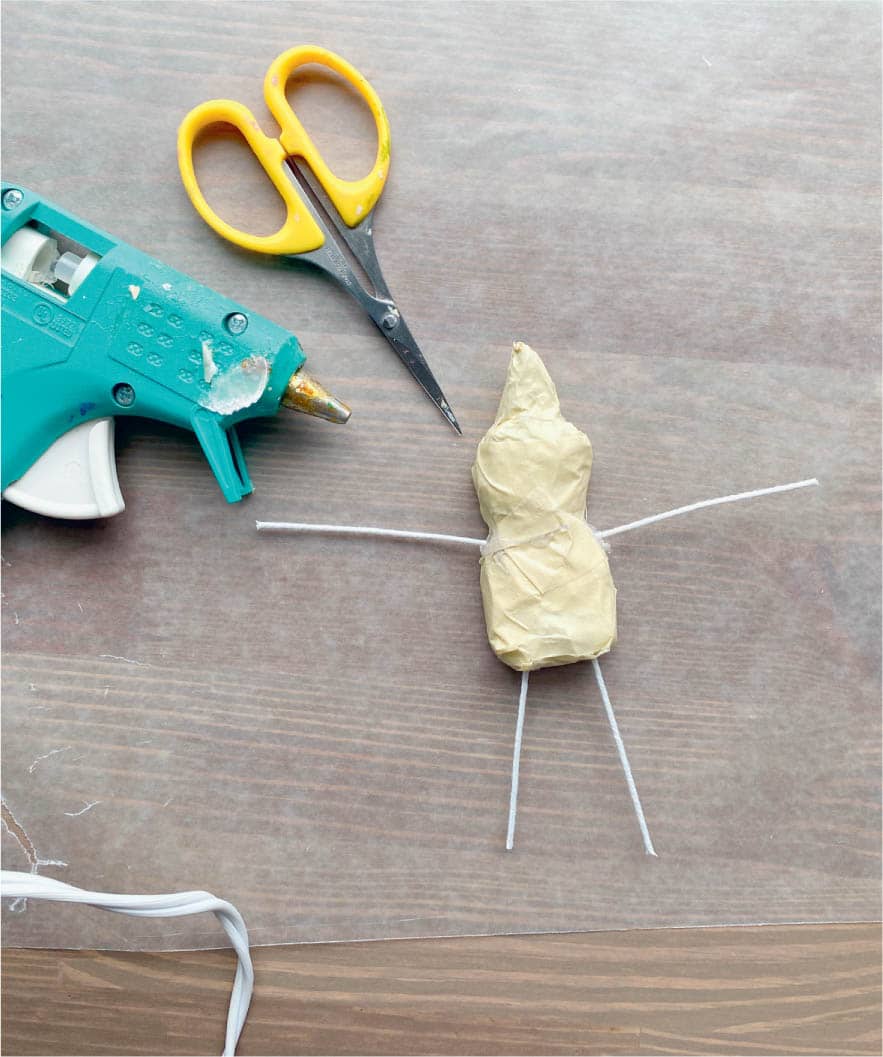
Step 3
Cover the whole thing with masking tape as shown.

Step 4
For the arms and legs, cut pieces of wire. Use an awl or super sharp scissors to poke holes where the arms and legs go. Blob a bit of hot glue in the holes and insert the wires for the arms and legs.
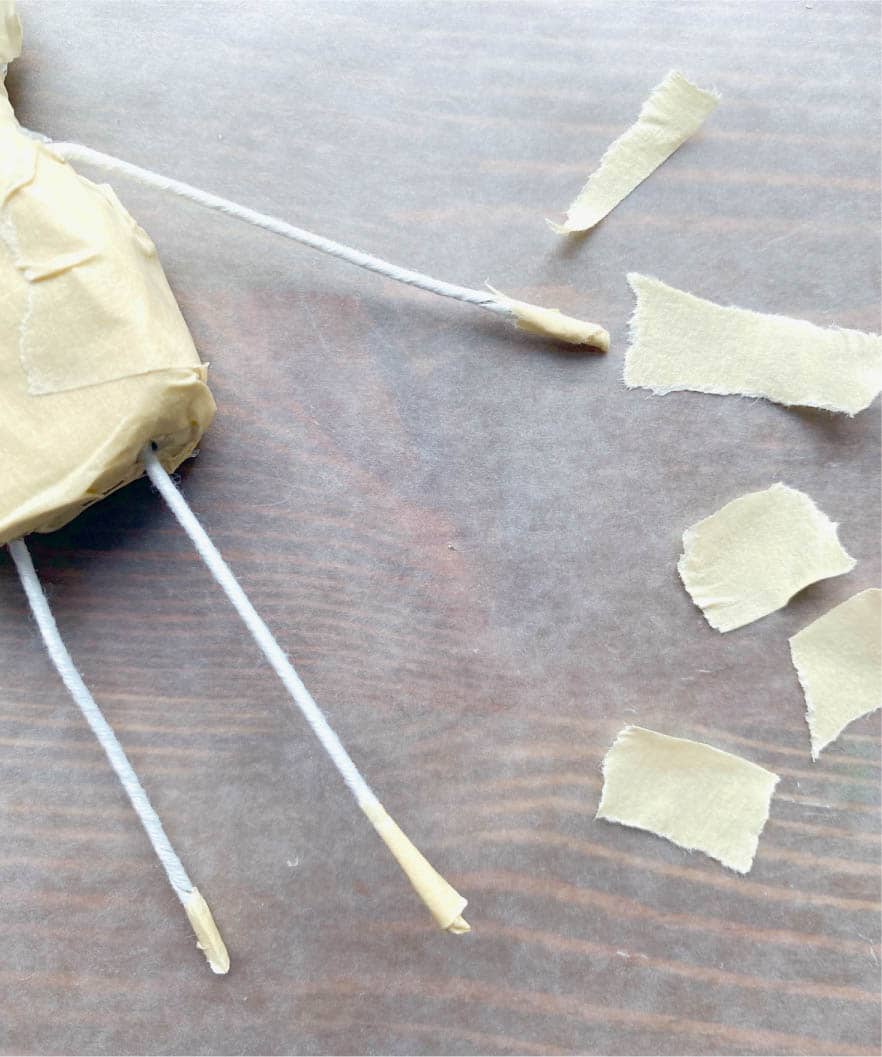
Step 5
Even when using coated wire, wrap the exposed cut ends of the wire with small bits of masking tape to prevent rust.
Step 6
Make a hole in the top or back of the head (wherever it makes sense for you to add a loop for hanging). Add a blob of hot glue and insert the loop of wire into the hole.

Now for the Cotton
Step 1
Grab five or six cotton balls and unroll them. Do this before you begin working with the glue.

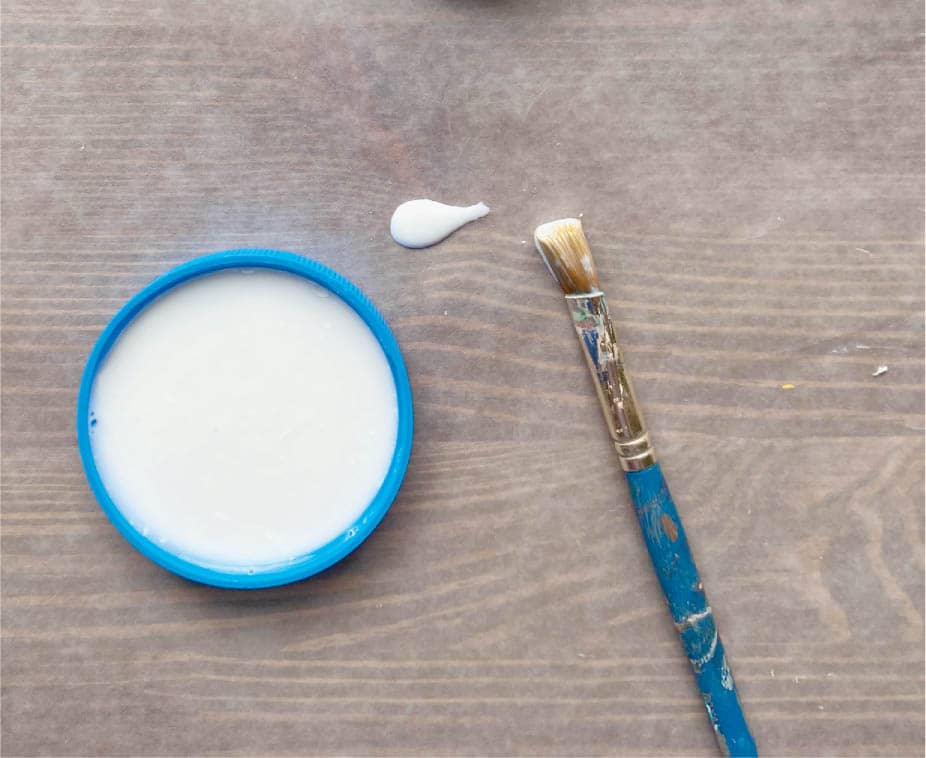
Step 2
Make a mixture of glue and water (half glue and half water), and mix it well.
Step 3
Let’s start with the arms and legs. Brush the glue mixture on a limb and using a long strand of cotton, start from the spot where the limb and the body meet, and wrap the cotton around the wire, using your fingers to make sure it’s closely adhered. Keep brushing glue on as you go. You want the cotton to be fairly saturated with glue.

Step 4
Once you get to the end of the limb, wrap and glue the cotton back to where you started, creating a double layer.
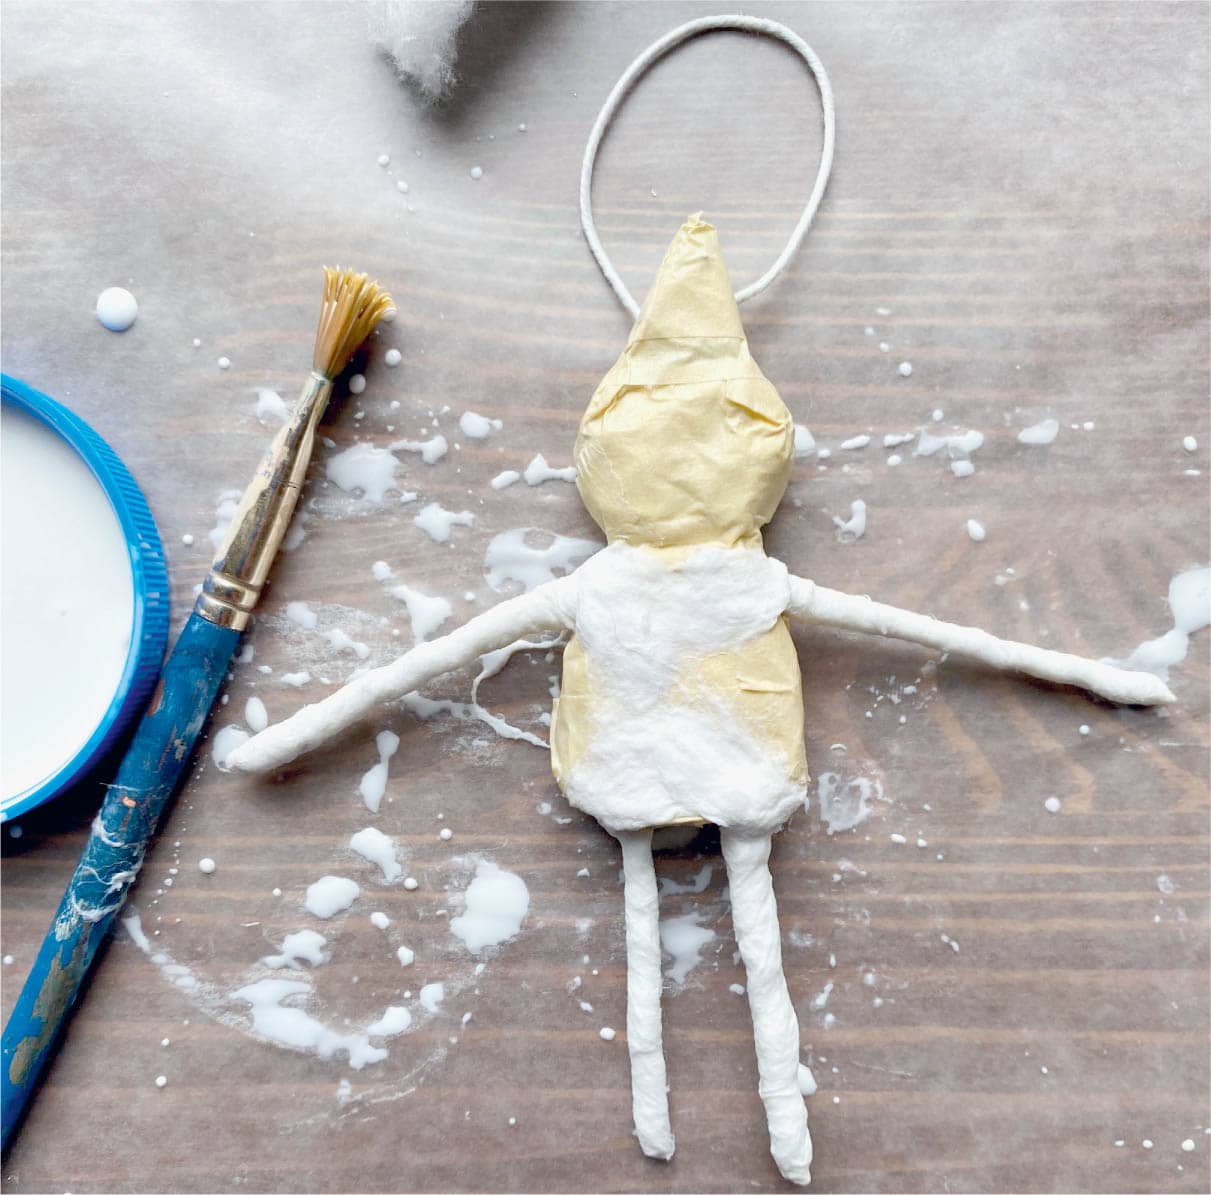
Step 5
Cover the body with cotton too. Brush glue on the armature, place chunks of cotton down, and then brush more glue on top of the cotton, smoothing as you go. Keep going with this until you’ve completely covered the armature. If the cotton layer seems too skimpy, keep adding layers of cotton until it looks fluffier.
Then let your ornament dry! It takes a little while. Make sure it can get some air circulation and/ or direct sunlight. Turn over if necessary to make sure each and every bit is dry.

Paint!
Step 1
I like to use acrylic paint—any kind will work great. The cotton takes paint very well; it just kind of soaks in. I find that thinning the paint with a little bit of water from your paintbrush makes it soak in better.
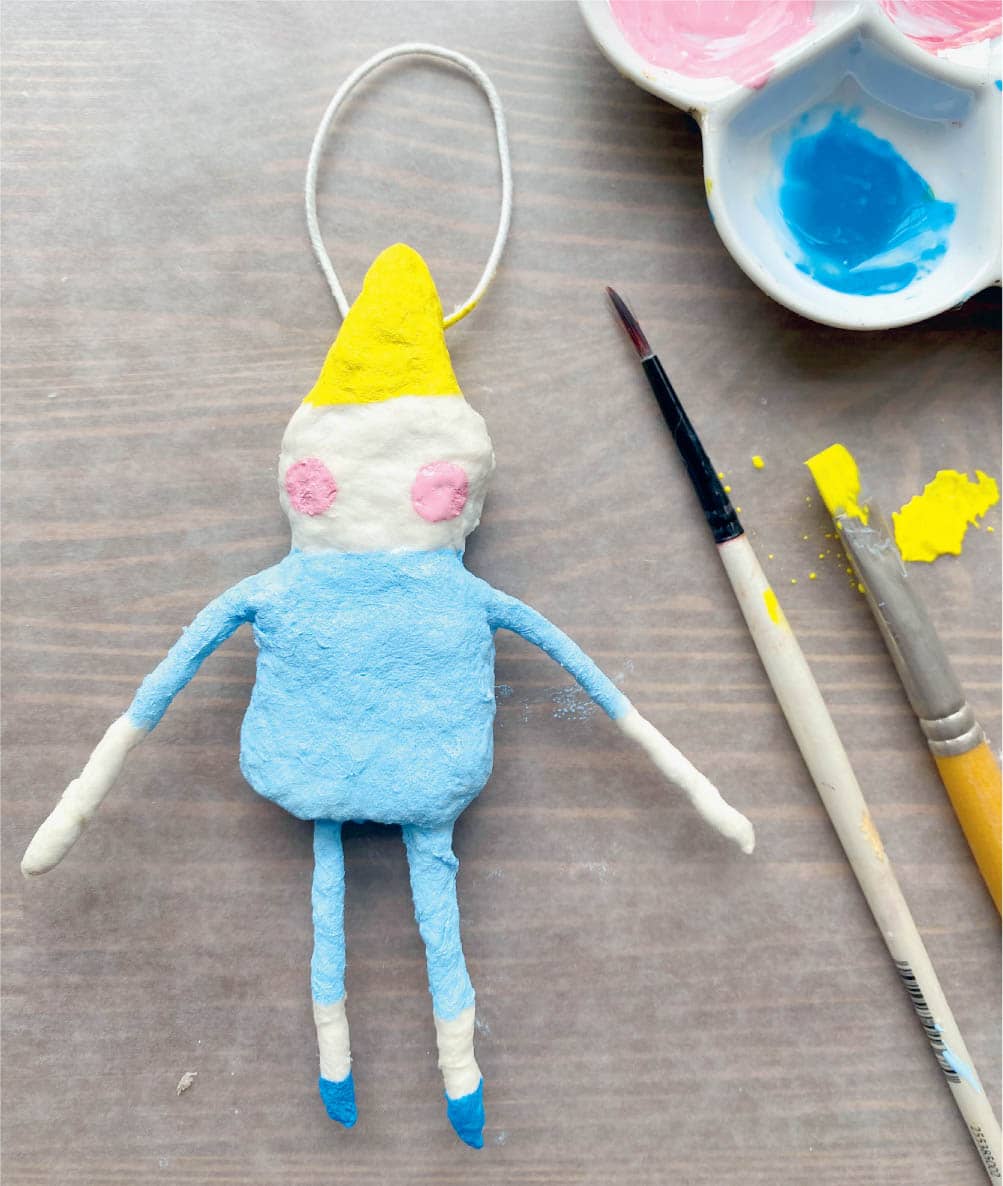
Step 2
I love to paint my spun cotton friends very simply with bright colors. I mean, look at this fellow!

Step 3
Add pom-poms if you like. You can add all sorts of decorations! Glitter would be delightful too.
Because you’ve used wire for the arms and legs and the cotton is soft but adhered, you can gently position the arms and legs.


TRY THIS TOO!
Traditionally, spun cotton ornaments are for holiday decorating. But how fun would it be to leave off the hanging loop and make a little set of these for a dollhouse?