
Composition: “the act of combining parts or elements to form a whole.”
Dictionary.com, s.v. “composition,” www.dictionary.com/browse/composition , accessed October 2, 2018.
In the previous chapter, we studied Dockerfiles and Docker images, how to build images, and run them in Docker containers. But if you think about practical day-to-day workflows, they are seldom going to occur on a single service. A workflow is usually a composition of multiple services or microservices. So, in order to get an application running on Docker from end to end, you have to link multiple Docker containers running different services, in such a way that they can talk to one another.
In this chapter, you’ll see how we can get multiple Docker containers running different services up and running simultaneously and efficiently, in order to get an end-to-end application up and running, using Docker.
What Is Docker Compose
In the previous chapters, you saw the advantages of running services on Docker containers. Some of the advantages are consistent environment variables, isolation of dependencies, and enabling continuous deployment of these services.
Today, most software applications are made of multiple services that talk to each other. In order to make such applications operational, you have to link several Docker containers to one another and have them all running simultaneously on Docker in production. Let’s see how we can link multiple Docker containers.
Docker Compose is the tool for running multi-container Docker applications. It’s essentially a YAML file that can be thought of as a composition of multiple Dockerfile containers running commands into a single file. This Docker compose YAML file contains configurations of multiple services. Then, using a single command, you can get all the services up and running simultaneously inside Docker containers.
You can also configure these services in such a way that they talk to each other.
- 1.
Define the configuration of the running container inside a Dockerfile.
- 2.
Create a Docker Compose YAML file that contains configurations of all the services you want up and running.
- 3.
Then run the command docker-compose up, which runs the YAML file and your entire application.
Docker Compose can be used to create this microservices architecture and link the containers between them, or it can be used for a single service. In addition, Docker Compose can build images, scale containers, and rerun stopped containers. All this functionality is a part of Docker. docker-compose is just a higher-level abstraction of container run commands. You can do everything you can in a compose file with plain Docker commands, except that this requires more memory and takes extra effort to run all the extra commands, attaching to the network, etc. docker-compose helps to simplify this process.
In this example, the Docker Compose YAML file has configurations for two services, namely, myApp and Redis, wherein myApp is an application service and Redis is a database. Let’s look at what some of the fields in the YAML file represent. First, the Docker Compose YAML file tells Docker to build the images for the services—myApp and Redis. The build instruction asks to look for the file Dockerfile-dev in the folder myApp.
Instead of using the build key, you could specify the image. If you use image, specify the image name. This pulls up the specific image.
Next, the ports instruction indicates to map port 5001 on the host to the service1 docker containers port 8887.
The command instruction specifies the first command to run, in order to get the service up and running.
container_name is intuitive. It specifies the name of the Docker container in which myApp will run. This is used to identify which services run inside which Docker container. However, most compose files do not define the container name. Names must be unique. Once you specify a name, you have removed the ability to scale the number of replicas used for a service. When the docker-compose tool starts the container without a specified name, the generated name helps to identify the service.
The volumes instructions let you map certain files and folders on the host machine to the Docker container. For example, /home/{{USER}}/code/services/service1:/var/src/myApp says to map the folder code/services/service1 to the folder var/src/myApp on the Docker container. This command is very useful when debugging inside the Docker container, so that you can use the files that exist on the host machine.
The environment instruction basically configures the environment variables for the services.
The networks key lets you define a network that each service wants to connect to. You can also specify a default network that can be used for the entire app. If there is an existing network that you want the containers to join, you can employ the external option.
In addition to the instructions in the preceding sample Docker Compose YAML file, you could use deploy to specify the deployment specifications, such as the number of replicas, resources, CPU, and memory limits on these resources, restart policies, etc. The deploy key only applies when deploying to a Swarm. We’ll look at that in more detail in later chapters.
Next let’s see how to install Docker Compose on your machine.
Installing Docker Compose
Docker Compose relies on the Docker Engine, so before you install Compose, make sure you have Docker installed on your machine.
The Docker Desktop tool includes the docker-compose tool.
In order to get Docker for a Mac system, refer to the “Installing Docker” section in Chapter 4. For older machines, you can get the Docker Toolbox. Docker Toolbox helps you quickly set up and install the Docker environment on your Mac or Windows machine. Docker Toolbox includes docker-machine, docker, docker-compose, Docker GUIs, and Docker CLIs.
You can uninstall Docker Compose in two ways, unless you’ve installed the Docker Compose tool with Docker Desktop. In this case, you’ll have to uninstall Docker Desktop.
Usage
Let’s look at some basic Docker Compose commands.
docker-compose up
The main command to keep in mind when using Docker Compose is docker-compose up . This command gets all your services running per the specified configuration in your Docker Compose YAML file.
-d or - -detach: This allows you to run Docker Compose in detached mode, which means running containers in the background.
- -quiet-pull: This pulls the images without printing progress information.
- -no-deps: This instructs the system not to start the linking services.
- -build: This builds the images before starting the containers.
- -remove-orphans: This removes all the other containers not specified in this docker-compose YAML file.
docker-compose build
This command allows you to build all the services in the YAML file, after which all the images built are tagged with the image name. If you change the service’s Dockerfile, make sure to set docker-compose build again, in order to build the new image.
- -compress: This compresses the build using gzip.
- -force-rm: Remove intermediate containers at all times.
- -no-cache: Disable use of cache when building the image.
- -pull: Pull the newer version of the image, if it exists.
docker-compose config
It’s a great idea to validate your Docker Compose config file once you’ve created one. This command can be used for that.
-q, - -quiet: Validate without printing anything.
- -services: Print services name, one per line.
- -volumes: Print volume names, one per line.
docker-compose kill
This command forces all running commands to stop, by sending the SIGKILL signal.
docker-compose restart
This command restarts all the services that have been previously stopped or are currently running.
You can use the timeout option with this command, using -t or - -timeout.
docker-compose ps
This command lists all the containers that were successfully started.
docker-compose logs
This command outputs the logs from all services.
-f, - -follow: Follow the output of the logs.
- -t, - -timestamps: Display the timestamps.
- -tail="all": The number of lines from the end of the logs that you want displayed for each Docker container.
docker-compose start
This command starts existing containers for all services.
docker-compose stop
This command stops running containers but does not remove them. You can restart containers using docker-compose start.
docker-compose pause
This command pauses the running services. They can be unpaused using docker-compose unpause.
docker-compose run
This command runs a command once for a particular service that is specified with the command.
For example, docker-compose run service1 bash starts the service service1 and runs bash as its command.
-d, - -detach: Run the container in the background.
- -name NAME: Assign a name to the container.
- -entrypoint CMD: Override the given entry point of that image.
- -e KEY=VAL: Set an environment variable called KEY and assign it the value VAL.
- -u, - -user: Run as a specified user.
- -rm: Remove the container after the run is over.
When you run docker-compose run, the commands used with run start new Docker containers with configurations specified with that command in the options. It is important to note that the commands passed along with the run command override the configuration in the Docker Compose YAML file. Another important thing to note is that the docker-compose run command creates or uses any of the ports specified in the Docker Compose YAML file, in order to avoid port collisions. If you want to specify a port, you can use the - -service-ports flag in your docker-compose run command.
Now that we’ve looked at some basic docker-compose usages, let’s look at what’s really happening behind the scenes of Docker Compose.
Behind the Scenes and an Example
In the previous chapters, you saw how a single Dockerfile can be built into a single Docker image. Similar to that, a single Docker Compose YAML file can be built into a stack of images. This stack is also called a distributed application bundle (DAB).
Docker stacks and Docker bundles are features in Docker and Docker Compose.
The simplest way to create a Docker bundle is via Docker Compose. Using docker-compose bundle builds all the images of the services in the YAML file and creates a bundle. In order to deploy this bundle, you have to create a Docker stack. This can be done using docker deploy. You can manage this stack using the docker stack command.
Further, let’s work through a simple docker-compose example in which we will link two services.
In this example, redis refers to the Redis Docker container, and we use 6379, which is the default port for Redis.
Let’s look at what the instructions in this Dockerfile mean. The FROM instruction pulls the alpine image from the Docker registry and builds the image. Next, the ADD instruction says to add the current directory . into the /code directory in the image. The WORKDIR command sets the working directory in the container to /code. The RUN instruction installs the Python dependencies, namely, Flask and Redis, as defined in the requirements.txt file. The CMD instruction then sets the default command for the Docker container to python myapp.py.
So now that we have the Dockerfile for our service created, let’s start a Redis service that our app can talk to that pulls an existing Redis image from the Docker registry. In practice, this could be replaced by another similar service to that we created previously.
This is made up of two services, one of which is defined by us, called myapp, that is built by the Dockerfile in the current project directory. This configuration maps the port 5000 on the host machine to the port 5000 on the Docker container running this service. The other service is Redis, which pulls an existing Redis image from the default Docker Hub registry.
From your project directory, now run docker-compose up .
- 1.First, it pulls the Python 3.4 image to build the image we specified in the earlier Dockerfile.kinnaryjangla@dev-abc:~/code/test$ docker-compose upCreating network "test_default" with the default driverPulling redis (redis:alpine)...alpine: Pulling from library/redis8e3ba11ec2a2: Pull complete1f20bd2a5c23: Pull complete782ff7702b5c: Pull complete82d1d664c6a7: Pull complete69f8979cc310: Pull complete3ff30b3bc148: Pull completeDigest: sha256:43e4d14fcffa05a5967c353dd7061564f130d6021725dd219f0c6fcbcc6b5076Status: Downloaded newer image for redis:alpineBuilding myappStep 1/5 : FROM python:3.4-alpine3.4-alpine: Pulling from library/python8e3ba11ec2a2: Already exists4001a9c615cb: Pull complete5bbb3a9b8d5e: Pull complete5adcac484e5a: Pull completeffd089d04f72: Pull completeDigest: sha256:9ecfc28113e3e0299e82fbfbbf37851b9c84efbf931eae22ccd69d2ad1562c91Status: Downloaded newer image for python:3.4-alpine---> 0c5cb9a7cbd2Step 2/5 : ADD . /code---> 494ffafb0dbdRemoving intermediate container 56496ef21df6Step 3/5 : WORKDIR /code---> 3fee363b7d90Removing intermediate container 08dc071a5e33
- 2.Next, it installs Flask and Redis, per the requirements specified in the requirements.txt file.Step 4/5 : RUN pip install -r requirements.txt---> Running in 4f3c397dedd1Collecting flask (from -r requirements.txt (line 1))Downloading https://files.pythonhosted.org/packages/7f/e7/08578774ed4536d3242b14dacb4696386634607af824ea997202cd0edb4b/Flask-1.0.2-py2.py3-none-any.whl (91kB)Collecting redis (from -r requirements.txt (line 2))Downloading https://files.pythonhosted.org/packages/3b/f6/7a76333cf0b9251ecf49efff635015171843d9b977e4ffcf59f9c4428052/redis-2.10.6-py2.py3-none-any.whl (64kB)Collecting Jinja2>=2.10 (from flask->-r requirements.txt (line 1))Downloading https://files.pythonhosted.org/packages/7f/ff/ae64bacdfc95f27a016a7bed8e8686763ba4d277a78ca76f32659220a731/Jinja2-2.10-py2.py3-none-any.whl (126kB)Collecting click>=5.1 (from flask->-r requirements.txt (line 1))Downloading https://files.pythonhosted.org/packages/34/c1/8806f99713ddb993c5366c362b2f908f18269f8d792aff1abfd700775a77/click-6.7-py2.py3-none-any.whl (71kB)Collecting itsdangerous>=0.24 (from flask->-r requirements.txt (line 1))Downloading https://files.pythonhosted.org/packages/dc/b4/a60bcdba945c00f6d608d8975131ab3f25b22f2bcfe1dab221165194b2d4/itsdangerous-0.24.tar.gz (46kB)Collecting Werkzeug>=0.14 (from flask->-r requirements.txt (line 1))Downloading https://files.pythonhosted.org/packages/20/c4/12e3e56473e52375aa29c4764e70d1b8f3efa6682bef8d0aae04fe335243/Werkzeug-0.14.1-py2.py3-none-any.whl (322kB)Collecting MarkupSafe>=0.23 (from Jinja2>=2.10->flask->-r requirements.txt (line 1))Downloading https://files.pythonhosted.org/packages/4d/de/32d741db316d8fdb7680822dd37001ef7a448255de9699ab4bfcbdf4172b/MarkupSafe-1.0.tar.gzBuilding wheels for collected packages: itsdangerous, MarkupSafeRunning setup.py bdist_wheel for itsdangerous: startedRunning setup.py bdist_wheel for itsdangerous: finished with status 'done'Stored in directory: /root/.cache/pip/wheels/2c/4a/61/5599631c1554768c6290b08c02c72d7317910374ca602ff1e5Running setup.py bdist_wheel for MarkupSafe: startedRunning setup.py bdist_wheel for MarkupSafe: finished with status 'done'Stored in directory: /root/.cache/pip/wheels/33/56/20/ebe49a5c612fffe1c5a632146b16596f9e64676768661e4e46Successfully built itsdangerous MarkupSafeInstalling collected packages: MarkupSafe, Jinja2, click, itsdangerous, Werkzeug, flask, redisSuccessfully installed Jinja2-2.10 MarkupSafe-1.0 Werkzeug-0.14.1 click-6.7 flask-1.0.2 itsdangerous-0.24 redis-2.10.6---> a8a506f87306Removing intermediate container 4f3c397dedd1
- 3.Finally, it executes the last instruction and runs the Python myapp.py command.Step 5/5 : CMD python myapp.py---> Running in c2113e2877dc---> 104b362fbe0bRemoving intermediate container c2113e2877dcSuccessfully built 104b362fbe0bSuccessfully tagged test_myapp:latestWARNING: Image for service myapp was built because it did not already exist. To rebuild this image you must use `docker-compose build` or `docker-compose up --build`.Creating test_myapp_1 ...Creating test_redis_1 ...Creating test_redis_1Creating test_redis_1 ... doneAttaching to test_myapp_1, test_redis_1redis_1 | 1:C 01 Sep 21:04:35.245 # oO0OoO0OoO0Oo Redis is starting oO0OoO0OoO0Ooredis_1 | 1:C 01 Sep 21:04:35.245 # Redis version=4.0.11, bits=64, commit=00000000, modified=0, pid=1, just startedredis_1 | 1:C 01 Sep 21:04:35.245 # Warning: no config file specified, using the default config. In order to specify a config file use redis-server /path/to/redis.confredis_1 | 1:M 01 Sep 21:04:35.246 * Running mode=standalone, port=6379.redis_1 | 1:M 01 Sep 21:04:35.247 # WARNING: The TCP backlog setting of 511 cannot be enforced because /proc/sys/net/core/somaxconn is set to the lower value of 128.redis_1 | 1:M 01 Sep 21:04:35.247 # Server initializedredis_1 | 1:M 01 Sep 21:04:35.247 # WARNING overcommit_memory is set to 0! Background save may fail under low memory condition. To fix this issue add 'vm.overcommit_memory = 1' to /etc/sysctl.conf and then reboot or run the command 'sysctl vm.overcommit_memory=1' for this to take effect.redis_1 | 1:M 01 Sep 21:04:35.247 * Ready to accept connectionsmyapp_1 | * Serving Flask app "myapp" (lazy loading)myapp_1 | * Environment: productionmyapp_1 | WARNING: Do not use the development server in a production environment.myapp_1 | Use a production WSGI server instead.myapp_1 | * Debug mode: onmyapp_1 | * Running on http://0.0.0.0:5000/ (Press CTRL+C to quit)myapp_1 | * Restarting with statmyapp_1 | * Debugger is active!myapp_1 | * Debugger PIN: 310-933-049
As you see from the preceding code, both services have started and are running.
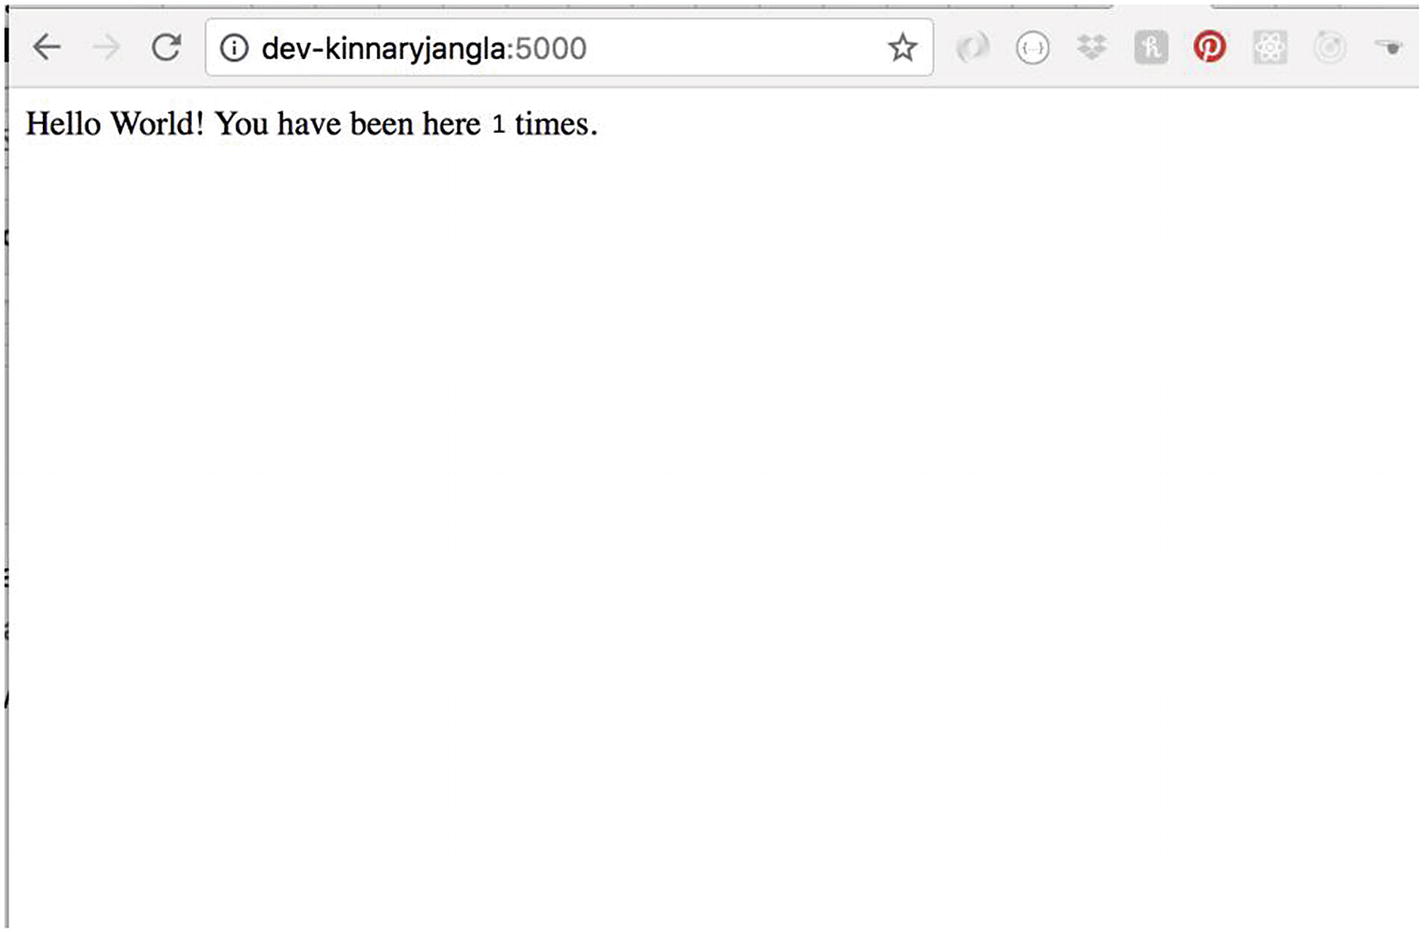
Sample application being tested on the browser
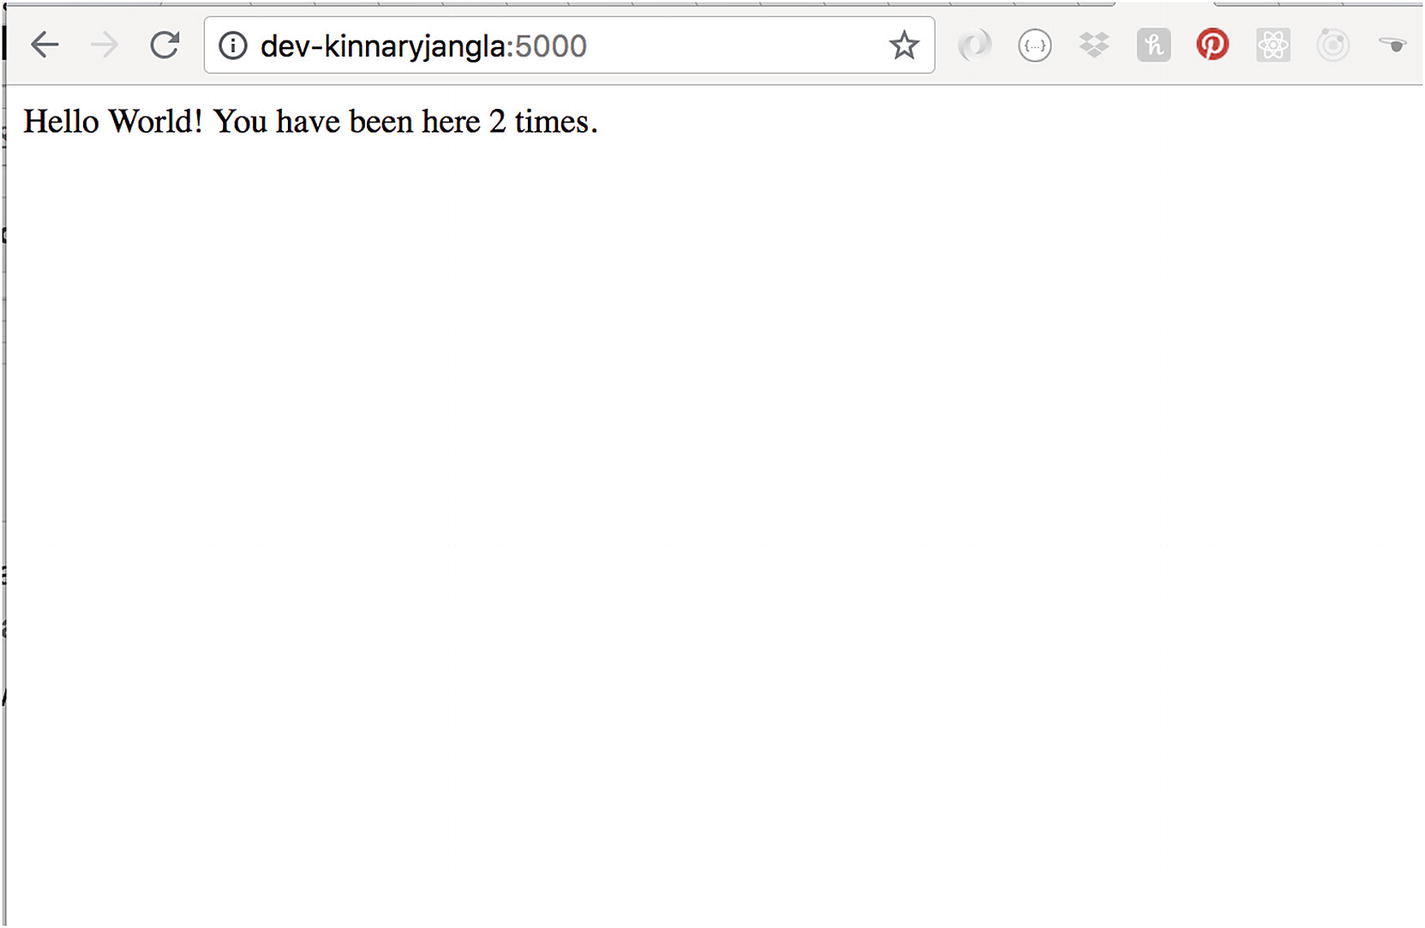
Sample application count increasing to 2
Now that you’ve seen a running example of docker-compose, let’s conclude this section.
Summary
In this chapter, we looked at Docker Compose and its uses. We saw that Docker containers running different services can be linked to one another using docker-compose.
You saw how to install and uninstall the docker-compose tool and different uses for docker-compose. Next, you saw how docker-compose creates container images and spins them. I walked you through a real-world example of Docker Compose. We created a Dockerfile for a service and a docker-compose file that links that service to a Redis image that we pulled from the Docker Hub registry. We went through how to build it and run the entire application. We looked at the browser, to see the application in action and then viewed the Docker containers running the two services that the application is composed of.
In the next chapter, I’ll go through a real-world example of how to debug a real-world application composed of microservices, using Docker.