
Create a Logic App workflow: We have authored an Azure Automation runbook that queries all the secrets in all key vaults and publishes an event in case it finds any of them expiring within a month. The logic app workflow acts as a subscriber to these events:
- The first step within the logic app is to create a logic app workflow:
- Fill up the resultant form after clicking on the Create button. We are provisioning the logic app in the same resource group as the other resources for this solution:

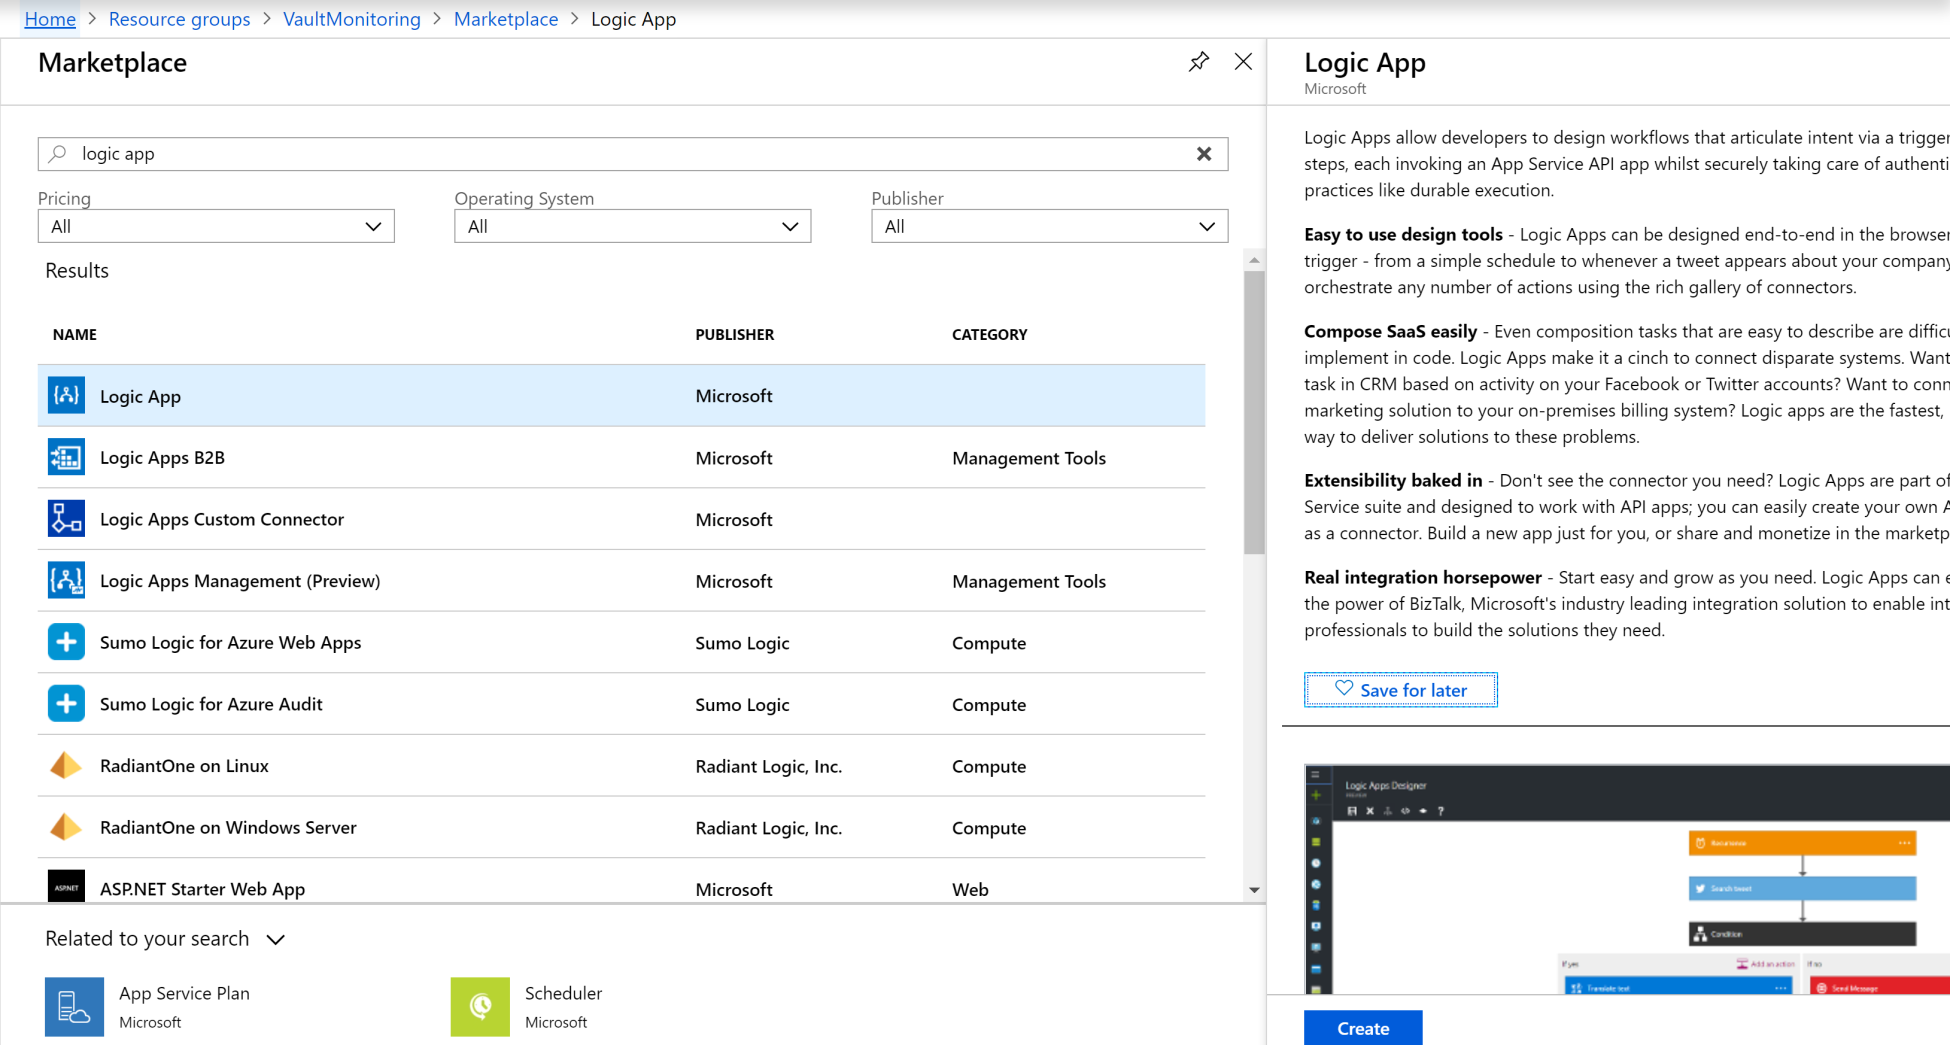
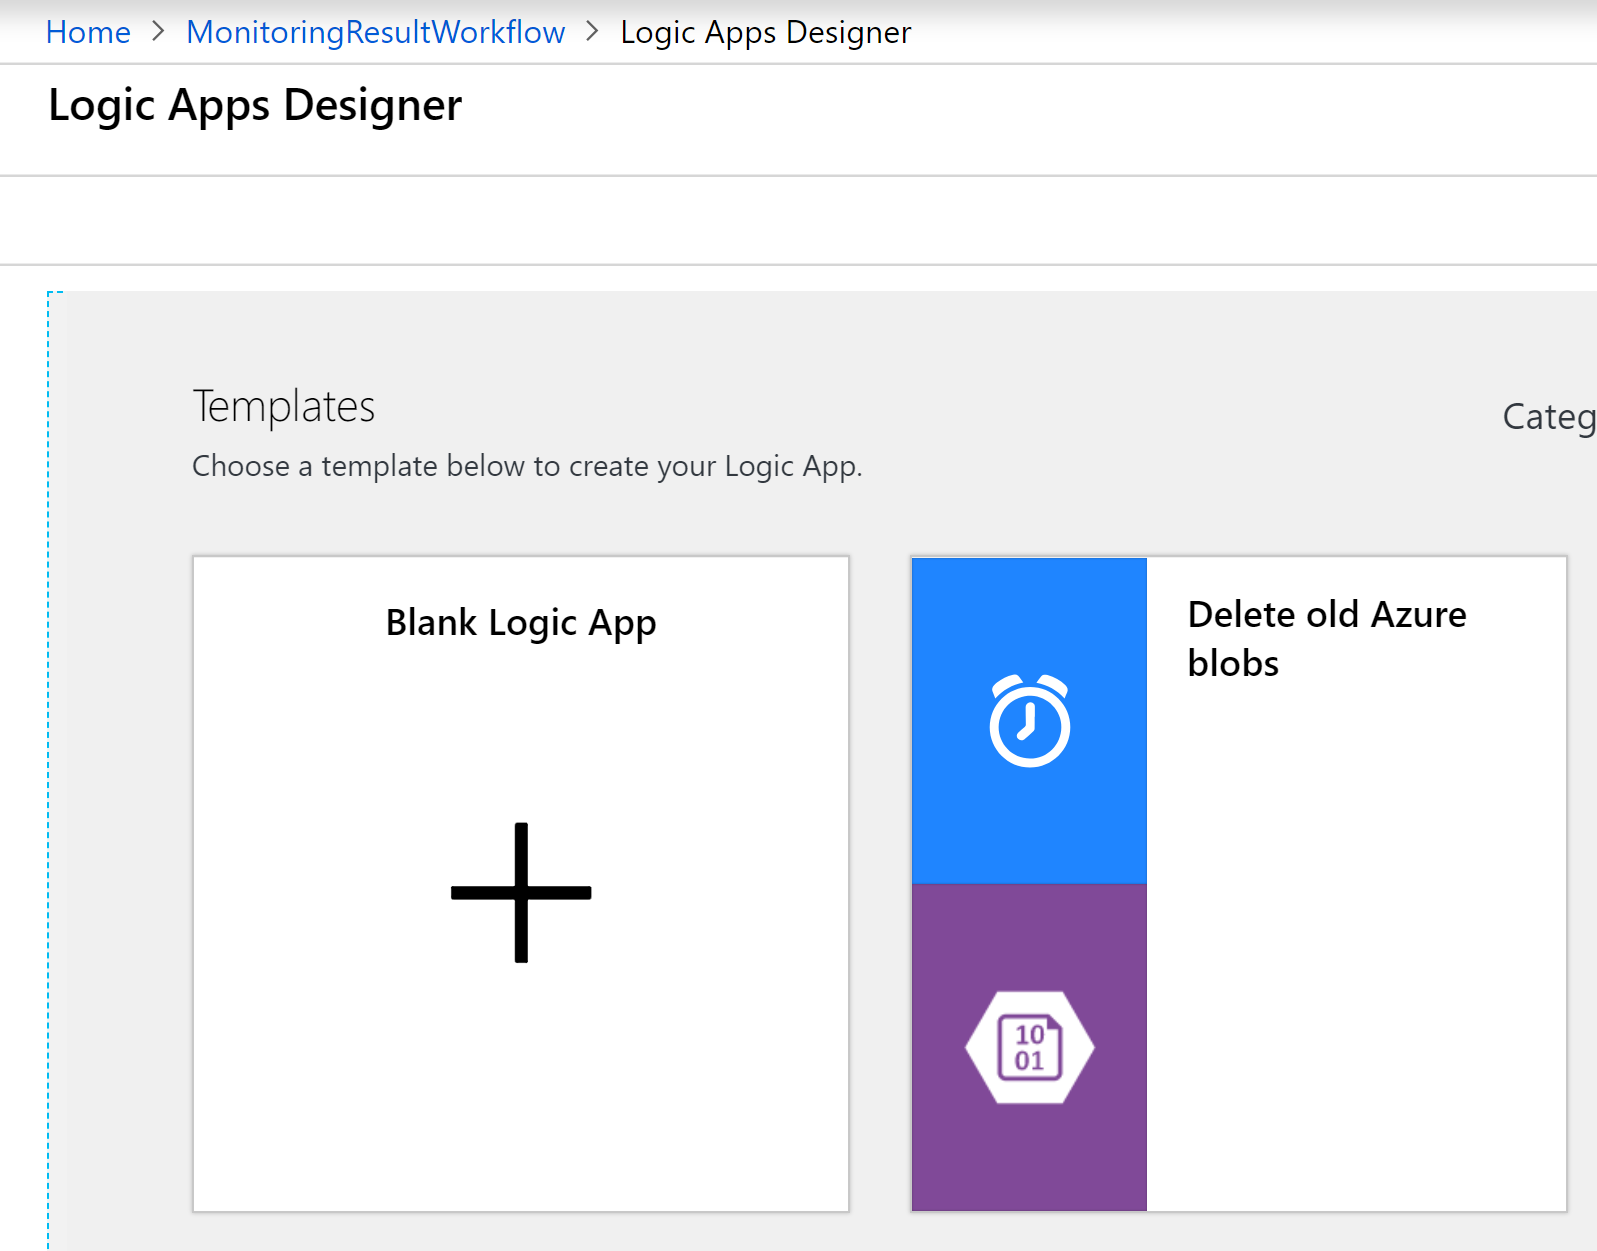
- After the logic app is provisioned, it opens the designer window. Select Blank Logic App from the Templates section:
- In the resultant window, add a trigger that can subscribe to Event Grid events. Logic Apps provides a trigger for Event Grid, and search for this to see whether it's available:

- Select the When a resource event occurs (preview) trigger:

- In the resultant window, select Connect with Service Principal.
Provide service principal details, including application ID (client ID), tenant ID, and password. This trigger does not accept a service principal that authenticates with certificate. It accepts a service principal only with a password. Create a new service principal at this stage that authenticates with a password (the steps for creating a Service Principal based on password authentication was covered earlier in this chapter) and use the details of the newly created application principal for Azure Event Grid configuration as shown next.

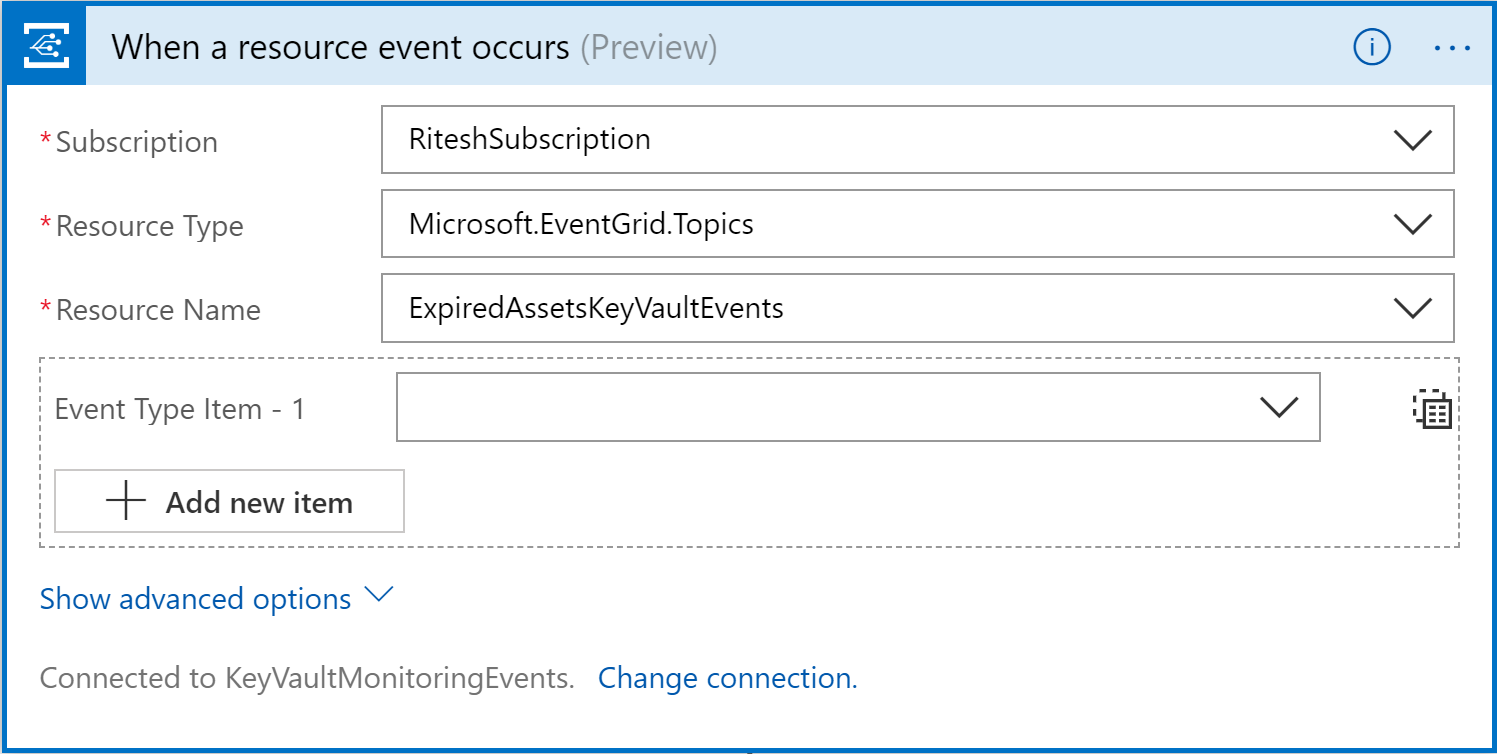
- Select the subscription. Based on scope of service principal, this will get auto-filled. Select Microsoft.EventGrid.Topics as Resource Type and set the name of the custom topic as ExpiredAssetsKeyVaultEvents:
- The previous step will create a connector, and the connection information can be changed be clicking on Change connection
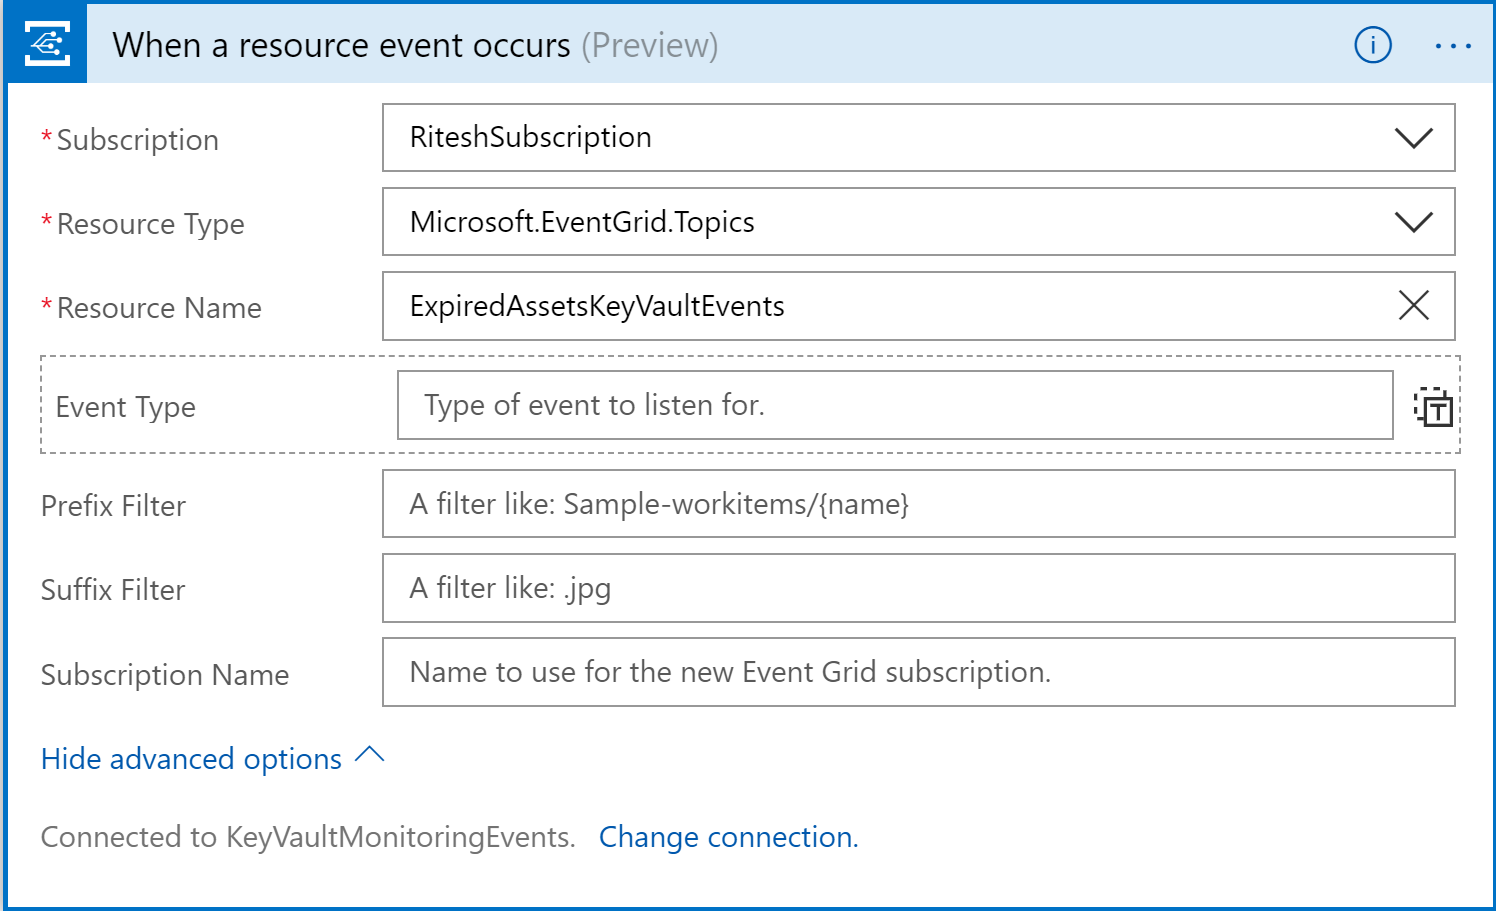
- The final configuration of Event Grid trigger should be similar to the following screenshot:
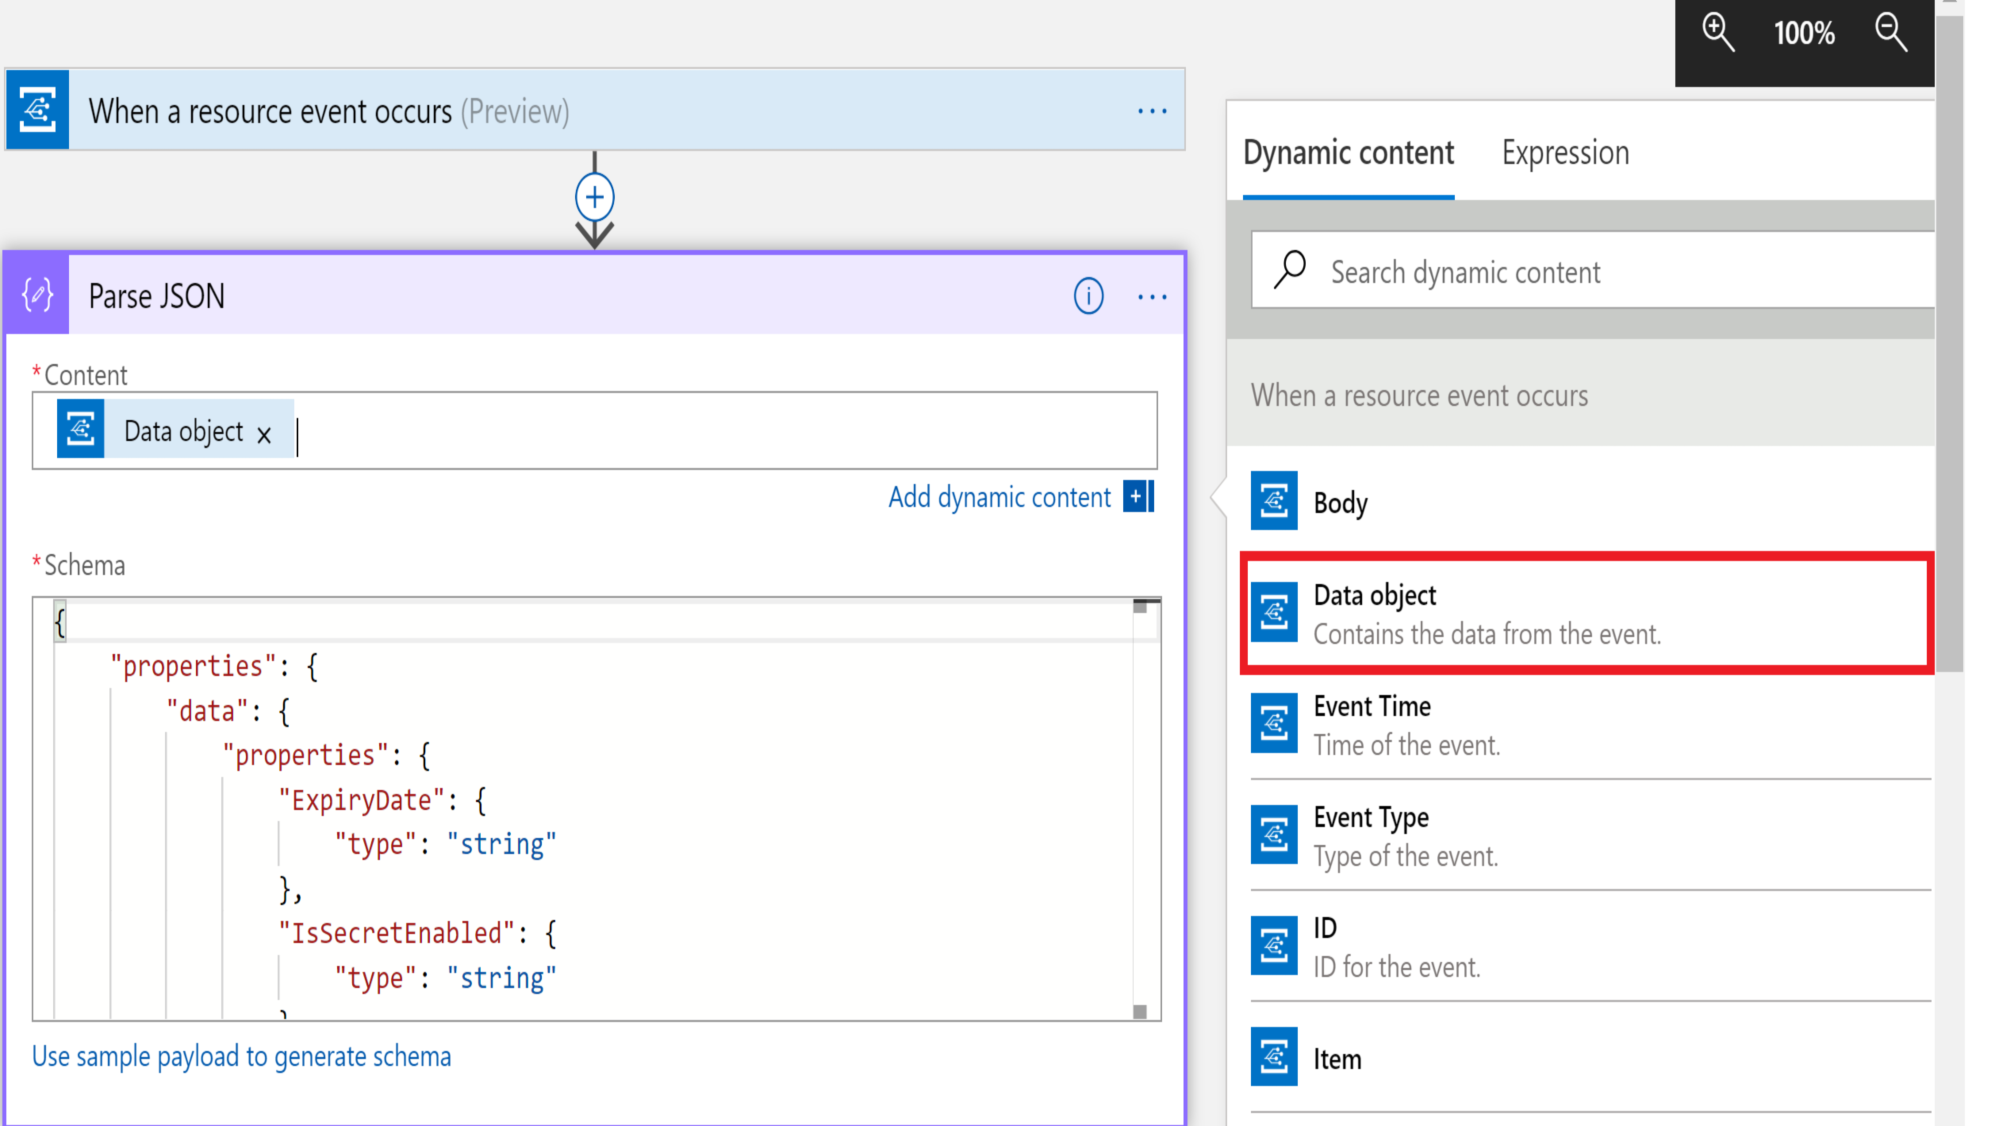
- Add a new Parse JSON activity after the Event Grid trigger. This activity needs the JSON schema. Generally, the schema is not available, but this activity helps generate the schema if valid JSON is provided to it:

- Click on Use sample payload to generate schema and provide data, as shown here:
{
"ExpiryDate": "",
"SecretName": "",
"VaultName": "",
"SecretCreationDate": "",
"IsSecretEnabled": "",
"SecretId": ""
}
A question might arise here regarding the sample payload. How do you know at this stage what the payload is that's generated by the Event Grid publisher? The answer to this lies in the fact that this sample payload is exactly the same as is used in the data element in the Azure Automation runbook. Let me show you that code snippet again:
data = @{
"ExpiryDate" = $certificate.Expires
"CertificateName" = $certificate.Name.ToString()
"VaultName" = $certificate.VaultName.ToString()
"CertificateCreationDate" = $certificate.Created.ToString()
"IsCertificateEnabled" = $certificate.Enabled.ToString()
"CertificateId" = $certificate.Id.ToString()
}
- The Content text box should contain dynamic content coming out from the previous trigger:
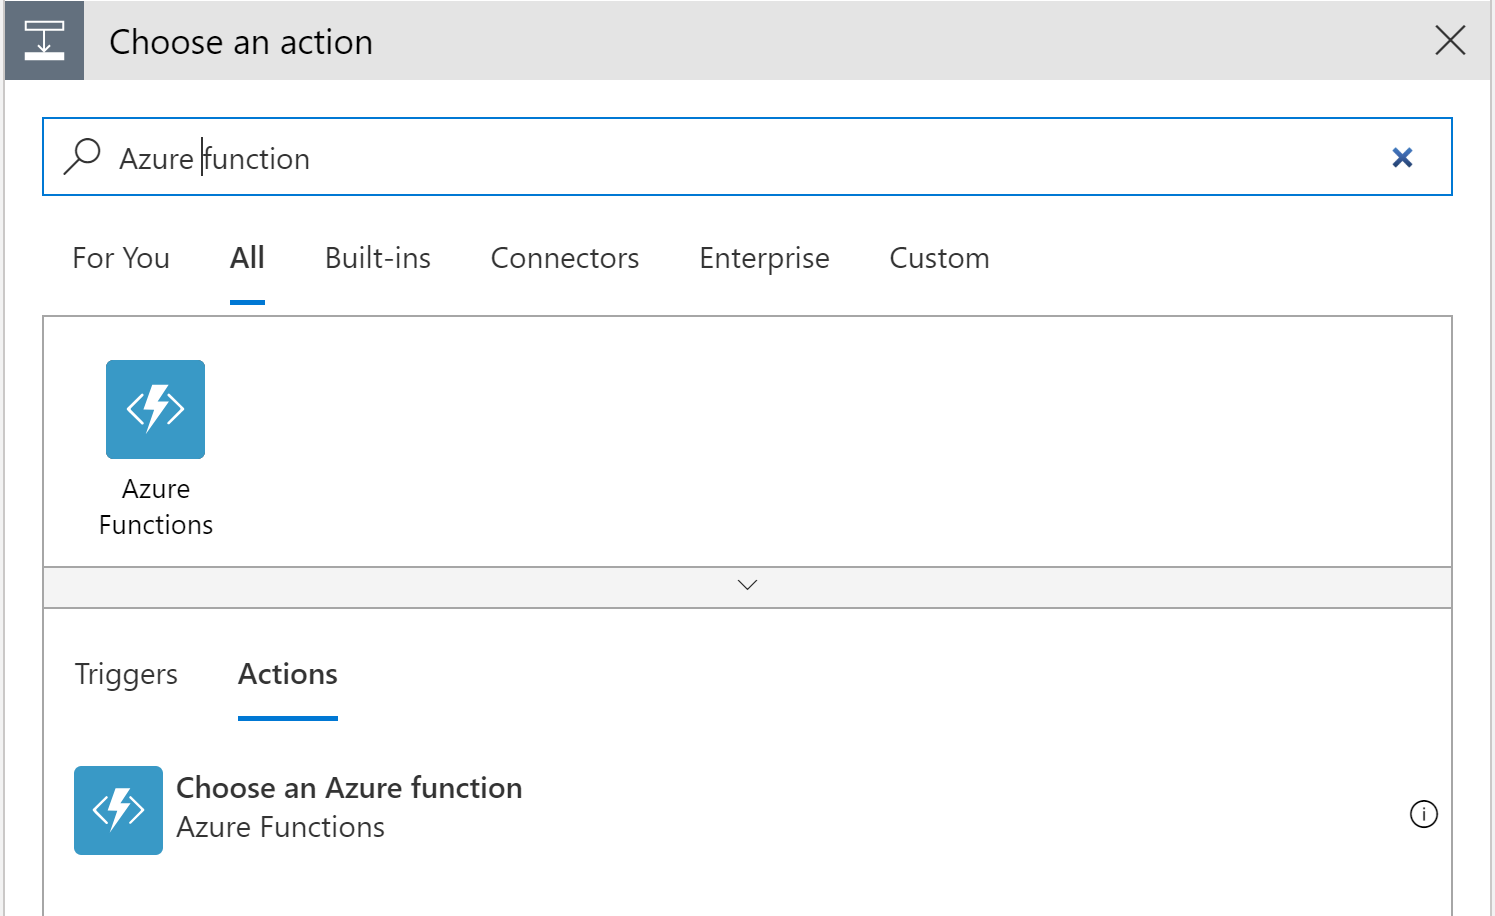
- Add another Azure Functions action after Parse JSON and select Choose an Azure function. Select the Azure function app called NotificationFunctionAppBook and SMSAndEmailFunction, which were created earlier:
- Click on the Request Body text area and fill it with code listing shown here. This is done to convert the data into JSON before sending it to the Azure function:
{
"alldata" :
}
- Place the cursor after : in the preceding code and click on Add dynamic content | Body from the previous activity:

- Save the entire logic app. The entire logic app should look like this:
