
6. Building Stronger Models
In this chapter we discuss a number of techniques that you can employ to make your Mindstorms creations stronger and less likely to break apart. Let’s face it, LEGO creations are mainly held together by friction, so anything you can do to strengthen your models will help out in the long run. This is especially true in the case of robotics, where the model can be expected to move a great deal more than a static model would. This chapter provides tips on making stronger Mindstorms models.
Use Multiple Pegs
The point of using multiple pegs is obvious: the more pins that connect two beams, the more likely those beams will stick together. Make sure you use the correct pegs, too. Avoid the ones without the friction tabs because they’re made to help things move, rather than stay put. You can spot them by the different color. The 2M pegs without friction tabs are usually gray, whereas the 3M pegs without friction tabs are beige. The ones you want are the standard black 2M connector pegs and the blue 3M pegs. They sport friction tabs that help keep the connection from moving around, making your model sturdier.
Connect Each Part to as Many Others as Possible
Similarly, the more parts each element connects to, the stronger the overall model will be. Think of the classic masonry brick pattern (see Figure 6.1) where each brick rests on two others. It’s the same principle.
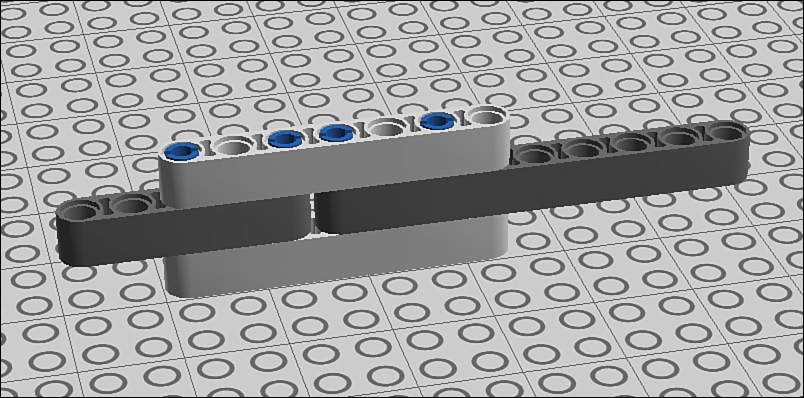
Figure 6.1. Securing beams with more beams!
Reinforce Corners with Angle Beams
Angle beams, especially ones with a 90-degree bend, are great for reinforcing the corners of squares (see Figure 6.2). Right off the bat, you’re securing it from two different angles, which adds lots of tensile strength. If you flip the L sideways so that one end is sticking up or down, you can secure with vertical beams for added stability.

Figure 6.2. Angle beams make for strong corners!
Use Combination Parts and Cross Blocks
Combination parts resemble multiple parts that have been merged into one. Take the 3M beam with pegs, for example (see Figure 6.3). At first glance it’s the same as a 3M beam with two 3M pegs sticking out of it, but actually it’s a lot cooler than that. This beam has holes running perpendicular to the pegs, allowing you to connect to it from two different angles. Even better, it’s all fused into a single part, so untoward movement is minimized.

Figure 6.3. The 3M beam with pegs is a much more solid connector than the 3M beam with pegs added to it.
Cross blocks work much the same way. For example, the double cross block (see Figure 6.4) has holes pierced in two axes so it can connect to beams to the side as well as above and below.

Figure 6.4. The double cross block features two cross holes on top, with a technic hole perpendicular.
Attach Cross Axles
Cross axles are your friends. They move your robot when you want them to but keep it still when you need them to. The advantage of an axle is that it can slide through the holes in multiple parts, tying them all together. You can see an example of this in Figure 6.5, where beams are connected with cross axles and bushing separators. If the axles connect to cross holes, rotational movement is restricted because the whole assembly would have to turn.

Figure 6.5. Cross axles, seen here with bushing separators, secure three beams.
Combine Technic and System Bricks
Wait, what? It’s true! You can combine Technic bricks—which are like regular old LEGO bricks pierced with Technic holes—with System bricks. Technic bricks and beams were invented because the studs and tubes connection method for system bricks wasn’t strong enough for robots. Technic’s pegs and holes method, by contrast, offers a much stronger bond, enabling a robot to move without tearing itself apart. Even better, combining the Technic elements with System bricks creates a much stronger bond. In fact, LEGO’s larger model kits often use both types for just that reason.
For example, take the construct shown in Figure 6.6. It consists of a pair of Technic bricks sandwiching two LEGO plates (the thinnest sort of brick, equal to a third the thickness of a regular brick) and secured with a pair of beams. This construct uses both pegs and studs to stay together! This is a super-strong combination that will help prevent your robots from falling apart.
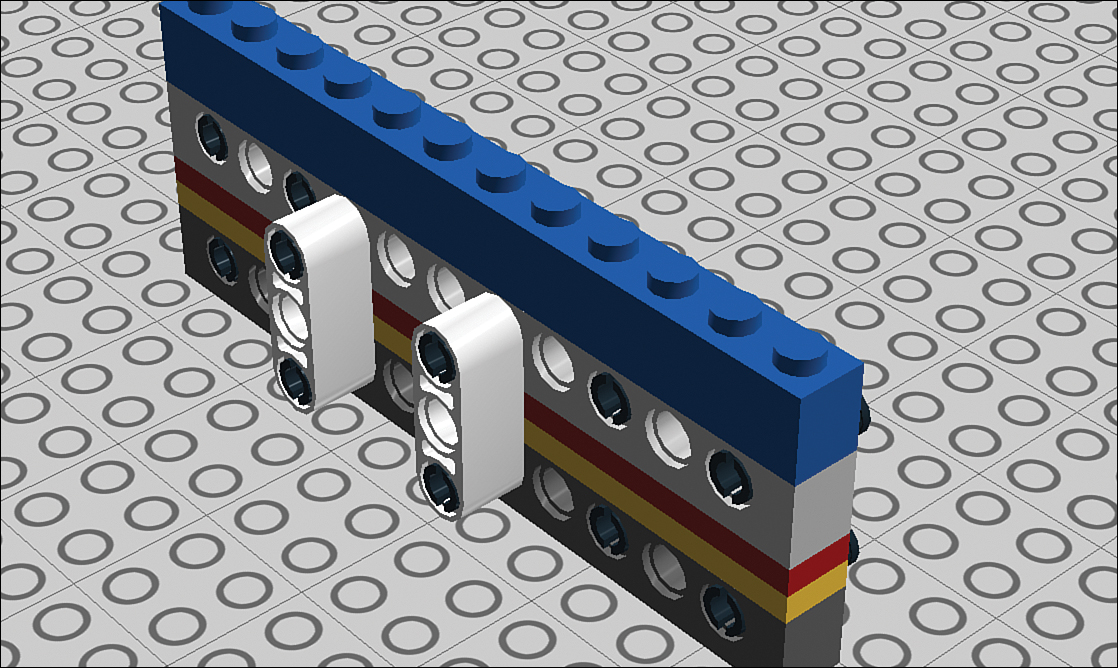
Figure 6.6. Stacking Technic bricks with System plates and bricks makes for a strong model.
In LEGO parlance, a System brick is the classic LEGO brick with the studs on top.
You won’t find Technic bricks in your Mindstorms set, so you’ll have to buy them online or harvest them from other LEGO sets.
Tip: Finding Technic Bricks
Peeron.com, an online LEGO parts catalog, provides links to online stores that will sell you the parts you need to make the robot of your dreams. The following are some examples of technic bricks:
• http://peeron.com/inv/parts/3702
• http://peeron.com/inv/parts/2730
• http://peeron.com/inv/parts/3895
Use Chassis Bricks
LEGO has a passel of larger bricks (see Figure 6.7) used as chassis structures for the inside of robots. They were designed to make robots stronger, so you might as well make use of them to do just that!

Figure 6.7. These chassis elements are just the ticket for reinforcing your model.
Note: More on Chassis Structures
Think of chassis structures this way: The chassis bricks are like a number of beams fused together. If you built the same shape with beams and pegs, it would give a little. Because this is just one piece of plastic, it doesn’t flex or break apart as readily. This makes for a stronger robot!
Intriguingly, some of LEGO’s less obvious product lines have something to offer. The Bionicle robots often sport a chassis of their own (see Figure 6.8), and most of the parts are Technic-compatible (meaning they will work with your Mindstorms set). Here are links to a small selection of these parts:
• http://peeron.com/inv/parts/64178
• http://peeron.com/inv/parts/32308
• http://peeron.com/inv/parts/64179
• http://peeron.com/inv/parts/53545
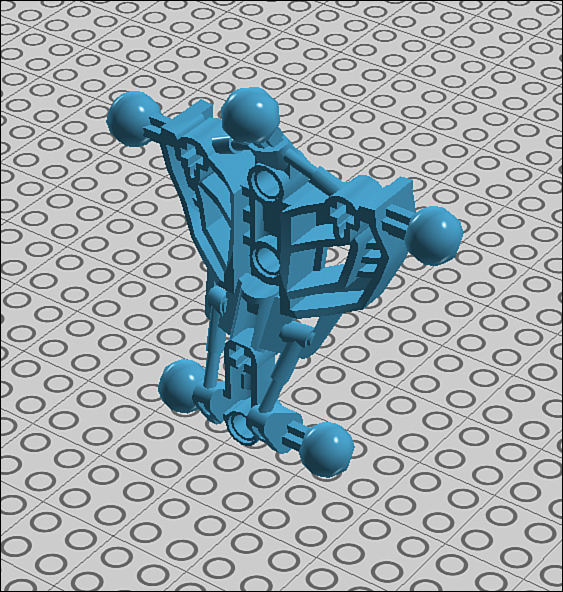
Figure 6.8. This Bionicle torso is peppered with Technic and cross holes.
The Next Chapter
Next, we tackle those most intriguing and complicated parts in the Mindstorms box, second only to the NXT brick itself. I’m talking about the various sensors that come with the set, as well as those that you can purchase from other companies.