
5. Project: Clothesline Cruiser
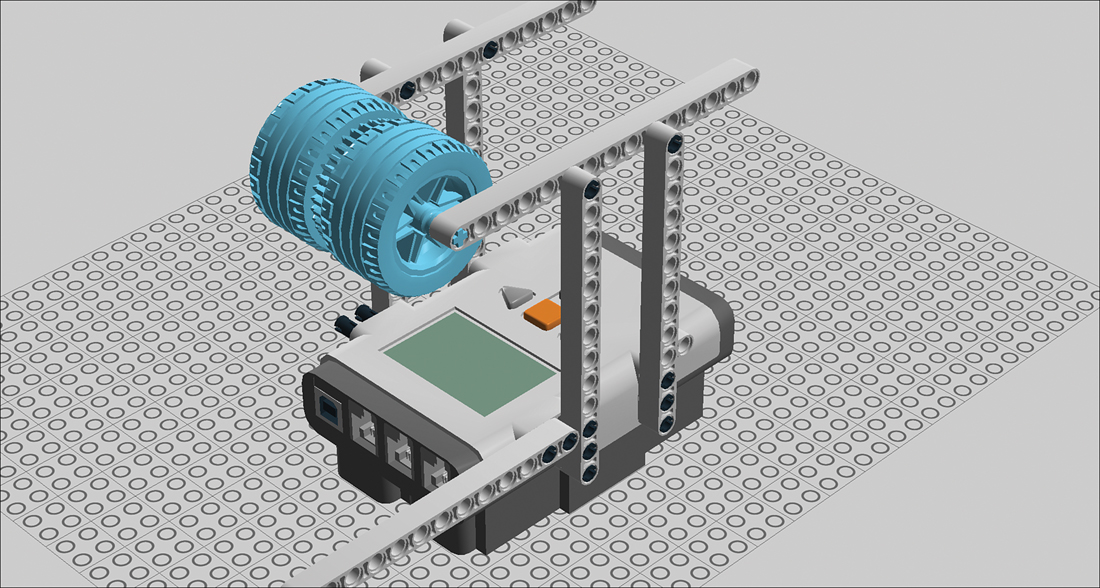
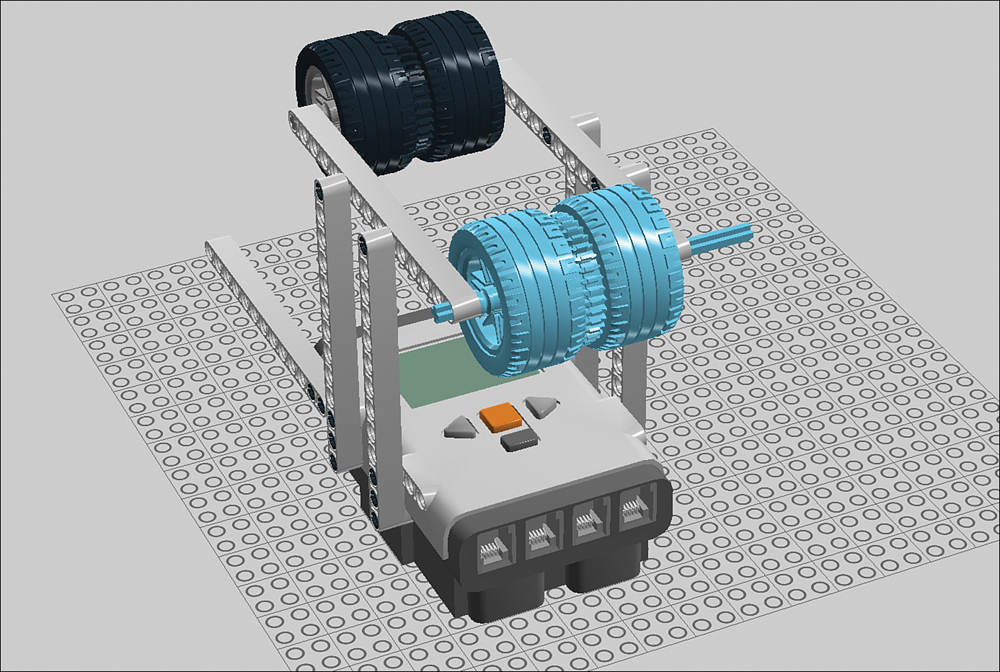
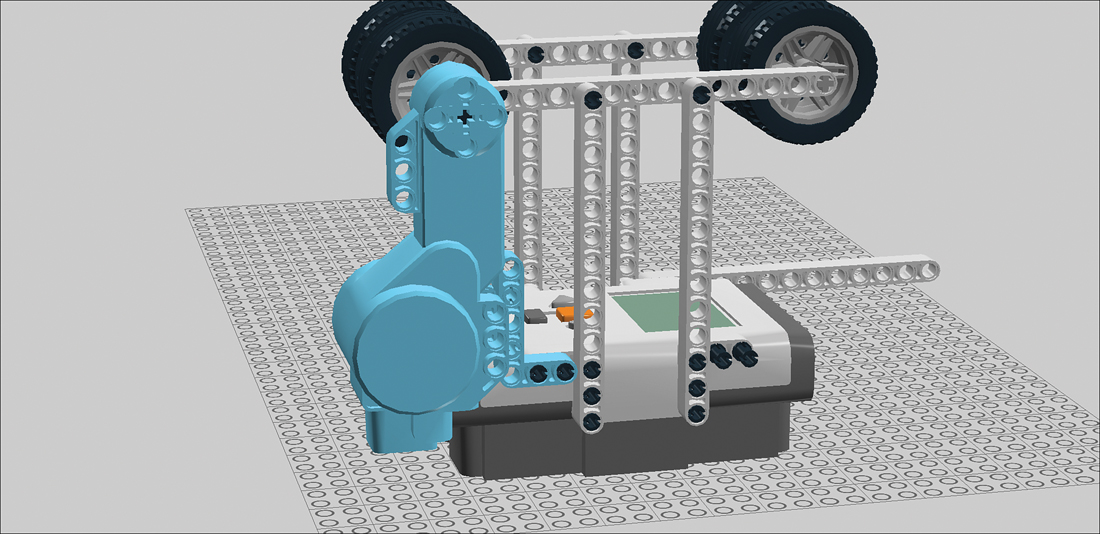
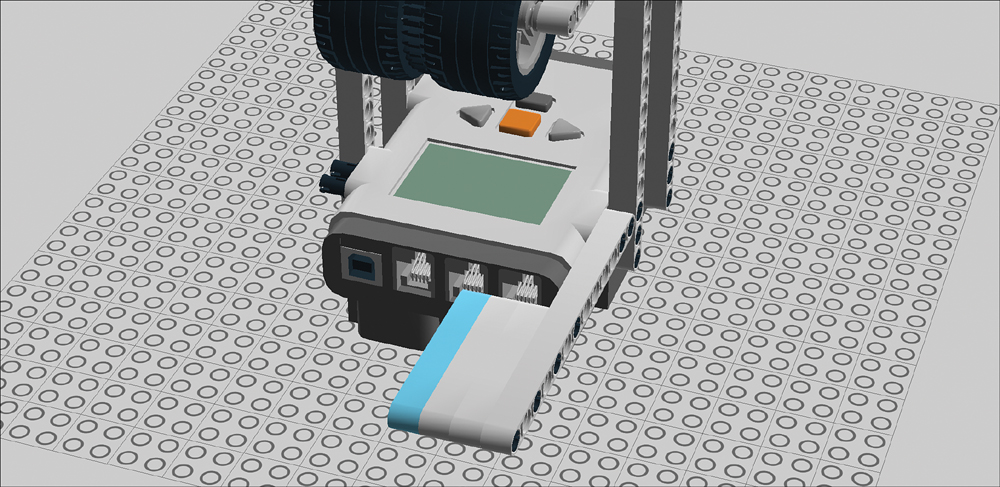
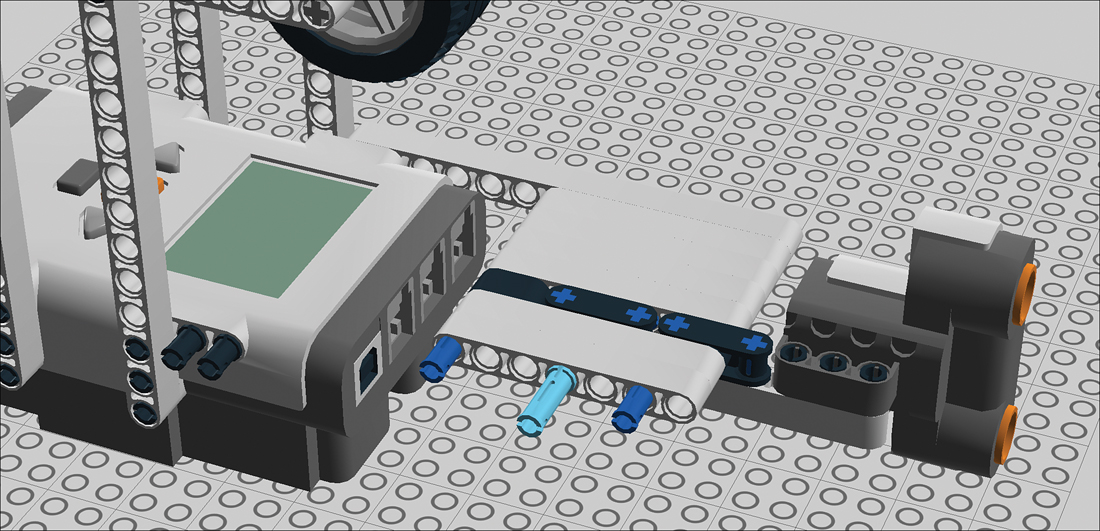
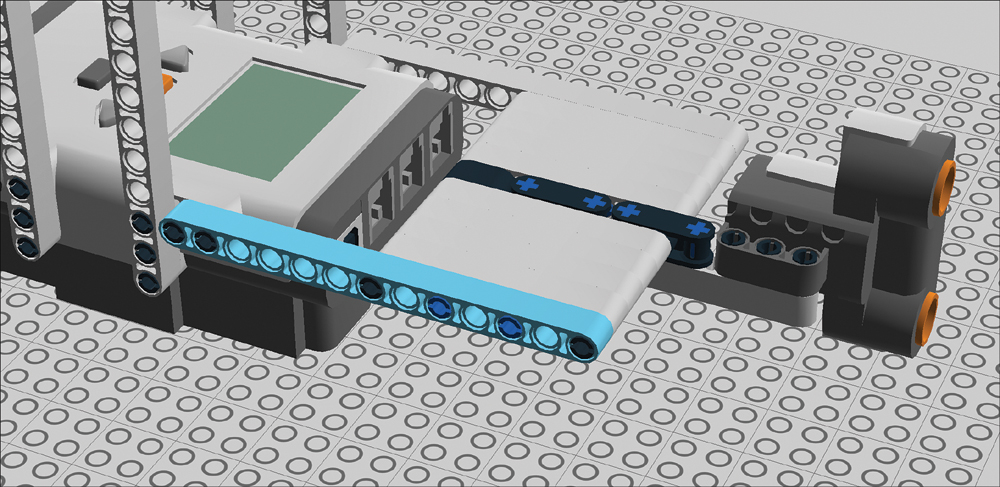
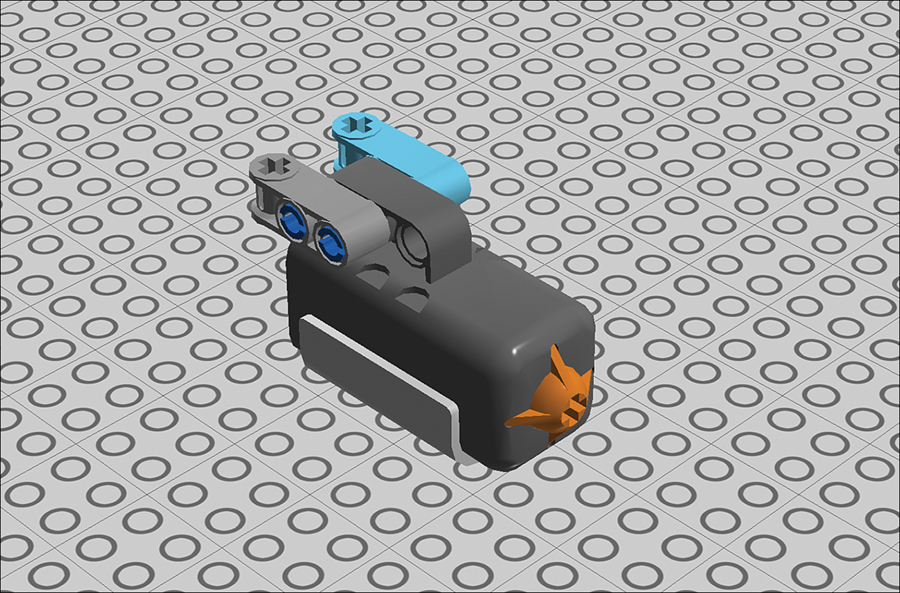
Now that we’ve delved into Mindstorms and its programming environment, let’s expand our skills by building and programming an even more complicated robot! The Clothesline Cruiser is a robot that rolls along a clothesline, transporting action figures from one side of the room to the other (see Figure 5.1). One new twist we’re exploring with this robot is its interaction with sensors. It has two:
• An ultrasonic sensor that sees with sound, detecting objects in its vicinity
• A touch sensor that sends a signal to the NXT brick when its button is pressed

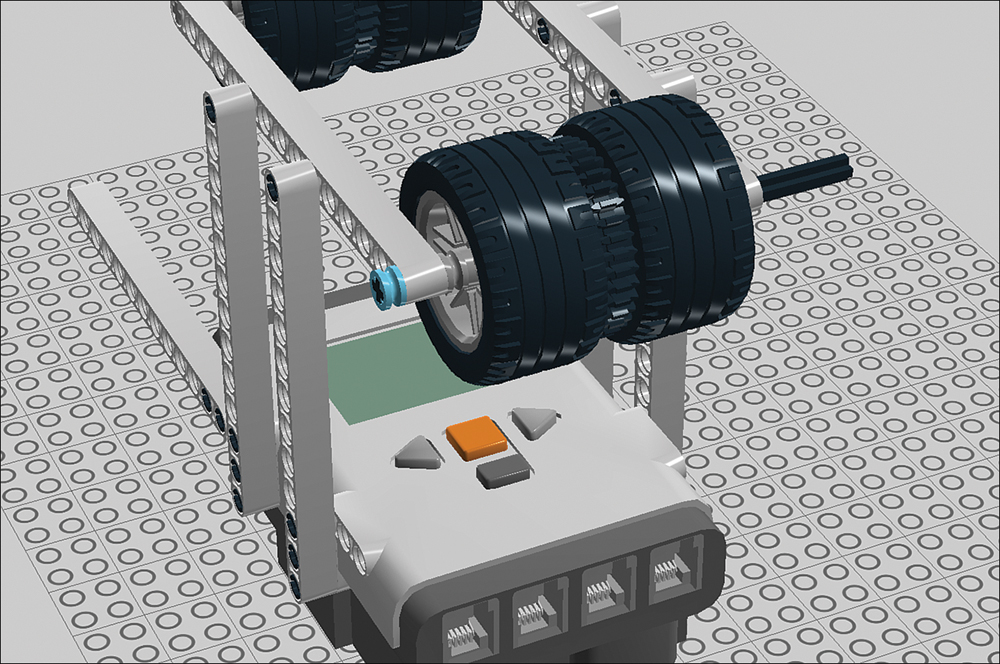
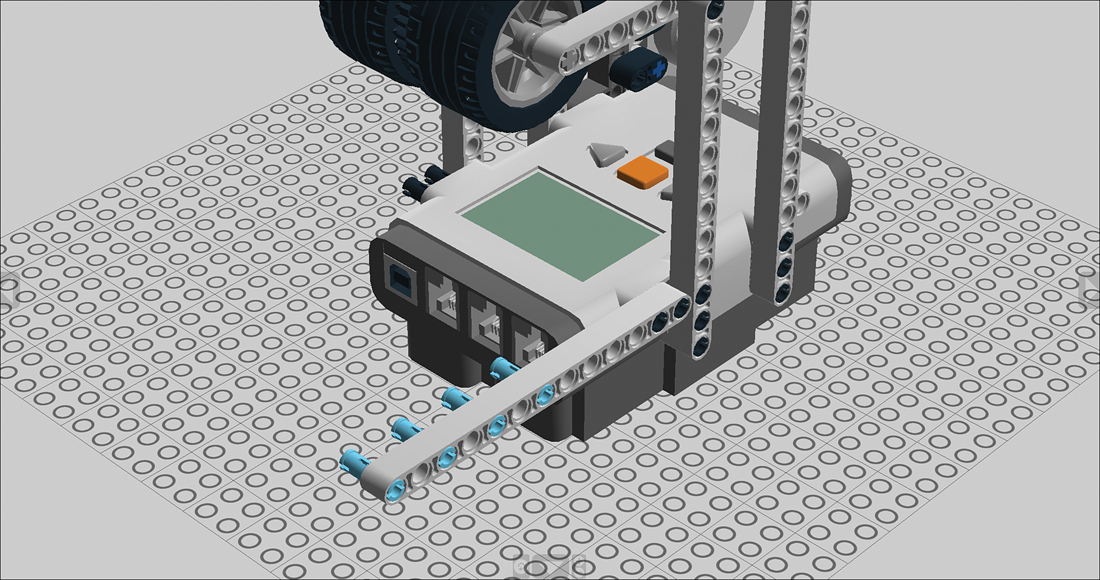
Figure 5.1. The Clothesline Cruiser is a robot that travels along a rope!
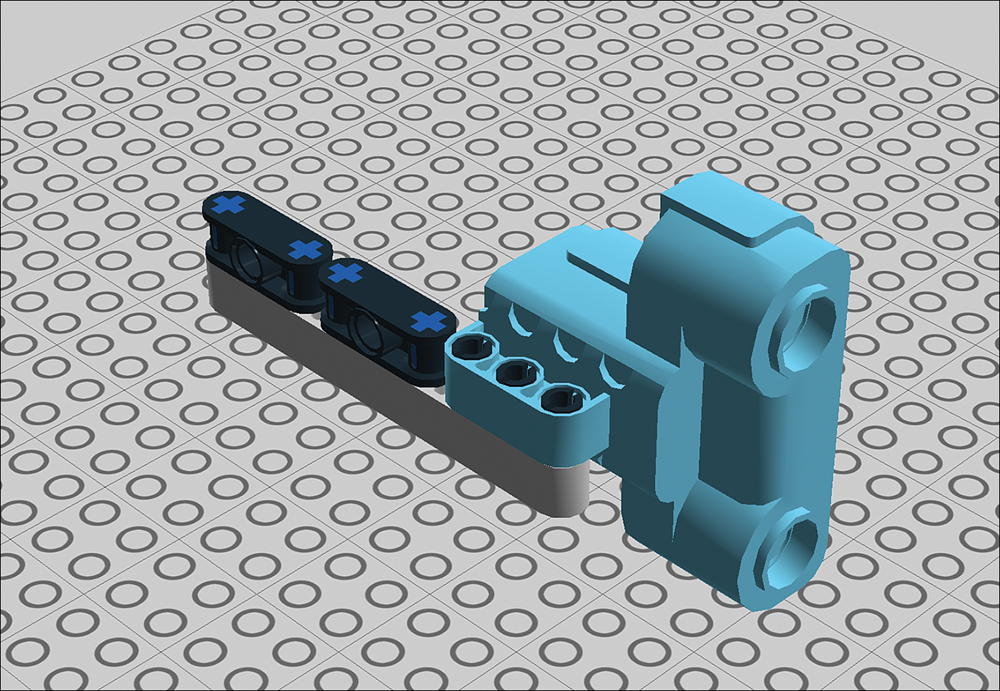
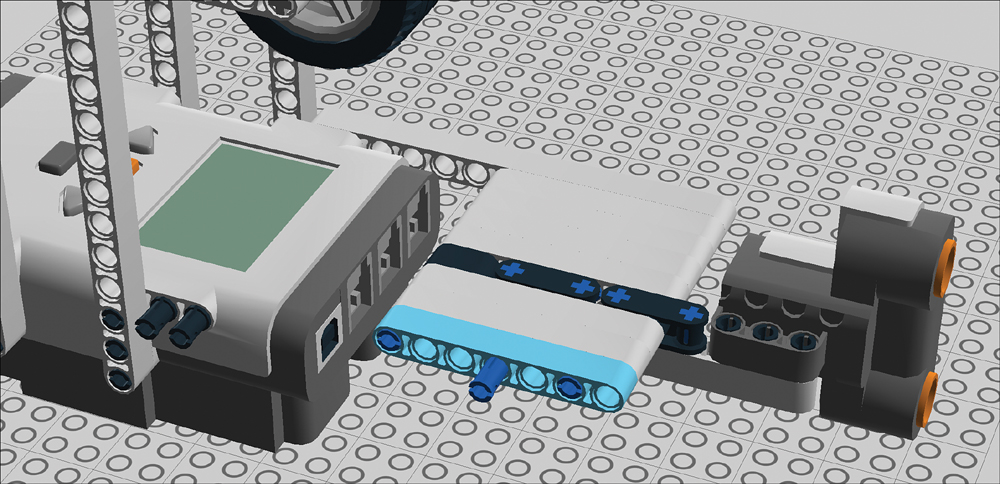
Parts You Need
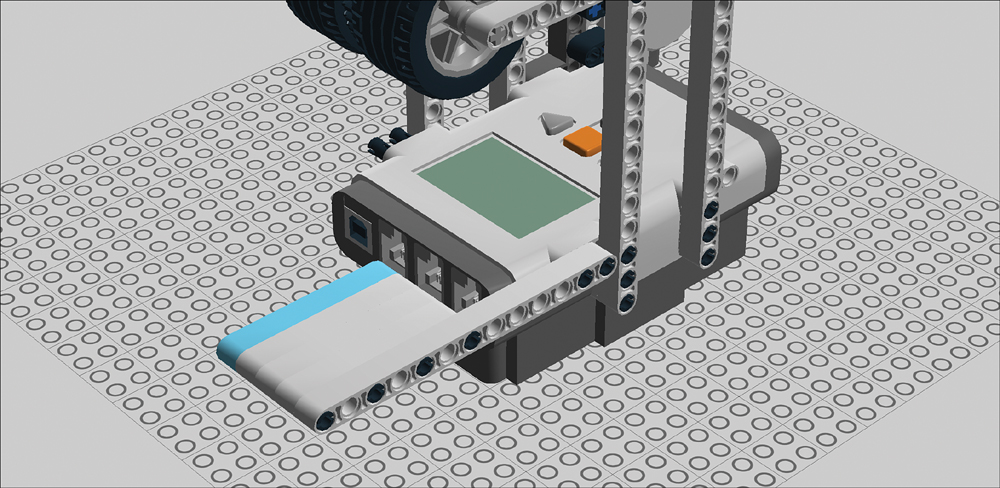
The Cruiser is a bit more complicated than the Backscratcher Bot we built in Chapter 2, “Unboxing the LEGO Mindstorms NXT Set.” Gather together the parts shown in Figure 5.2 and follow the steps to build your robot. When you’re done, you’ll program it. Let’s get started!
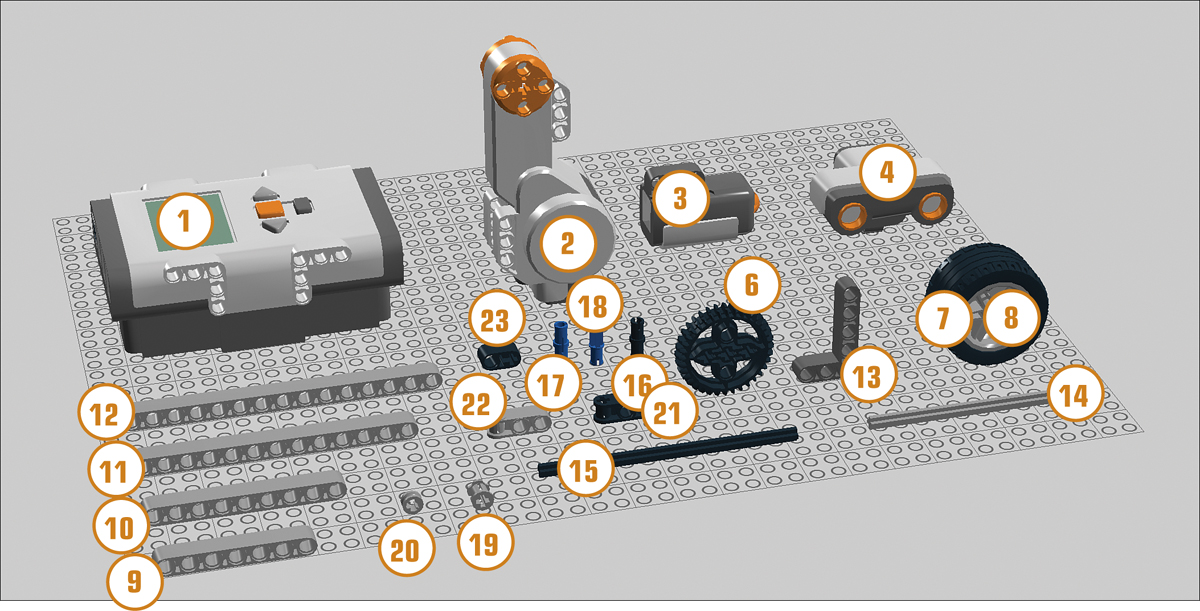
Figure 5.2. These are the parts you need to build the Clothesline Cruiser.
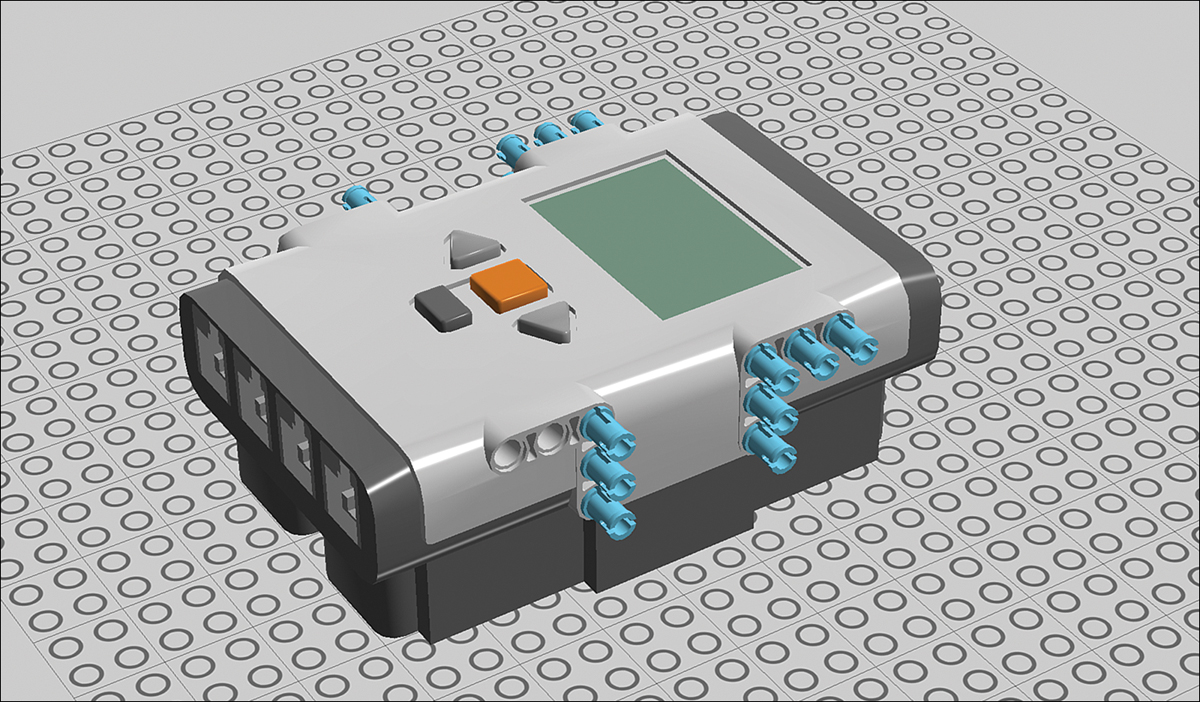
1. 1 NXT brick
2. 1 interactive servo motor
3. 1 touch sensor
4. 1 ultrasonic sensor
5. 3 wires (not shown in Figure 5.2)
6. 2 36-tooth gears
7. 4 rims
8. 4 tires
9. 8 7M beams
10. 1 9M beam
11. 6 13M beams
12. 2 15M beams
13. 1 angle beam 3x5
14. 1 9M cross axle
15. 1 12M cross axle
16. 33 connector pegs (black)
17. 15 3M connector pegs (blue)
18. 9 cross connector pegs (blue)
19. 2 bushings
20. 3 half bushings
21. 2 double cross blocks (black)
22. 2 cross blocks (gray)
23. 3 2M beams with cross hole
Step-by-Step Instructions
Let’s begin by assembling the Cruiser model.
Tip: Look for the Blue Pieces
Remember, as I add new pieces to a model, I show them in the associated figure in blue.
Follow these steps to build the robot:
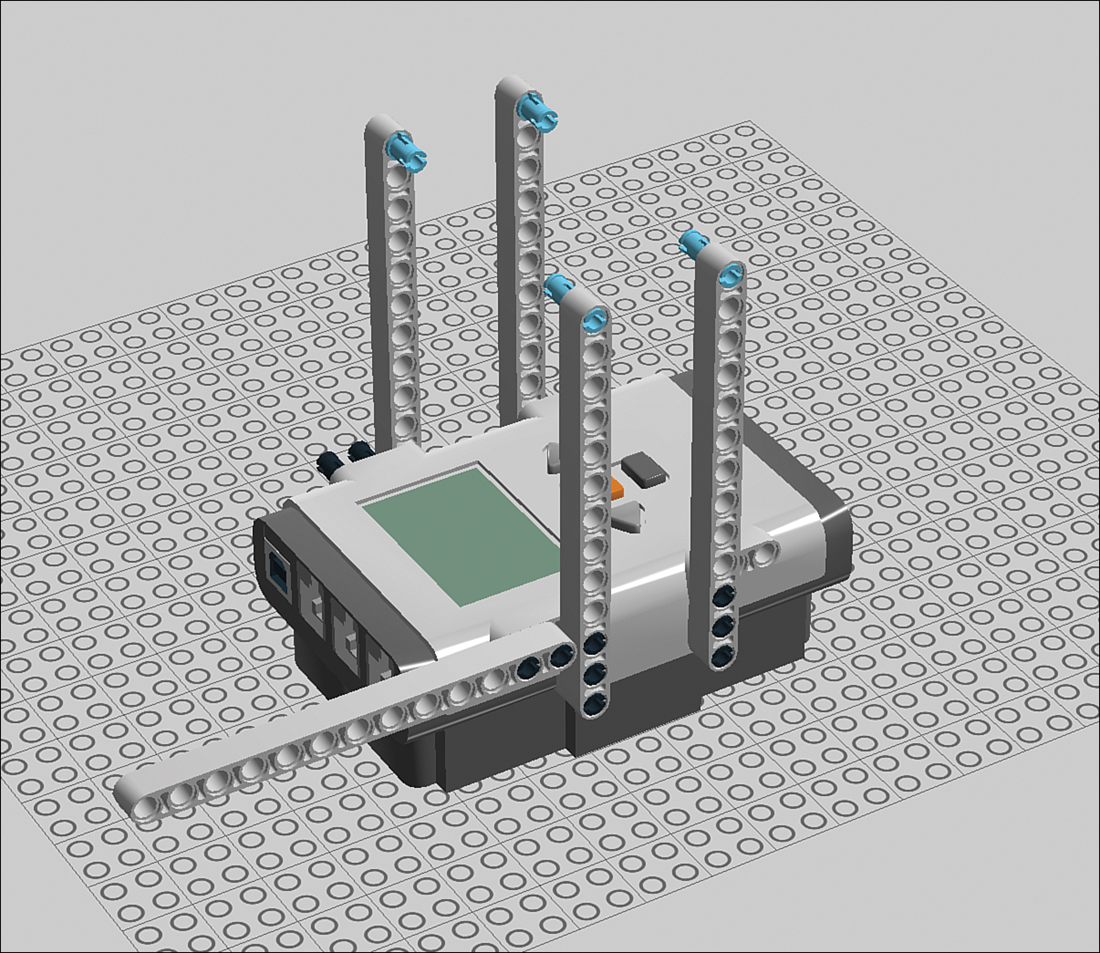
STEP 1 Add connector pegs to the NXT brick, eight on each side.
STEP 2 Add five 13M beams as you see here. Note that the NXT is flipped as compared with how it appears in step 1.

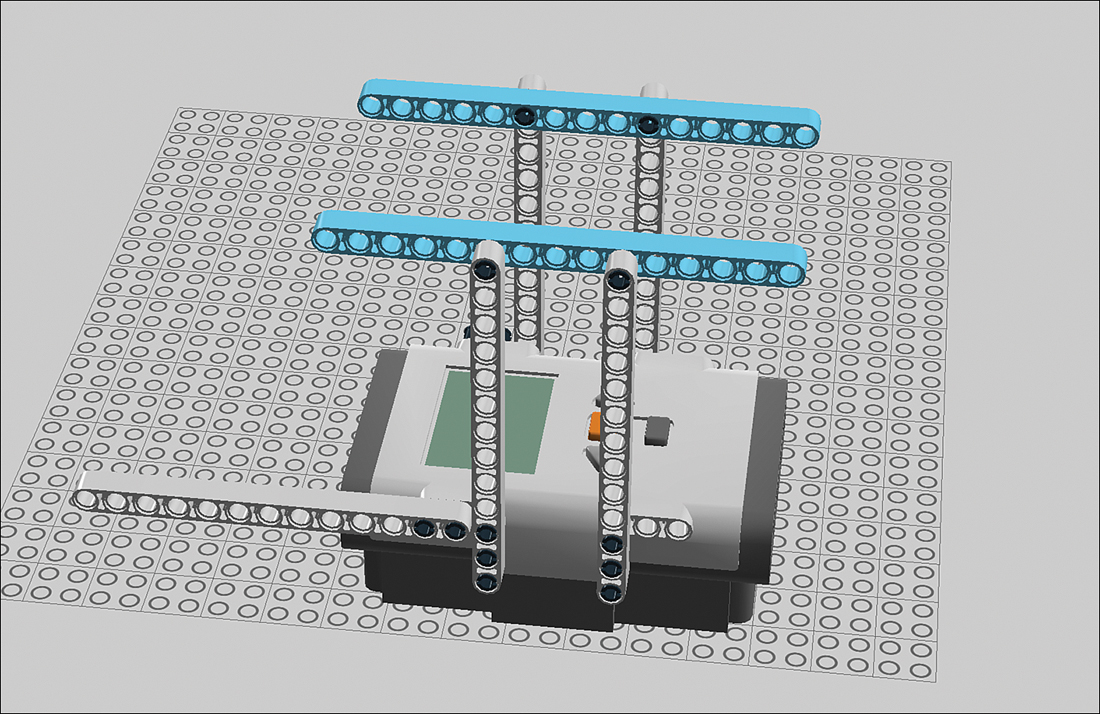
STEP 3 Insert connector pegs on the vertical struts.
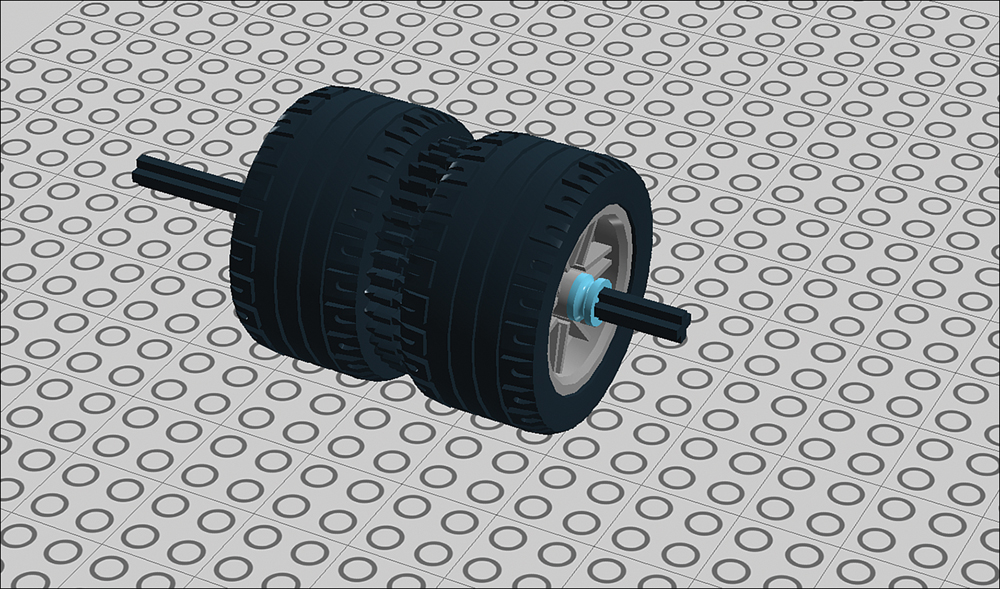
STEP 4 Add two 15M beams to the struts. These beams will support the wheels that enable robot to move along the clothesline.
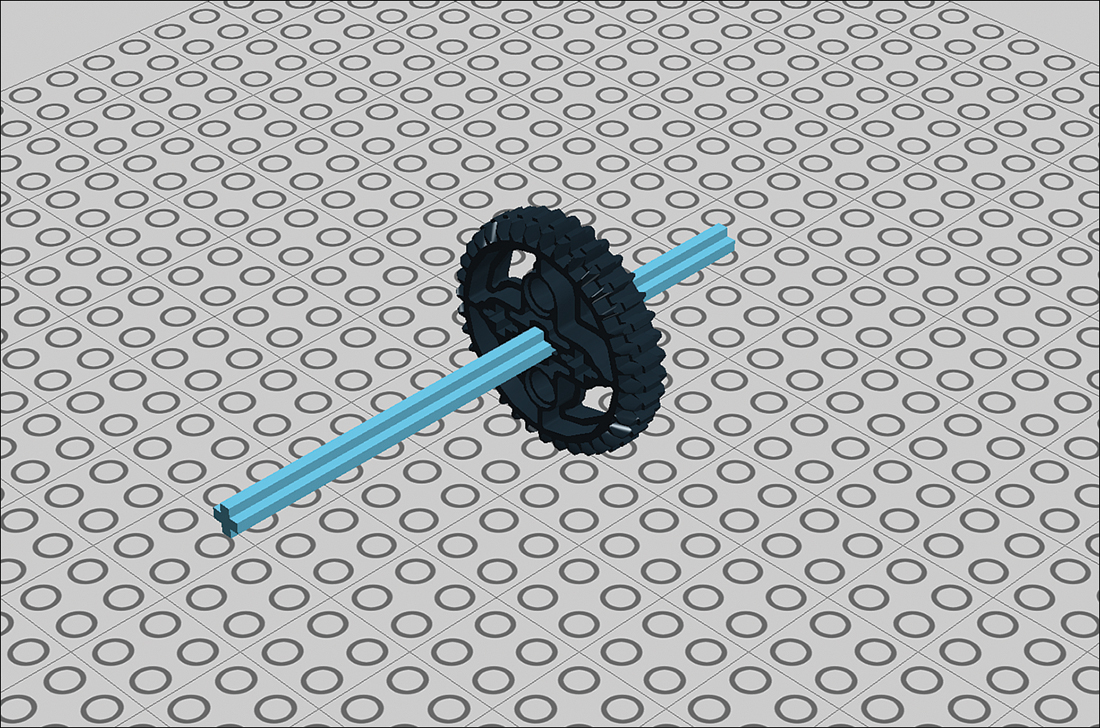
STEP 5 Begin the first wheel assembly by adding a 10M cross axle to a 36-tooth gear. Don’t worry too much about getting the axle’s placement right; you can adjust it later. The gear doesn’t actually work as a gear; it just adds friction to help pull it along the clothesline.
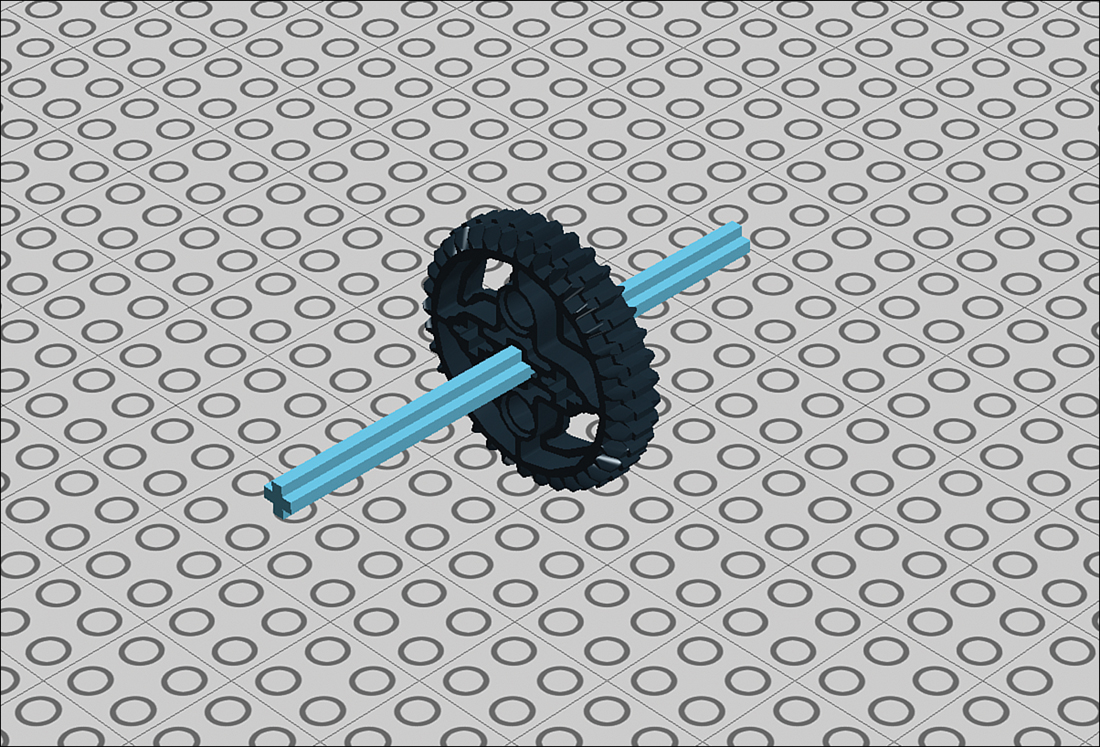
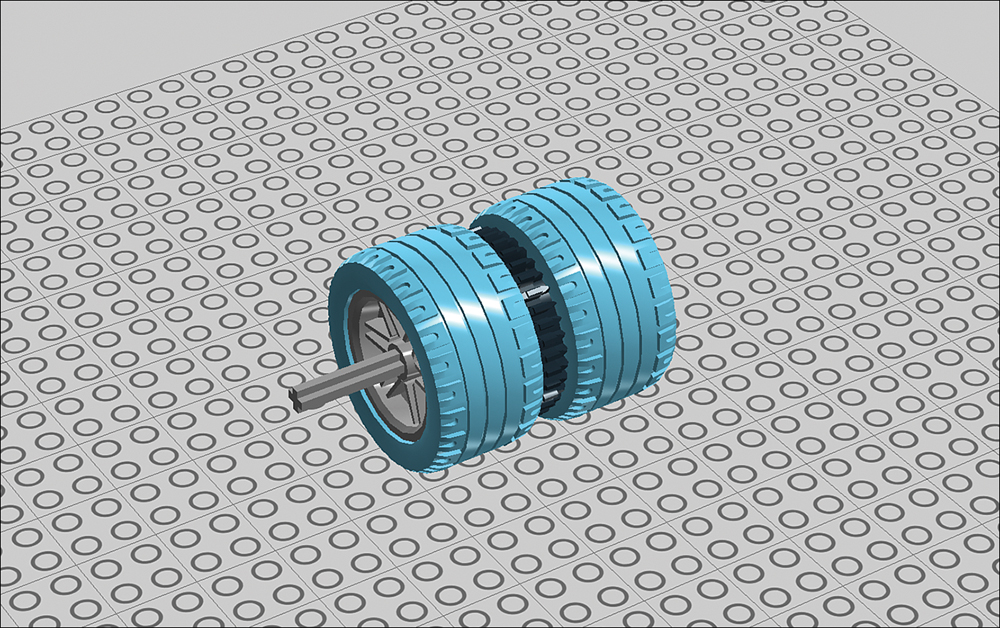
STEP 6 Add rims to the cross axle.

STEP 7 Now add the tires to the rims. They don’t really work as tires; they’re added to keep the 36-tooth gear positioned on the rope.
STEP 8 Secure one end with a bushing.
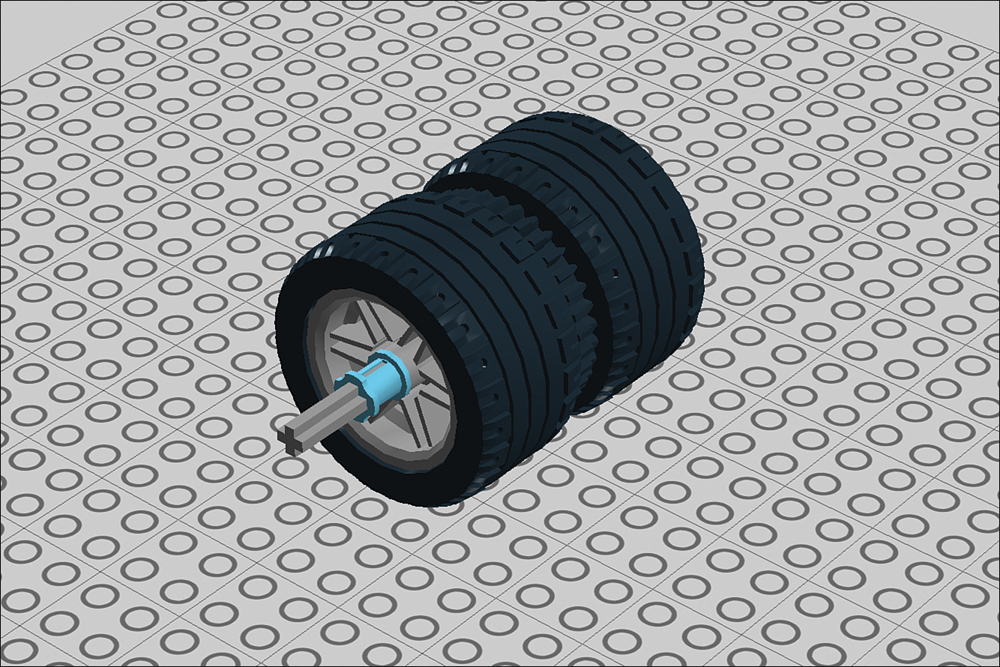
STEP 9 Use a half bushing on the other side. The reason the wheel assembly is positioned off-center is so it balances correctly.

STEP 10 Add the wheel assembly to the main construct.
STEP 11 Add a 12M cross axle to another 36-tooth gear. This is the second wheel assembly.
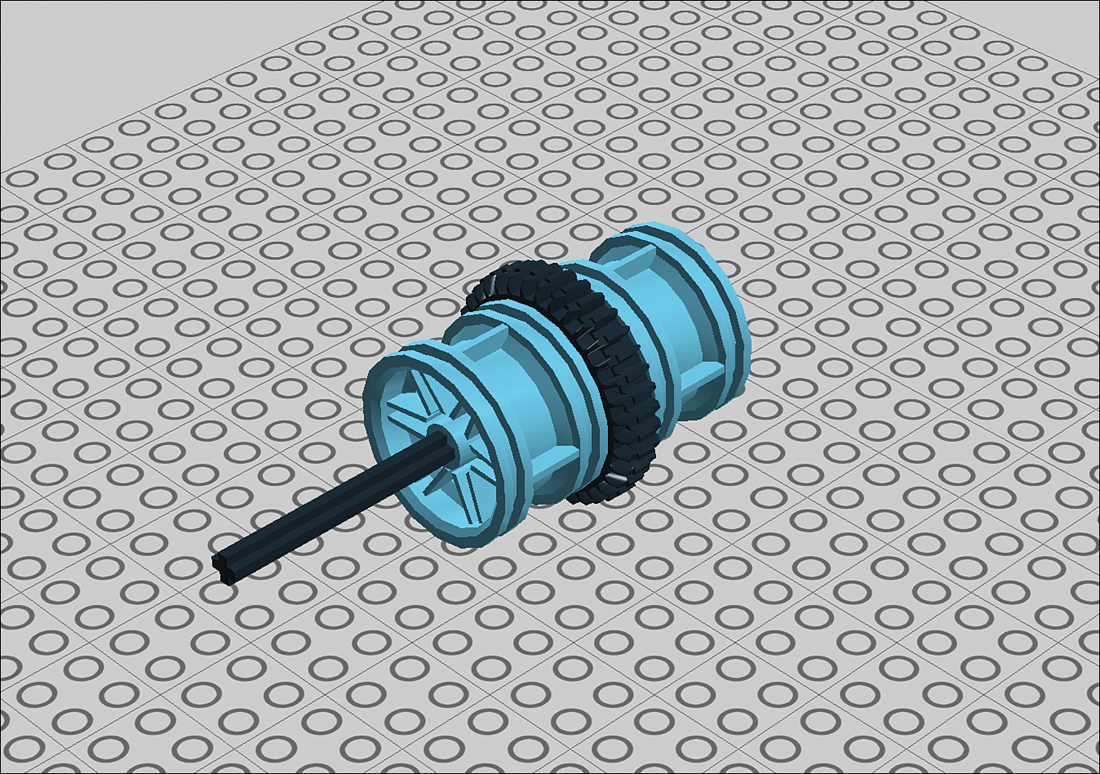
STEP 13 Put the tires on the rims.

STEP 14 Secure the longer end with a bushing.

STEP 15 Throw a half bushing on the shorter end.
STEP 16 Add the wheel assembly to the robot, keeping the longer length of cross axle to the right as you see here.
STEP 17 Add a half bushing to the short end of the cross axle.
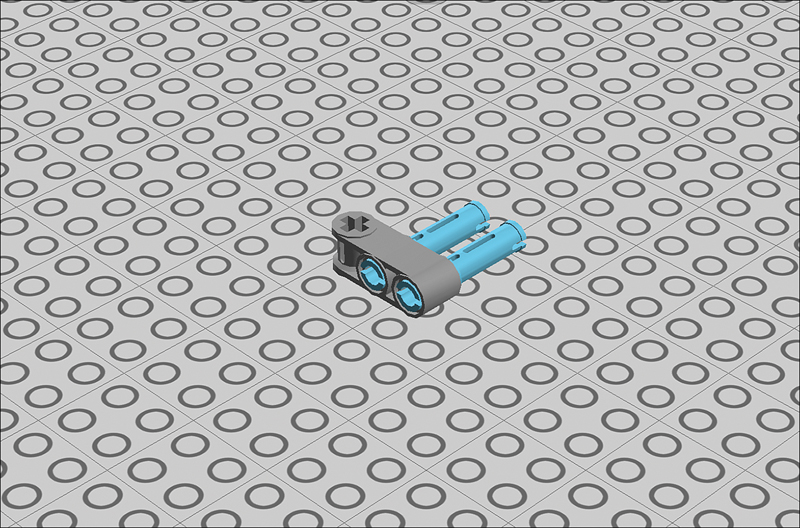
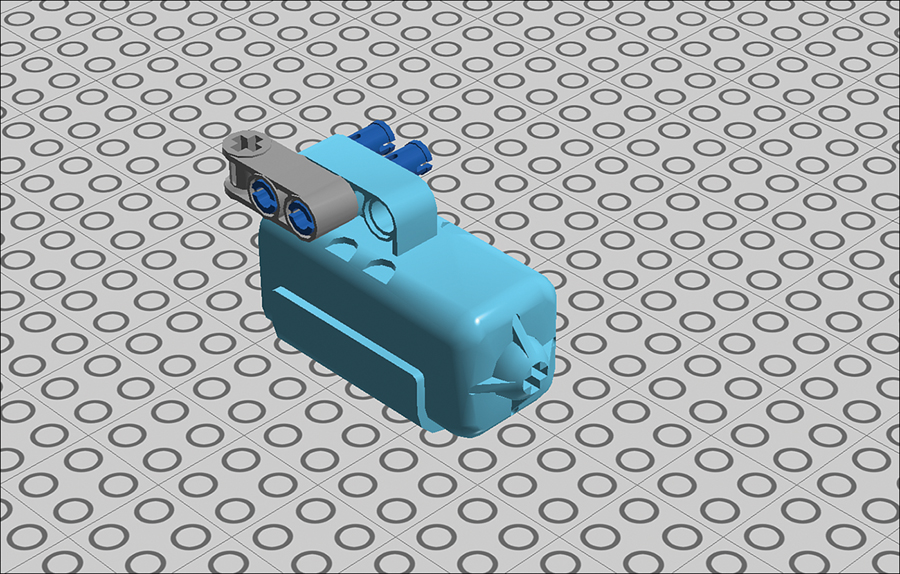
STEP 18 Add a connector peg and a cross connector to a motor.
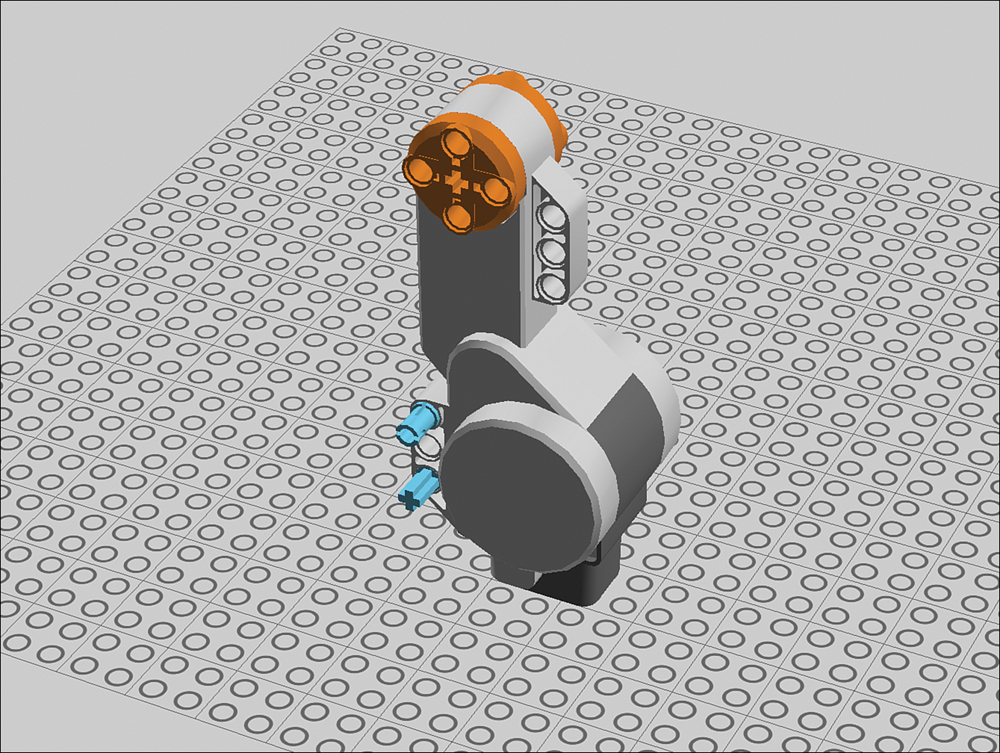
STEP 19 Add two 2M beams. One goes on the cross connector and is flipped so the peg goes through the cross hole.
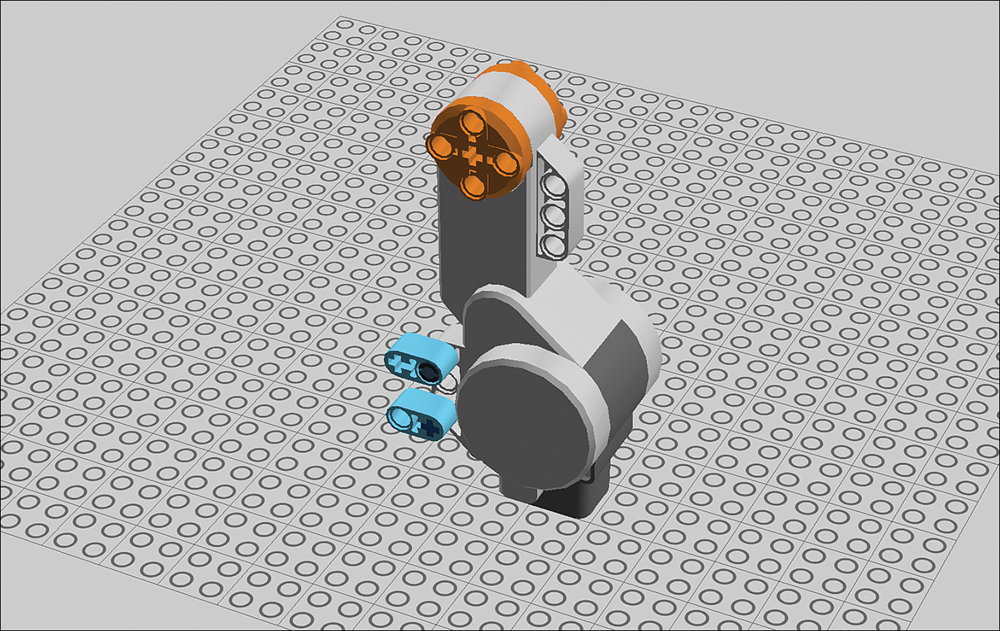
STEP 20 Add a connector peg and a cross connector to the beams.

STEP 21 Add an angle beam to the pegs.

STEP 22 Add connector pegs to the NXT brick. You connect the motor to these pegs.

STEP 23 Add the motor assembly to the pegs you just placed, making sure to connect the motor’s hub to the cross axle.
STEP 24 Add four connector pegs to the beam jutting off the front of the robot.
STEP 25 Connect a 7M beam to the pegs. This is the first of several such beams, which comprise the Cruiser’s platform.
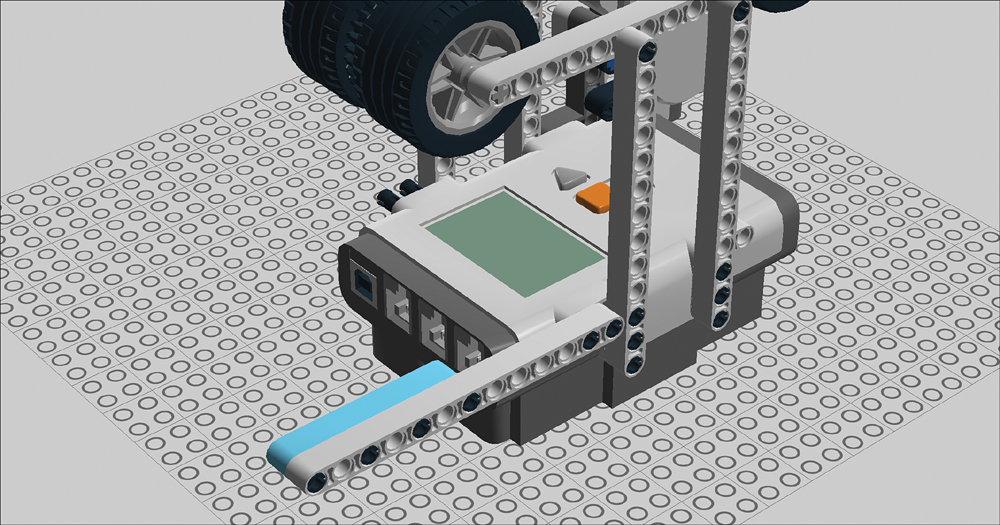
STEP 26 Add three 3M pegs.
STEP 27 Place another 7M beam on the 3M pegs.
STEP 28 And another 7M beam. The platform is starting to take shape!
STEP 29 Add two 3M pegs, inserting the long end as you see here.
STEP 30 Add another 7M beam. The platform is halfway done.
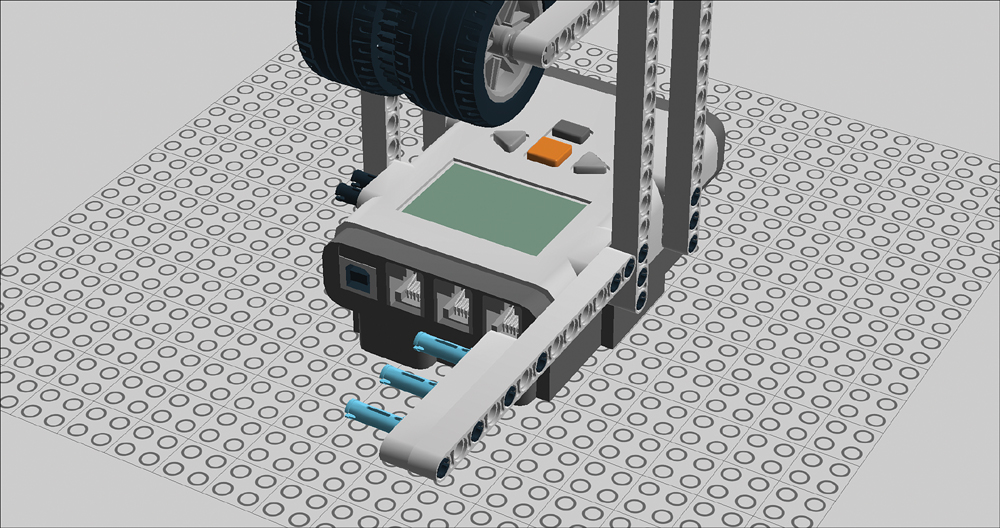
STEP 31 Place a cross connector and three 3M pegs.
STEP 32 Grab a 9M beam and drop in 4 cross connectors and 3 connector pegs. This is the beginning of the assembly that will support the ultrasonic sensor.

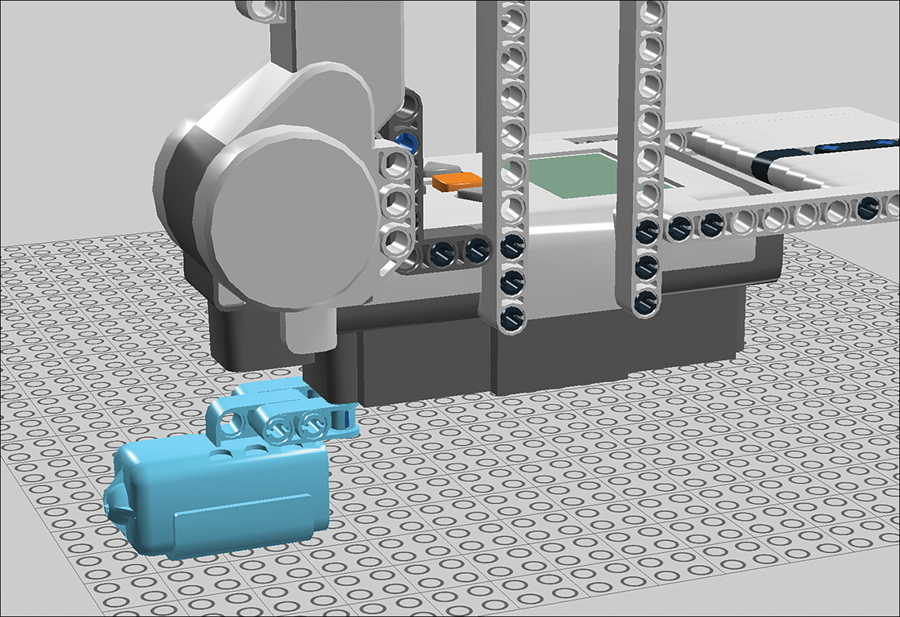
STEP 33 Add two double cross blocks. You’ll use the free holes on these elements to connect the ultrasonic sensor to the platform.

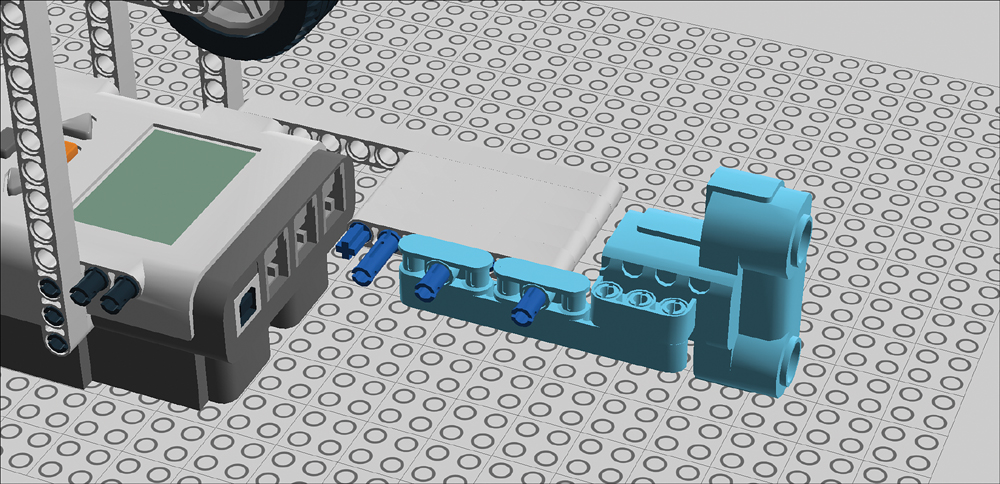
STEP 34 Place the ultrasonic sensor.
STEP 35 Add the sensor assembly you just created to the robot as you see here.
STEP 36 Add a 2M beam.
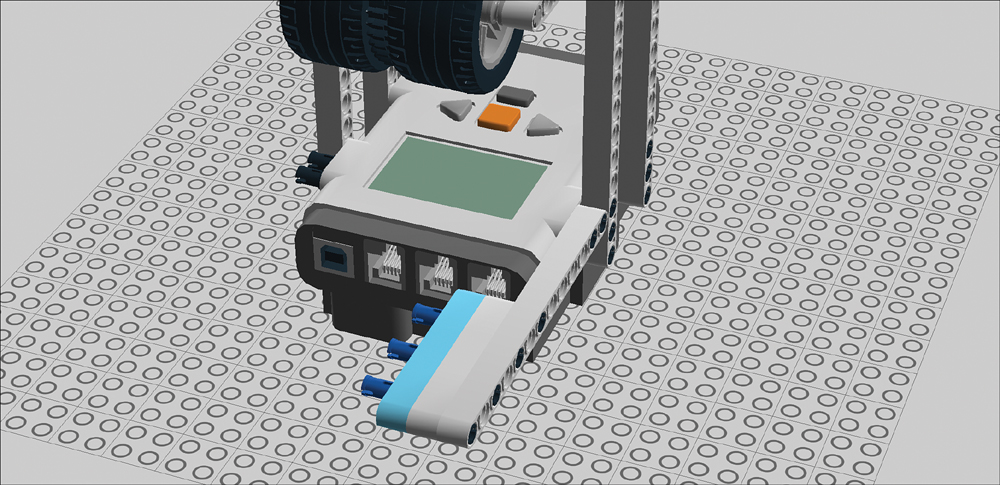
STEP 37 Thought we were done with the 7M beams? Think again! We begin the second half of the platform. Insert the short ends of two 3M connectors. These will support the second half of the platform.
STEP 38 Insert the short ends of two 3M connectors. These will support the second half of the platform.

STEP 39 Add another 7M.

STEP 40 Add a 3M peg, making sure to leave the long end exposed.
STEP 42 Place two 3M pegs.
STEP 43 Add one last 7M beam! The platform is nearly complete; it just needs some reinforcement.

STEP 44 Place two of the regular black connector pegs.
STEP 45 Secure the platform with a 13M beam. We’re done with the platform!
STEP 46 Flip over the robot and place two cross connectors on the bottom.
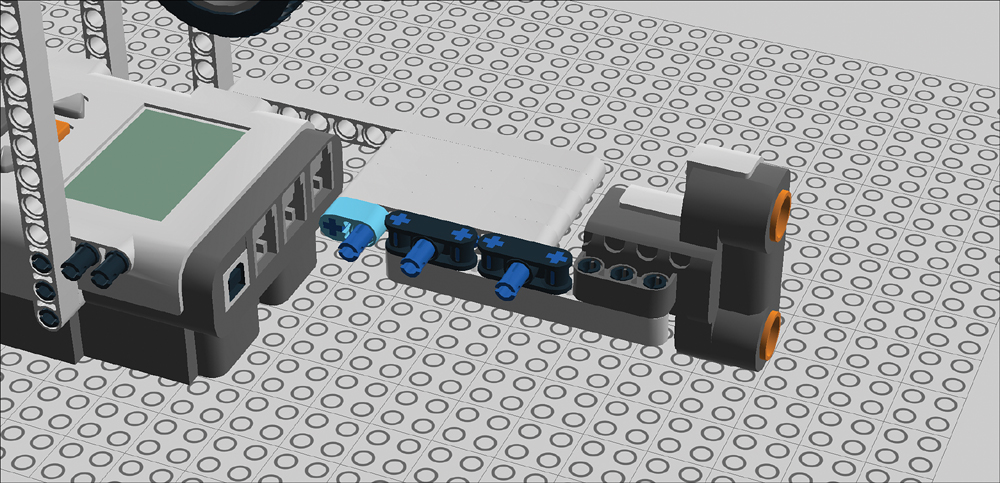
STEP 47 Add 3M pegs to a cross block.
STEP 48 Add the touch sensor.
STEP 49 Complete the assembly with a second cross block.
STEP 50 Connect the assembly to the cross connectors on the bottom of the robot.

Programming the Clothesline Cruiser
In Chapter 4, “Introduction to Programming,” you learned a bit about programming. Now it’s time to put that knowledge to the test! Follow these steps to create your program:
1. Launch the Mindstorms software and click on the button next to “Create a new program.”
2. Select the Common palette by clicking on the tab in the lower left-hand corner of your window marked with a green circle.
3. Put your mouse pointer on the Loop block in the Common palette. Hold down the mouse button and drag the loop from the palette to the pretend Mindstorms beam (called the Sequence Beam) in the work area.
4. Make sure the loop is selected, then look at the loop’s parameters in the bottom of the window. Change Control from Forever to Sensor. A bunch of sensor-specific options should appear.
5. Change “sensor type” to Ultrasonic, on Port 2. Set the distance to 5.
6. Drag a Move block out of the Common palette and drop it right on top of the loop. The Loop block should expand to make room for the Move block.
7. Select the Move block and look at the parameters at the bottom of the window. Configure the Move block to control ports A and B with a power of 100 and Unlimited duration. Direction defaults to Forward, and that’s what you want.
8. Drag another Loop block out of the palette and drop it right next to the other one. Set the Control to Sensor—Touch sensor (these are the defaults, and that’s what you want). Change Action to Bumped.
9. Drop another Move block into the second loop and configure it the same as the first Move block, except that Direction should be Reverse.
10. Pull a Stop block out of the Flow palette and drop it after the second loop. Your final program should look like the one in Figure 5.3.
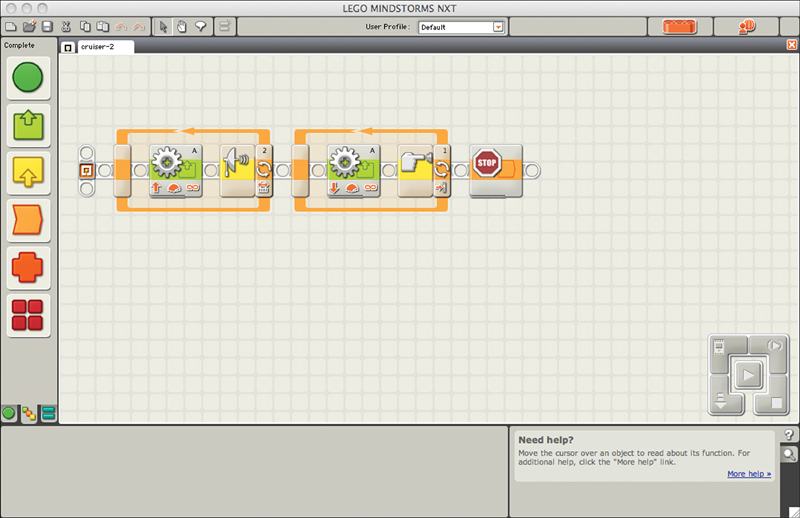
Figure 5.3. The NXT-G program showing the operation of the Cruiser.
11. You’re done! Now you need to download the program to your NXT brick by connecting the two with a USB cable, selecting the brick from the NXT menu, then clicking on “Download and Run.” See “Download the Program” in Chapter 4 if you need a refresher!
Setting Up the Clothesline
The clothesline should be fairly easy to set up. You can use any kind of clothesline or a rope of a similar diameter. It can be stretched between any two reasonably solid objects—even chairs! Try to keep the line as taut and level as you can, although the Cruiser is able to navigate a slightly tilted or bowing clothesline. The length of the rope plays into how much it bows. A 30-foot line will sag in the middle no matter how hard you try to keep it straight. It’s just physics; there’s nothing you can do about it.
Perhaps the most critical factor is to ensure that the ultrasonic sensor and touch sensor both are triggered correctly. What this means is that each end of the rope needs to have something that a sensor can detect so that it knows to stop the motor at the right position.
For the Ultrasonic, the clothesline’s end should have a relatively large and solid surface that the sensor can see. For instance, a chain fence probably wouldn’t trigger it. The touch sensor should have an object near the rope that the sensor’s button can physically impact. If you’re still puzzled, see Chapter 7, “Know Your Sensors” for more tips on sensor use.
What to Do With Your Cruiser?
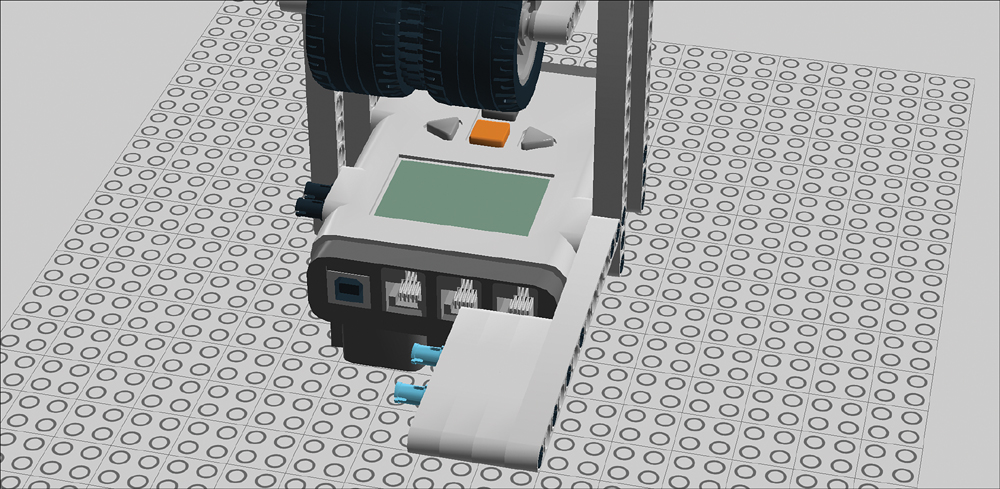
My original idea for the Cruiser was that it could be used to transport action figures (see Figure 5.4) from one side of the room to another. However, the fact that this is LEGO presents a more intriguing possibility. What if you used the Cruiser as a vehicle for LEGO minifigures?

Figure 5.4. A simple elastic band allows you to transport action figures on the Cruiser’s platform.
If you want to use your robot to transport LEGO minifigs, swap out one or more of the 7M beams on the platform and replace them with 8-stud Technic bricks. These have seven peg holes, so they can fit in just as easily as those pesky 7M beams yet have studs on top that hold minifigs (see Figure 5.5)!
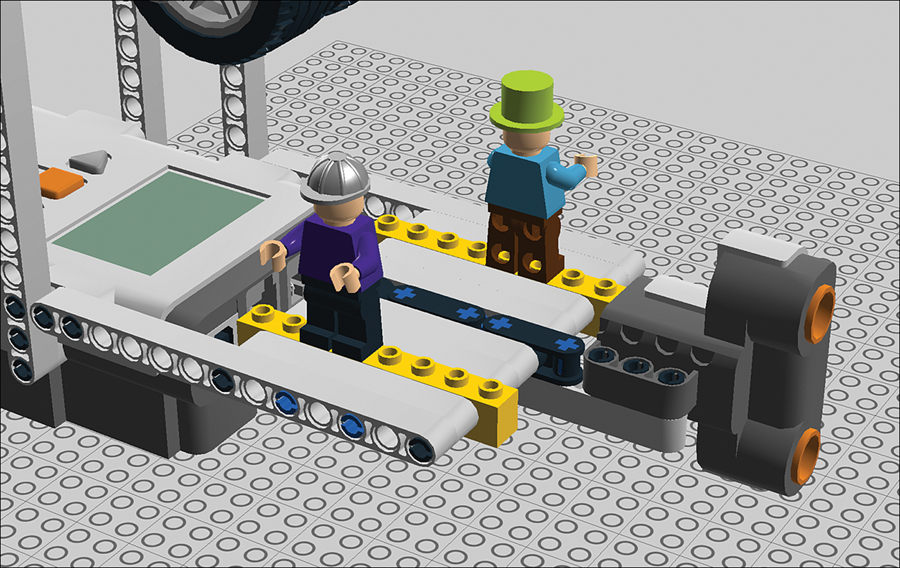
Figure 5.5. Action figures are cool, but minifigs are cooler!
Note: No Minifigs in the Mindstorms Set
Note that you won’t find Technic bricks in your Mindstorms set or, for that matter, minifigs. Instead, you have to source these parts from other LEGO sets. Chapter 10, “Expanding on Mindstorms,” gives you a number of options for finding Mindstorms-compatible parts.
The Next Chapter
You’ve built two models now. Let’s ramp up the skill level with some advanced building techniques that you can use in your own projects. Chapter 6, “Building Stronger Models,” shows you how to reinforce wobbly robots with angle beams, cross axles, and other techniques.