
Now that your BeagleBone Black is up and operating, you can give your project many different basics of functionality that are really cool. We're going to start with speech; it is a good basic project and offers several examples of adding capability in both HW and SW. So buckle up and get ready to learn the basics of interfacing with your board by facilitating speech.
You'll be adding a microphone and speaker to our basic board, and you'll add functionality so the robot can recognize voice commands and respond via the speaker. Additionally, you'll be able to issue voice commands and have the robot respond with an action. When you're freed from typing in commands, you can interact with your projects in an impressive way. This project will require adding both HW and SW.
Interfacing with your projects via speech is more fun than typing in commands, and it allows interaction with our project without using a keyboard or mouse. Besides, what self-respecting robot wants to carry around a keyboard? No, you want to interact in natural ways with your projects, and this project will teach you how. Interfacing via speech also helps you find your way around the board, learn the available free functionality, and become familiar with the community of functionality developers.
Your objectives are as follows:
- Hooking up the HW to make and input sound
- Using eSpeak to allow your projects to respond in a robot voice
- Using PocketSphinx to interpret your commands
- Providing the capability to interpret your commands and have your robot initiate an action
Tip
Downloading the example code and colored images
You can download the example code files and colored images for this Packt book you have purchased from your account at http://www.packtpub.com. If you purchased this book elsewhere, you can visit http://www.packtpub.com/support and register to have the files e-mailed directly to you.
Before beginning this project, you'll need a working BeagleBone Black system that connects to power and the Internet (see Chapter 1, Getting Started with the BeagleBone Black, for instructions). Additionally, this project requires a USB microphone/speaker adapter. The board itself does not have either an audio out or audio in. The HDMI output does support audio, but most of your projects will not be connected to video monitors with speaker capability.
You'll need three pieces of HW:
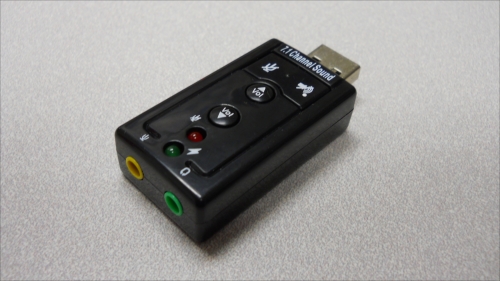

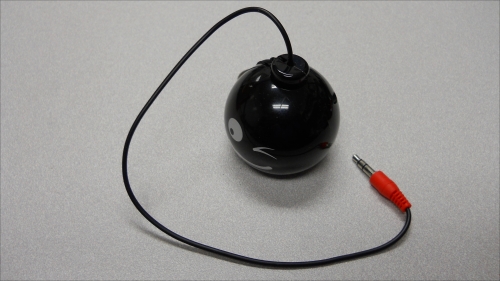
Fortunately, these devices are very inexpensive and widely available. Make sure the speaker is powered because your board will generally not be able to drive a passive speaker with enough power for your applications. A speaker can use either internal battery power or an externally powered USB hub. Many of your projects will require a powered USB hub, so it's a good investment.