
Using the Android Development Environment
Google provides the Android SDK to developers to allow them to create apps for the Android platform. The SDK contains all of the tools and libraries necessary to create applications which can be deployed to Android devices. Google also provides the Android Native Development Kit (NDK). The NDK is used to create native code libraries which can execute much more efficiently than Java code. This is important for certain applications such as games. This appendix will walk through the process of setting up the Android SDK, the Eclipse IDE, and Android NDK and then building a sample app.
Setting Up the Android SDK and Eclipse
Google provides their SDK and the Eclipse IDE in a single preconfigured download. At the time of writing this can be found at http://developer.android.com/sdk/index.html.
These bundles and software versions update reasonably frequently. You can find the latest installation instructions for the bundle at the following web address: http://developer.android.com/sdk/installing/bundle.html.
Once you have the bundle installed, it is time to try building a Java app. The process for building a Java app is the basis for building apps using the NDK. Google provides up-to=date instructions for building your first Android SDK based app here: http://developer.android.com/training/basics/firstapp/index.html.
The Android NDK is a stand-alone suite of libraries and command-line tools which are downloaded separately from the Android SDK. The appropriate version of the NDK for your platform can be downloaded from http://developer.android.com/tools/sdk/ndk/index.html.
Once you have downloaded the compressed package for the NDK, you should extract it to a suitable folder on your computer.
Once we have installed the NDK, we need to let Eclipse know where the NDK folder has been placed on our computer. We can do this by launching the preferences dialog by selecting the Window (the Application on OS X) ➤ Preferences option. Once we have the Preferences dialog open, we can set the NDK location by browsing to Android ➤ NDK and then setting the NDK Location field.
Before we can build an example native app, we need to create a project in Eclipse to hold the code.
- When we first run Eclipse, we will be shown the welcome screen as in Figure A-1.
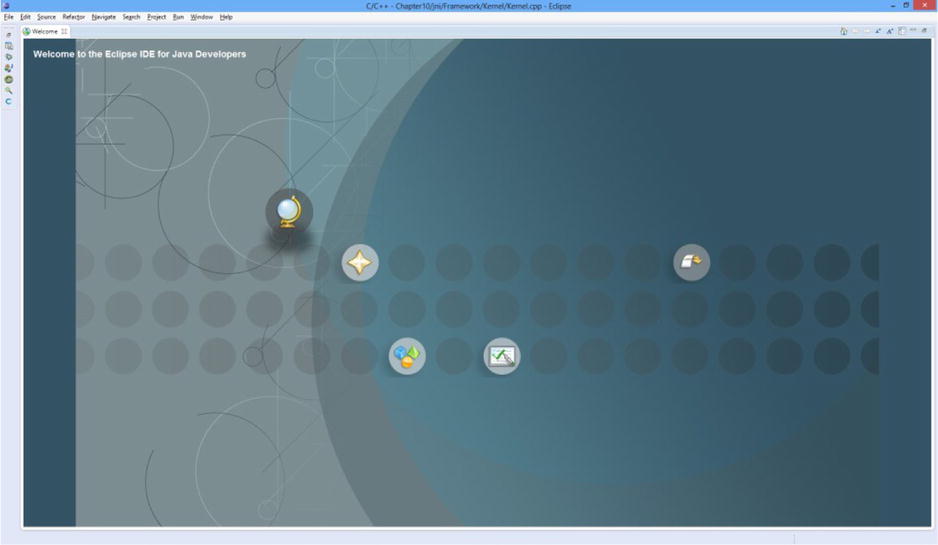
Figure A-1. The Eclipse welcome screen
- We then create a new project by Selecting File ➤ New ➤ Project. This will show the New Project dialog which we see in Figure A-2.
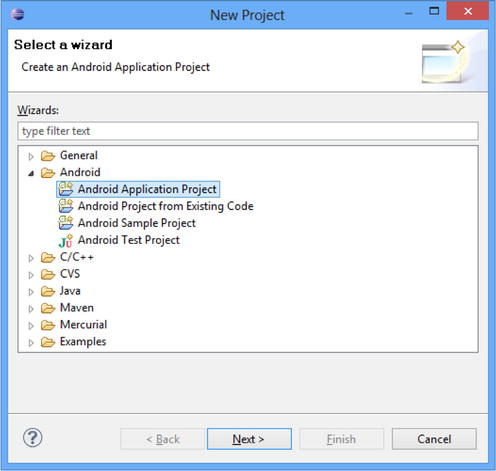
Figure A-2. The New Project dialog
- After clicking Next, we will be presented with the New Android Application dialog. Figure A-3 shows this dialog with the Application Name, Project Name, and Package Name fields all set. We also set the Minimum Required SDK field to API 9 and the Theme to None.

Figure A-3. The New Android Application dialog
- After clicking Next, we will be presented with the Configure Project dialog. In this dialog, we should uncheck the Create Custom Launcher icons and Create Activity icons. Finally, we click Finish.
We now have a basic Android SDK application. Before we can work with the NDK, we must add NDK support to the project. You do this by right-clicking the project name and then selecting Android Tools ➤ Add Native Support. The dialog shown will contain a library name: leave this at the default value and click Finish.
At this point, we will be able to right-click the project name and select Build Project to have Android build the default code.
At this point, let’s copy the contents of main.c from the native-activity sample found in the samples directory of the Android NDK into Native-Sample.cpp.
Listing A-1 contains the contents we need to place in your Android.mk file. This file can be found in the jni folder.
Listing A-1. Android.mk
LOCAL_PATH := $(call my-dir)

include $(CLEAR_VARS)

LOCAL_MODULE    := native-activity
LOCAL_SRC_FILES := Native-Sample.cpp
LOCAL_LDLIBS    := -llog -landroid -lEGL -lGLESv1_CM
LOCAL_STATIC_LIBRARIES := android_native_app_glue

include $(BUILD_SHARED_LIBRARY)

$(call import-module,android/native_app_glue)
You also need to create an Application.mk file in the jni folder with the single line shown in Listing A-2.
Listing A-2. Application.mk
APP_PLATFORM := android-9
Finally, the AndroidManifest.xml file should contain the content from Listing A-3.
Listing A-3. AndroidManifest.xml
<manifest xmlns:android="http://schemas.android.com/apk/res/android"
    package="com.begingamecode.native_sample"
    android:versionCode="1"
    android:versionName="1.0" >

    <uses-sdk
        android:minSdkVersion="9"
        android:targetSdkVersion="17" />

    <application
        android:allowBackup="true"
        android:icon="@drawable/ic_launcher"
        android:label="@string/app_name"
        android:theme="@style/AppTheme" >

        <activity
            android:label="@string/app_name"
            android:configChanges="orientation|keyboardHidden"
            android:name="android.app.NativeActivity">
                <!-- Tell NativeActivity the name of or .so -->
                <meta-data
                    android:name="android.app.lib_name"
                    android:value="native-activity"/>
                <intent-filter>
                    <action android:name="android.intent.action.MAIN"/>
                    <category android:name="android.intent.category.LAUNCHER"/>
                </intent-filter>
        </activity>
    </application>
</manifest>
With everything configured, we can now right-click the project and select Run As ➤ Android Application to have the application run on your chosen device or emulator.