As you can see, the last part of the previous code is the game loop, while (window.isOpen()){}. It is this that we turn our attention to now. Specifically, we will be coding the input-handling section of the game loop.
The next code that we will add is quite long. There is nothing complicated about it, and we will examine it all in a minute.
Add the highlighted code only, which is shown in the following code, into the main game loop:
// The main game loop
while (window.isOpen())
{
   /*
   ************
   Handle input
   ************
   */

   // Handle events by polling
   Event event;
   while (window.pollEvent(event))
   {
     if (event.type == Event::KeyPressed)
     {
        // Pause a game while playing
        if (event.key.code == Keyboard::Return &&
           state == State::PLAYING)
        {
           state = State::PAUSED;
        }
        // Restart while paused
        else if (event.key.code == Keyboard::Return &&
           state == State::PAUSED)
        {
           state = State::PLAYING;
           // Reset the clock so there isn't a frame jump
           clock.restart();
        }
        // Start a new game while in GAME_OVER state
        else if (event.key.code == Keyboard::Return &&
           state == State::GAME_OVER)
        {
           state = State::LEVELING_UP;
        }
        if (state == State::PLAYING)
        {
        }
     }
   }// End event polling

}// End game loop
In the previous code, we instantiate an object of type Event. We will use event, as we did in the Timber!!! project, to poll for system events. To do so, we wrap the rest of the code from the previous block in a while loop with the condition window.pollEvent(event). This will keep looping, for each frame, until there are no more events to process.
Inside this while loop, we handle the events we are interested in. First, we test for Event::KeyPressed events. If the
Enter
key is pressed while the game is in the PLAYING state then we switch state to PAUSED.
If the
Enter
key is pressed while the game is in the PAUSED state then we switch state to PLAYING and restart clock. The reason we restart clock after switching from PAUSED to PLAYING is because, while the game is paused, the elapsed time still accumulates. If we didn't restart the clock all our objects would update their locations as if the frame had just taken a very long time. This will become more apparent as we flesh out the rest of the code in this file.
We then have an else if test to see if the Enter key was pressed while the game was in the GAME_OVER state. If it was, then state is changed to LEVELING_UP.
In the previous code there is a final if condition to test if the state is PLAYING. This if block is empty, and we will add code to it throughout the project.
Tip
As we will add code to lots of different parts of this file throughout the project, it is therefore worthwhile taking time to understand the different states our game can be in and where we handle them. It will also be very beneficial to collapse and expand the different if, else, and while blocks as and when appropriate.
Take some time to thoroughly familiarize yourself with the while, if, and else if blocks we have just coded. We will be referring back to them regularly.
Next, immediately after the previous code and still inside the game loop, still dealing with handling input, add this highlighted code. Note the existing code (not highlighted) that shows exactly where the new code goes:
   }// End event polling

   // Handle the player quitting
   if (Keyboard::isKeyPressed(Keyboard::Escape))
   {
     window.close();
   }

   // Handle WASD while playing
   if (state == State::PLAYING)
   {
     // Handle the pressing and releasing of the WASD keys
     if (Keyboard::isKeyPressed(Keyboard::W))
     {
        player.moveUp();
     }
     else
     {
        player.stopUp();
     }
     if (Keyboard::isKeyPressed(Keyboard::S))
     {
        player.moveDown();
     }
     else
     {
        player.stopDown();
     }
     if (Keyboard::isKeyPressed(Keyboard::A))
     {
        player.moveLeft();
     }
     else
     {
        player.stopLeft();
     }
     if (Keyboard::isKeyPressed(Keyboard::D))
     {
        player.moveRight();
     }
     else
     {
        player.stopRight();
     }
   }// End WASD while playing

}// End game loop
In the previous code, we first test to see if the player has pressed the Esc key. If it is pressed, the game window will be closed.
Next, within one big if(state == State::PLAYING) block we check each of the
W, A, S, and D
keys in turn. If a key is pressed, we call the appropriate player.move... function. If it is not, we call the related player.stop... function.
This code ensures that, in each and every frame, the player object will be updated with exactly which of the
W, A, S, D keys are pressed and which are not. The player.move... and player.stop... functions store the information in the member Boolean variables (m_LeftPressed, m_RightPressed, m_UpPressed
, and m_DownPressed). The Player class then responds to the value of these Booleans, in each frame, in the player.update function which we will call in the update section of the game loop.
Now we can handle the keyboard input to enable the player to level up at the start of each game and in between each wave. Add and study the following highlighted code and we will then discuss it:
   }// End WASD while playing

   // Handle the LEVELING up state
   if (state == State::LEVELING_UP)
   {
     // Handle the player LEVELING up
     if (event.key.code == Keyboard::Num1)
     {
        state = State::PLAYING;
     }

     if (event.key.code == Keyboard::Num2)
     {
        state = State::PLAYING;
     }

     if (event.key.code == Keyboard::Num3)
     {
        state = State::PLAYING;
     }

     if (event.key.code == Keyboard::Num4)
     {
        state = State::PLAYING;
     }

     if (event.key.code == Keyboard::Num5)
     {
        state = State::PLAYING;
     }

     if (event.key.code == Keyboard::Num6)
     {
        state = State::PLAYING;
     }

     if (state == State::PLAYING)
     {
        // Prepare the level
        // We will modify the next two lines later
        arena.width = 500;
        arena.height = 500;
        arena.left = 0;
        arena.top = 0;

        // We will modify this line of code later
        int tileSize = 50;

        // Spawn the player in the middle of the arena
        player.spawn(arena, resolution, tileSize);

        // Reset the clock so there isn't a frame jump
        clock.restart();
     }
   }// End LEVELING up

}// End game loop
In the preceding code, which is all wrapped in a test to see if the current value of state is LEVELING_UP, we handle the keyboard keys 1, 2, 3, 4, 5, and 6. In the if block for each, we simply set state to State::PLAYING. We will add code to deal with each level up option later in Chapter 11, Sound Effects, File I/O, and Finishing the Game.
What this code does is this:
- If the
stateisLEVELING_UP, wait for either the 1, 2, 3, 4, 5 or 6 key to be pressed. - When pressed, change
statetoPLAYING. - When the state changes, still within the
if (state == State::LEVELING_UP)block, the nestedif(state == State::PLAYING)block will run. - Within this block, we set the location and size of
arena, thetileSizeto50, pass all the information in toplayer.spawn,and restartclock.
Now we have an actual spawned player object that is aware of its environment and can respond to key presses. We can now update the scene on each pass through the loop.
Be sure to neatly collapse the code from the input handling part of the game loop as we are done with that, for now. The next code is in the update part of the game loop. Add and study the highlighted code and then we can discuss it:
   }// End LEVELING up

   /*
   ****************
   UPDATE THE FRAME
   ****************
   */
   if (state == State::PLAYING)
   {
     // Update the delta time
     Time dt = clock.restart();

     // Update the total game time
     gameTimeTotal += dt;

     // Make a decimal fraction of 1 from the delta time
     float dtAsSeconds = dt.asSeconds();

     // Where is the mouse pointer
     mouseScreenPosition = Mouse::getPosition();

     // Convert mouse position to world coordinates of mainView
     mouseWorldPosition = window.mapPixelToCoords(
        Mouse::getPosition(), mainView);

     // Update the player
     player.update(dtAsSeconds, Mouse::getPosition());

     // Make a note of the players new position
     Vector2f playerPosition(player.getCenter());

     // Make the view centre around the player
     mainView.setCenter(player.getCenter());
   }// End updating the scene

}// End game loop
First note that all the previous code is wrapped in a test to make sure the game is in the PLAYING state. We don't want this code to run if the game is paused, over, or if the player is choosing what to level up.
First, we restart the clock and store the time that the previous frame took in the dt variable:
// Update the delta time
Time dt = clock.restart();
Next, we add the time that the previous frame took onto the accumulated time the game has been running for, as held by gameTimeTotal:
// Update the total game time
gameTimeTotal += dt;
Now we initialize a float called dtAsSeconds with the value returned by the dt.AsSeconds function. For most frames this will be a fraction of one. This is perfect for passing into the player.update function to be used to calculate how much to move the player sprite.
Now we can initialize mouseScreenPosition using the function MOUSE::getPosition.
Note
You might be wondering about the slightly unusual syntax for getting the position of the mouse? This is called a static function. If we define a function in a class with the static keyword, we are able to call that function using the class name and without an instance of the class. C++ OOP has loads of quirks and rules like this. We will see many more as we progress.
We then initialize mouseWorldPosition using the SFML mapPixelToCoords function on window. We discussed this function when talking about the View class earlier in the chapter.
At this point, we are now able to call player.update and pass in dtAsSeconds and the position of the mouse, as is required.
We store the player's new center in a Vector2f called playerPosition. At the moment, this is unused, but we will have a use for this later in the project.
We can then center the view around the center of the players up-to-date position with the code, mainView.setCenter(player.getCenter()).
We are now in a position to draw the player to the screen. Add this highlighted code which splits the draw section of the main game loop into different states:
      }// End updating the scene

     /*
     **************
     Draw the scene
     **************
     */
     if (state == State::PLAYING)
     {
        window.clear();

        // set the mainView to be displayed in the window
        // And draw everything related to it
        window.setView(mainView);

        // Draw the player
        window.draw(player.getSprite());
     }

     if (state == State::LEVELING_UP)
     {
     }
     if (state == State::PAUSED)
     {
     }
     if (state == State::GAME_OVER)
     {
     }
     window.display();

   }// End game loop

   return 0;
}
Within the if(state == State::PLAYING) section of the previous code, we clear the screen, set the view of the window to mainView, and then draw the player sprite with window.draw(player.getSprite()).
After all the different states have been handled, the code shows the scene in the usual manner with window.display();.
You can run the game and see our player character spin around in response to moving the mouse.
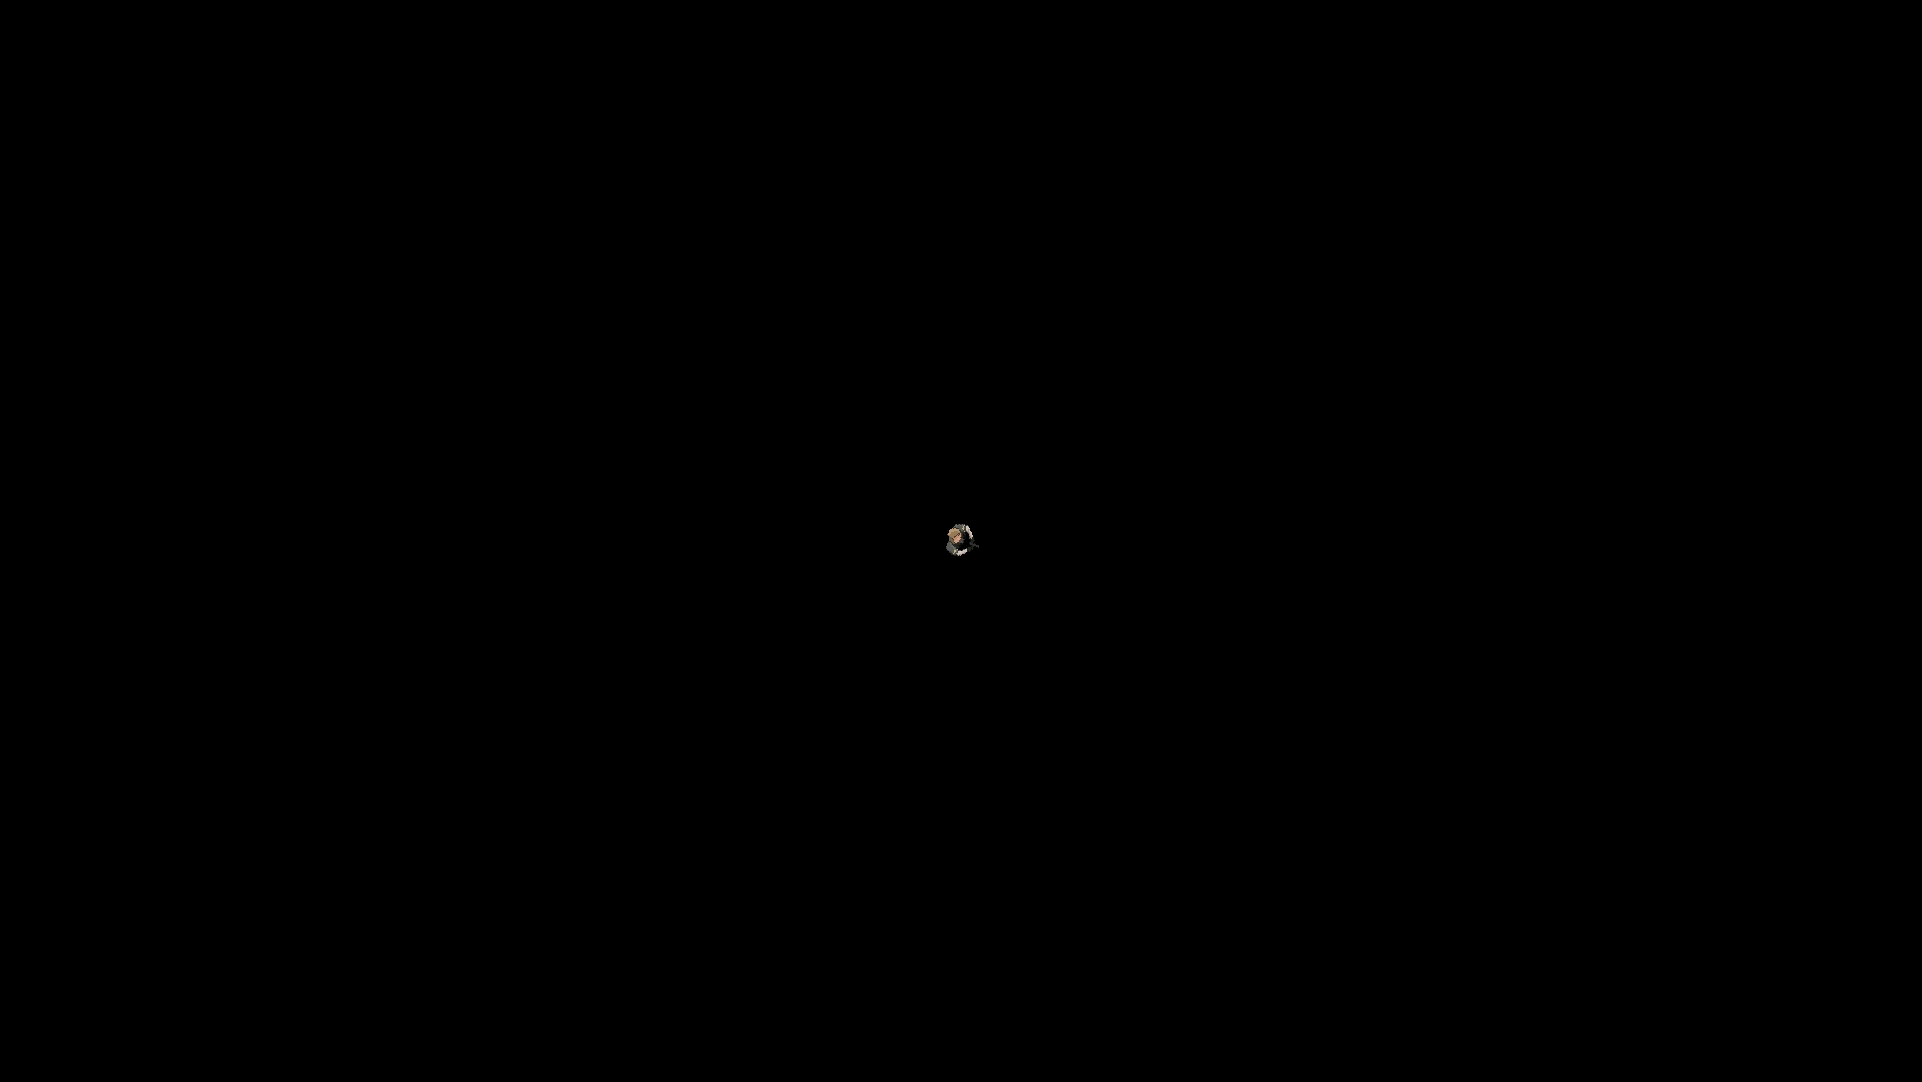
You can also move the player around within the (empty) 500 x 500 pixel arena. You can see our lonely player in the center of the screen, as shown next:

You can't, however, get any sense of movement because we haven't implemented the background. We will do so in the next chapter.
